Vignette Effect
Gently darken the corners of a photo to draw the eye to the subject — a timeless look for portraits and old prints, tuned with two sliders.
柔和压暗照片四角,让视线集中到主体——为肖像与老照片注入经典氛围,两个滑杆即可调校。
Private by design — your photo is processed locally and never uploaded.Drop a photo here, or click to browse
Supported formats: JPG, PNG, WebP, GIF, BMP
Drag to compare
Tip: lower feather keeps the dark area compact; higher feather spreads it softly across the whole photo.
提示:feather 越低暗角越集中,越高则越柔和地铺满整张照片。
How It Works
A vignette is a radial darkening that falls off from the center of the frame. The tool measures each pixel's distance from the image center and multiplies its brightness down as that distance grows, so the very center stays untouched while the corners dim. Everything runs on your device with the Canvas API.
Strength
Controls how dark the corners get. Around 40–60 reads as natural film vignetting; above 80 becomes a dramatic spotlight.
Feather
Controls how wide the darkening spreads. Low feather keeps a tight dark ring near the edges; high feather fades it in from near the center.
Radial falloff
Darkening follows distance from the exact center, so it looks even on any photo shape — portrait, square or landscape.
Fully local
No upload, no account. The photo stays on your device and the effect applies instantly as you drag the sliders.
An honest note: a vignette only darkens existing pixels; it cannot brighten a subject that is already in the shadows, and pushing strength very high will crush corner detail to black. Combine it with the contrast or faded-photo tools if you want to lift the center first.
暗角是一种从画面中心向外逐渐压暗的径向效果。工具测量每个像素到画面中心的距离,并随距离增大按比例降低其亮度——中心保持不变,四角逐渐变暗。一切都通过 Canvas API 在你的设备上完成。
强度
控制四角压暗的程度。40–60 接近自然胶片暗角,超过 80 则成为戏剧性聚光效果。
羽化
控制压暗扩散的范围。低羽化让暗角紧贴边缘成一圈,高羽化则从靠近中心处就开始柔和过渡。
径向衰减
压暗按到中心的距离平滑变化,因此竖图、方图、横图都均匀自然。
完全本地
不上传、无需账号。照片留在你的设备上,拖滑杆时即时生效。
诚实说明:暗角只会压暗已有像素,无法提亮本来就处于阴影中的主体;强度过高会把四角细节压成死黑。若想先提亮中心,请配合对比度或褪色修复工具。
How to Use
- Upload your photoDrop it in or click to browse. Portraits, landscapes and scans all work.
- Raise the strengthStart at about 50 and watch the corners dim. Pull it back if faces or important detail slip into shadow.
- Adjust the featherLower feather for a crisp dark ring, higher feather for a gentle fade across the whole frame.
- Compare and downloadUse the before/after slider to judge it, then export as PNG, JPG or WebP.
- 上传照片拖入或点击选择。肖像、风景、扫描件都适用。
- 提高强度从约 50 开始,观察四角变暗。若人脸或重要细节进入阴影就回调。
- 调整羽化羽化低得一圈清晰暗边,羽化高则整幅柔和过渡。
- 对比并下载用前后对比滑块判断效果,然后导出为 PNG、JPG 或 WebP。
FAQ
What does a vignette do?
What strength looks natural?
Can I undo it?
Is my photo uploaded?
Does it work on any shape of photo?
暗角有什么作用?
多强看起来自然?
可以撤销吗?
照片会被上传吗?
任意形状的照片都适用吗?
Related Tools
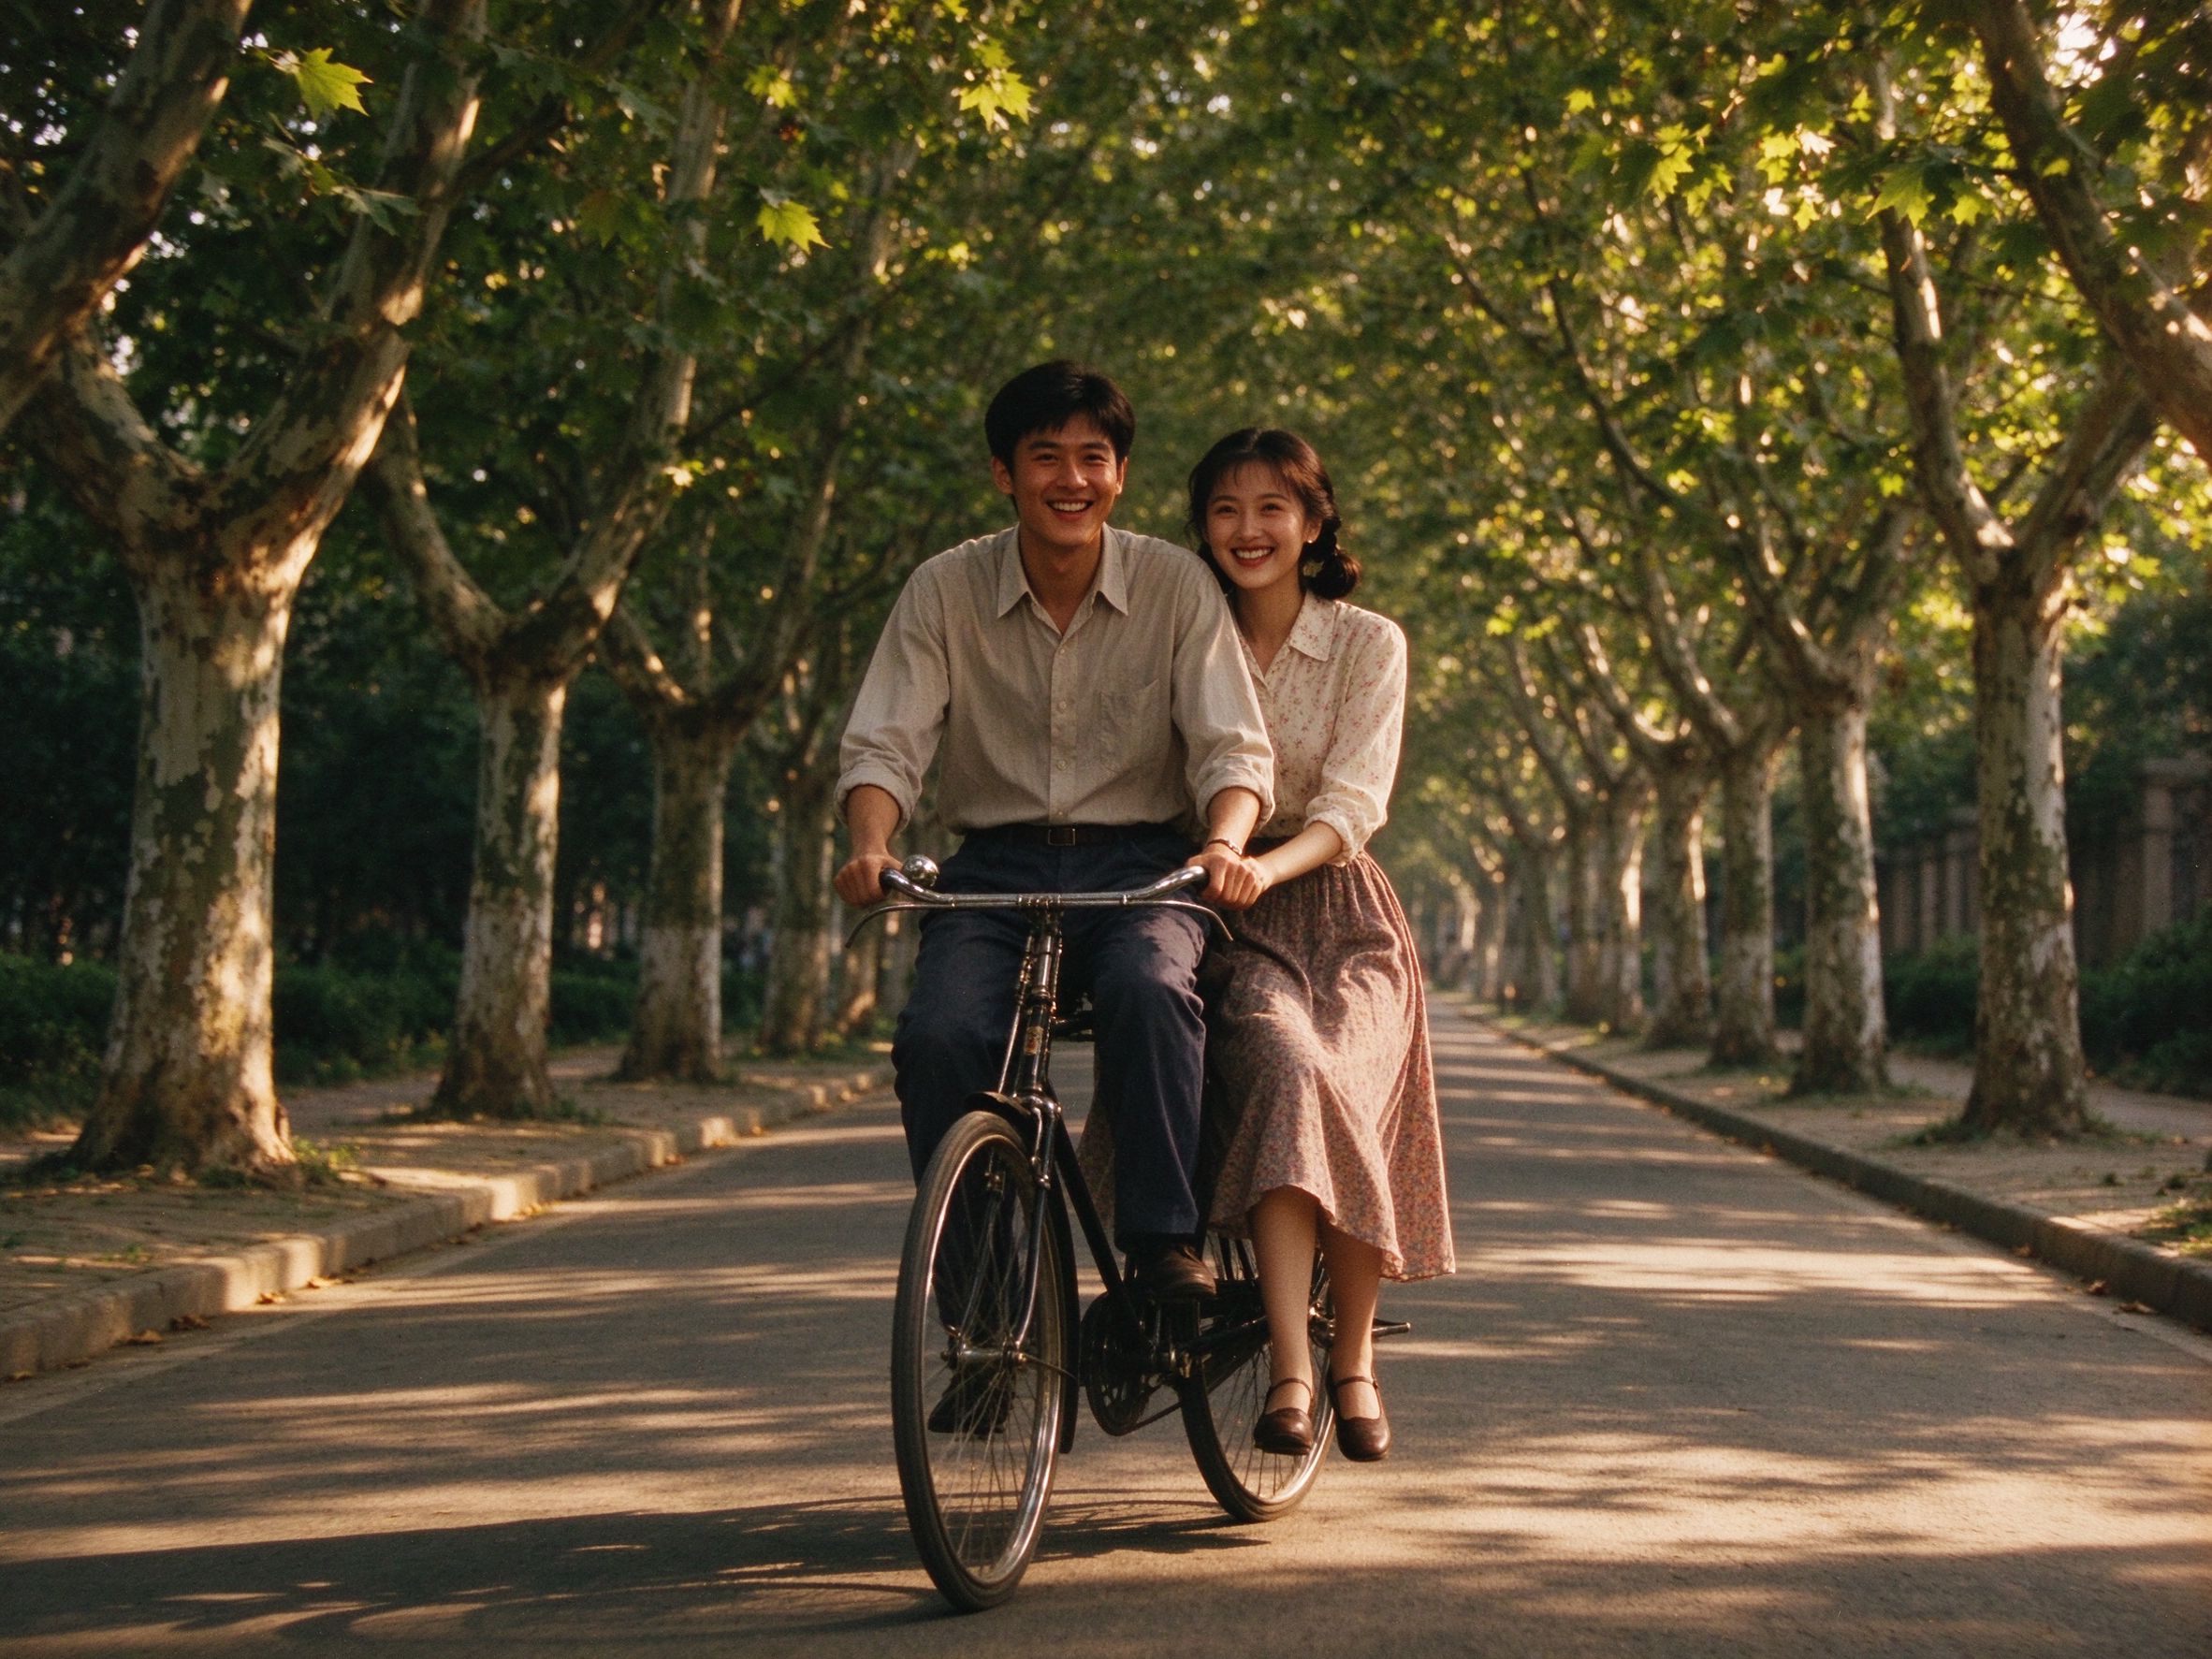
Old Movie Effect
A one-click vintage look that already includes a built-in vignette.
一键复古效果,自带暗角。
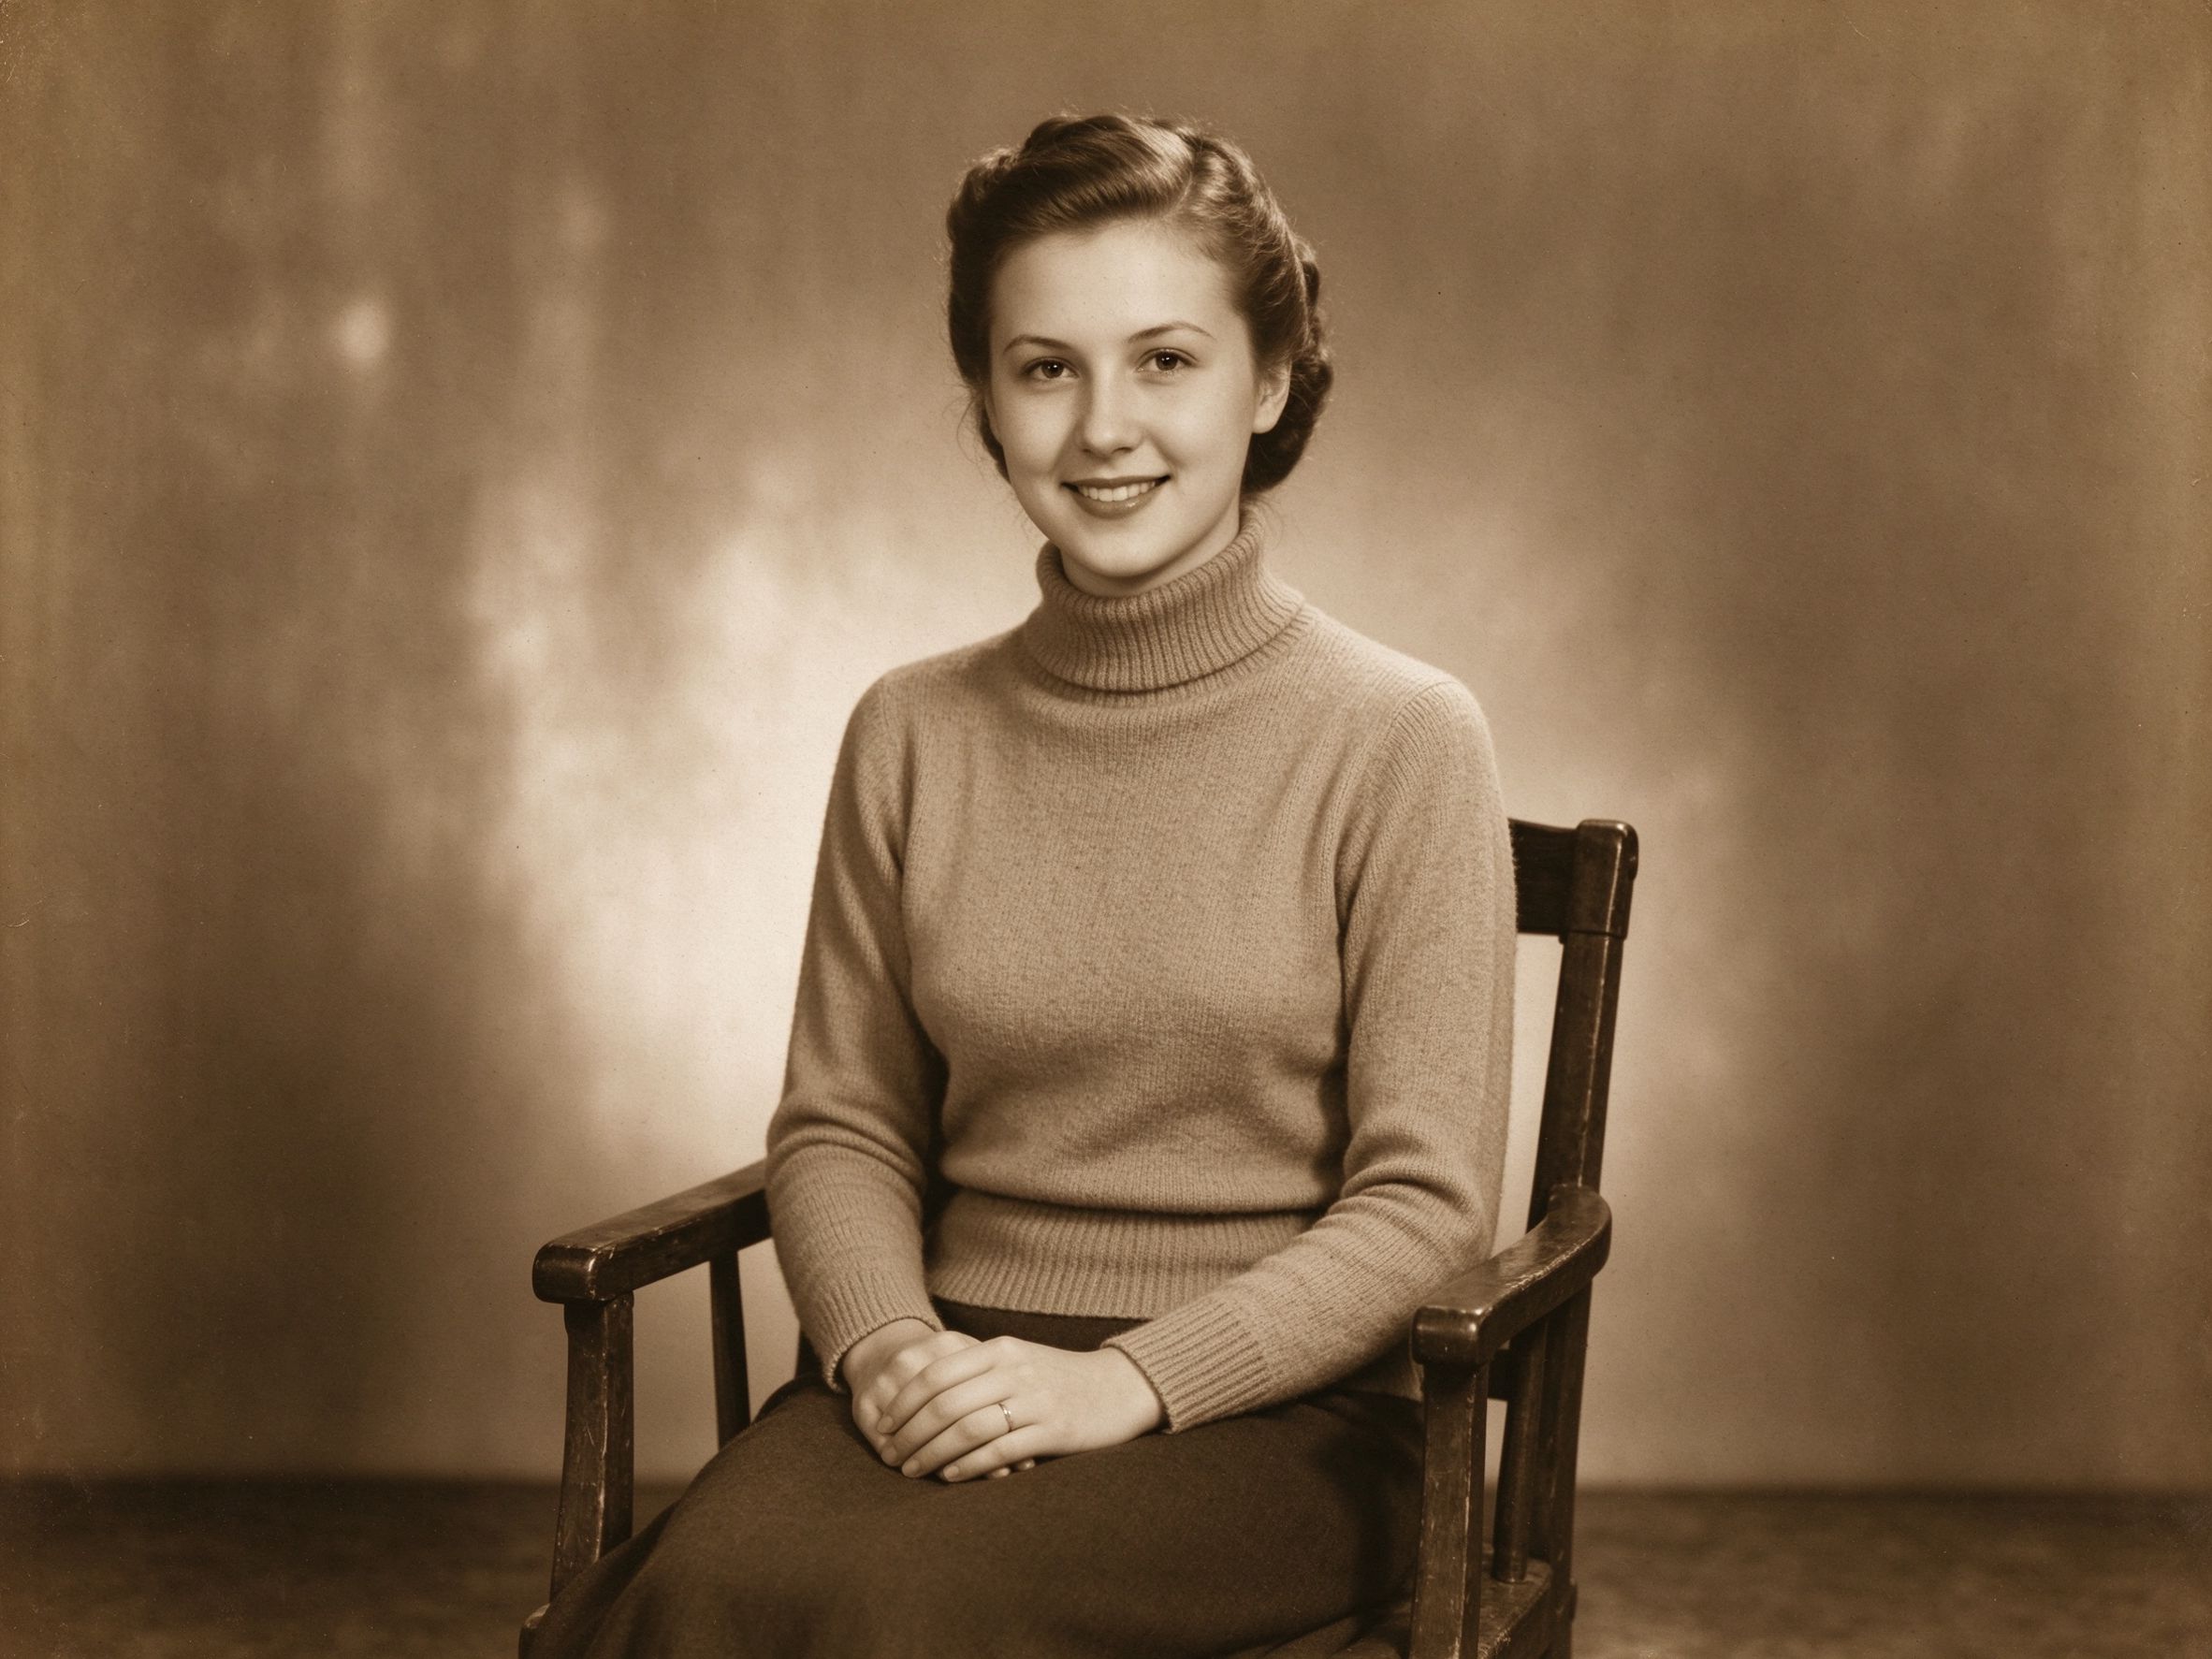
Sepia & Vintage Tone
Pair a warm sepia tone with your vignette for a nostalgic print.
给暗角配上暖褐调,更有怀旧冲印感。
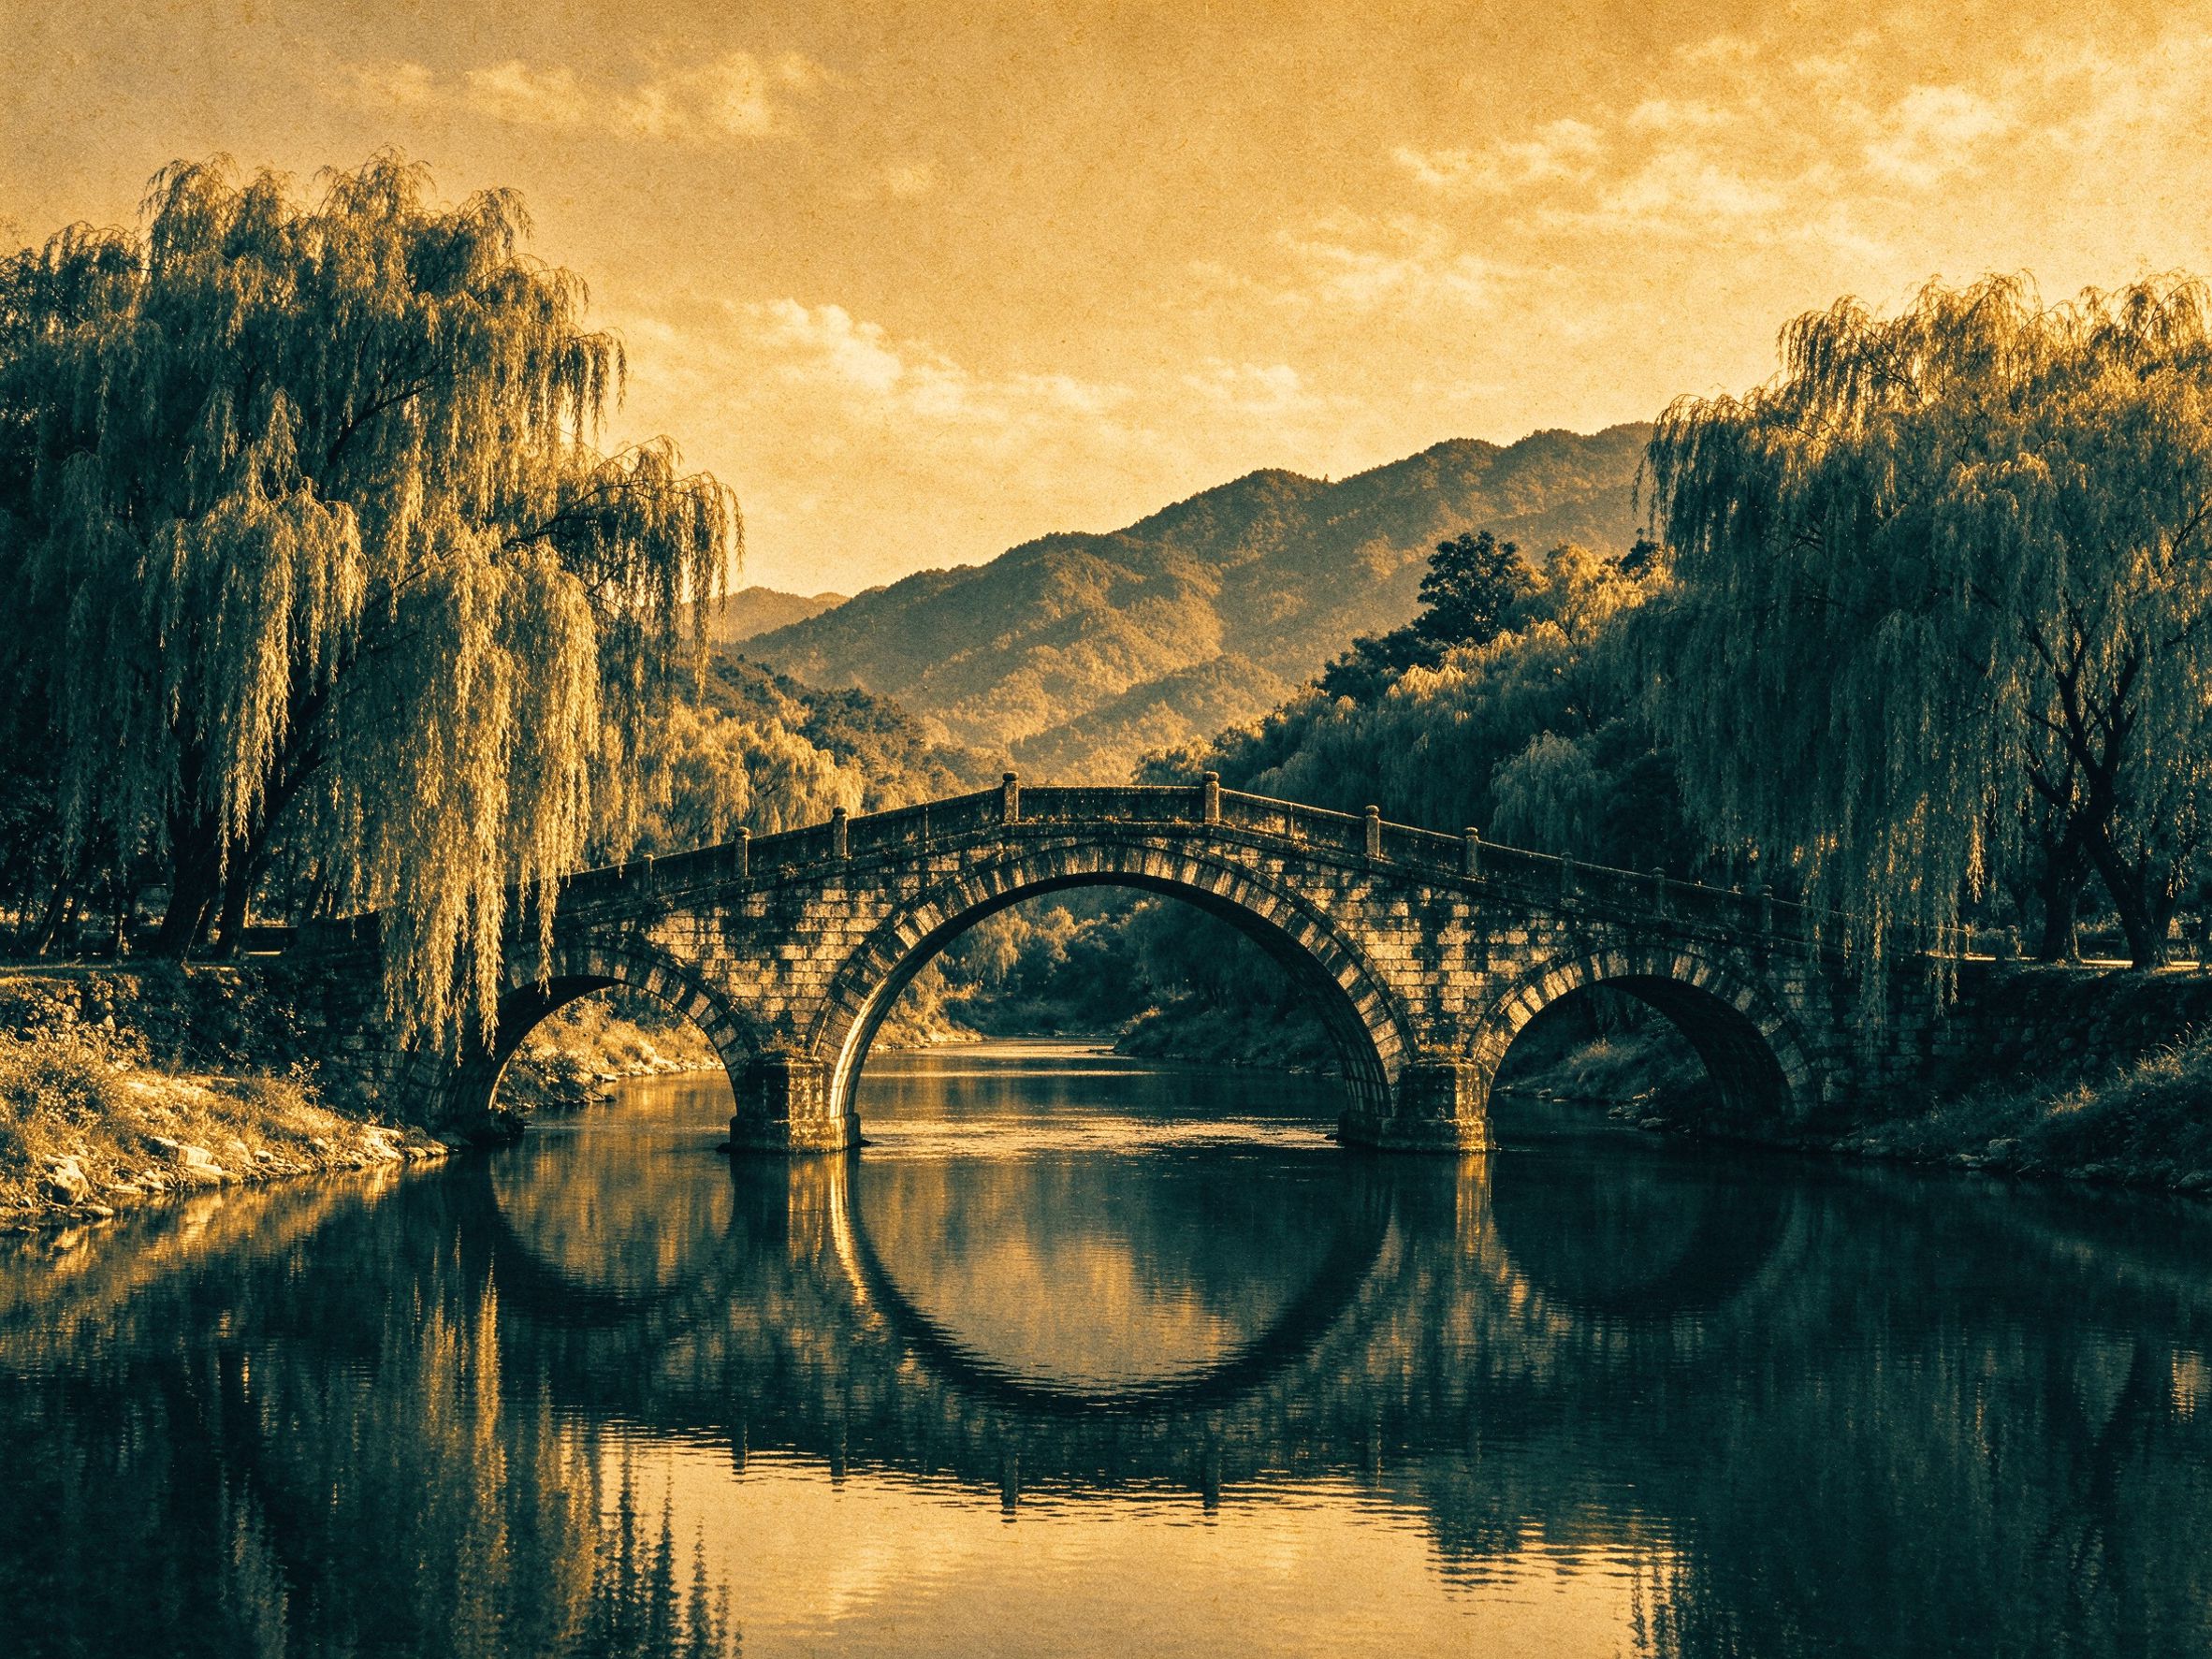
Duotone Generator
Map highlights and shadows to two colors for a graphic look.
把高光与阴影映射为两种颜色,获得图形化风格。
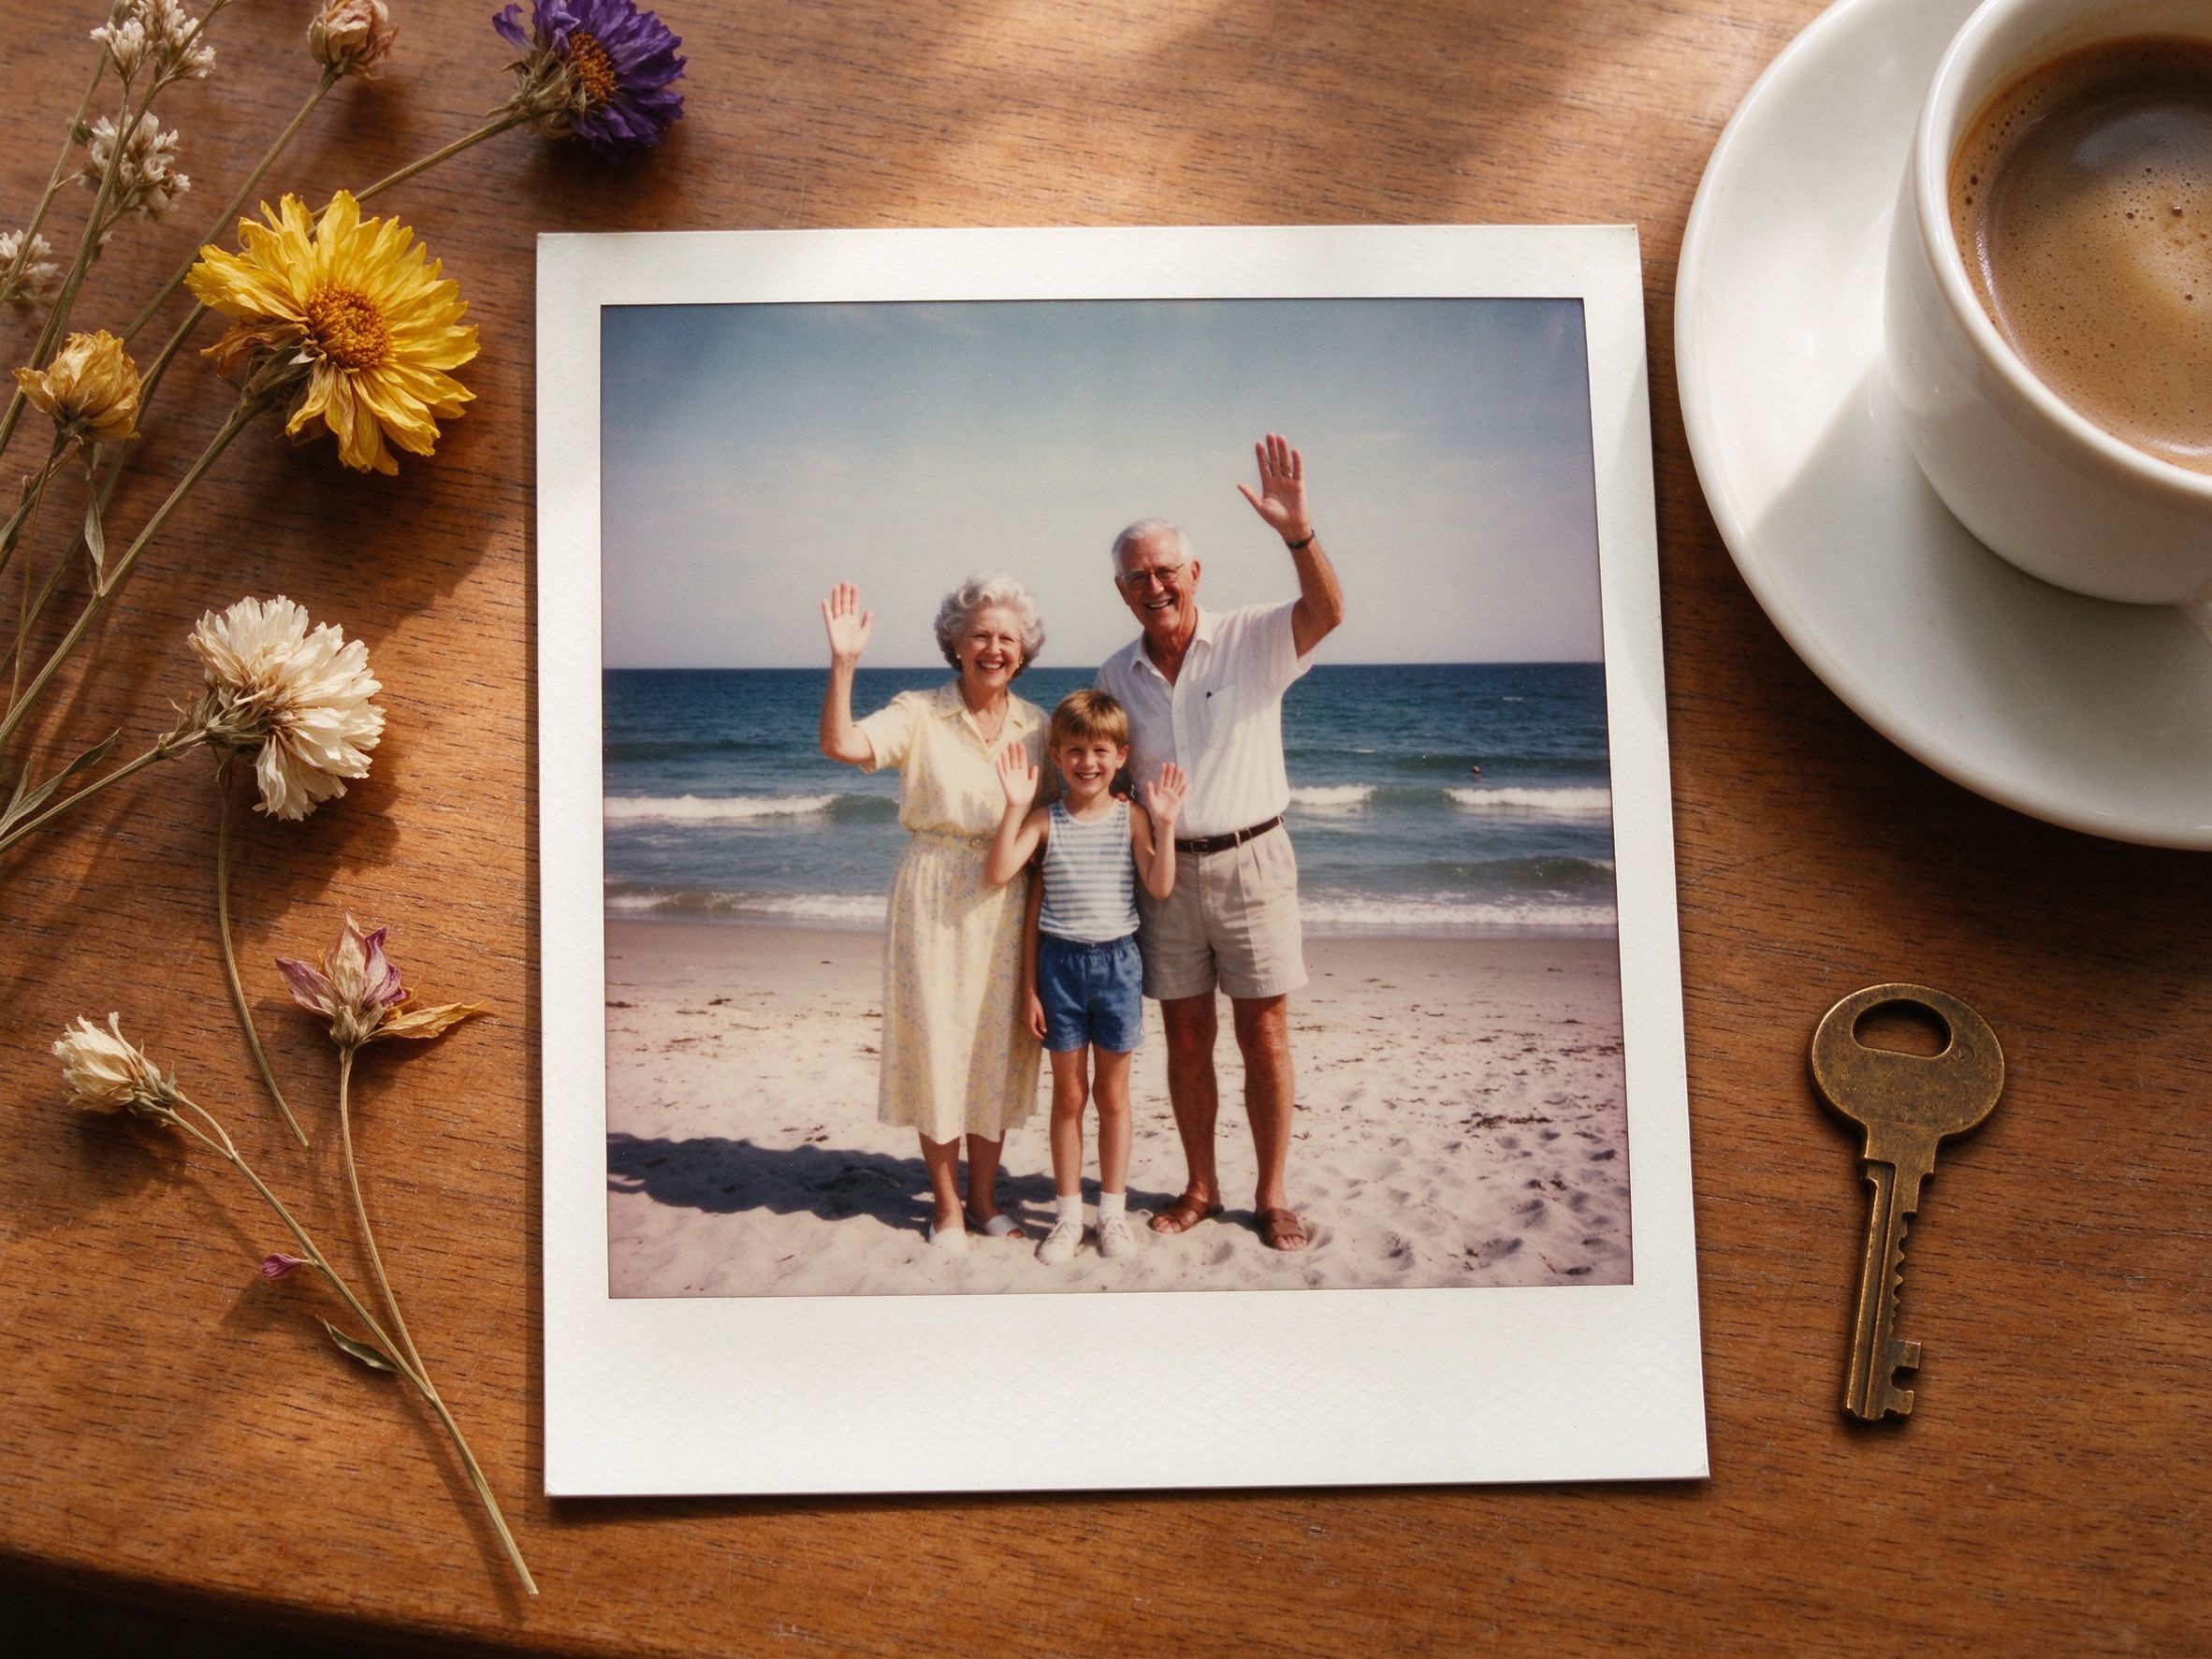
Vintage Frame
Place your vignetted photo inside a polaroid border.
把加了暗角的照片放进拍立得边框。
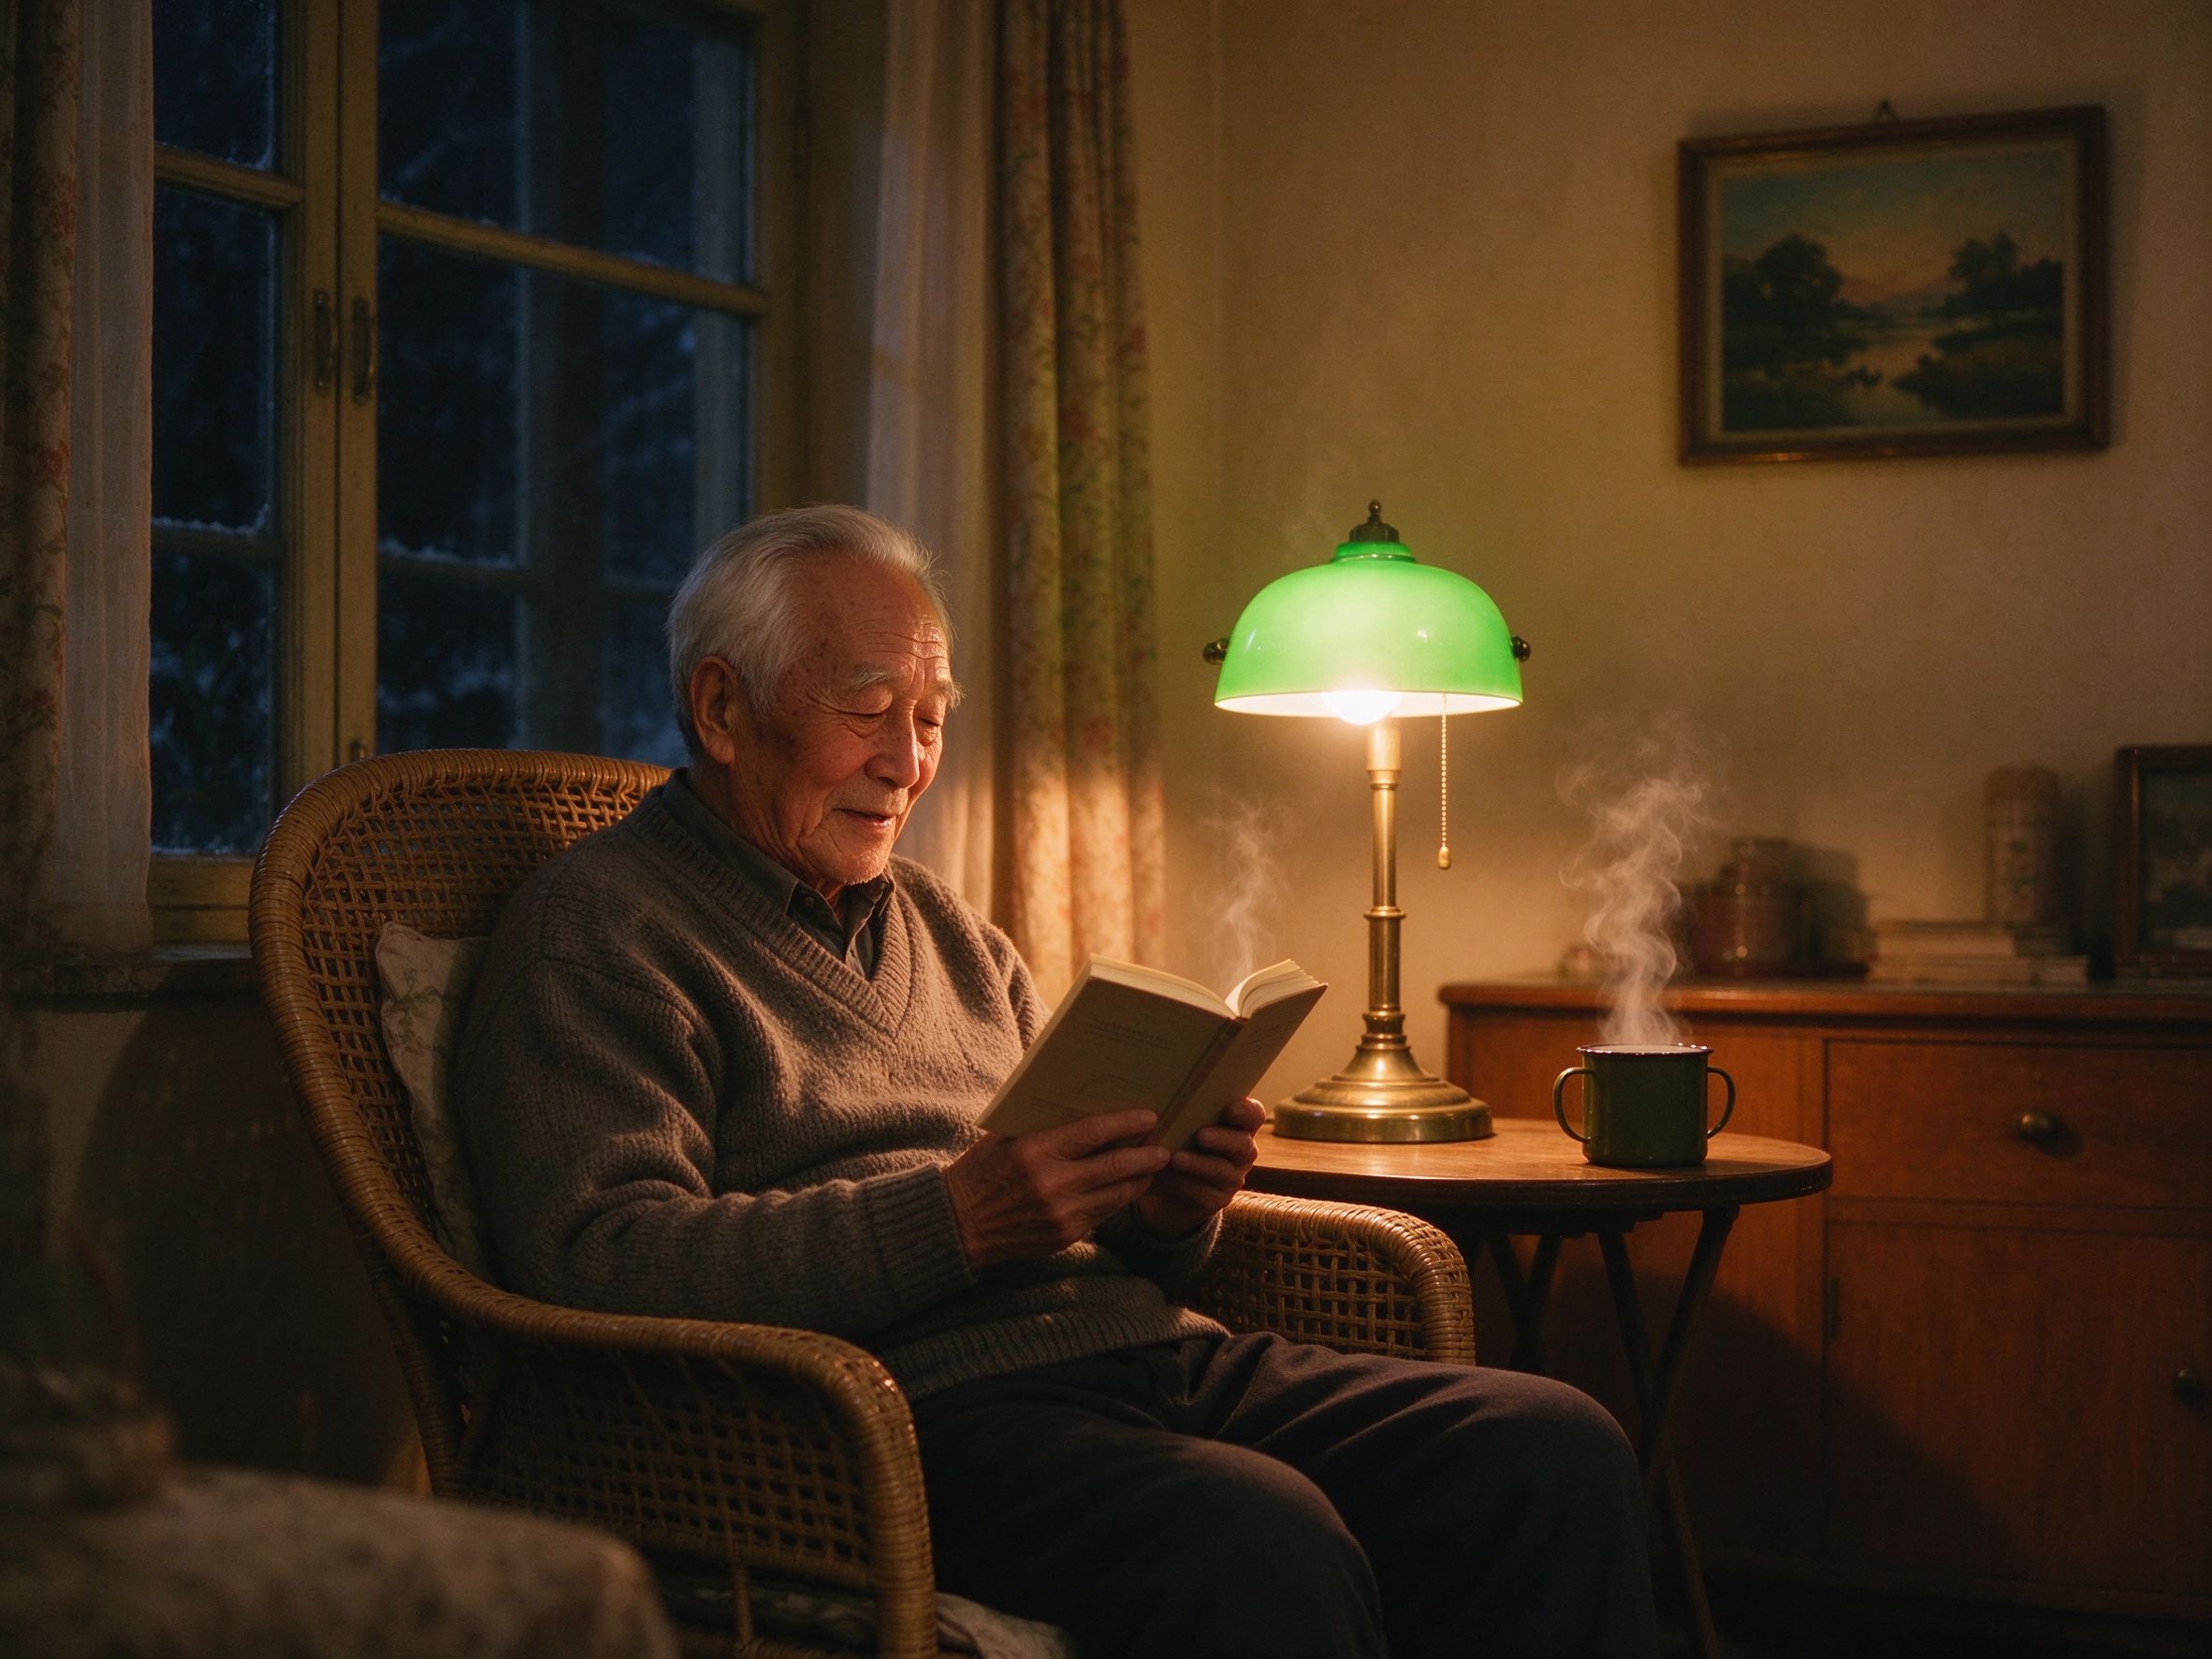
Color Temperature
Warm up or cool down the tones before you vignette.
加暗角之前先调暖或调冷色调。
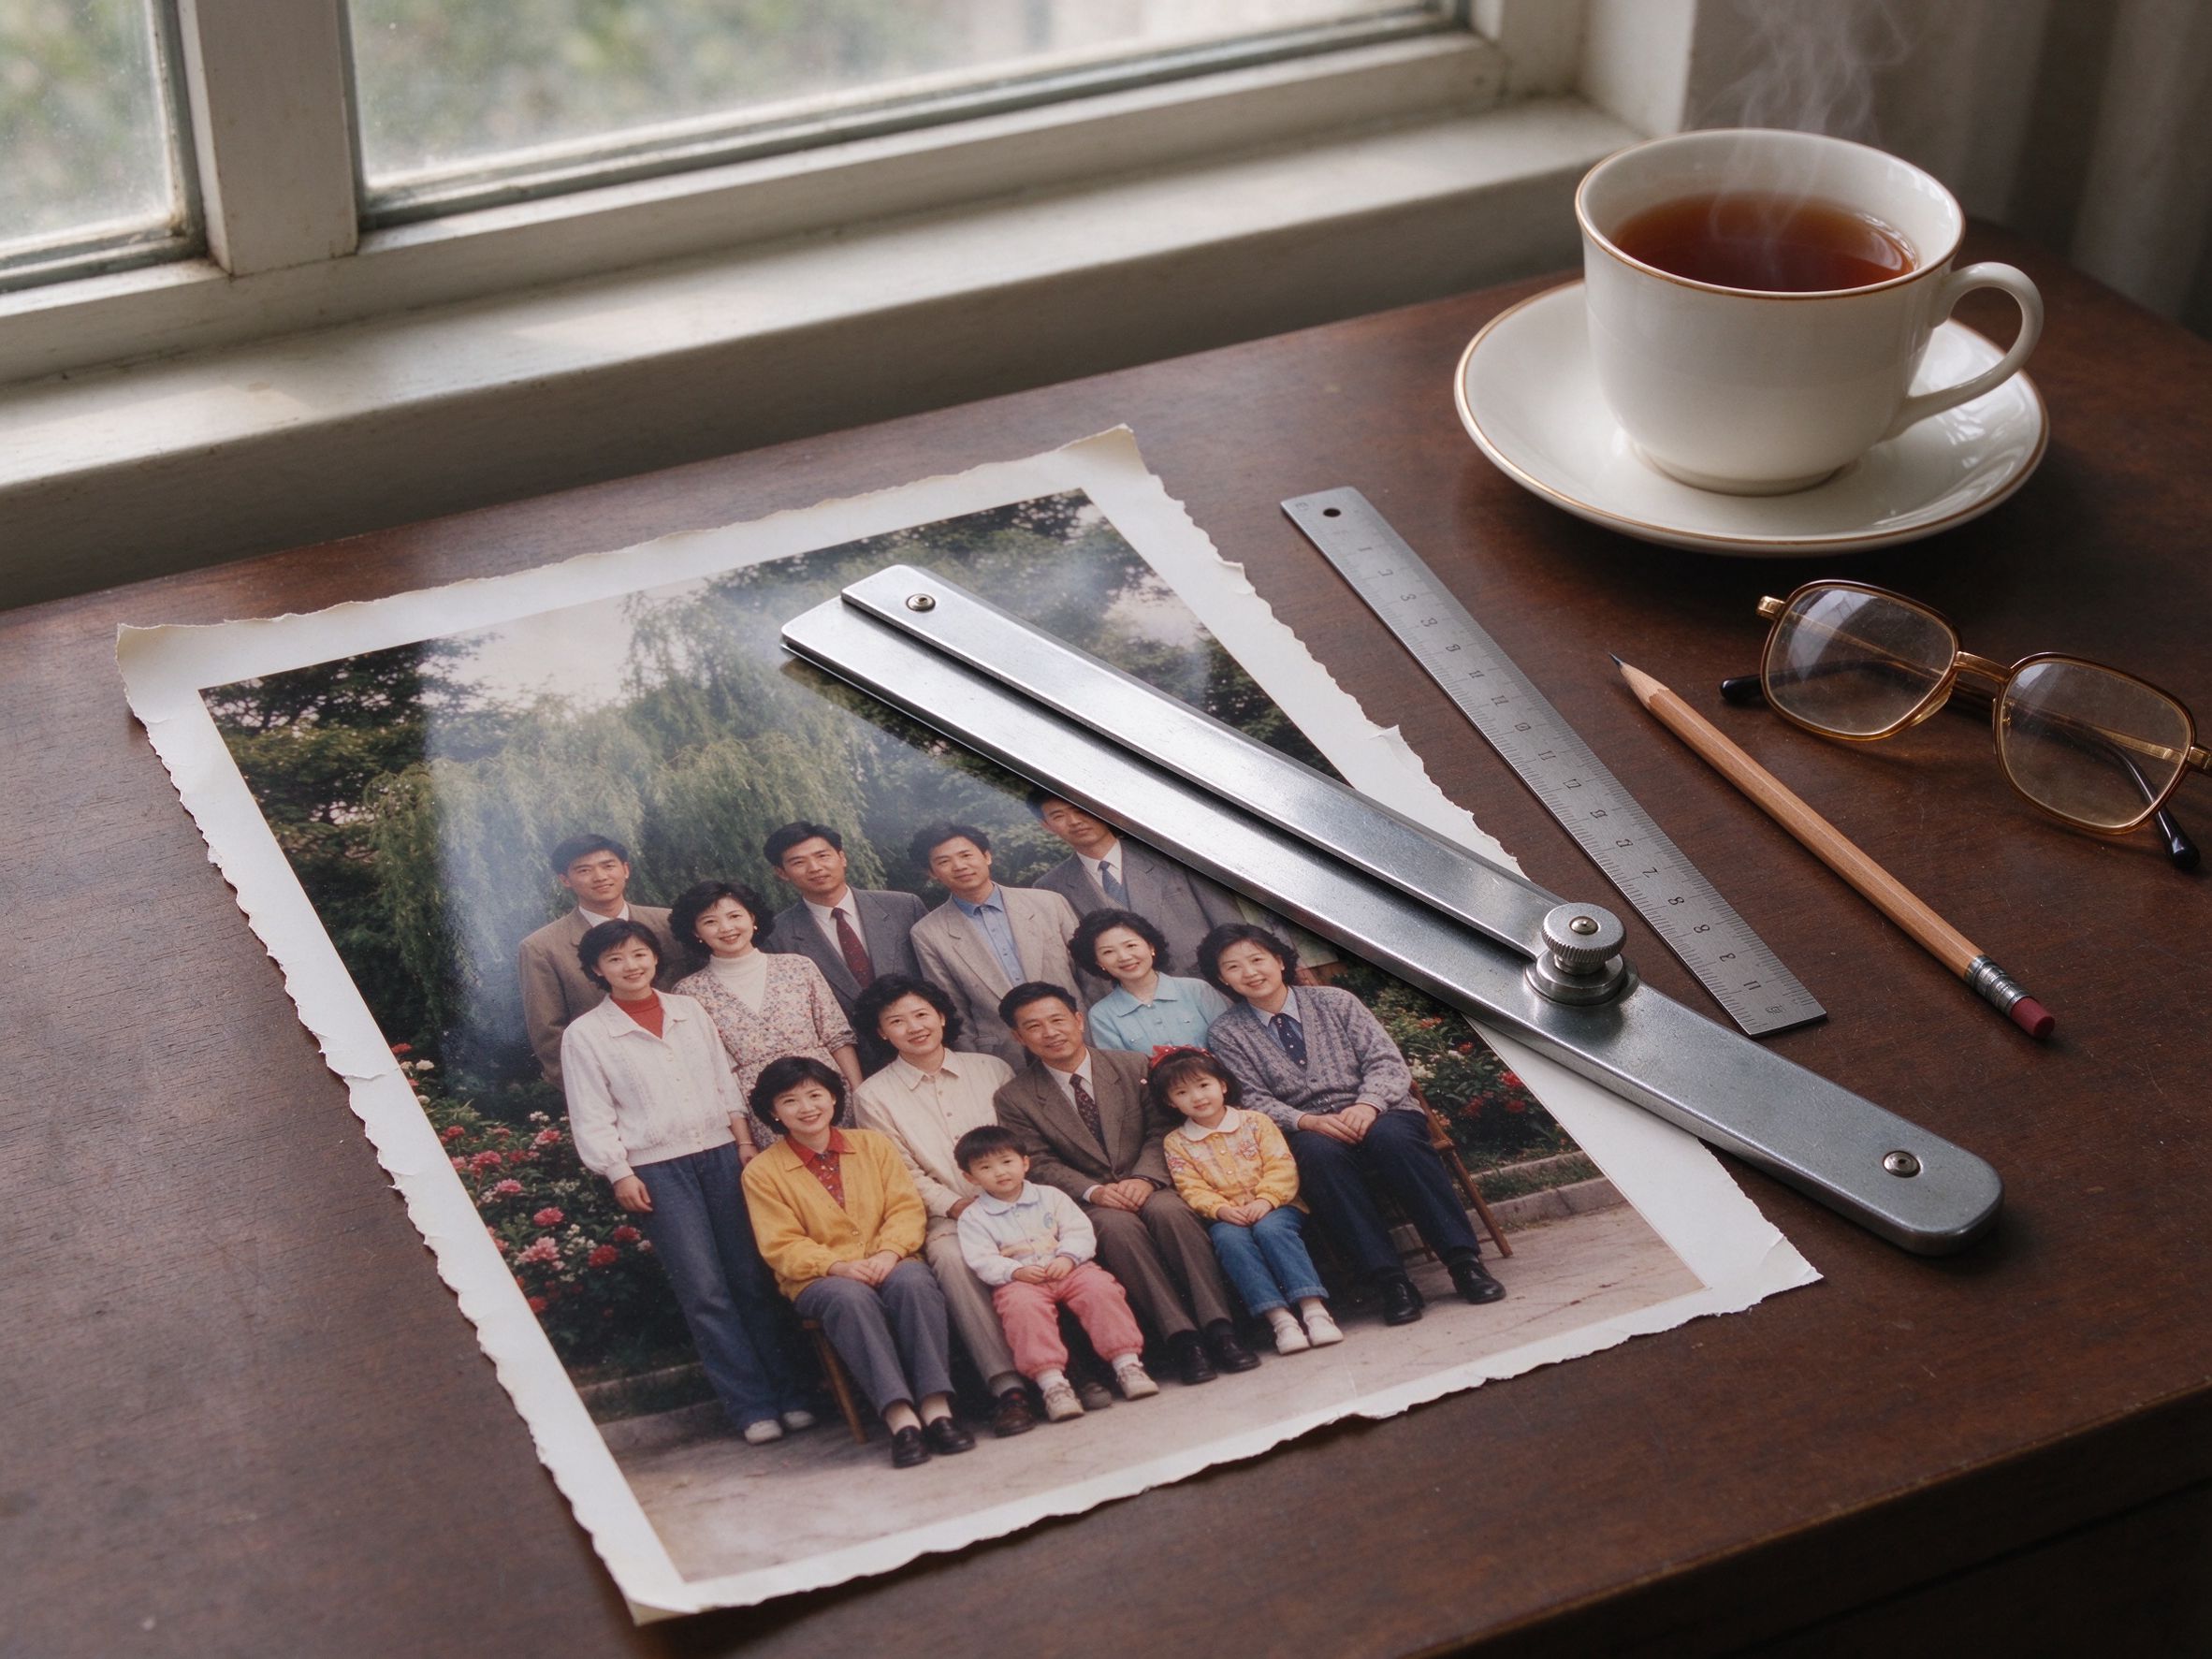
Photo Cropper
Trim to a focused composition after adding the vignette.
加完暗角后再裁出聚焦构图。
Related Guides
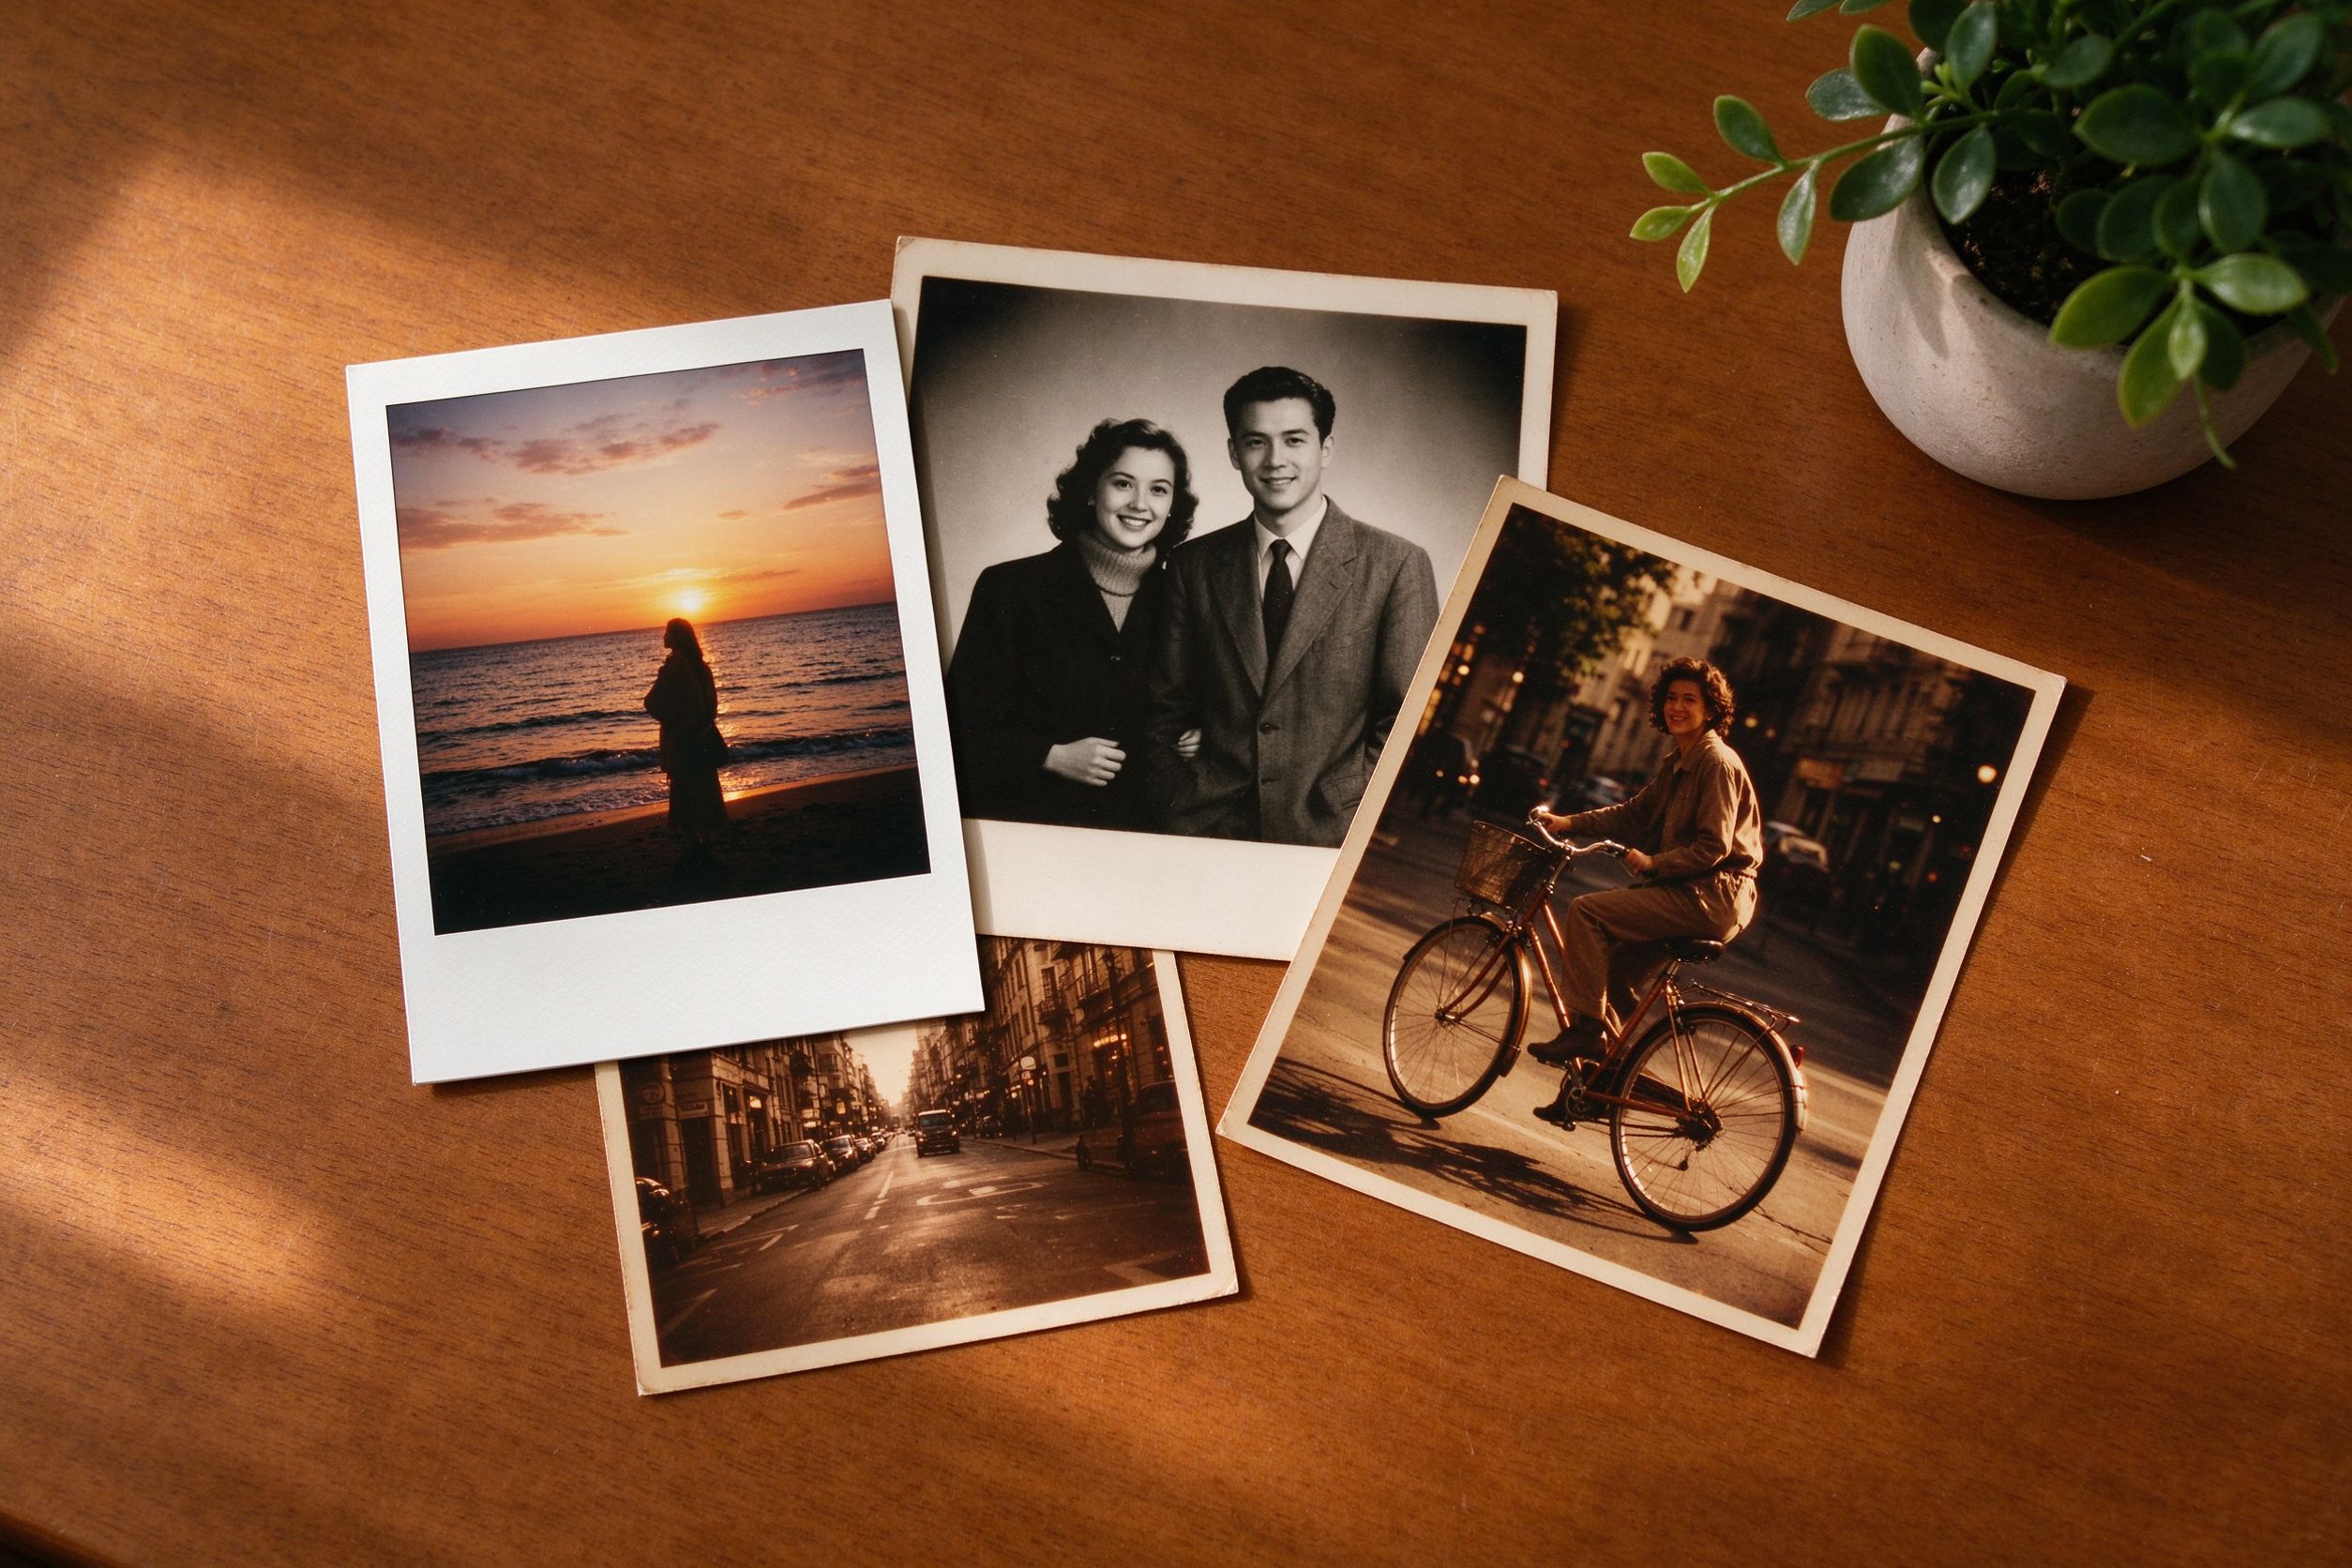
Creative Vintage Effects
How to combine vignette, film and frames tastefully.
如何有品味地组合暗角、胶片与边框。
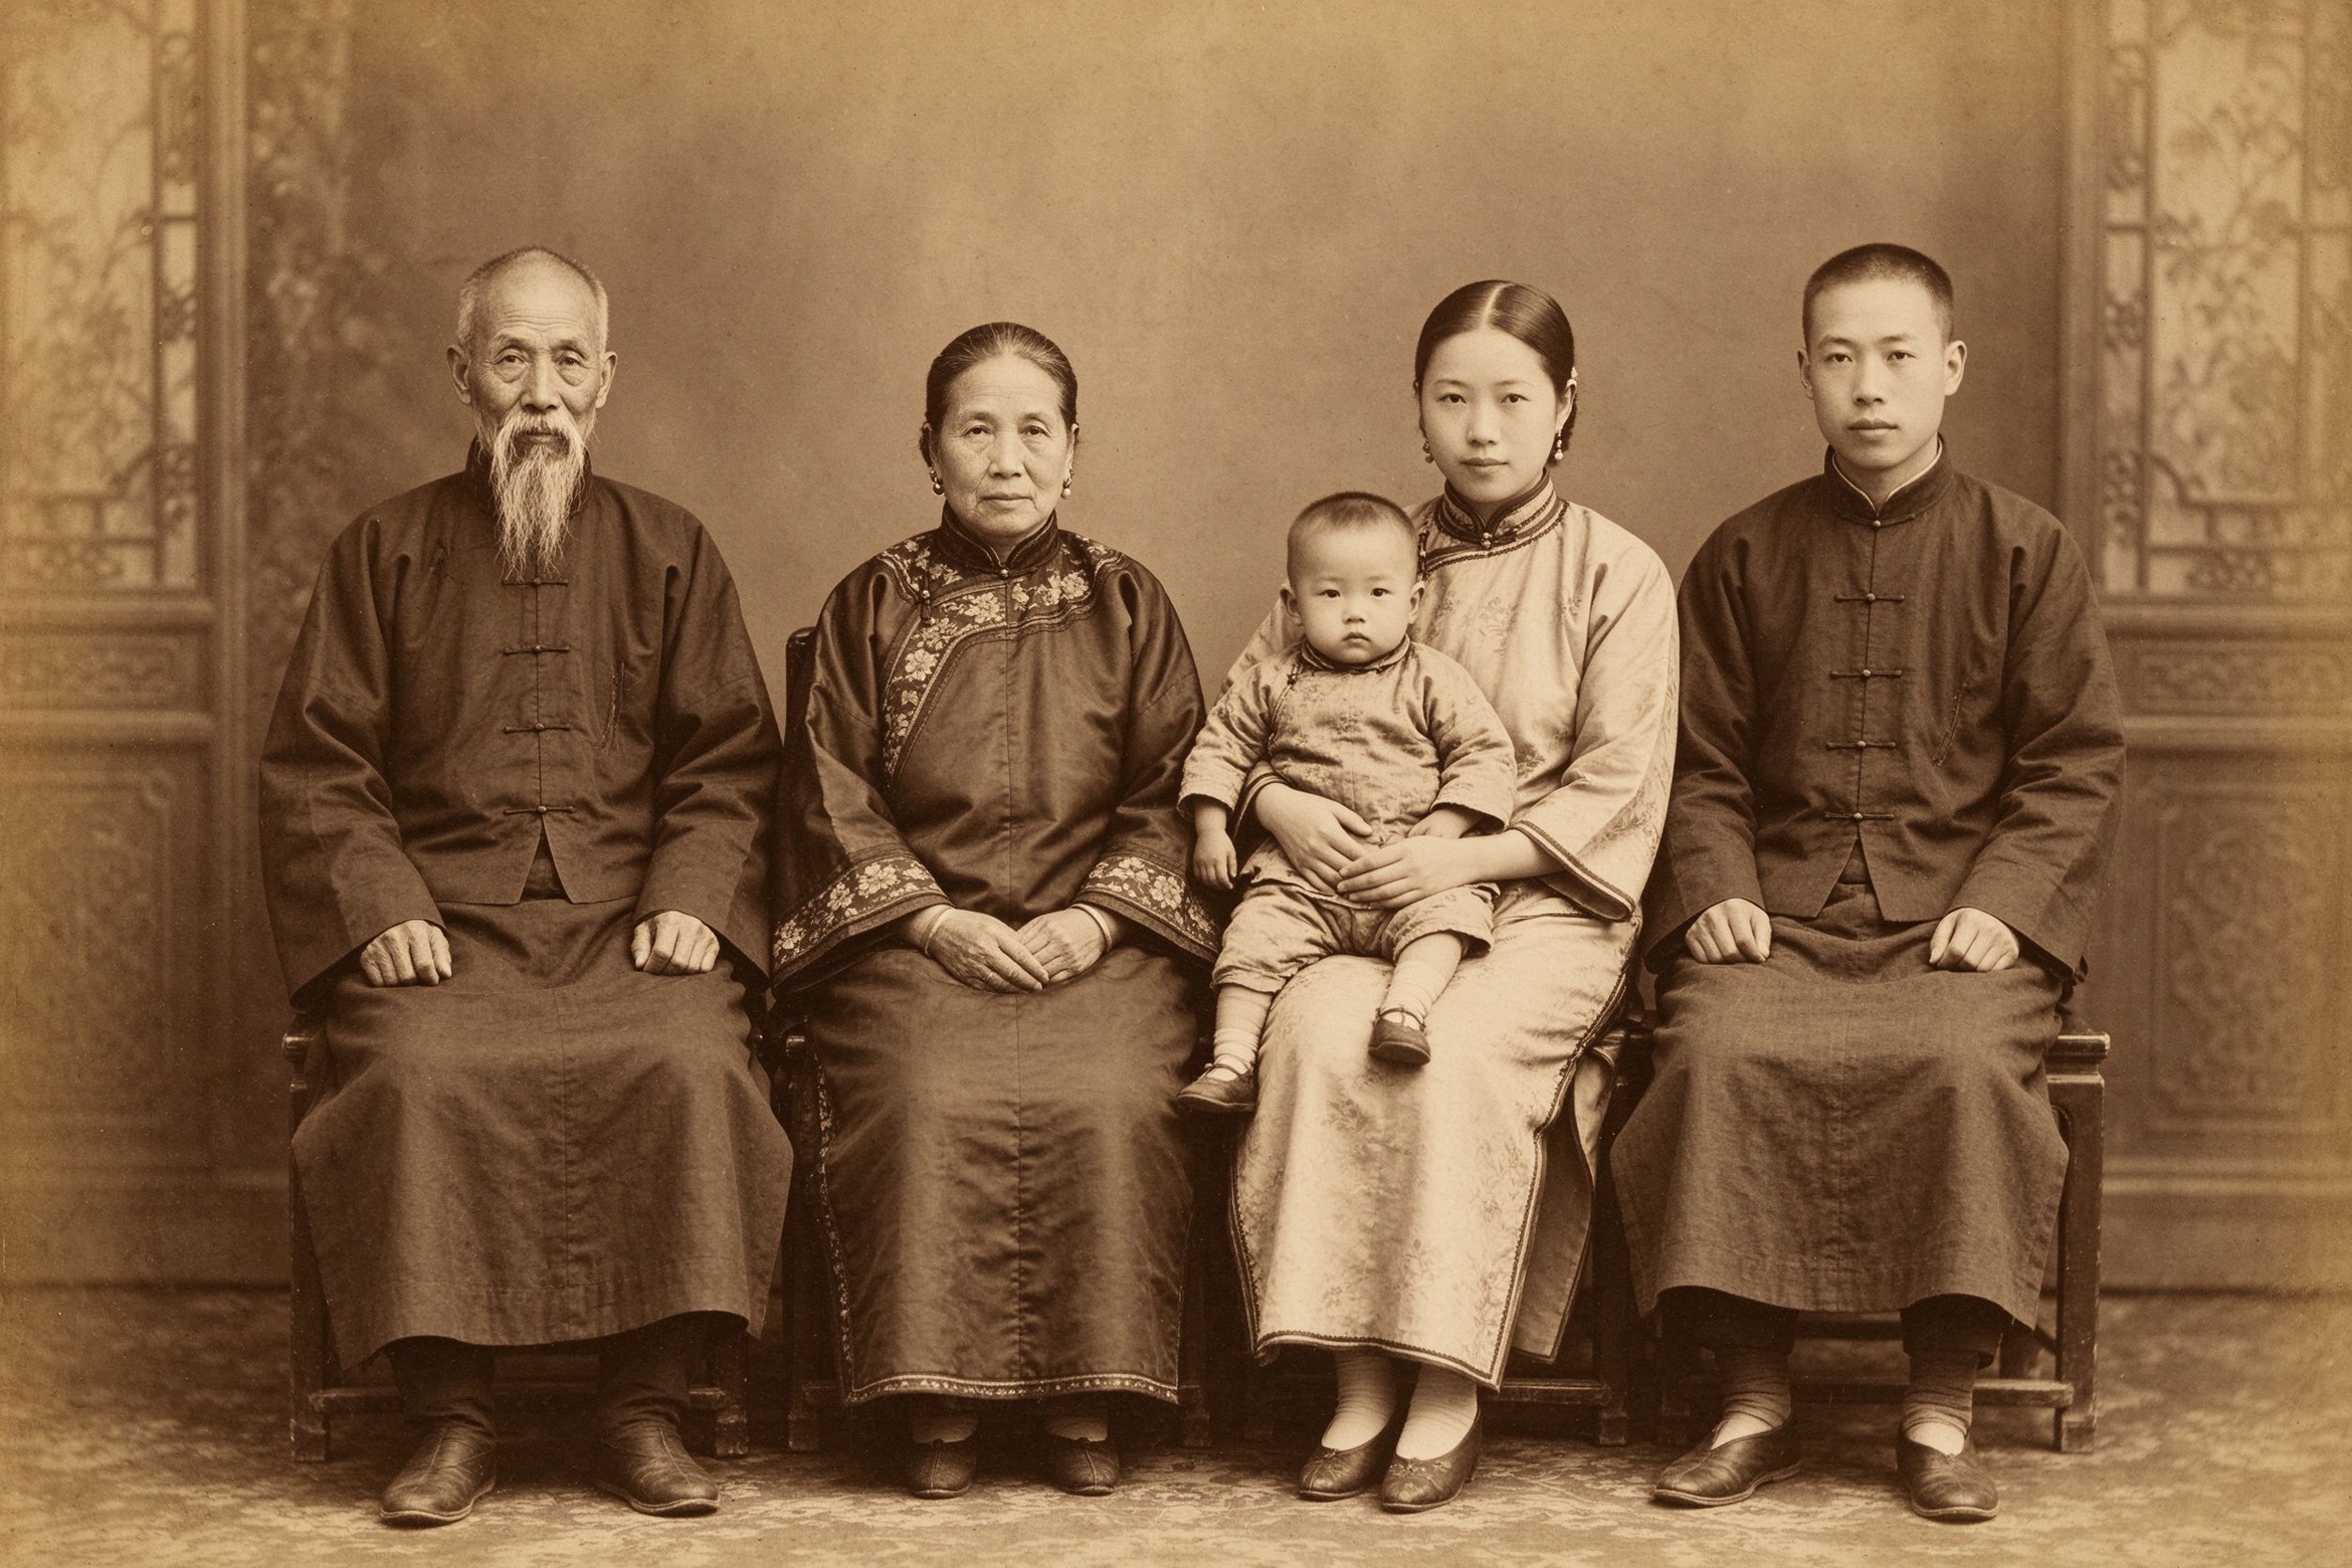
The Art of Sepia
Pair sepia tones with a soft vignette for period feel.
褐色调配柔和暗角,营造年代感。
Black & White Conversion
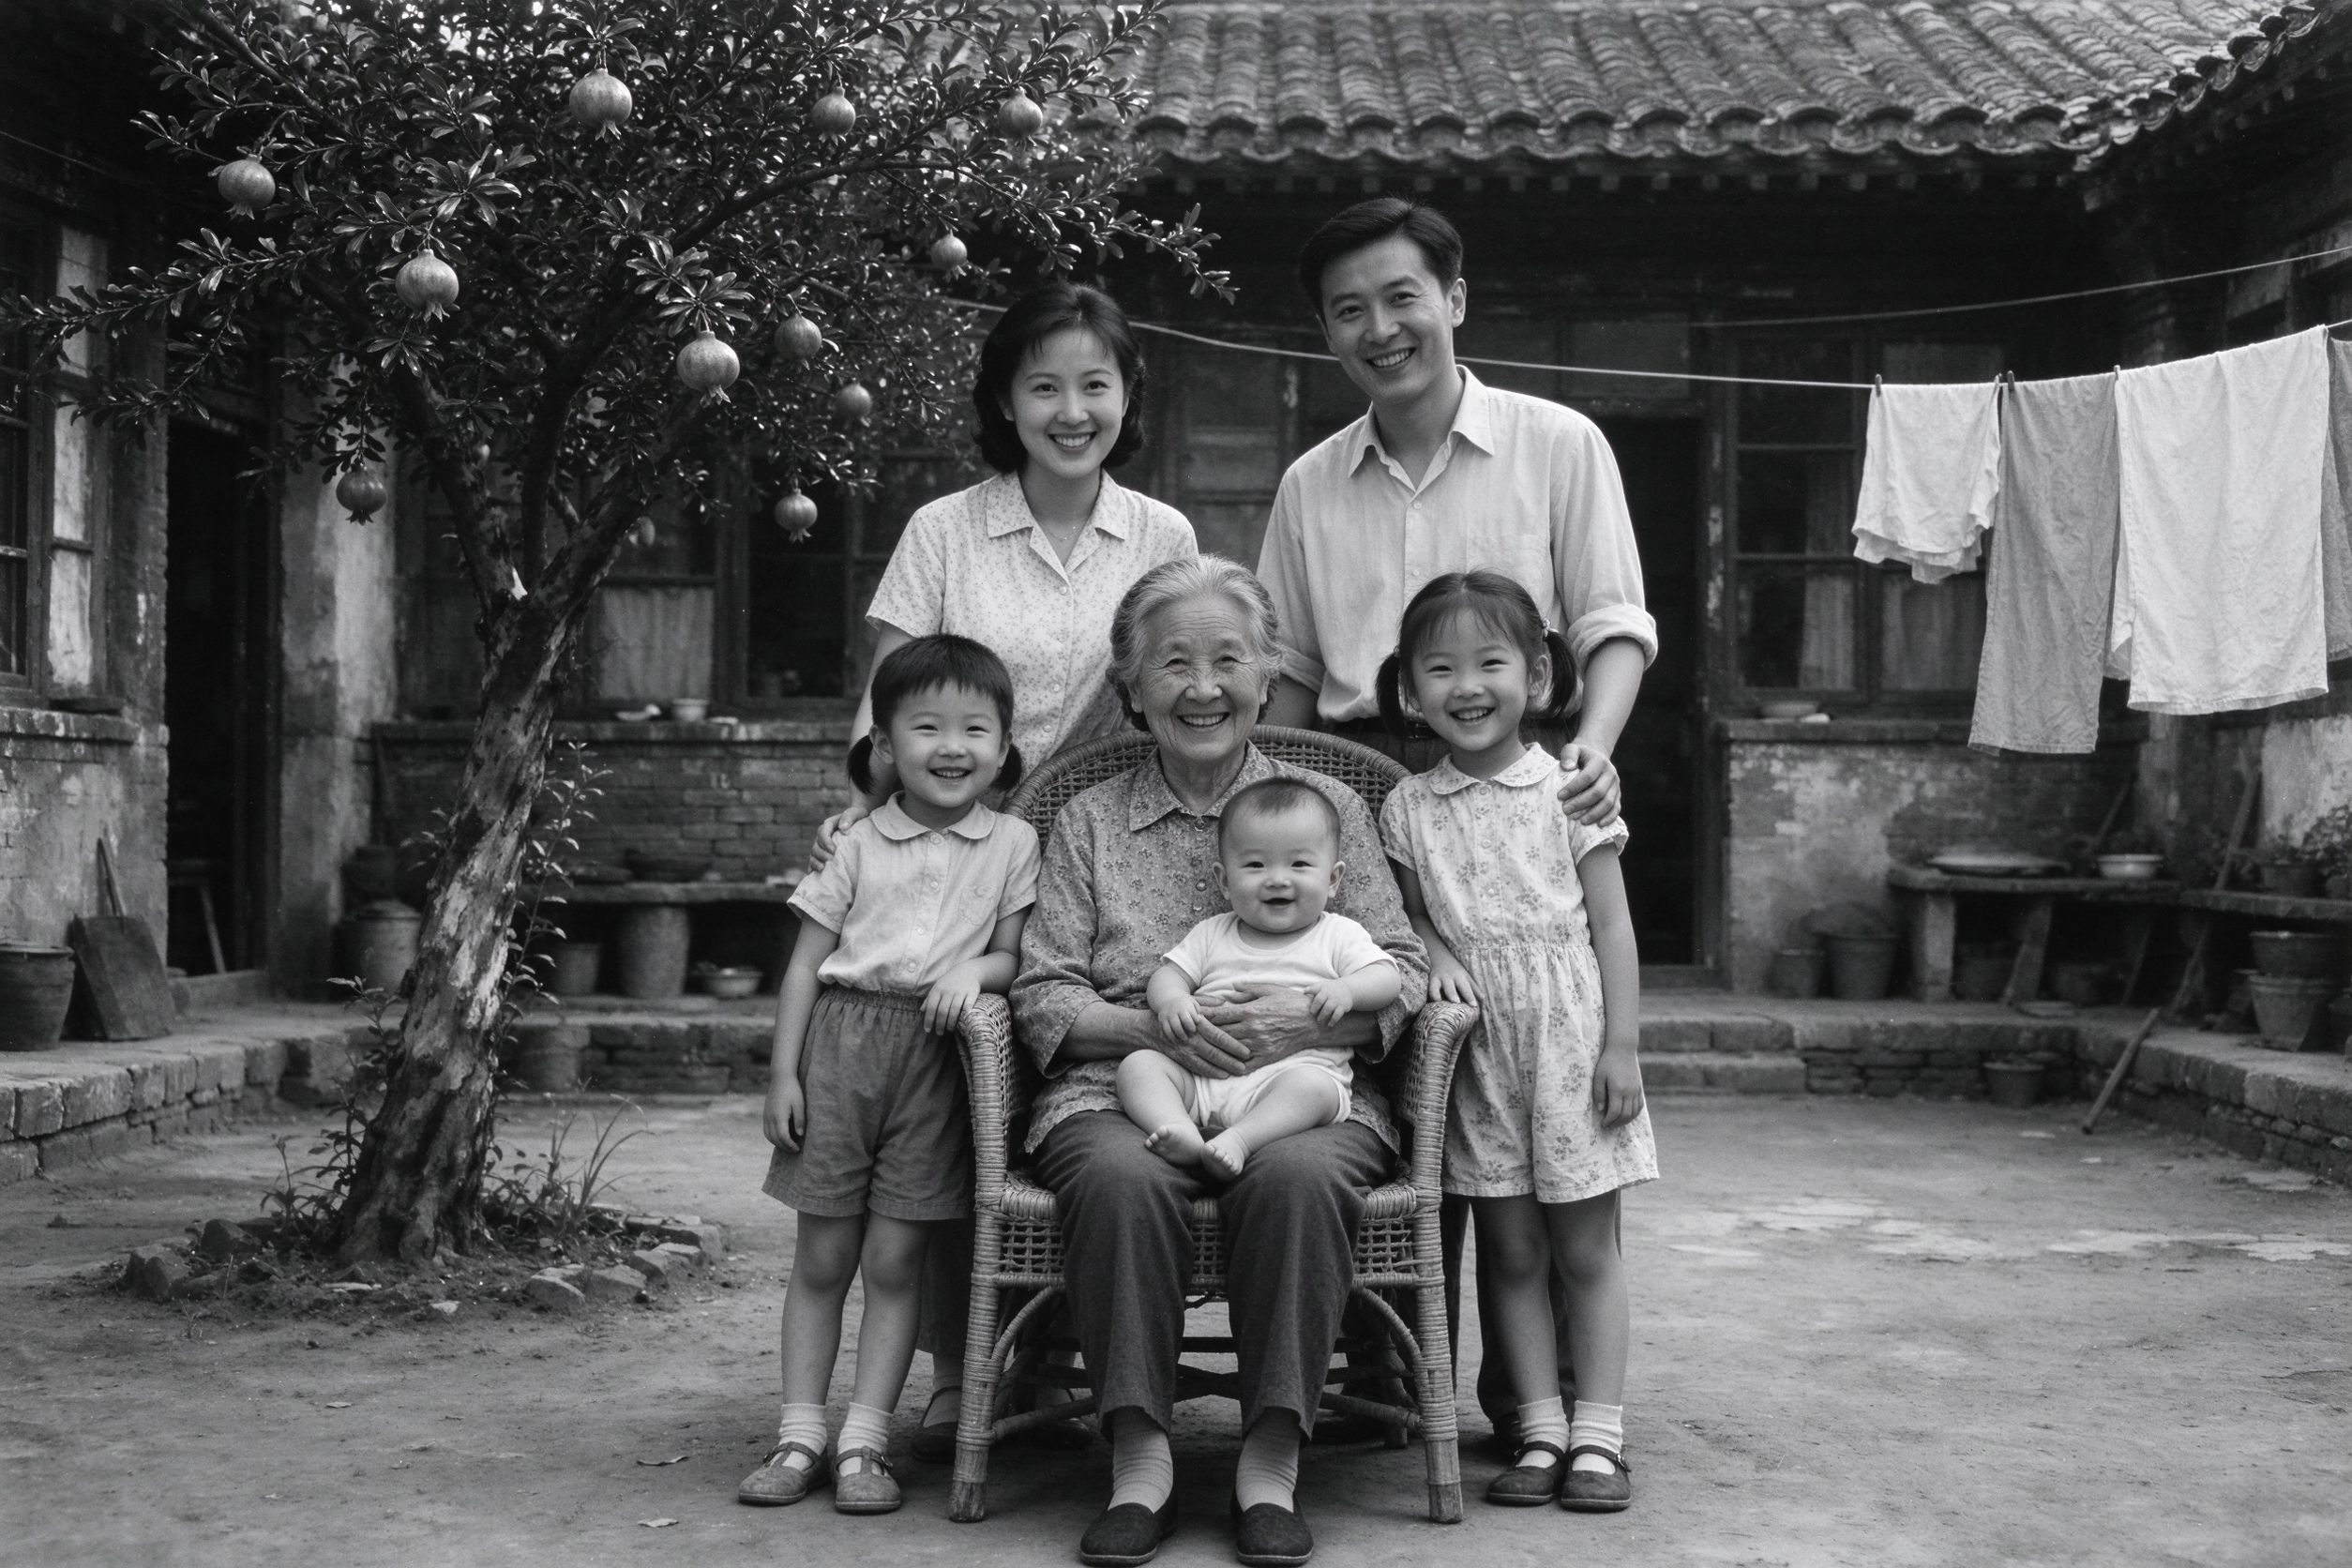
A vignette on a monochrome print looks beautifully timeless.
黑白照片上加暗角,经典耐看。
Restoring Wedding Photos
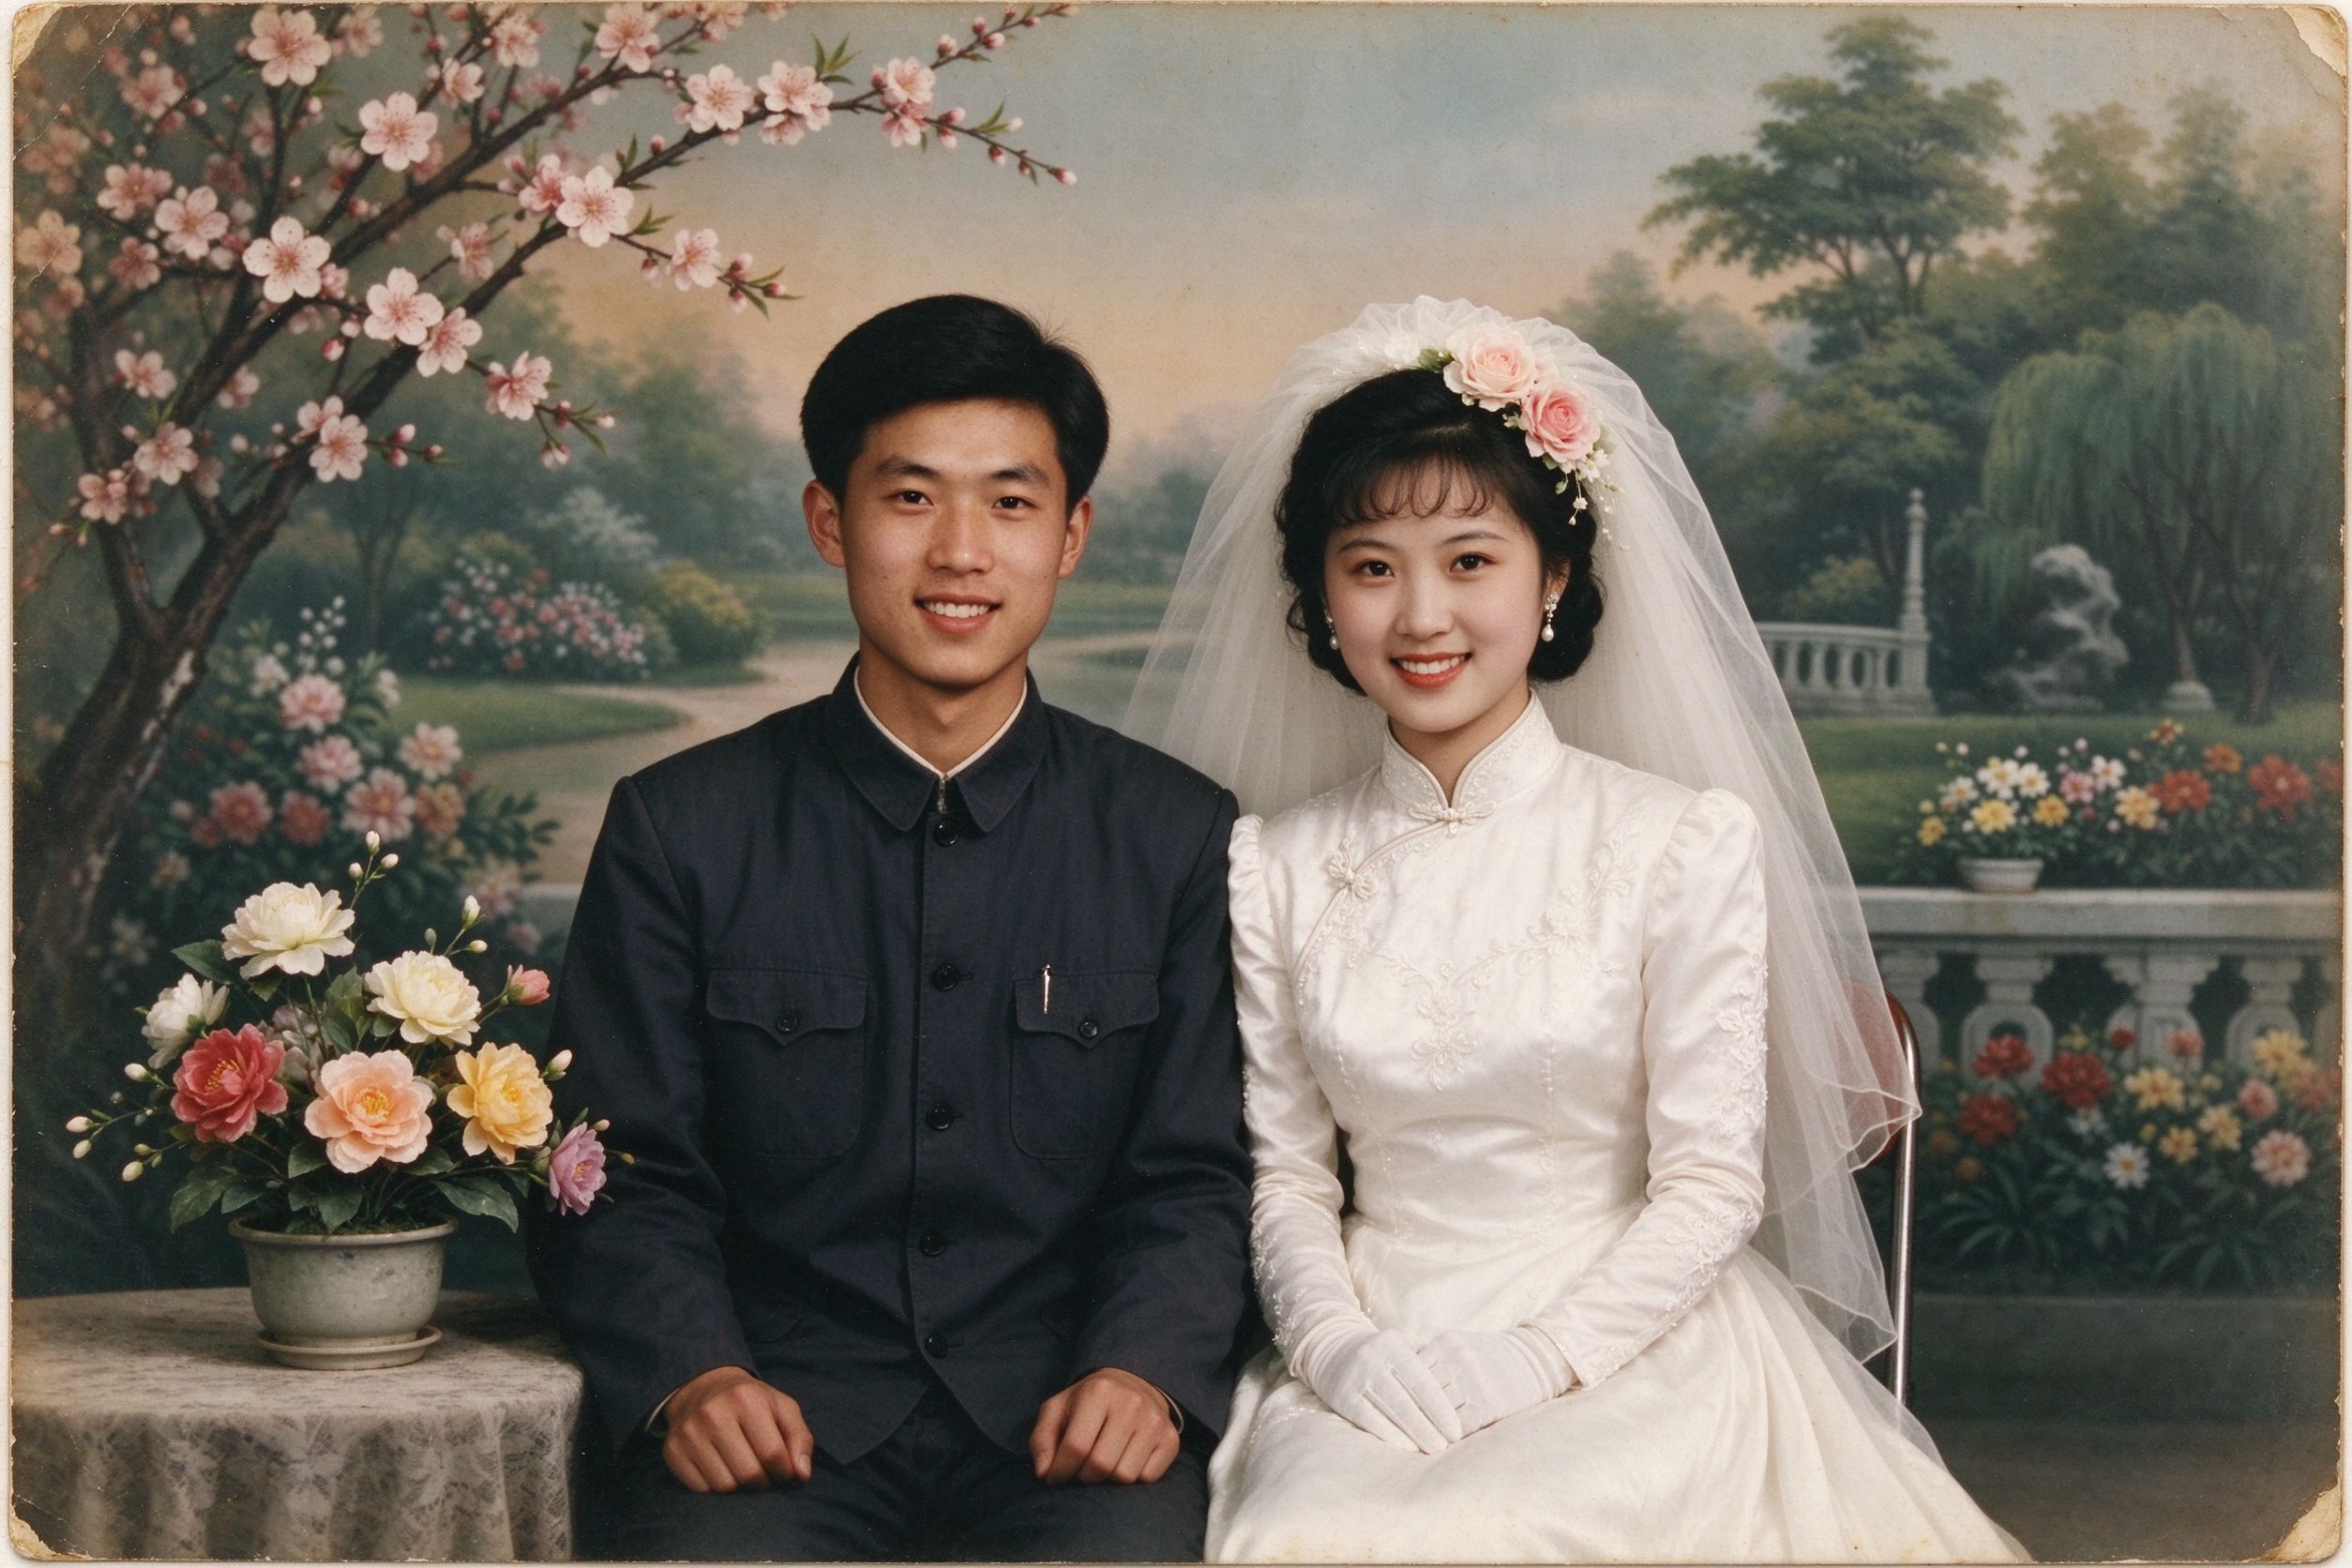
Focus attention on the couple with a gentle vignette.
用柔和暗角把注意力引向新人。