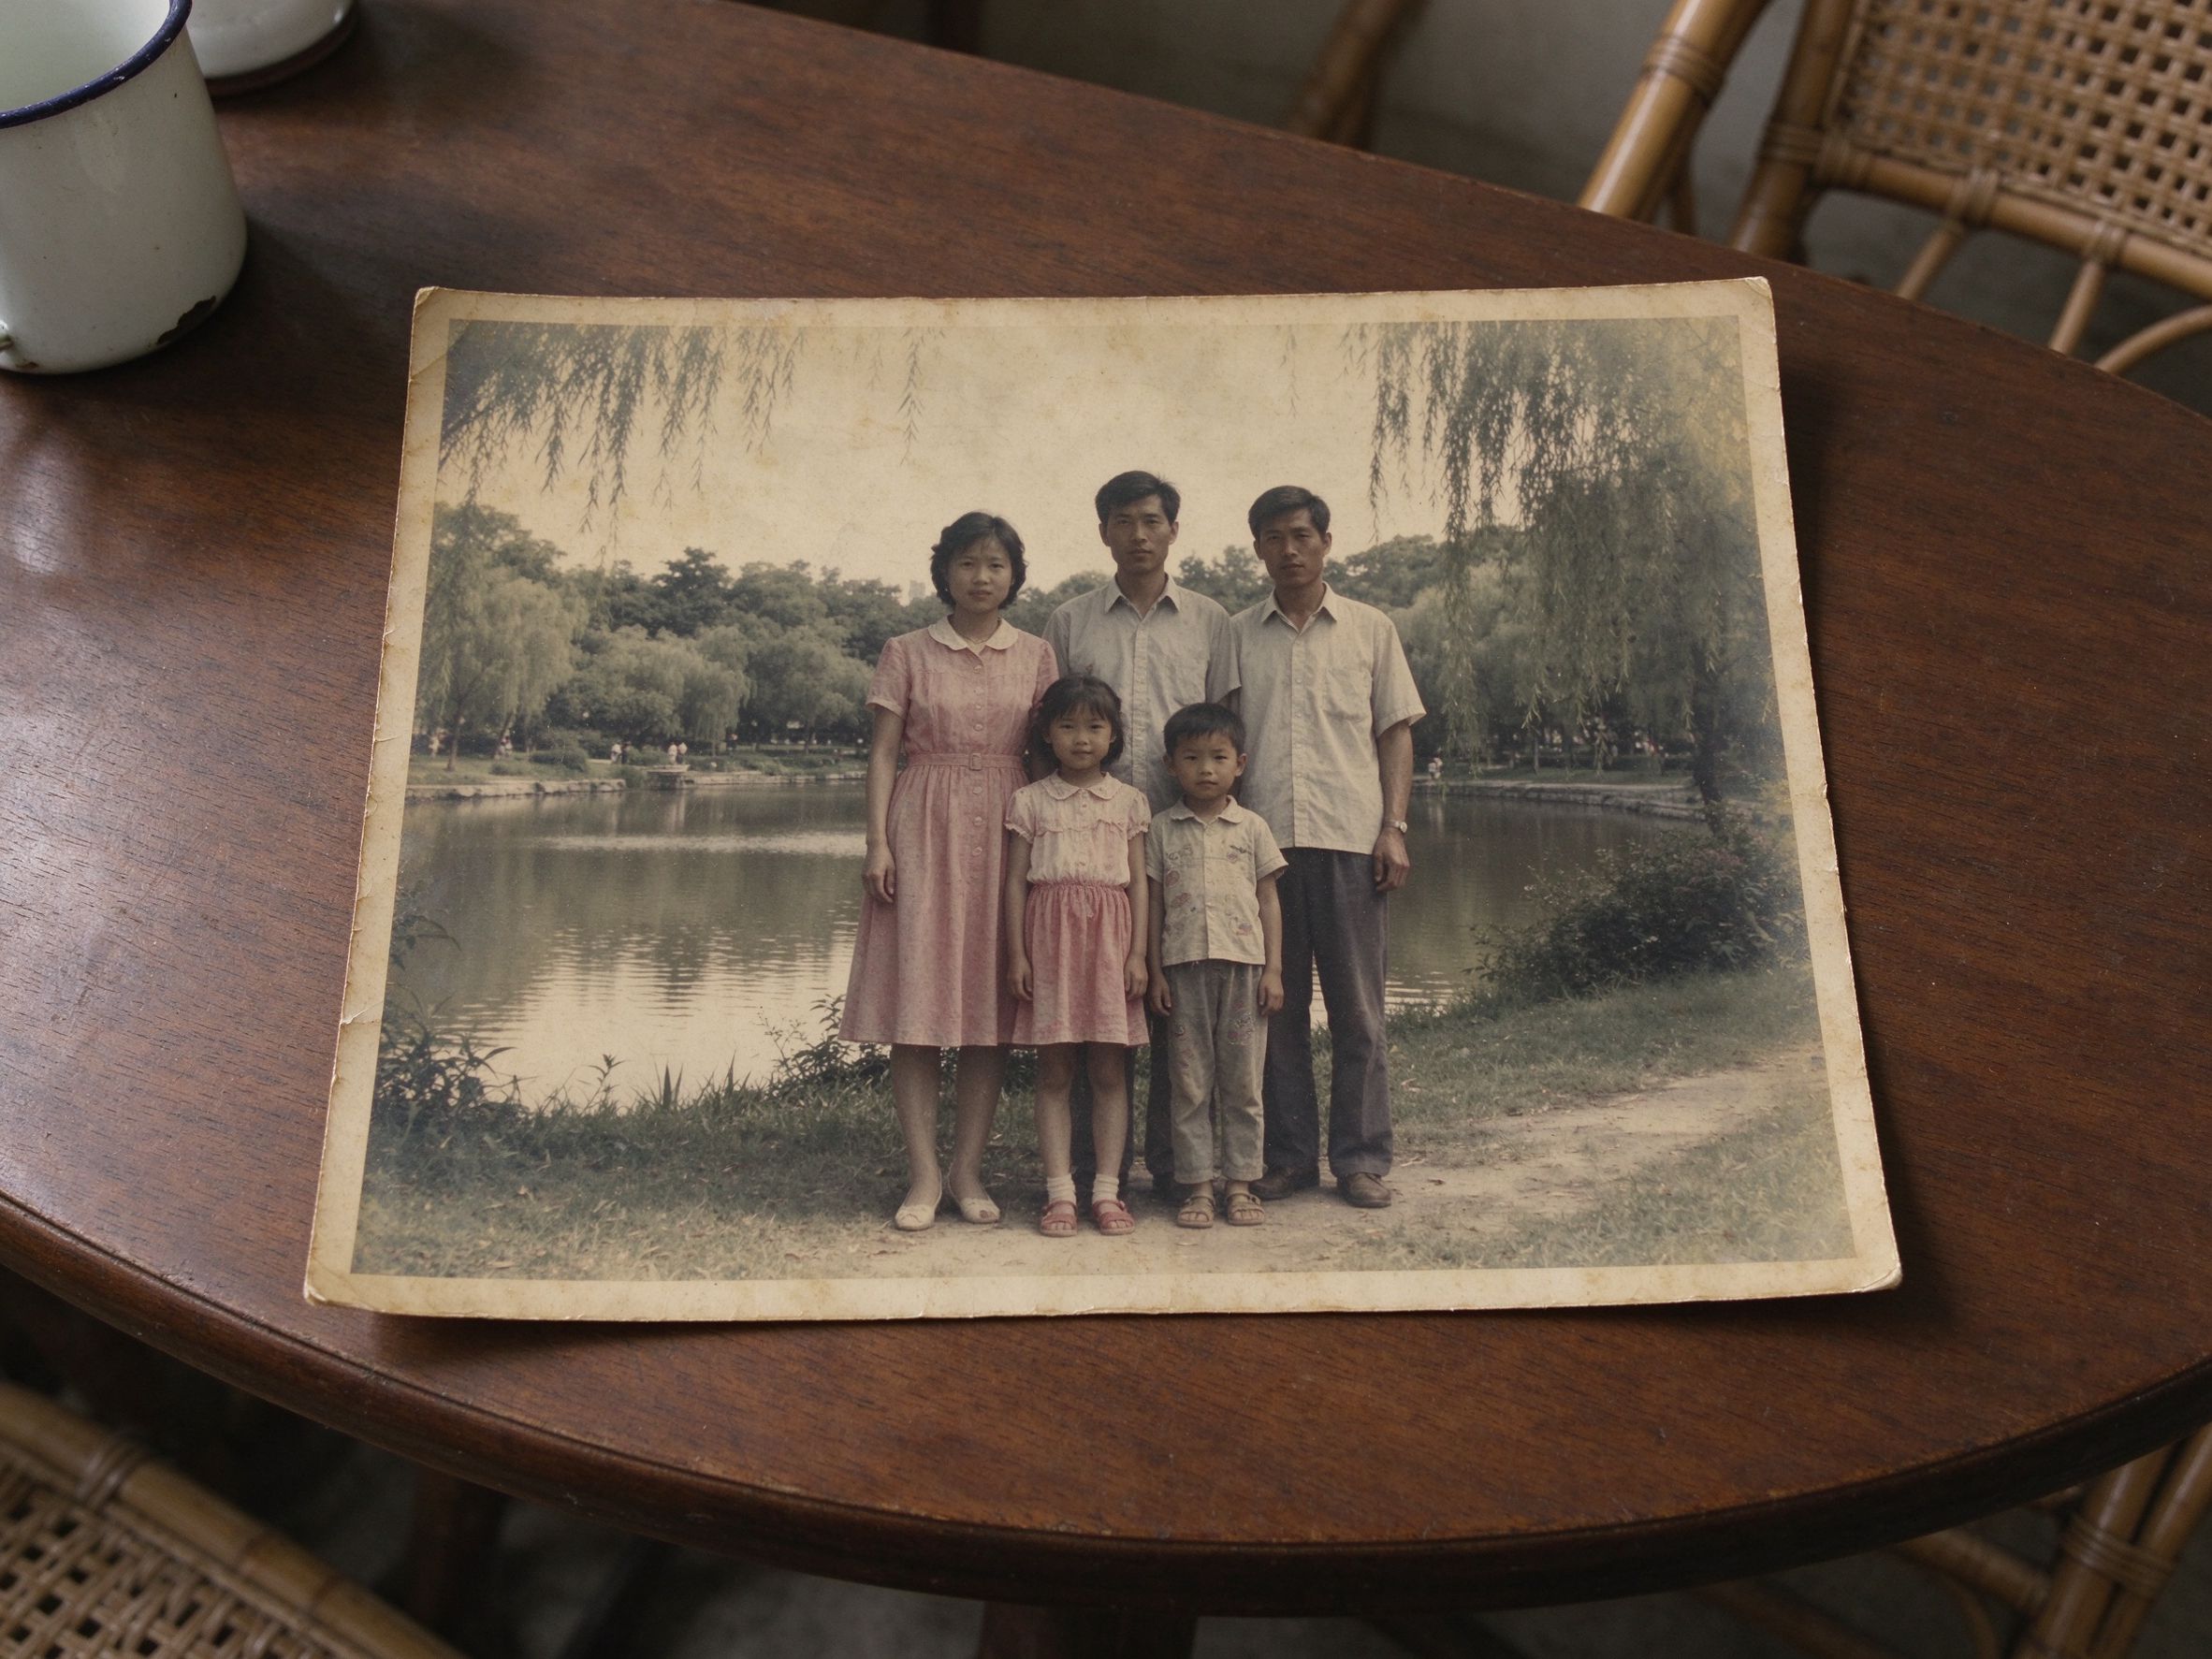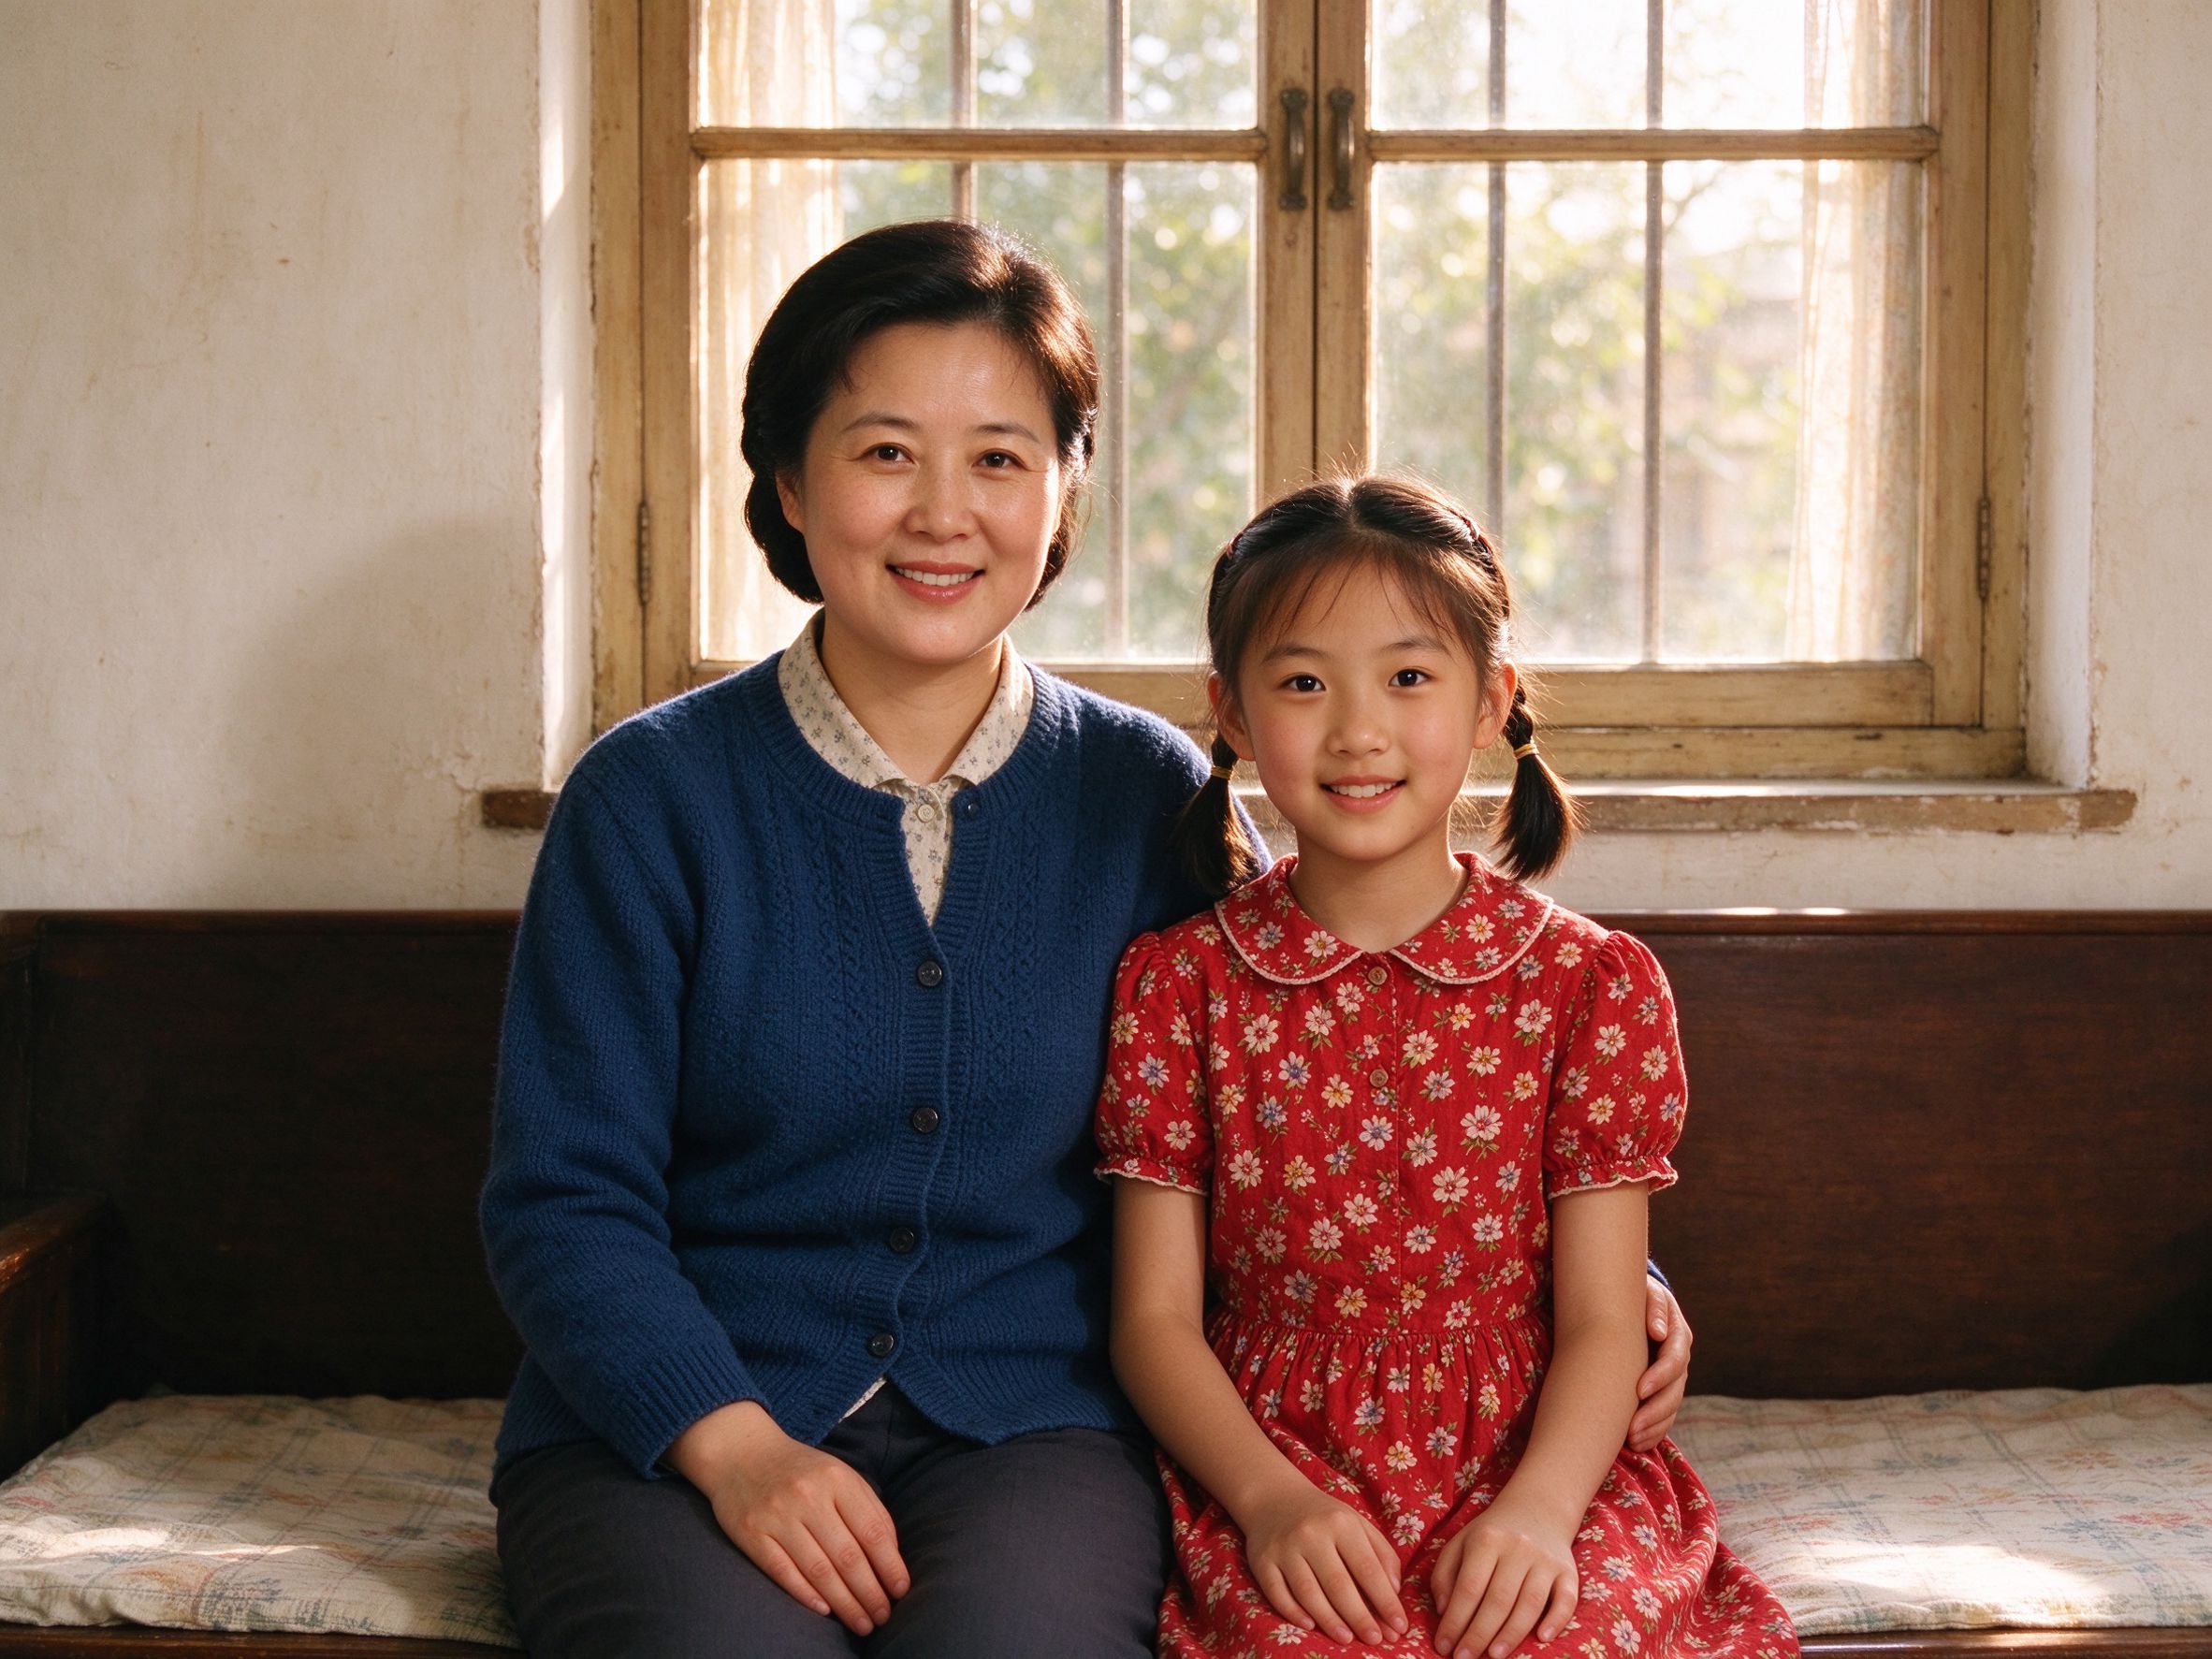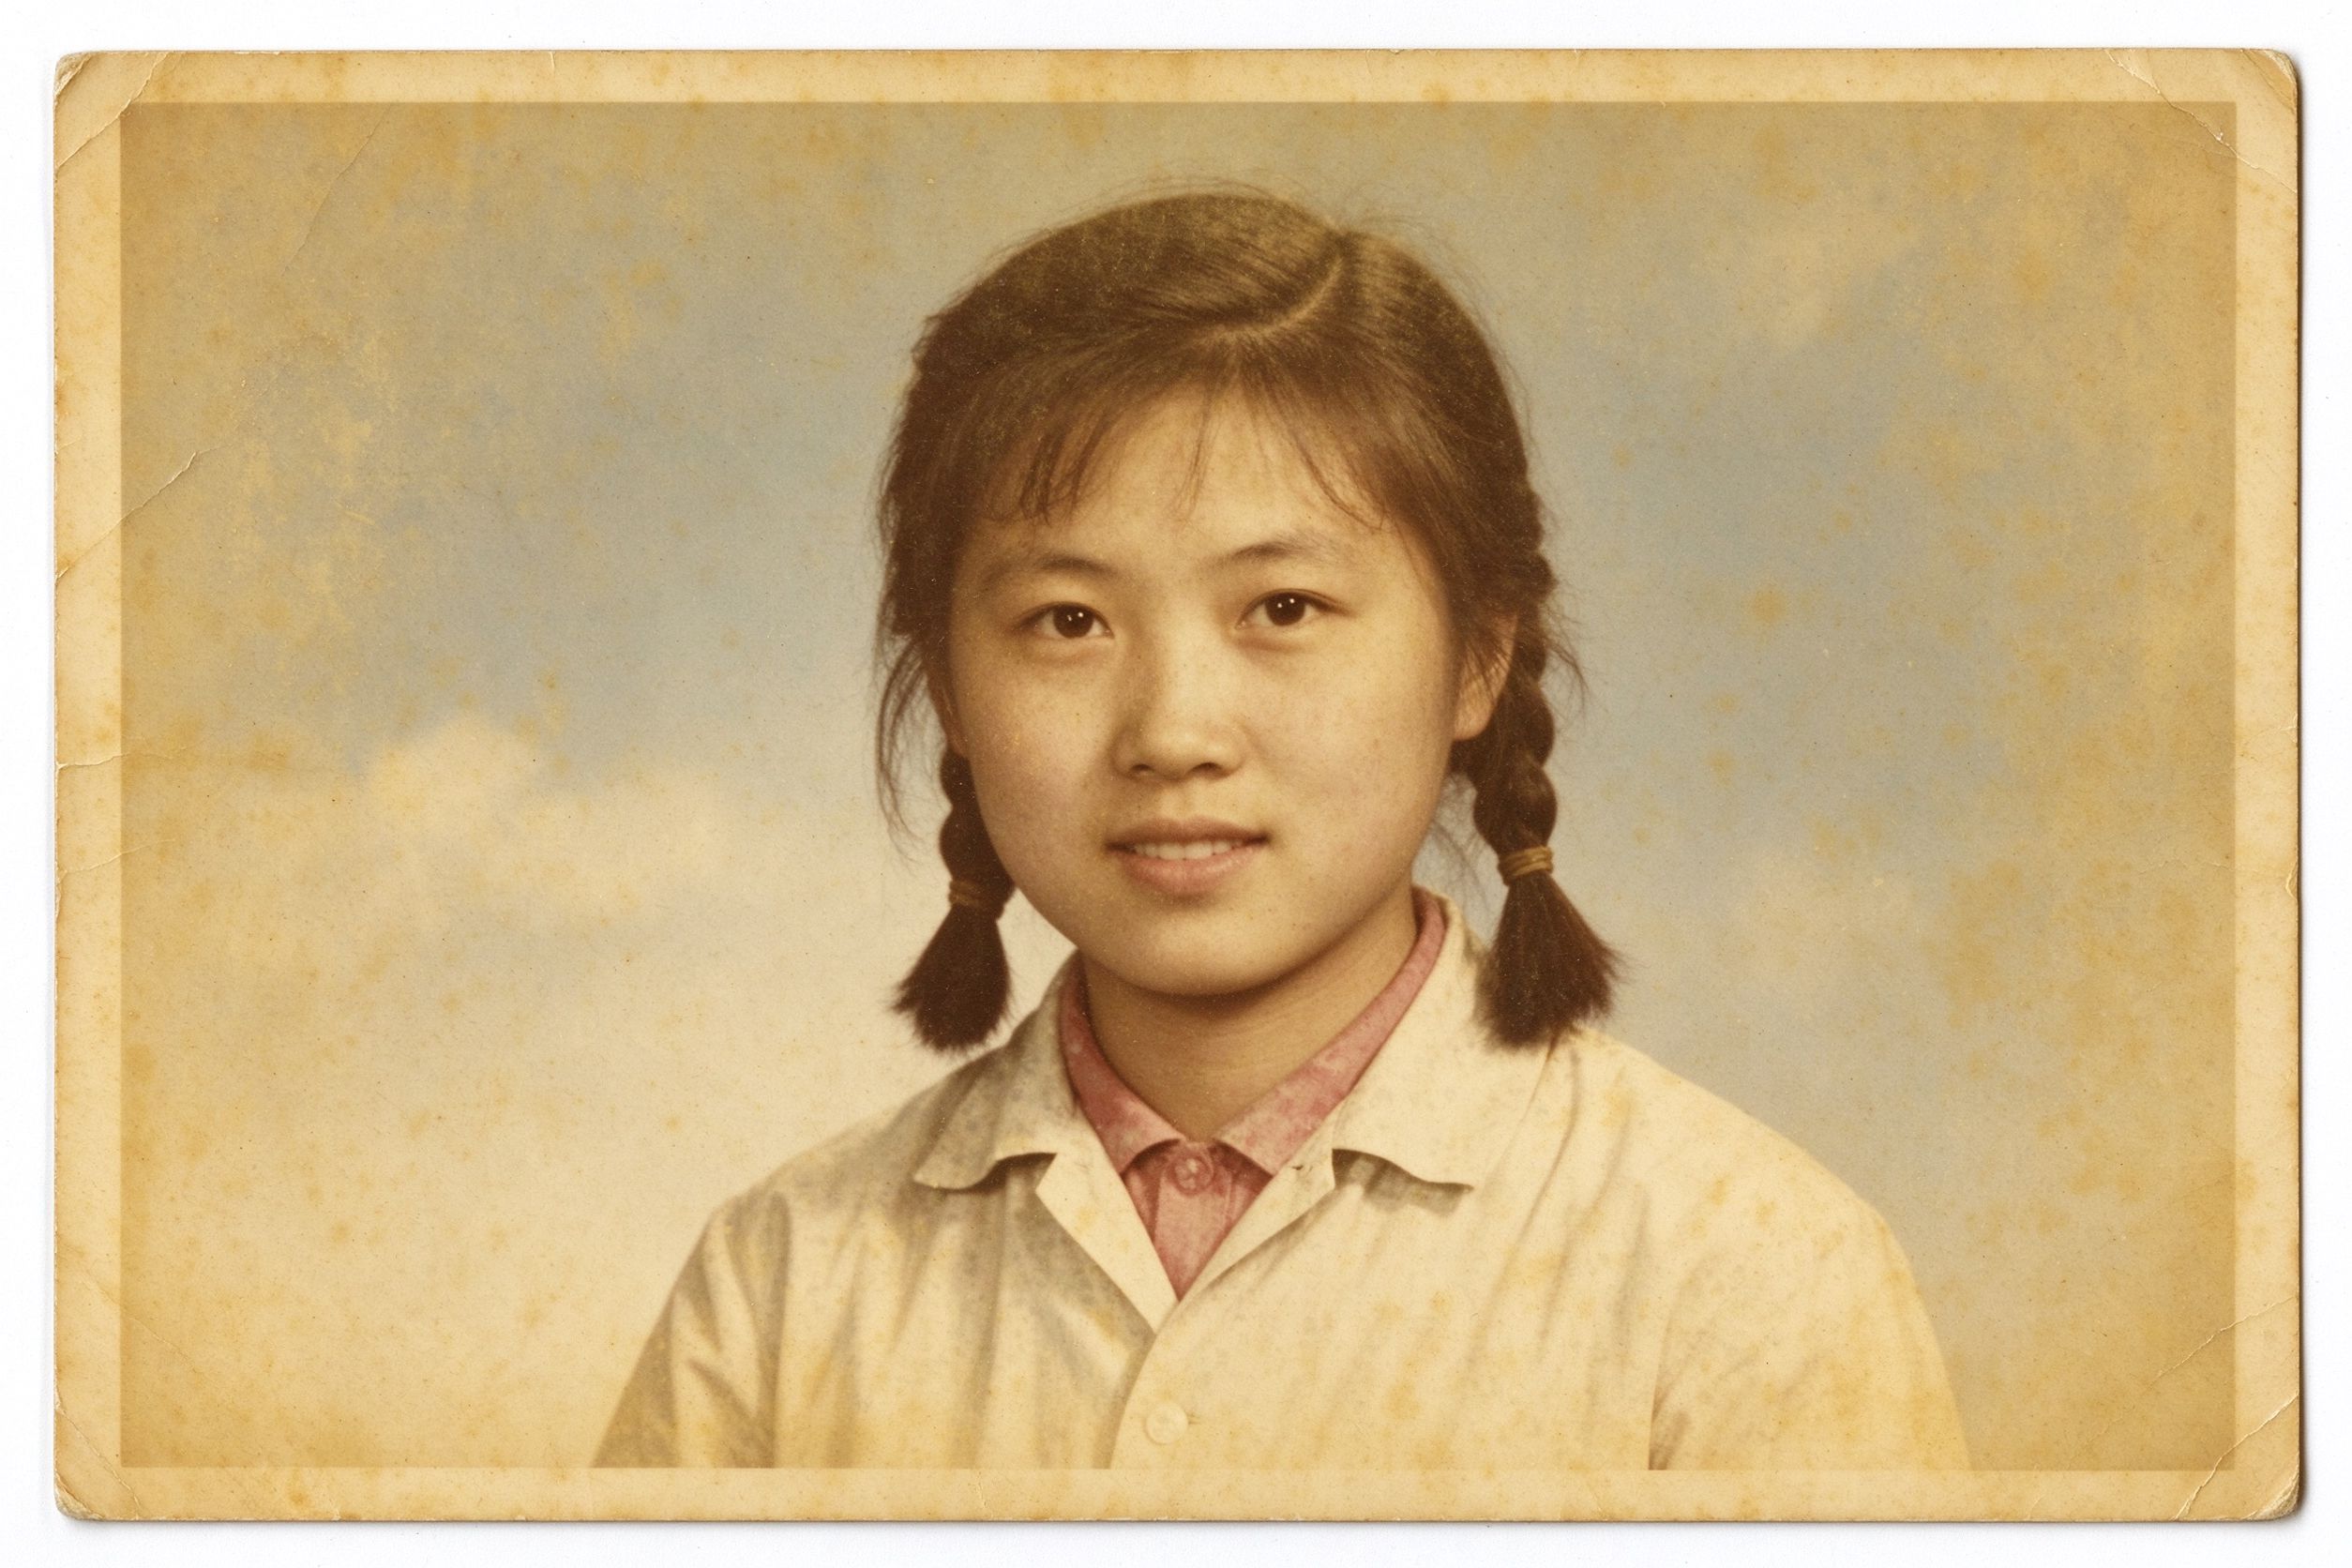
A faded color photograph is a special kind of disappointment. The print itself is fine — no tears, no heavy scratches — yet the colors have drained out of it. What should be a bright summer picnic looks washed out and brown; a red dress turns into an indistinct murky patch; once-black hair looks dusty gray. The whole image feels like it has been seen through a sheet of amber glass.
The good news: fading is one of the most repairable problems in old-photo restoration, because the information is usually still there, just unbalanced. Unlike a torn-off corner, the pixels have not disappeared — they have drifted. This guide explains why photos fade, the exact order to correct them, what each slider controls, and the values that bring a worn print back without turning it into an over-saturated cartoon. Everything you do here can run for free in your browser, and your photos never leave your device.
Why old photos lose their color and contrast
Color prints from the 1950s to the 1990s rely on layers of dye that absorb light. Over decades these dyes break down at different rates, and that asymmetry is the root of almost every faded photo you own. The cyan dye layer typically degrades fastest, which leaves the remaining magenta and yellow visible — and that is exactly why so many old color prints look yellowish-brown, warm and muddy. Silver-gelatin black-and-white prints fade differently: the silver grains darken the paper base, which lifts the blacks and flattens contrast until the photo looks like a dirty gray wash.
Contrast loss has a second cause. As the highlight dyes bleach, the brightest points of the scene creep toward middle gray, while the deepest shadows often lift too. The whole tonal range — from near-white to near-black — collapses into a narrow band. On screen this reads as a flat, low-contrast image with no real whites and no real blacks. Understanding this tells you where to work: a faded print needs its white balance corrected first (to remove the yellow cast) and its tonal range stretched second (to rebuild contrast). Saturation comes last, and gently.
Assess the damage before touching a slider
Before opening a tool, look at the scan and diagnose it in three seconds. Ask three questions. First, is there a strong color cast — yellow, brown, green, or magenta? That is a white-balance problem. Second, does the image look flat, with no true white shirt or true black jacket? That is a contrast problem. Third, are the colors themselves weak even after the cast is removed — a leaf that should be green but looks tan? That is a saturation problem.
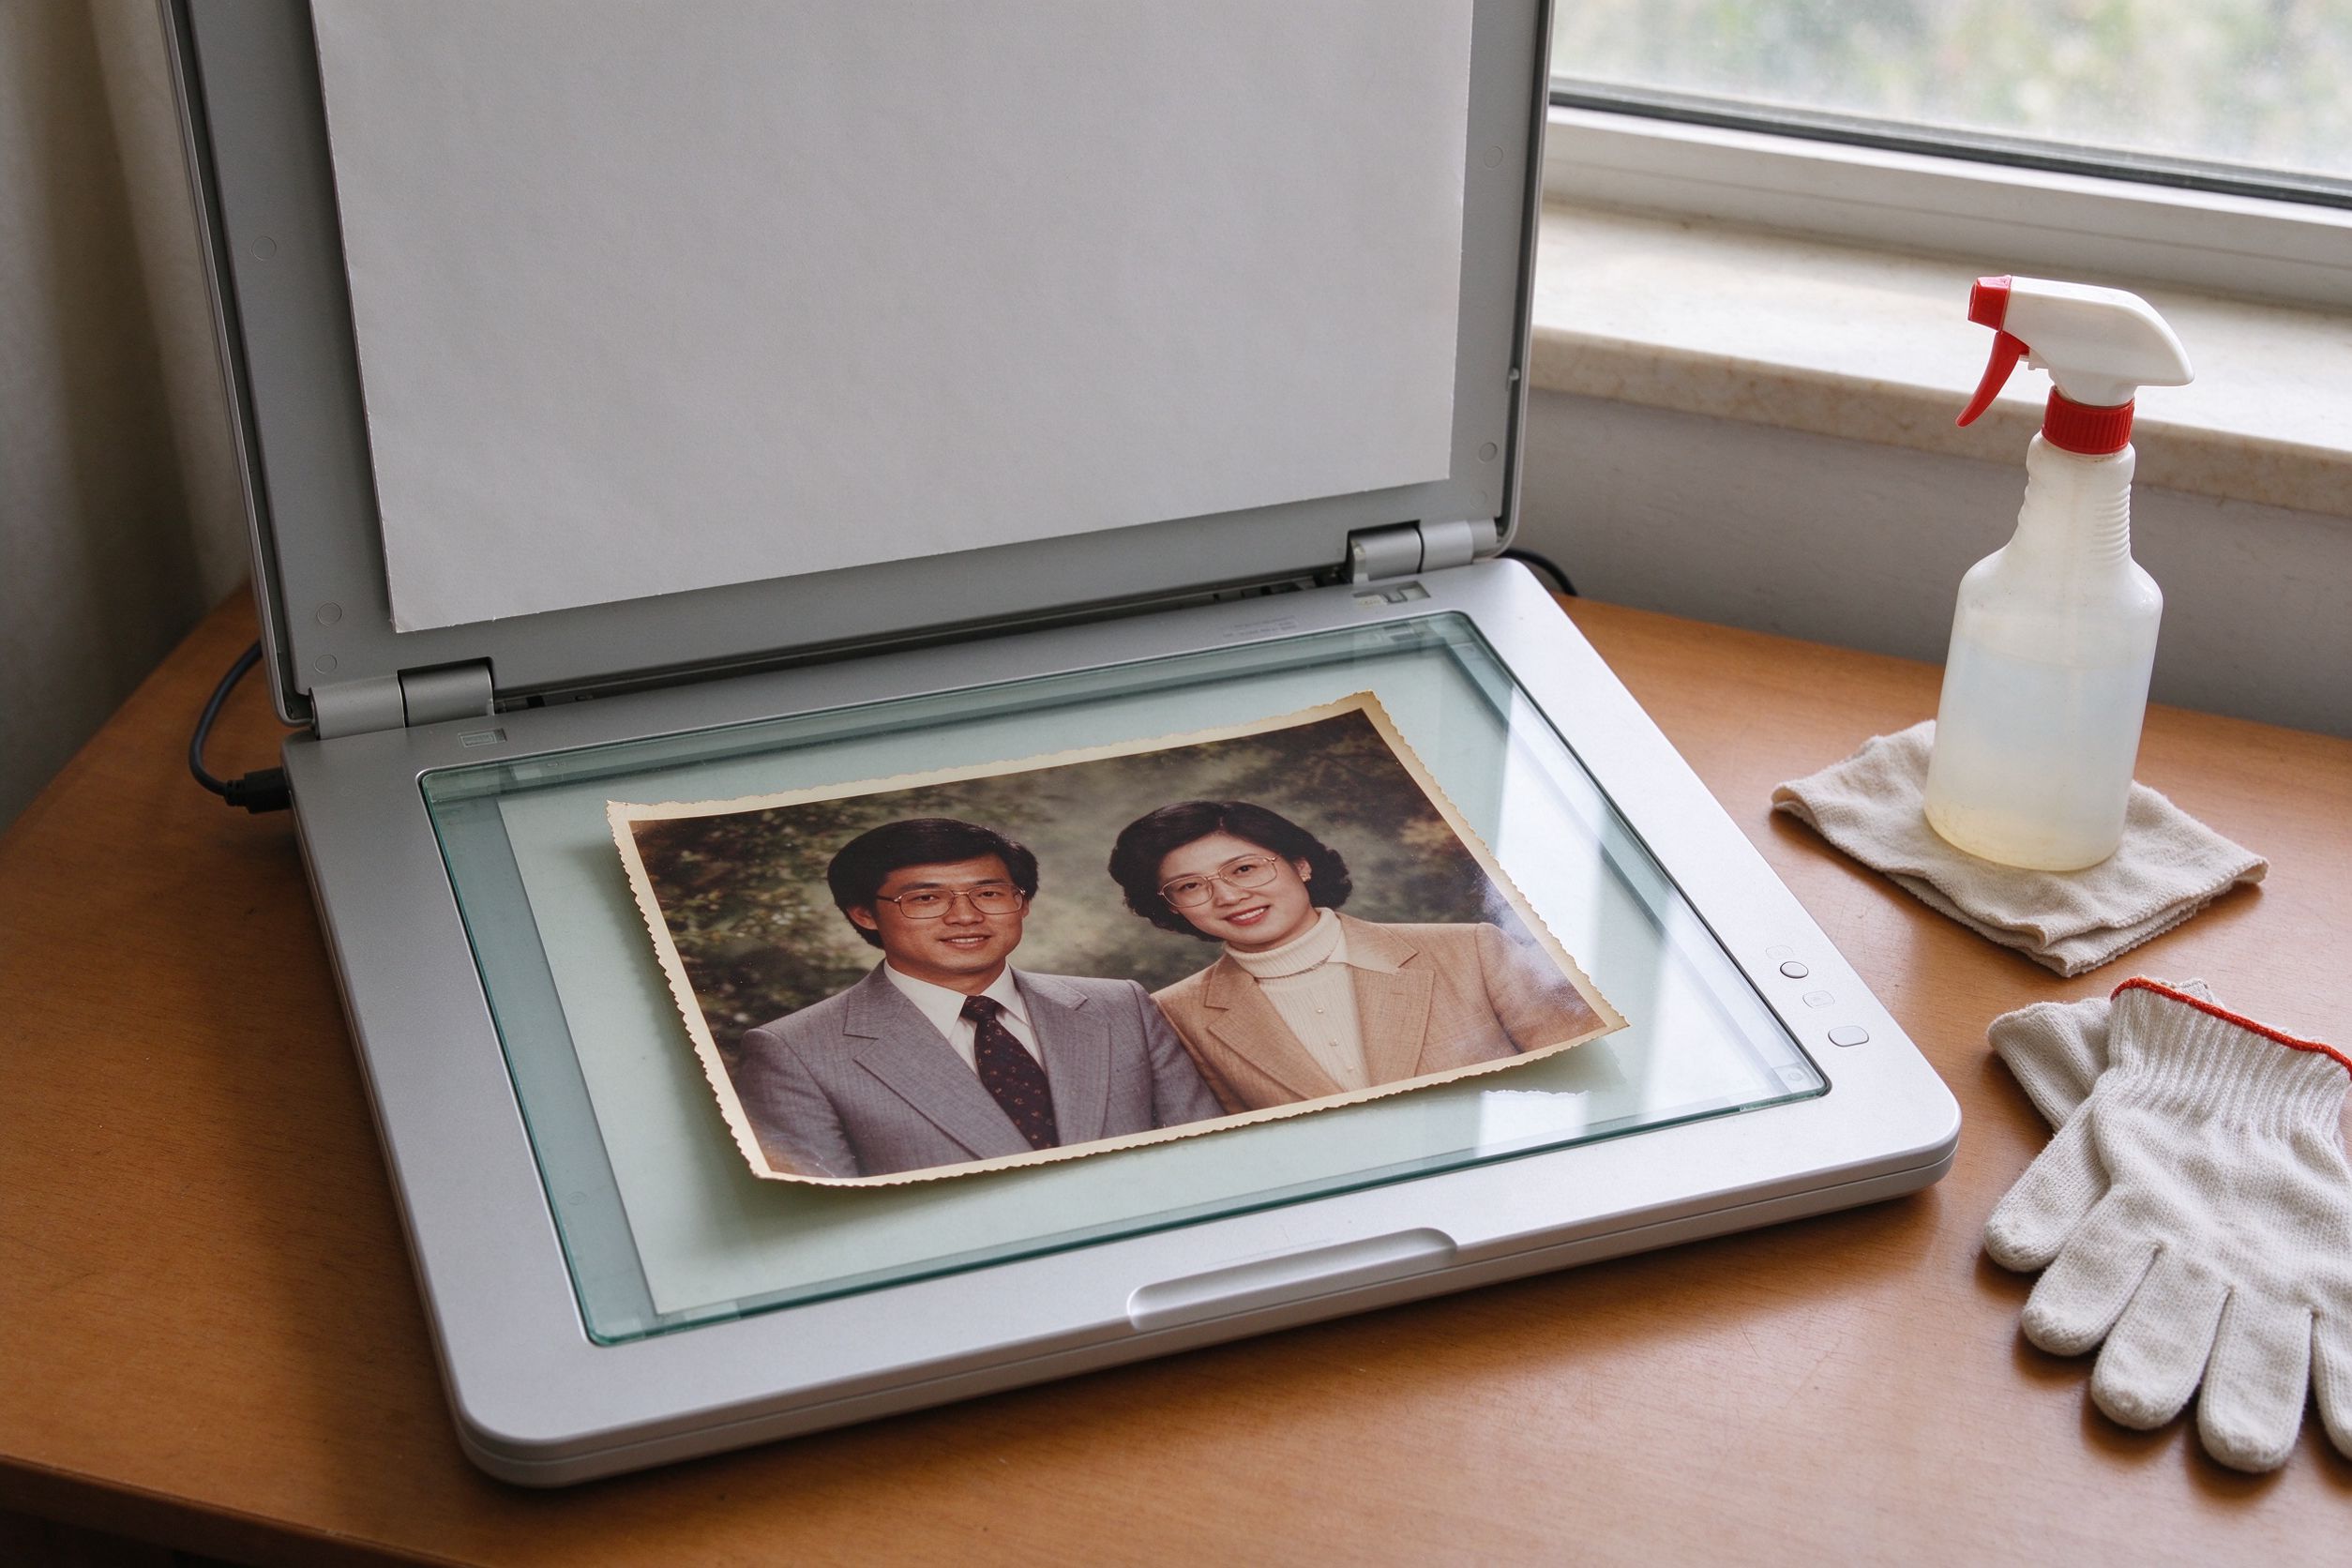
Most faded photos have all three at once, but in different amounts. A print from the 1960s often needs heavy white balance and mild contrast; a 1990s print left in a sunny window often needs contrast more than color. Naming the dominant problem keeps you from reaching for the wrong slider first. If your source is a phone snapshot of a print rather than a real scan, read our scanning guide first — fading corrections only work well on a clean, flat, sharp digital master.
Step-by-step restoration workflow
Open your best scan in the Faded Photo Fixer, which is built specifically for this problem. Follow the order below; doing it out of sequence is the most common reason faded photos end up looking artificial.
- Run the auto correction first. The tool estimates the color cast from the brightest neutral areas of the image — usually a white shirt, a wall, or sky — and uses that as a reference to rebalance the whole frame. Compare with the original using the before/after slider before you touch anything manual.
- Remove the color cast with the white-balance slider. If the auto result is still too warm, raise the white-balance strength until skin tones stop looking sallow. If it has gone too cool and faces look blue, pull it back.
- Rebuild contrast. With the cast gone, the flatness becomes obvious. Increase contrast until the darkest jacket approaches black and the brightest shirt approaches white — but stop before the sky turns pure white with no detail.
- Recover saturation last, and gently. Once the color balance and contrast are correct, bump saturation just enough to make lips, grass and flowers feel alive. This is the step people overdo.
- Fine-tune warmth. If the result feels slightly off, nudge the warmth slider a few points toward neutral. A tiny correction here has an outsized effect on believability.
What each slider actually does
Tools feel mysterious until you know what the controls are physically doing. In the Faded Photo Fixer there are four main controls, and each attacks a different part of the fading problem.
- White balance (0–100, start near 60). This tells the tool how aggressively to neutralize the yellow/brown cast. At zero it does nothing; at 100 it can overcorrect into a cold blue-green look. For most family portraits, 55–70 is the sweet spot. Watch the whites of the eyes and shirt collars: they should read as neutral, not warm brown.
- Contrast (0–100, start near 60). Contrast stretches the tonal range. Raising it darkens the shadows and lightens the highlights. For a collapsed, washed-out print, 50–70 usually restores depth; above 80 you risk clipping detail out of bright skies and dark hair. Use the slider while watching a large area of skin — skin should still show smooth graduation, not hard blocks.
- Saturation (0–150, start near 115). Saturation amplifies the strength of colors after the cast is removed. The default 115 already adds a little life; 130 is lively; 150 is where lips start to look clown-red and grass looks neon. If in doubt, go lower — faded photos should look gently revived, not repainted.
- Warmth (-50 to +50, start near 0 to +6). This is the final taste control. A very old print may still need a faint warmth to feel like a period piece; a print that already looks balanced should sit near zero. Use it in five-point nudges, never large sweeps.
If a single photo needs a stronger temperature shift after this pass, open the Color Temperature tool for a finer warm/cool adjustment. And remember: a restoration looks done when you no longer notice the color — when your eye goes straight to the people and the moment.
Adjusting for portraits, landscapes and film
The right settings change with subject matter. For portraits, protect skin above everything: keep white balance slightly conservative so faces stay believable, and let contrast be moderate — skin holds its life in midtones, which aggressive contrast crushes. For landscapes and outdoor scenes, you can afford more contrast and saturation, because grass, sky and trees tolerate life better than skin does. Old family snapshots of gardens often look dramatically better with contrast around 70 and saturation around 125.
For scanned color film, fading is often combined with a color cast from the film stock itself (many older slide films drifted toward magenta). In that case, white balance is the most important slider, and saturation should be kept modest because film grain becomes more visible as colors strengthen. If the result looks noisy after color recovery, follow with a gentle Photo Denoiser pass before any sharpening. Black-and-white prints do not need saturation at all — for them, this same workflow collapses to white balance off, contrast up, and a careful look at our black-and-white conversion guide.
Mistakes that make faded photos worse
A few habits ruin more restorations than fading itself. The first is fixing saturation before white balance: boosting color on a yellowed print amplifies the wrong colors and locks in the cast. The second is using one dramatic slider instead of several small ones — a photo with contrast at 100 and saturation at 150 looks obviously edited, while the same result reached by four gentle steps looks natural. The third is sharpening immediately after color correction; sharpening reveals grain and noise, so it should be the last step, using the sharpening technique we recommend. The fourth is over-trusting auto: auto balance is a starting point, not a verdict, and skin almost always wants one manual nudge.
Export and next steps
When the colors feel right, export a PNG master. Keep the faded original untouched, so you can revisit settings later if your eye changes. Faded photos usually need one more finishing touch — thin scratches from decades of handling, or a slight softness from scanning — and those are handled in our scratch and spot removal guide and the general restoration workflow in how to restore old family photos. Done well, a recovered color print no longer looks like a relic; it looks like the afternoon it actually was.
褪色的彩色照片是一种特别的遗憾:相纸本身完好无损,没有撕裂,也没有严重划痕,可颜色就是从里面褪掉了。本该明亮的夏日野餐显得发白发棕;红裙子变成一团浑浊的暗色;曾经乌黑的头发看着灰蒙蒙的。整幅照片像隔着一层琥珀色玻璃在看。
好消息是,褪色是老照片修复中最容易修好的问题之一,因为信息通常还在,只是失衡了。和被撕掉的角落不同,像素并没有消失,只是漂移了。本指南会解释照片为什么褪色、校正的正确顺序、每个滑杆控制什么,以及怎样的数值能让旧相纸重焕生机而不至于变成过度饱和的卡通。这里的一切都可以在浏览器里免费完成,你的照片永远不会离开你的设备。
一、老照片为什么会褪色、发灰
1950 至 1990 年代的彩色照片依靠三层吸光染料成像。几十年间,这些染料以不同速度分解,而这种不对称正是你手里几乎每一张褪色照片的根源。青色染料层通常降解最快,剩下的品红与黄色显露出来——这正是为什么这么多老彩色照片发黄发棕、又暖又浊。黑白银盐照片的褪色方式不同:银颗粒变暗了纸基,把黑场提亮,对比被抹平,照片像一层脏灰。
对比度损失还有第二个原因。高光染料漂白后,画面最亮的部分向中灰漂移,最深的阴影也常常被提亮。整条影调范围——从近白到近黑——坍缩进一个窄带。在屏幕上,这就是一张发平、没有真正白也没有真正黑的照片。明白这一点就知道该从哪里下手:褪色照片要先校白平衡(去掉黄偏色),再拉伸影调(重建对比)。饱和度最后做,而且要轻。
二、动手前先判断损伤
打开工具前,先用三秒钟看一眼扫描件并做出诊断。问自己三个问题。第一,有没有明显的色偏——发黄、发棕、发绿或品红?那是白平衡问题。第二,画面是否发平,没有真正的白衬衫,也没有真正的黑外套?那是对比度问题。第三,去掉偏色之后颜色本身是否仍然很弱——本该是绿色的叶子看着像黄褐色?那是饱和度问题。
大多数褪色照片三种问题同时存在,但程度不同。1960 年代的相纸往往需要重校白平衡、轻调对比;放在向阳窗边几十年的 1990 年代照片则更需要对比而非颜色。给主导问题命名,能避免你一上来就拨错滑杆。如果你手上只有翻拍照片而不是真正的扫描件,请先读我们的扫描指南——褪色校正只有在干净、平整、清晰的数字母版上才能发挥作用。
三、分步修复流程
把最好的扫描件在褪色照片修复工具中打开,它就是专门为这个问题打造的。按下面的顺序来做;顺序做错,正是褪色照片显得假的最常见原因。
- 先运行自动校正。工具会从画面最亮的中性区域——通常是白衬衫、墙面或天空——估算色偏,并以此为参照重新平衡整幅画面。在手动调整之前,先用前后对比滑块和原图比一比。
- 用白平衡滑杆去掉偏色。如果自动结果仍然偏暖,就提高白平衡强度,直到肤色不再发黄。如果已经过冷、脸发蓝,就往回拉。
- 重建对比。偏色去掉后,发平的问题会很明显。提高对比度,直到最暗的外套接近黑、最亮的衬衫接近白——但在天空变成没有细节的纯白之前停手。
- 最后、克制地恢复饱和度。白平衡与对比正确之后,再把饱和度提高到让嘴唇、草地和花朵有生气的程度即可。这一步最容易做过头。
- 微调冷暖。如果整体仍有点不对,把冷暖滑杆往中性方向推几个点。这里的微小调整,对真实感的影响大得出奇。
四、每个滑杆到底管什么
知道控件到底在物理上做什么,工具就不再神秘。褪色照片修复工具有四个主要控件,各自对付褪色问题的一个不同侧面。
- 白平衡(0–100,从 60 附近开始)。它告诉工具以多强的力度中和黄/棕偏色。为 0 时不起作用;到 100 可能过度校正成冷蓝绿色。大多数家庭肖像的甜点在 55–70。盯住眼白与衬衫领子:它们应该是中性的,而不是暖棕色。
- 对比度(0–100,从 60 附近开始)。对比拉伸影调范围:提高它会压暗暗部、提亮高光。对于坍缩发白的照片,50–70 通常能恢复层次;超过 80 就有把明亮天空和深色头发里的细节裁掉的风险。调节时盯着一大片皮肤——皮肤应仍有柔和的渐变,而不是硬色块。
- 饱和度(0–150,从 115 附近开始)。偏色去除后,饱和度放大颜色的强度。默认 115 已带来一点生气;130 算鲜明;到 150,嘴唇开始像小丑的红,草地开始像霓虹灯。拿不准就往低调——褪色照片应该是被轻轻唤回,而不是重新涂过。
- 冷暖(-50 到 +50,从 0 到 +6 附近开始)。这是最后的口味控件。非常老的照片可能仍需要一点点暖意才像那个年代;已经平衡的照片应靠近零。每次推五个点,不要大动作。
如果某张照片在此之后仍需要更大幅度的冷暖调整,可再用色温调节工具做精细的暖/冷处理。记住:当你不再注意到颜色本身、目光直接落到人与那个时刻上时,修复才算完成。
五、人像、风景与胶片的不同调法
正确的设置随主体而变。人像要把皮肤放在一切之上:白平衡略保守,让脸可信;对比适中——皮肤的生命力在中间调里,过强对比会把中间调压死。风景与户外场景可以承受更强的对比与饱和度,因为草地、天空和树木比皮肤更经得起鲜艳。拍花园的老家庭快照,对比设到 70、饱和度设到 125,往往会有脱胎换骨的效果。
对于扫描的彩色胶片,褪色往往叠加油片本身的偏色(许多老幻灯片会向品红漂移)。这种情况下白平衡是最重要的滑杆,饱和度要克制,因为颜色增强后胶片颗粒会更明显。如果校色后画面看起来发噪,就在锐化之前先用温和的照片降噪处理一遍。黑白照片完全不需要饱和度——对它们,这套流程简化为:关掉饱和度、拉高对比,再参考我们的黑白转换指南。
六、越修越糟的常见错误
有几个坏习惯,比褪色本身毁掉的修复还多。第一是在校白平衡之前先加饱和——在发黄的照片上加饱和,会放大错误的颜色,把偏色锁死。第二是用一个夸张滑杆代替几个小动作:对比 100、饱和 150 的照片一看就像被编辑过,而用四步温和调整达到同样结果的照片却很自然。第三是校色后立刻锐化;锐化会暴露颗粒与噪点,因此它应该是最后一步,并采用我们推荐的锐化方法。第四是过度信任自动:自动白平衡只是起点而非判决,皮肤几乎总需要手动再推一下。
七、导出与后续步骤
颜色满意后,导出 PNG 母版。保留褪色的原始文件不动,这样日后眼光变了还能重来。褪色照片通常还需要最后一道修饰——几十年翻阅留下的细划痕,或扫描带来的轻微发虚——这些在我们的划痕与污点去除指南,以及如何修复家庭老照片的通用流程中处理。修得好,一张找回色彩的照片不再像一件遗物,而像它本来的那个下午。