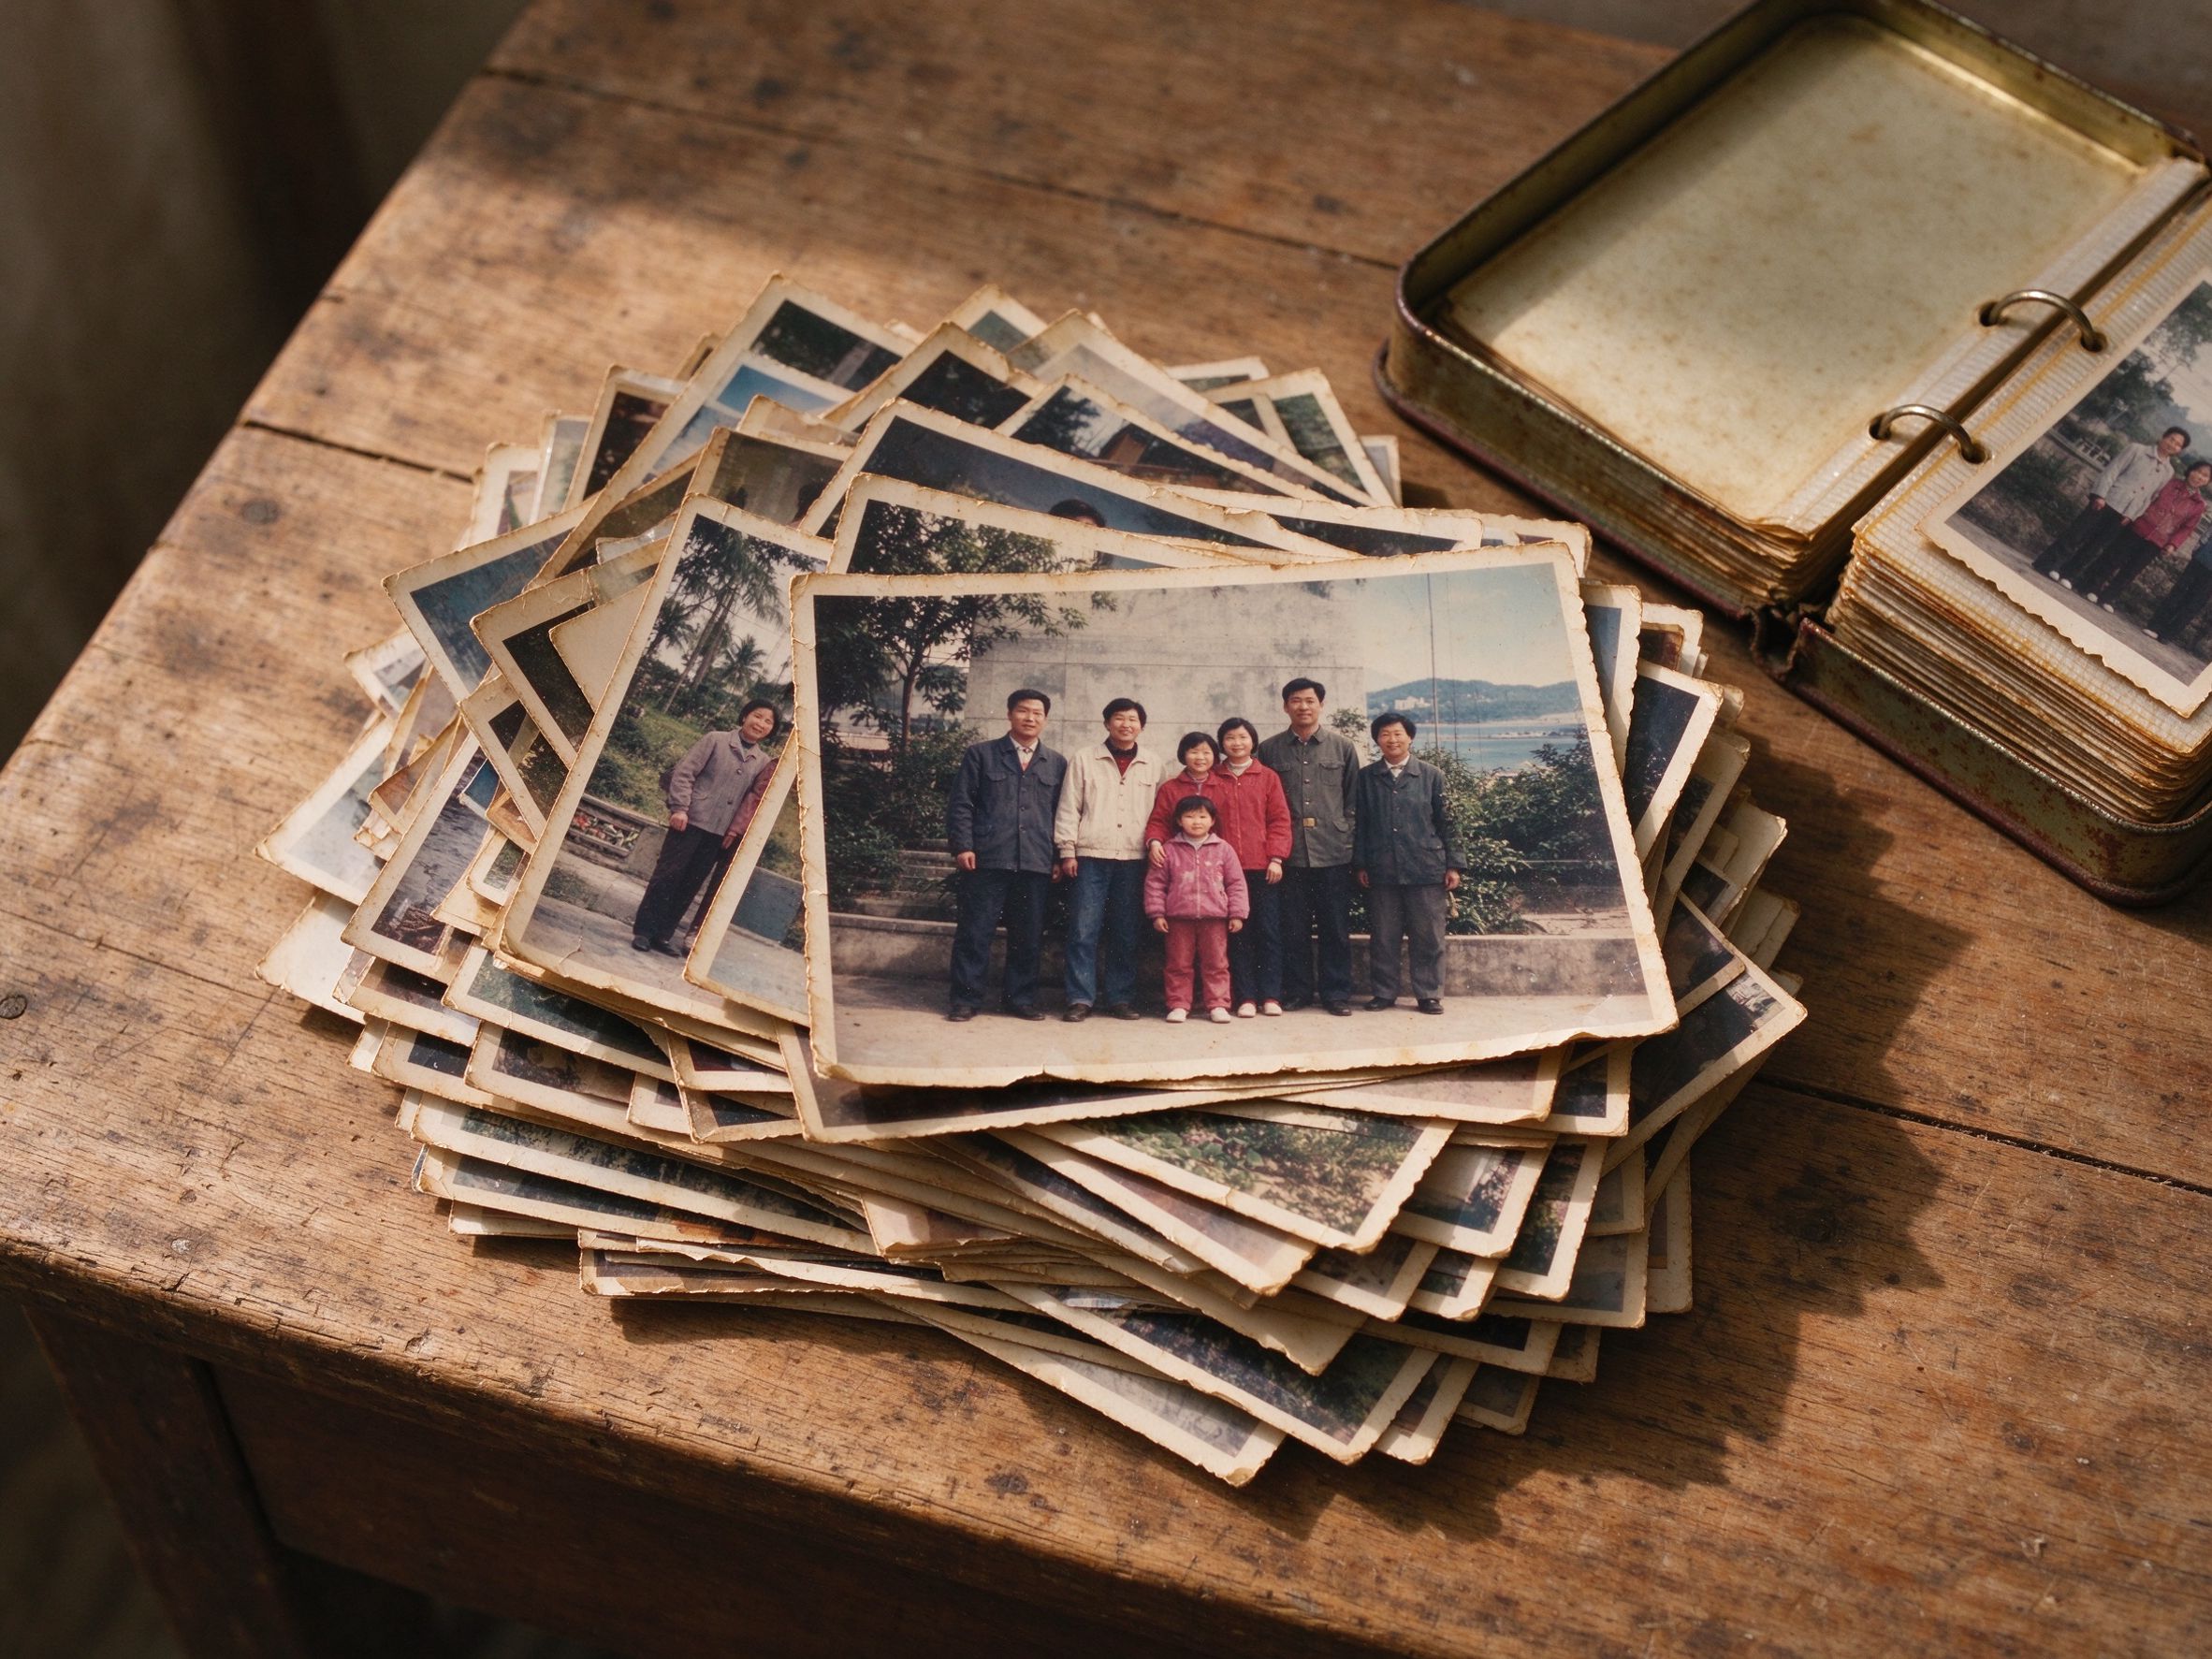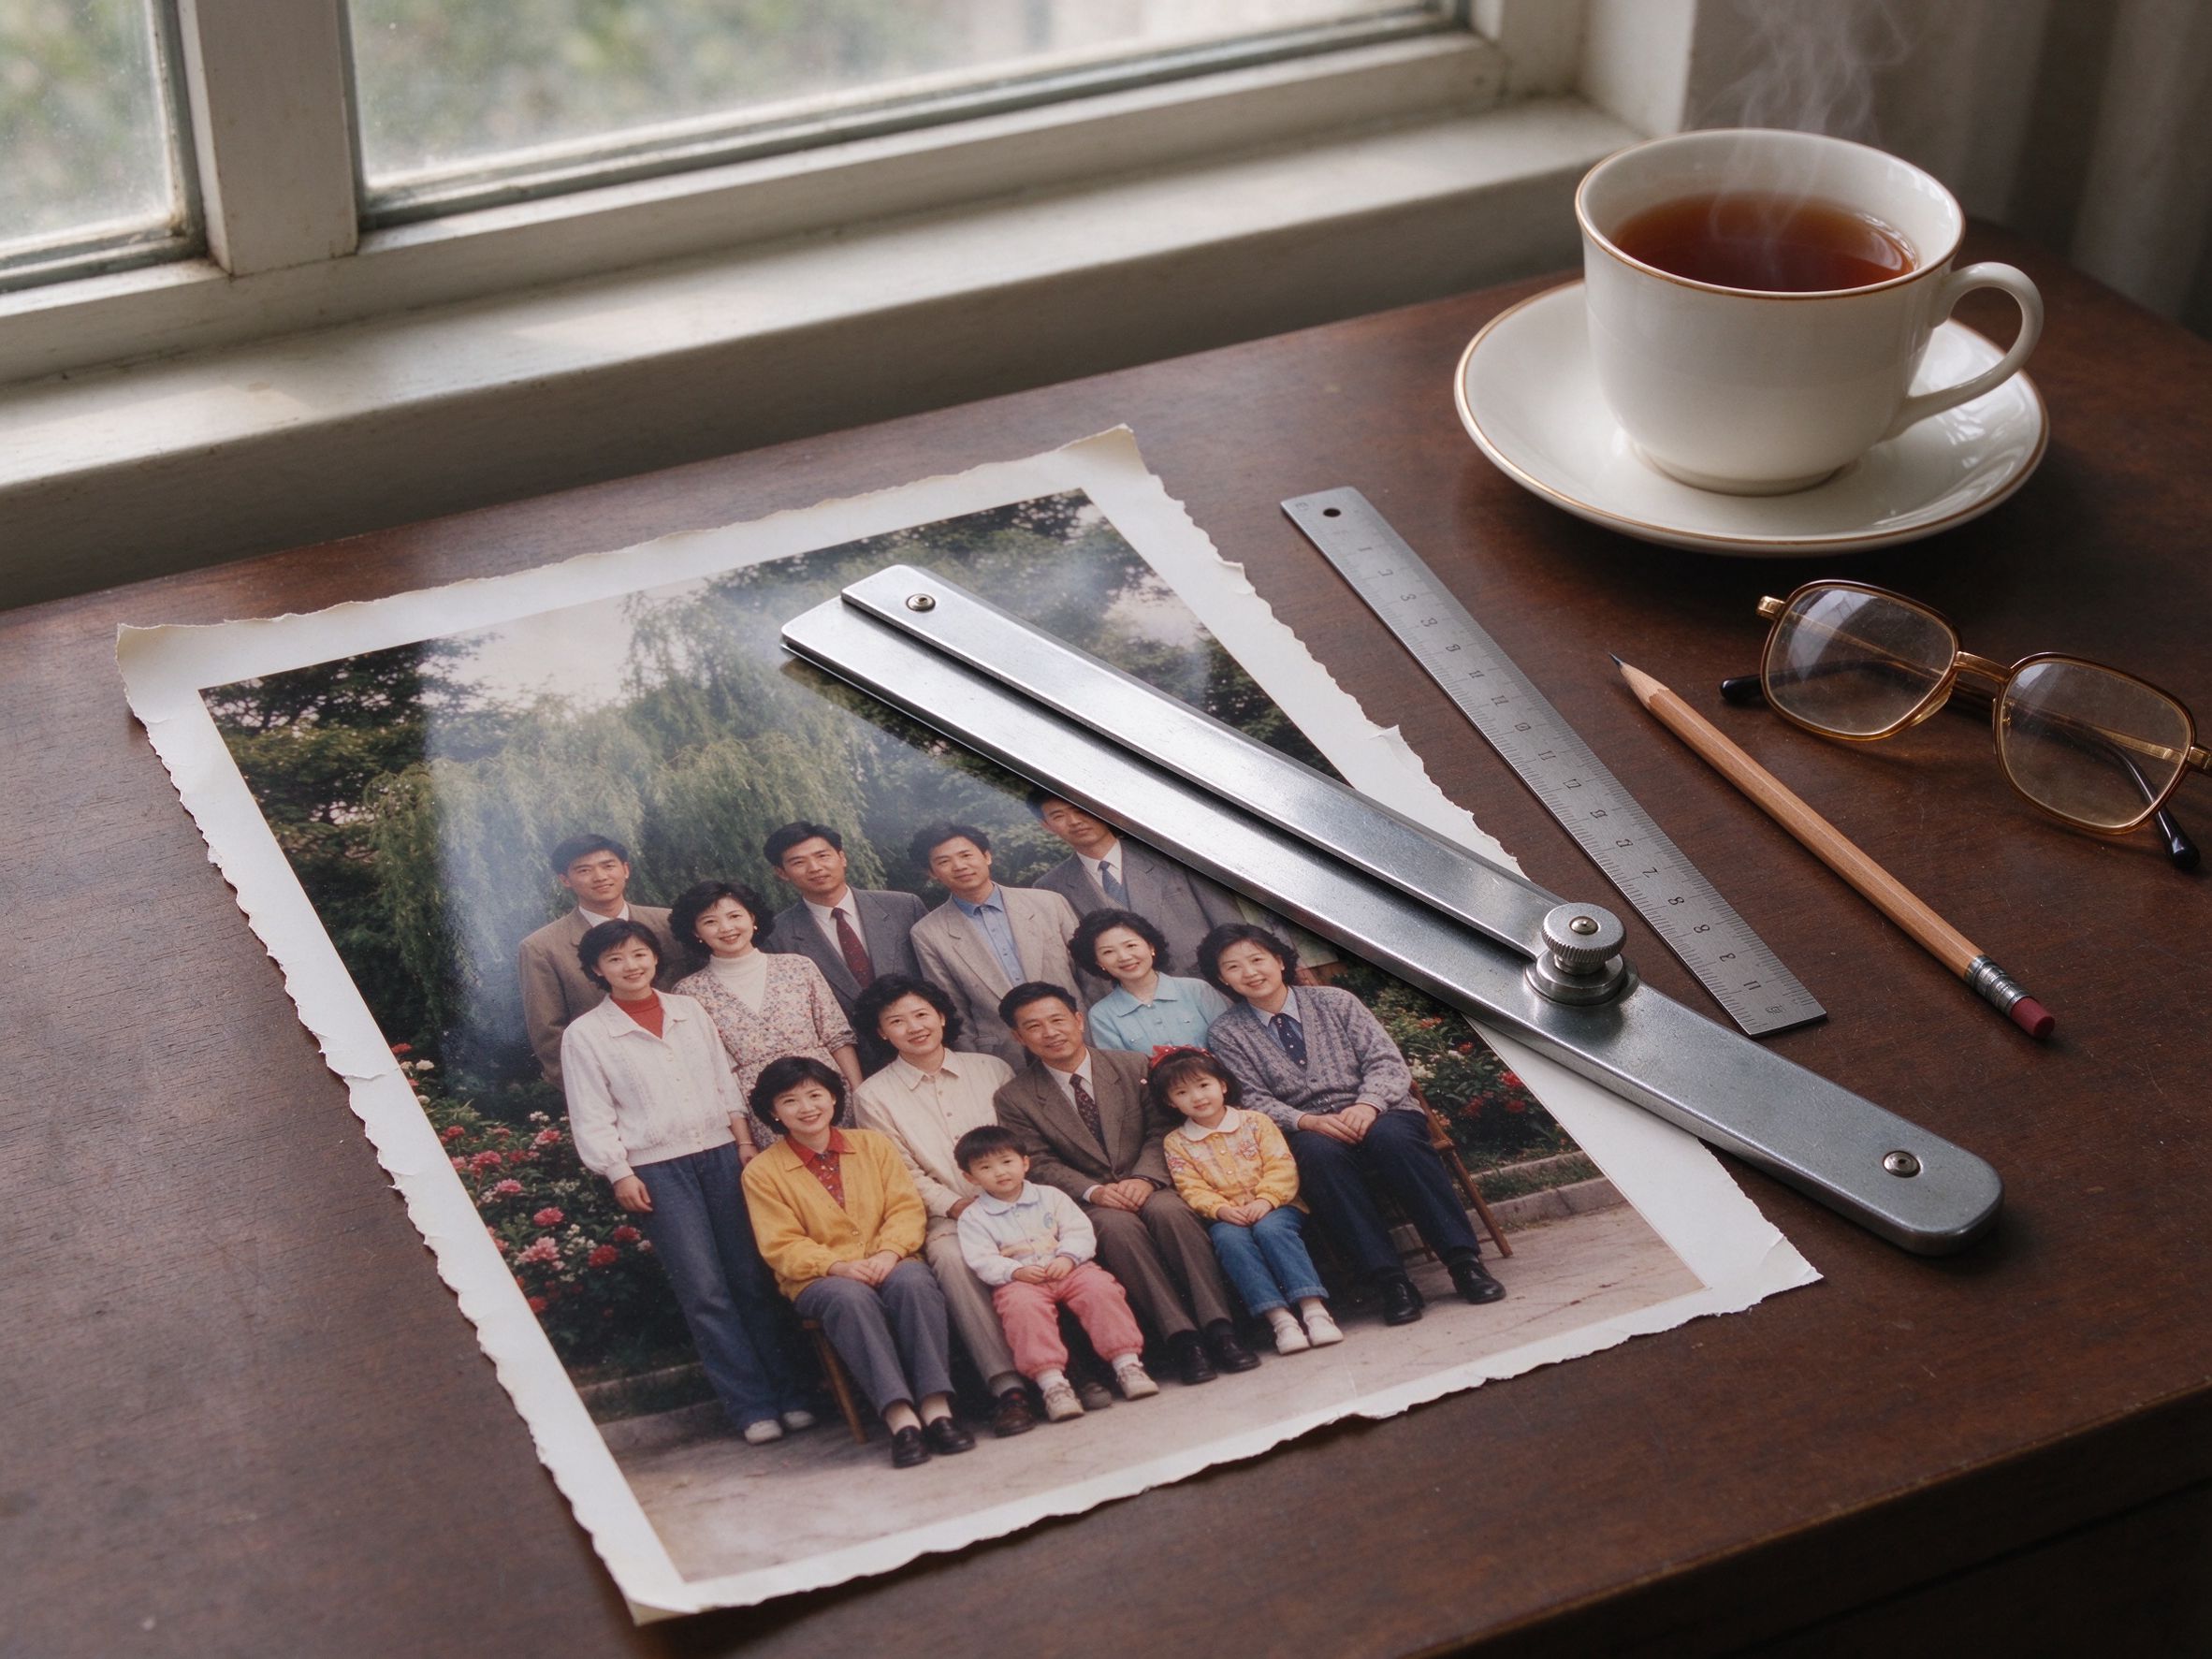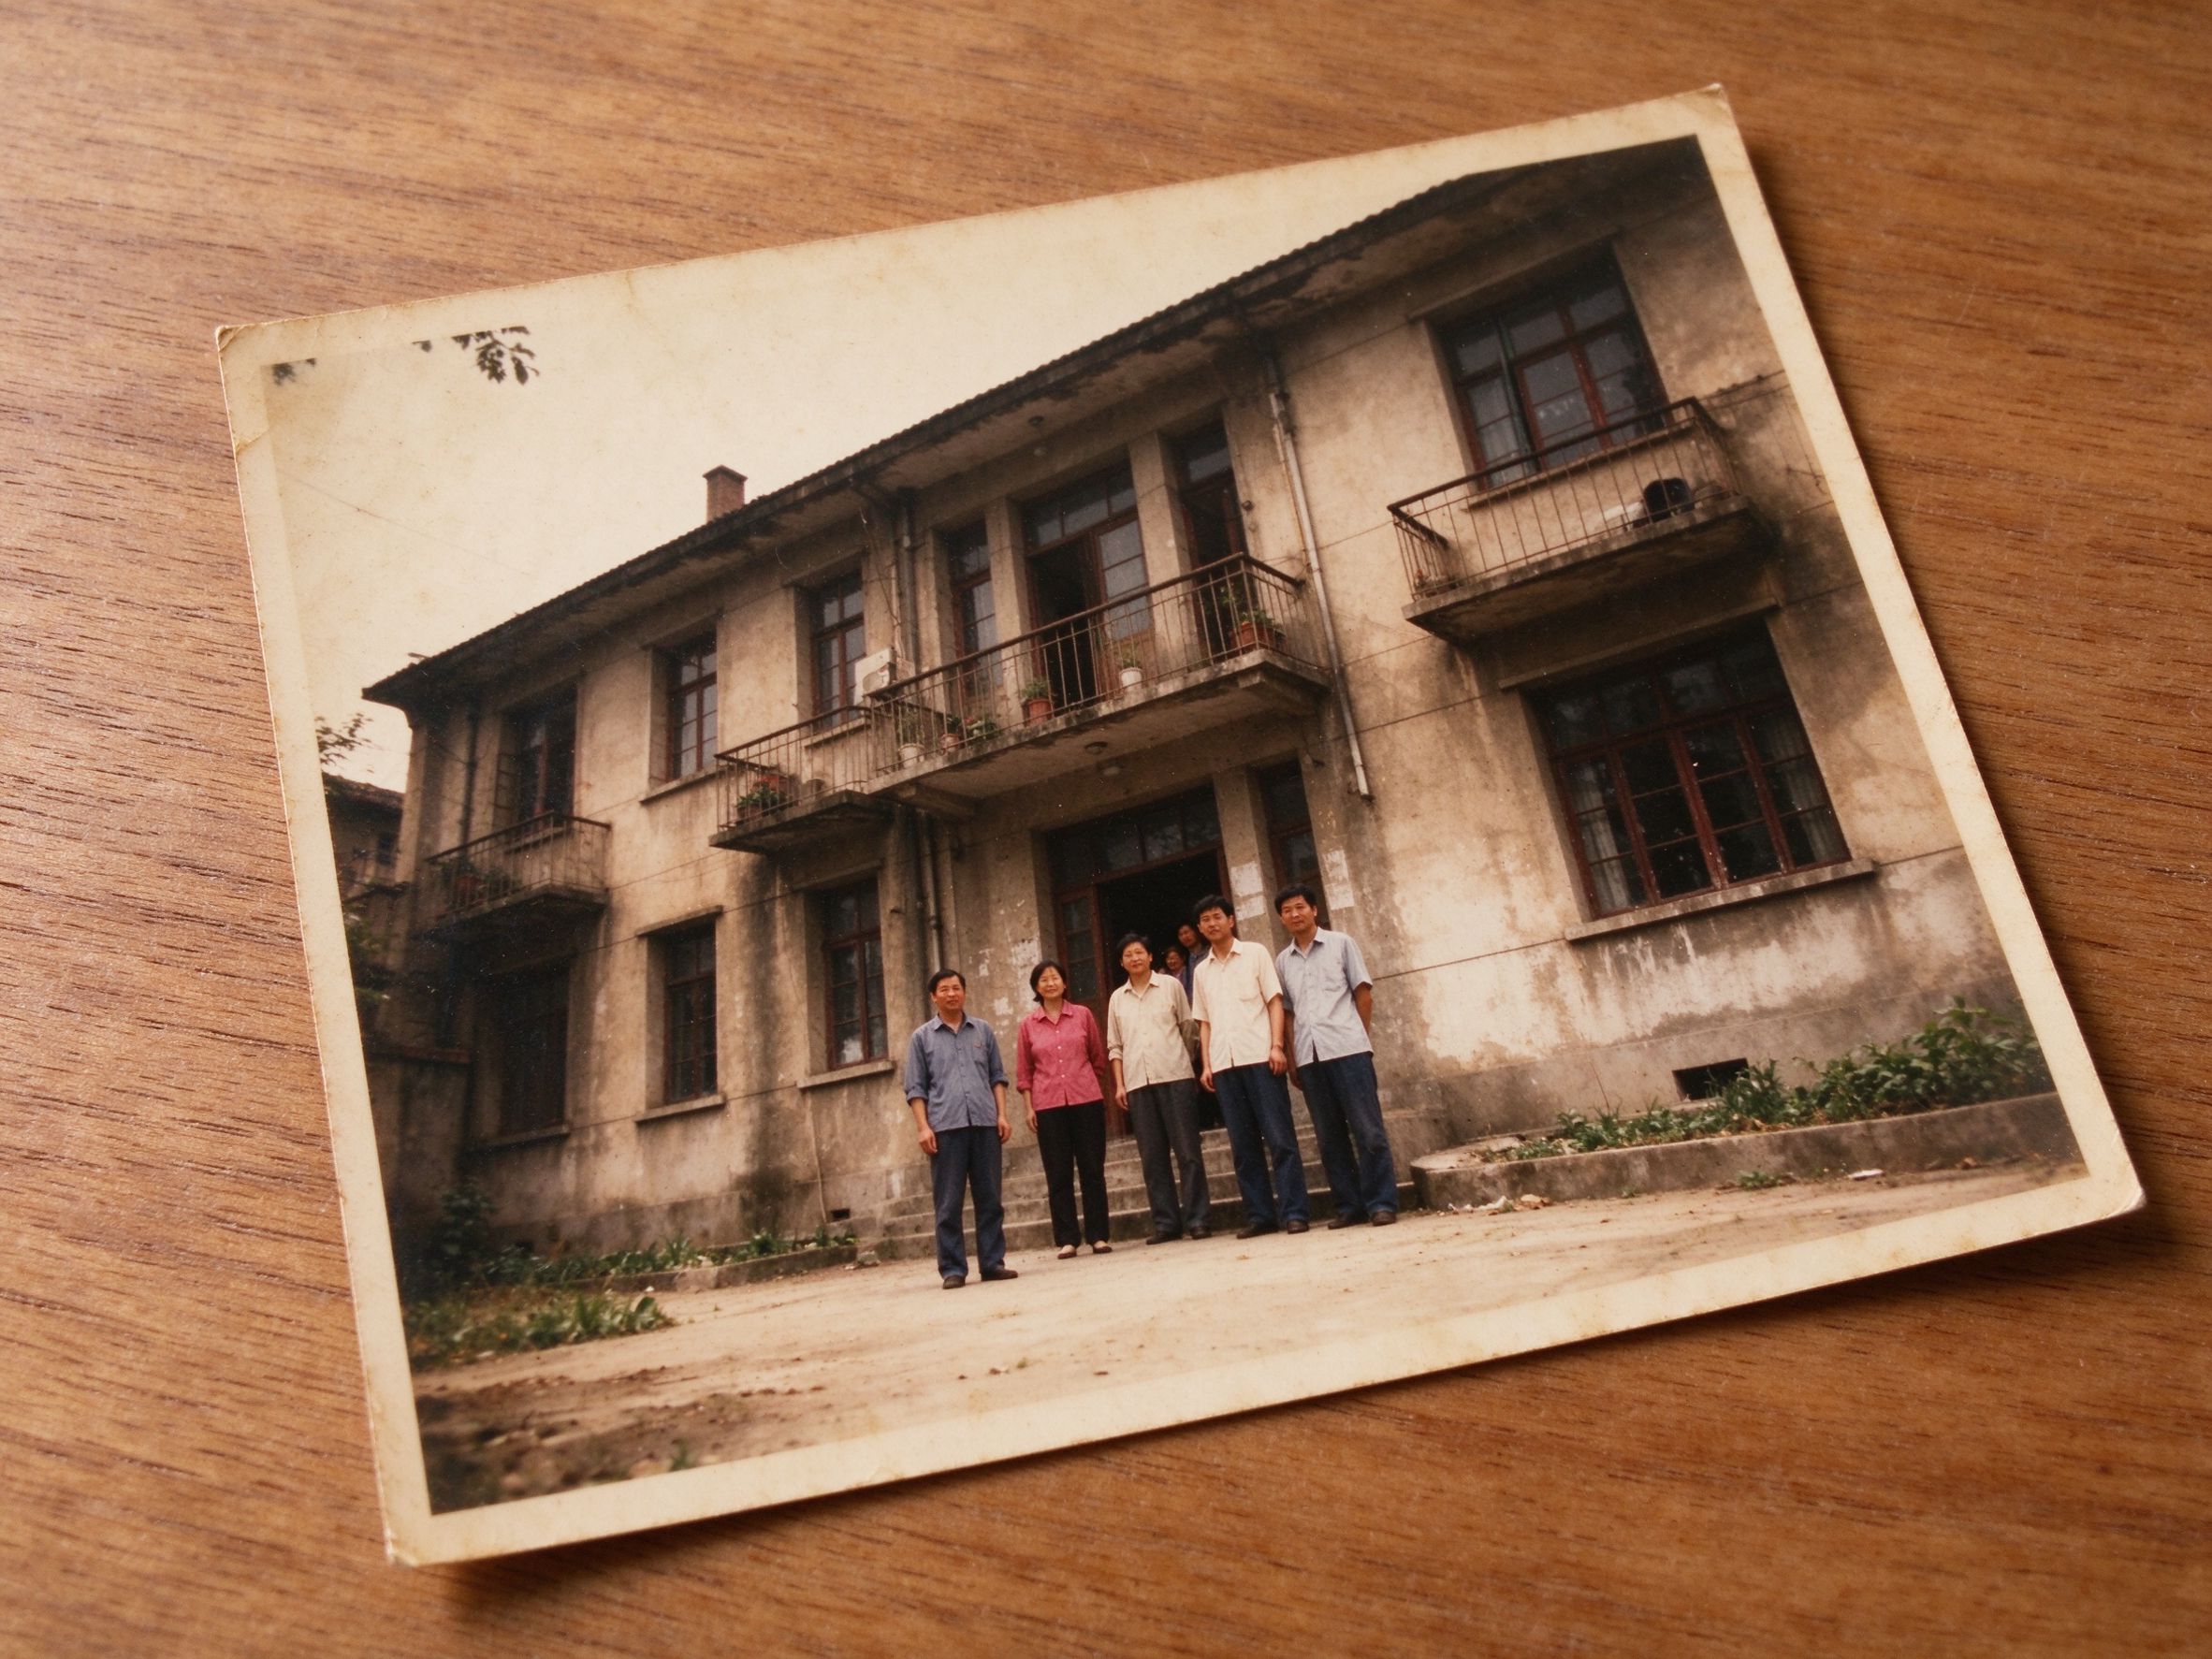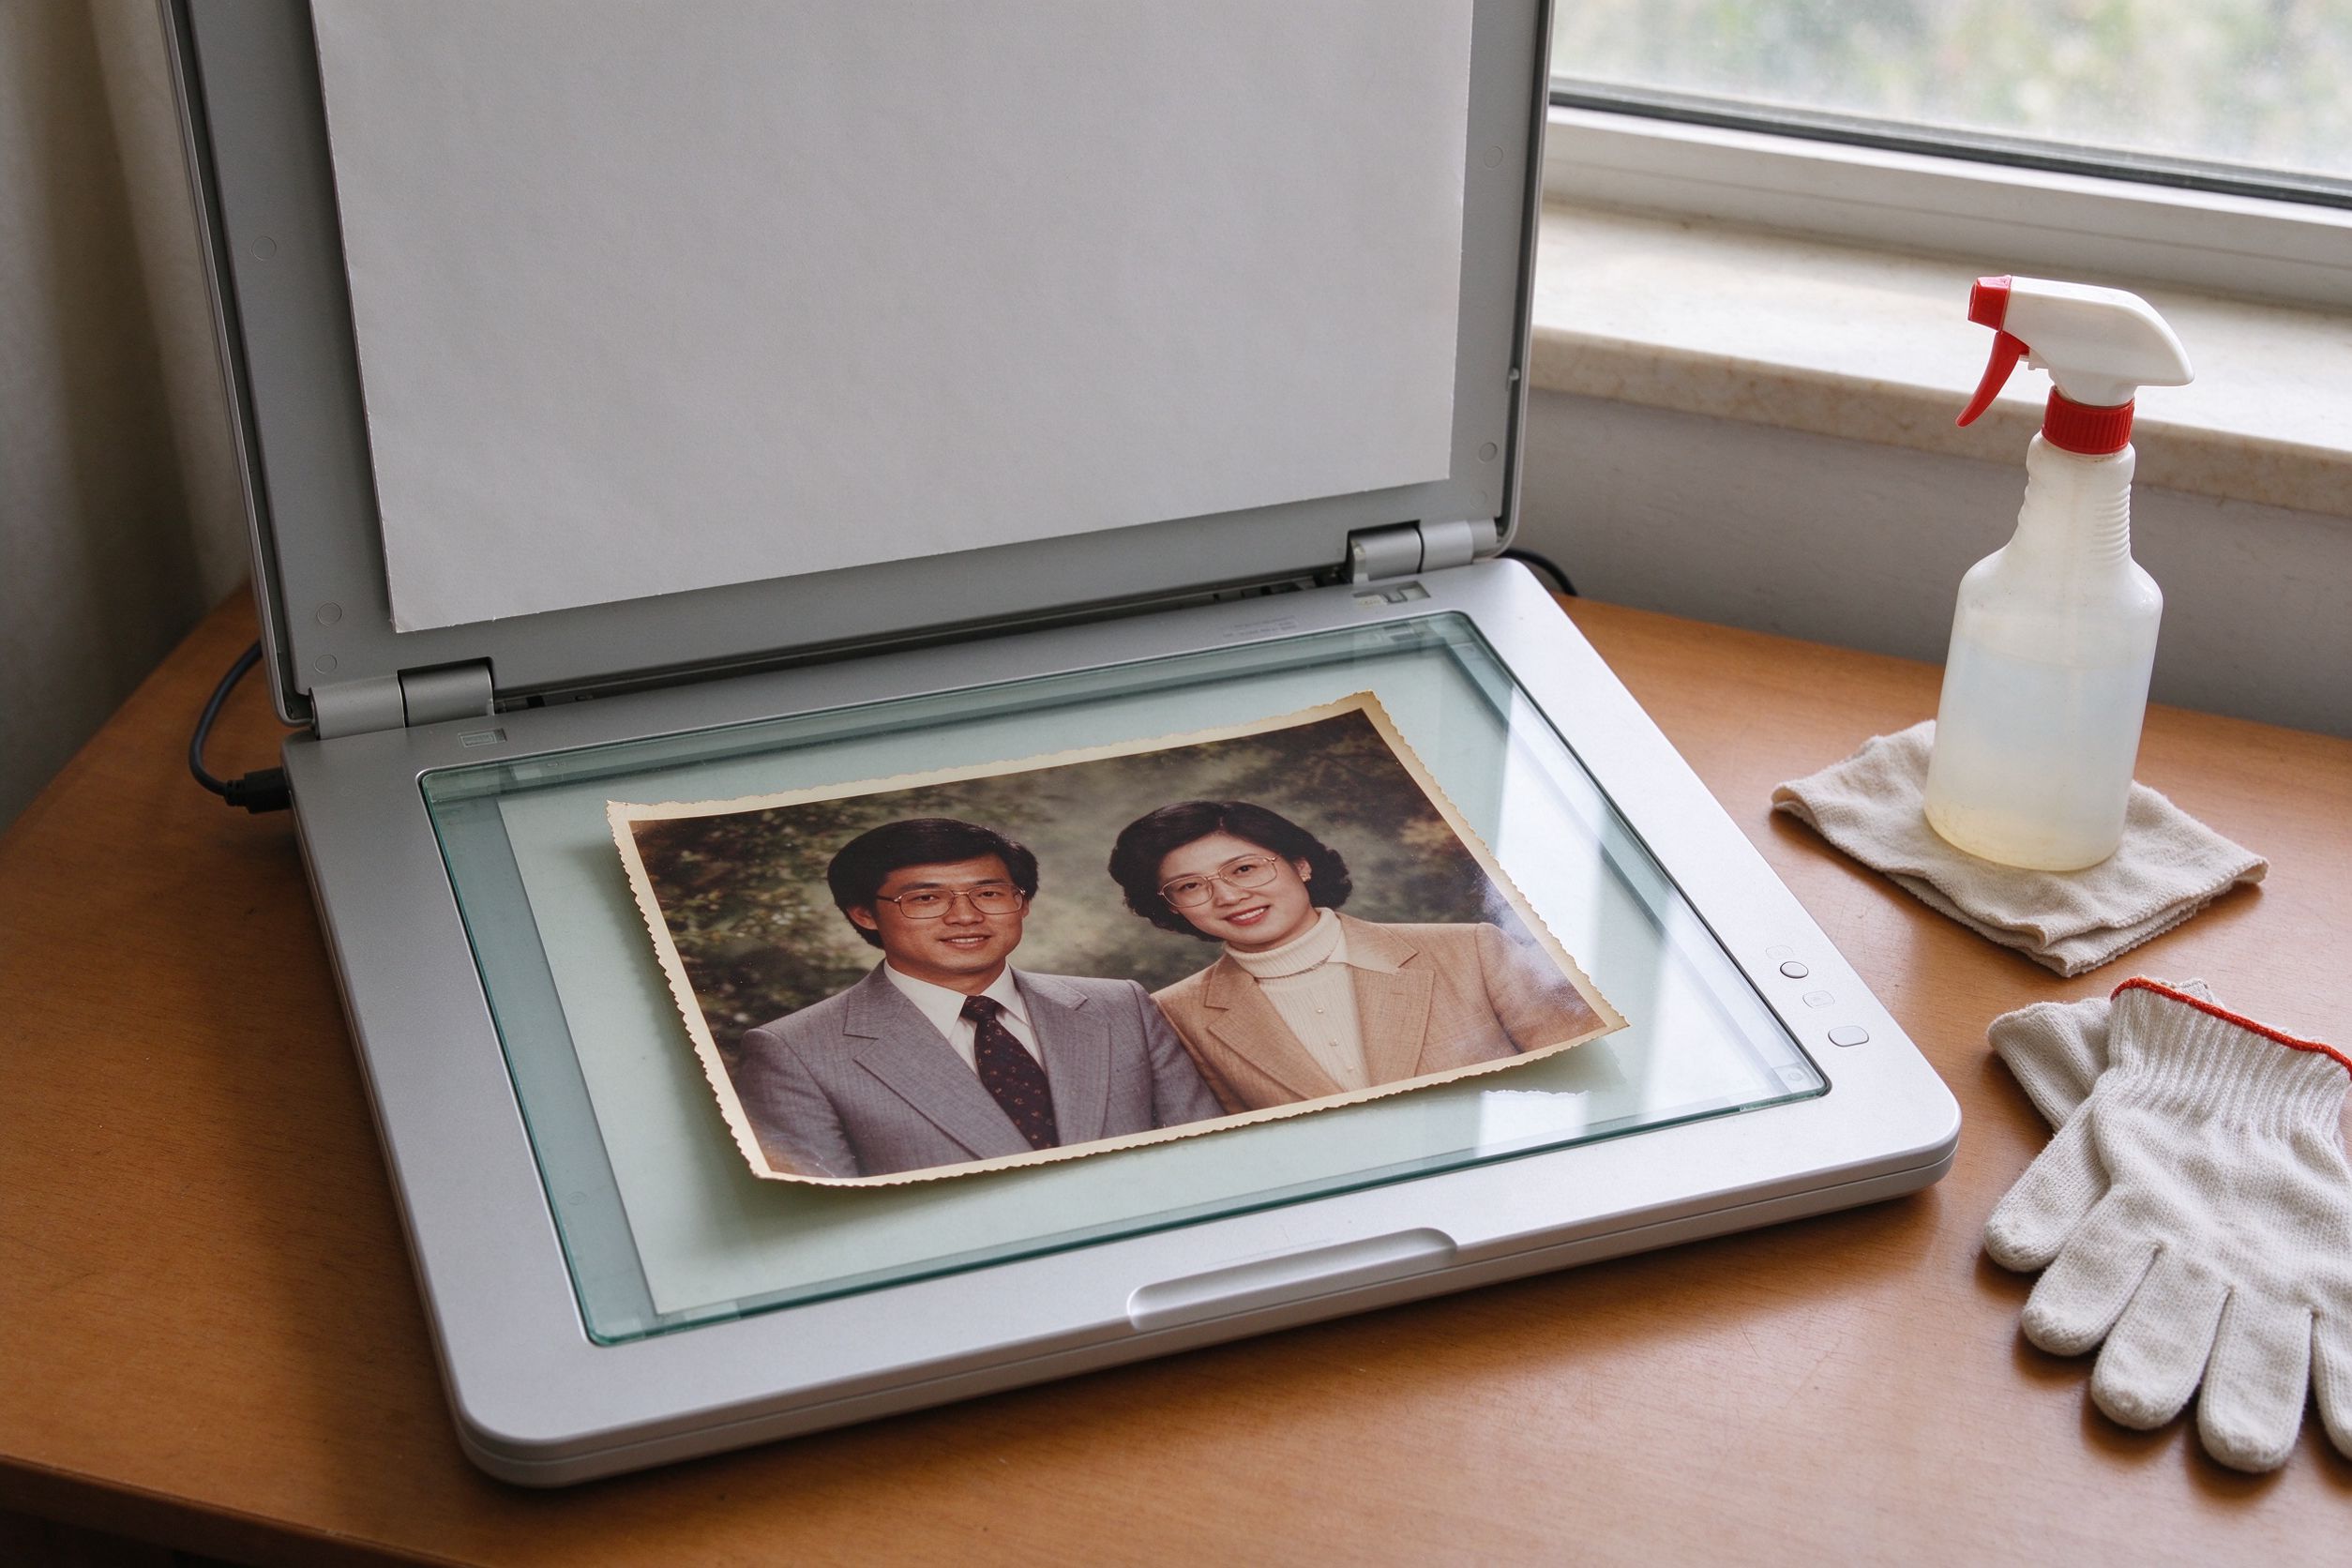
Restoration software is only as good as the file you feed it. A scan made at the wrong DPI, saved as a compressed JPG on a dusty glass, contains problems that no online tool can ever fully fix. Conversely, a careful scan of an ordinary old print often restores to a result that surprises the whole family. Digitizing your photo collection is therefore the single highest-leverage step in the entire restoration process, and it costs nothing but an hour of patience.
This guide walks through the exact settings to use on a home flatbed scanner, how to handle and prepare fragile prints, what to do if you have no scanner at all, and how to organize the resulting files. Once you have a clean digital master, the actual restoration — color, scratches, sharpening — is the easy part, and it all runs privately in your browser.
Why the scan decides the final quality
Every restoration tool works on the pixels in front of it. It cannot recover detail that the scan failed to capture, cannot sharpen a face that was scanned out of focus, and cannot remove dust that was sitting on the scanner glass at the moment of exposure. Think of scanning as photographing your photograph: a worse scan is like a worse original, and no amount of editing manufactures information that was never recorded. This is why we always recommend scanning rather than photographing prints with a phone whenever a flatbed is available — but we will cover the phone method too.
The good news is that you do not need an expensive scanner. An entry-level flatbed around 600–1200 DPI, kept clean and used correctly, is enough to digitize a whole family archive beautifully. The mistakes are almost always in the settings and the handling, not in the hardware.
Choosing the right DPI
DPI (dots per inch) is how much detail the scanner records across each inch of the print. Higher DPI means more pixels, a larger file, and more room to crop, zoom and sharpen later. But more is not always better, because scanning a 4×6 inch print at 4800 DPI produces a giant file with no extra real detail — the print simply does not contain it.
- 300 DPI — the minimum. A standard 10×15 cm (4×6 inch) print becomes roughly 1200×1800 pixels. This is fine for viewing on screen and for small prints, but leaves little room to crop into a face.
- 600 DPI — the recommended sweet spot. The same print becomes about 2400×3600 pixels. This is the best balance: enough resolution to crop out a single face from a group photo and still have detail, without enormous files. Choose this for almost everything.
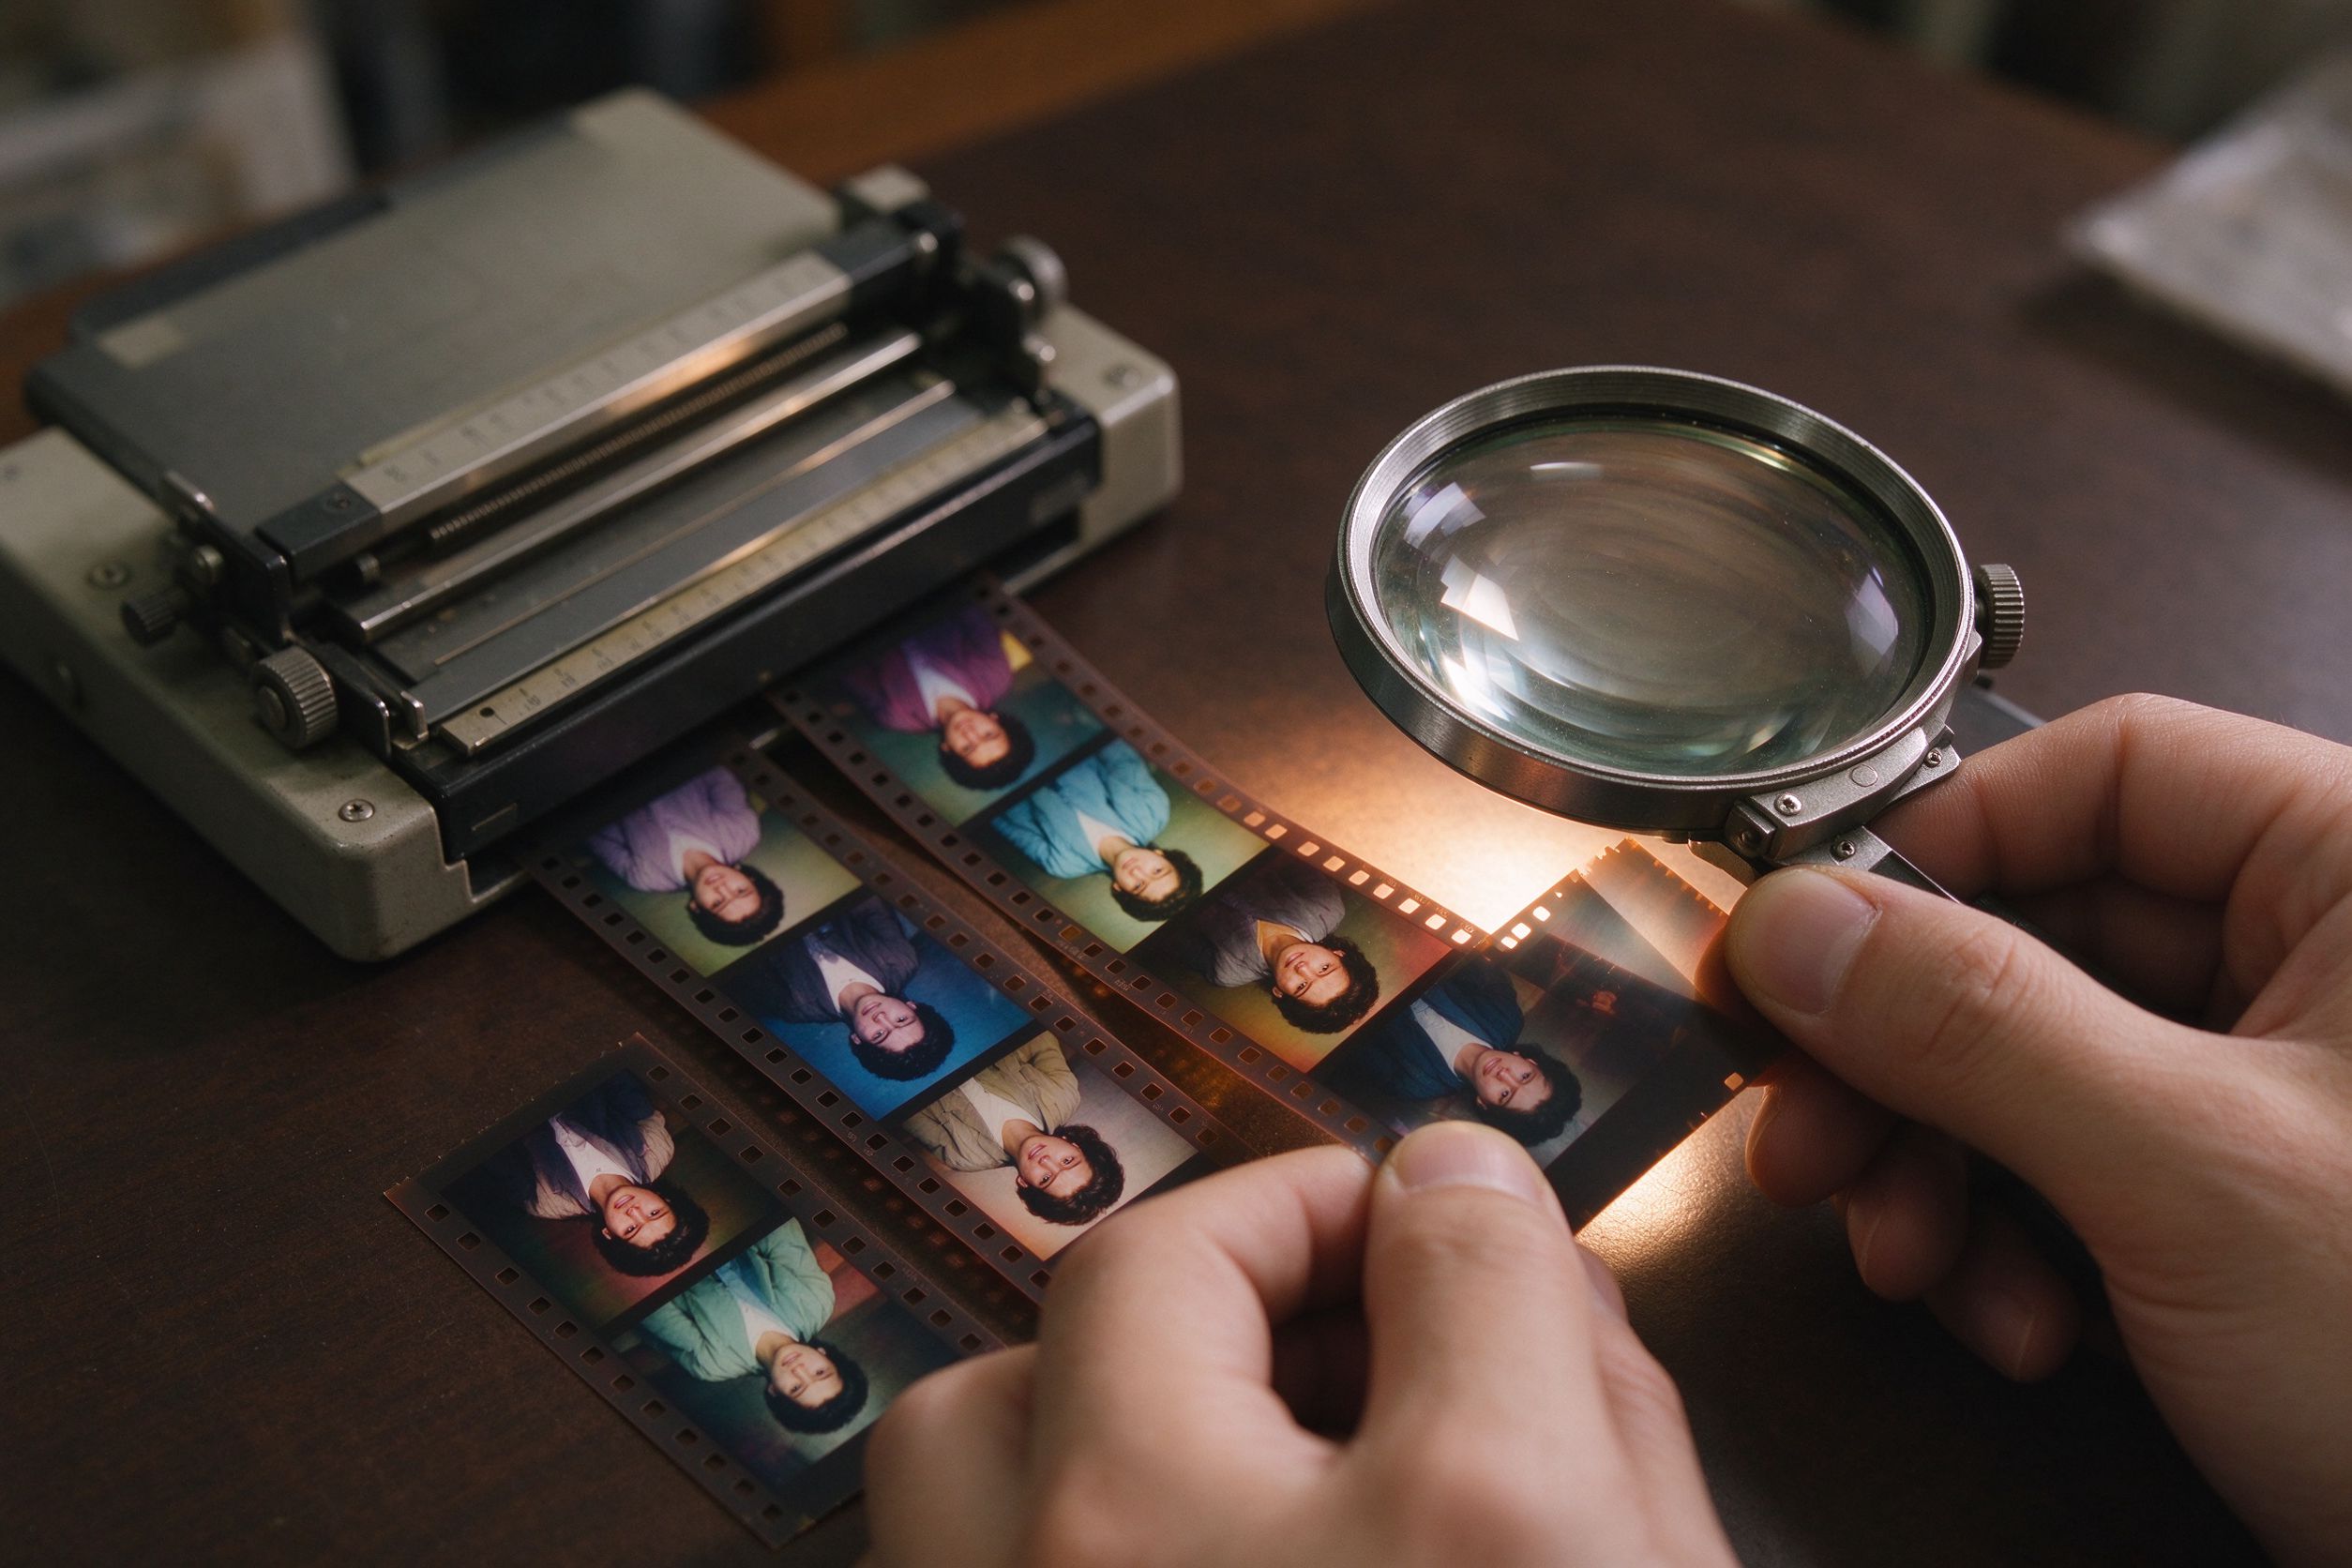
- 1200 DPI — for small or very detailed items. Reserve this for tiny photos — wallet-sized baby portraits, stamps, dense group shots — where you will crop hard. It is also the right setting for scanning film negatives, covered in our film scan guide.
A quick rule: scan at 600 DPI for normal prints, 1200 DPI only when the original is small or you know you will crop tightly. And always scan the whole print, edges and all — you can crop later with the Photo Cropper, but you cannot recover a border you cut off before scanning.
Color mode and bit depth
Modern scanners offer color, grayscale and film modes. For ordinary paper prints, choose 24-bit color (RGB) even for black-and-white photos. Scanning a black-and-white print in color captures the warm paper tone and any age stains, which gives you more material to work with when you later decide whether to keep it warm, neutralize it, or apply a proper sepia treatment. Scanning directly in grayscale permanently throws away that color information.
If your scanner offers a higher bit depth (48-bit), enable it — it captures more subtle shadow and highlight detail that helps when you fix faded contrast. Disable the scanner's automatic enhancements, auto-crop, dust removal and color correction: you want a raw, faithful scan, and you will do the artistic corrections yourself in restoration tools. Scanner "auto" modes tend to crush contrast and over-saturate.
TIFF, PNG or JPG?
The scan is your master file, and masters should never be saved lossy. Scan to TIFF or PNG if your software allows — these are lossless formats that keep every pixel the scanner captured. JPG is a compressed format that throws away detail and adds blocky artifacts; those artifacts become painfully visible the moment you sharpen or enlarge the photo. Save the original scan as PNG or TIFF and keep it untouched forever.
JPG still has a place — but only as a derived copy. After you restore a photo, export a JPG or WebP for sharing on family chats and social media, using the Image Compressor to keep file sizes small. The chain should look like this: lossless scan (master) → restored working file → small JPG/WebP (sharing). Never overwrite the master with the sharing copy.
Preparing prints for a clean scan
Preparation is where most digital dust enters. Do these steps for every batch.
- Clean the scanner glass. Wipe it with a microfiber cloth; breath on a smudge and polish it. Dust on the glass becomes permanent white specks in every photo you scan.
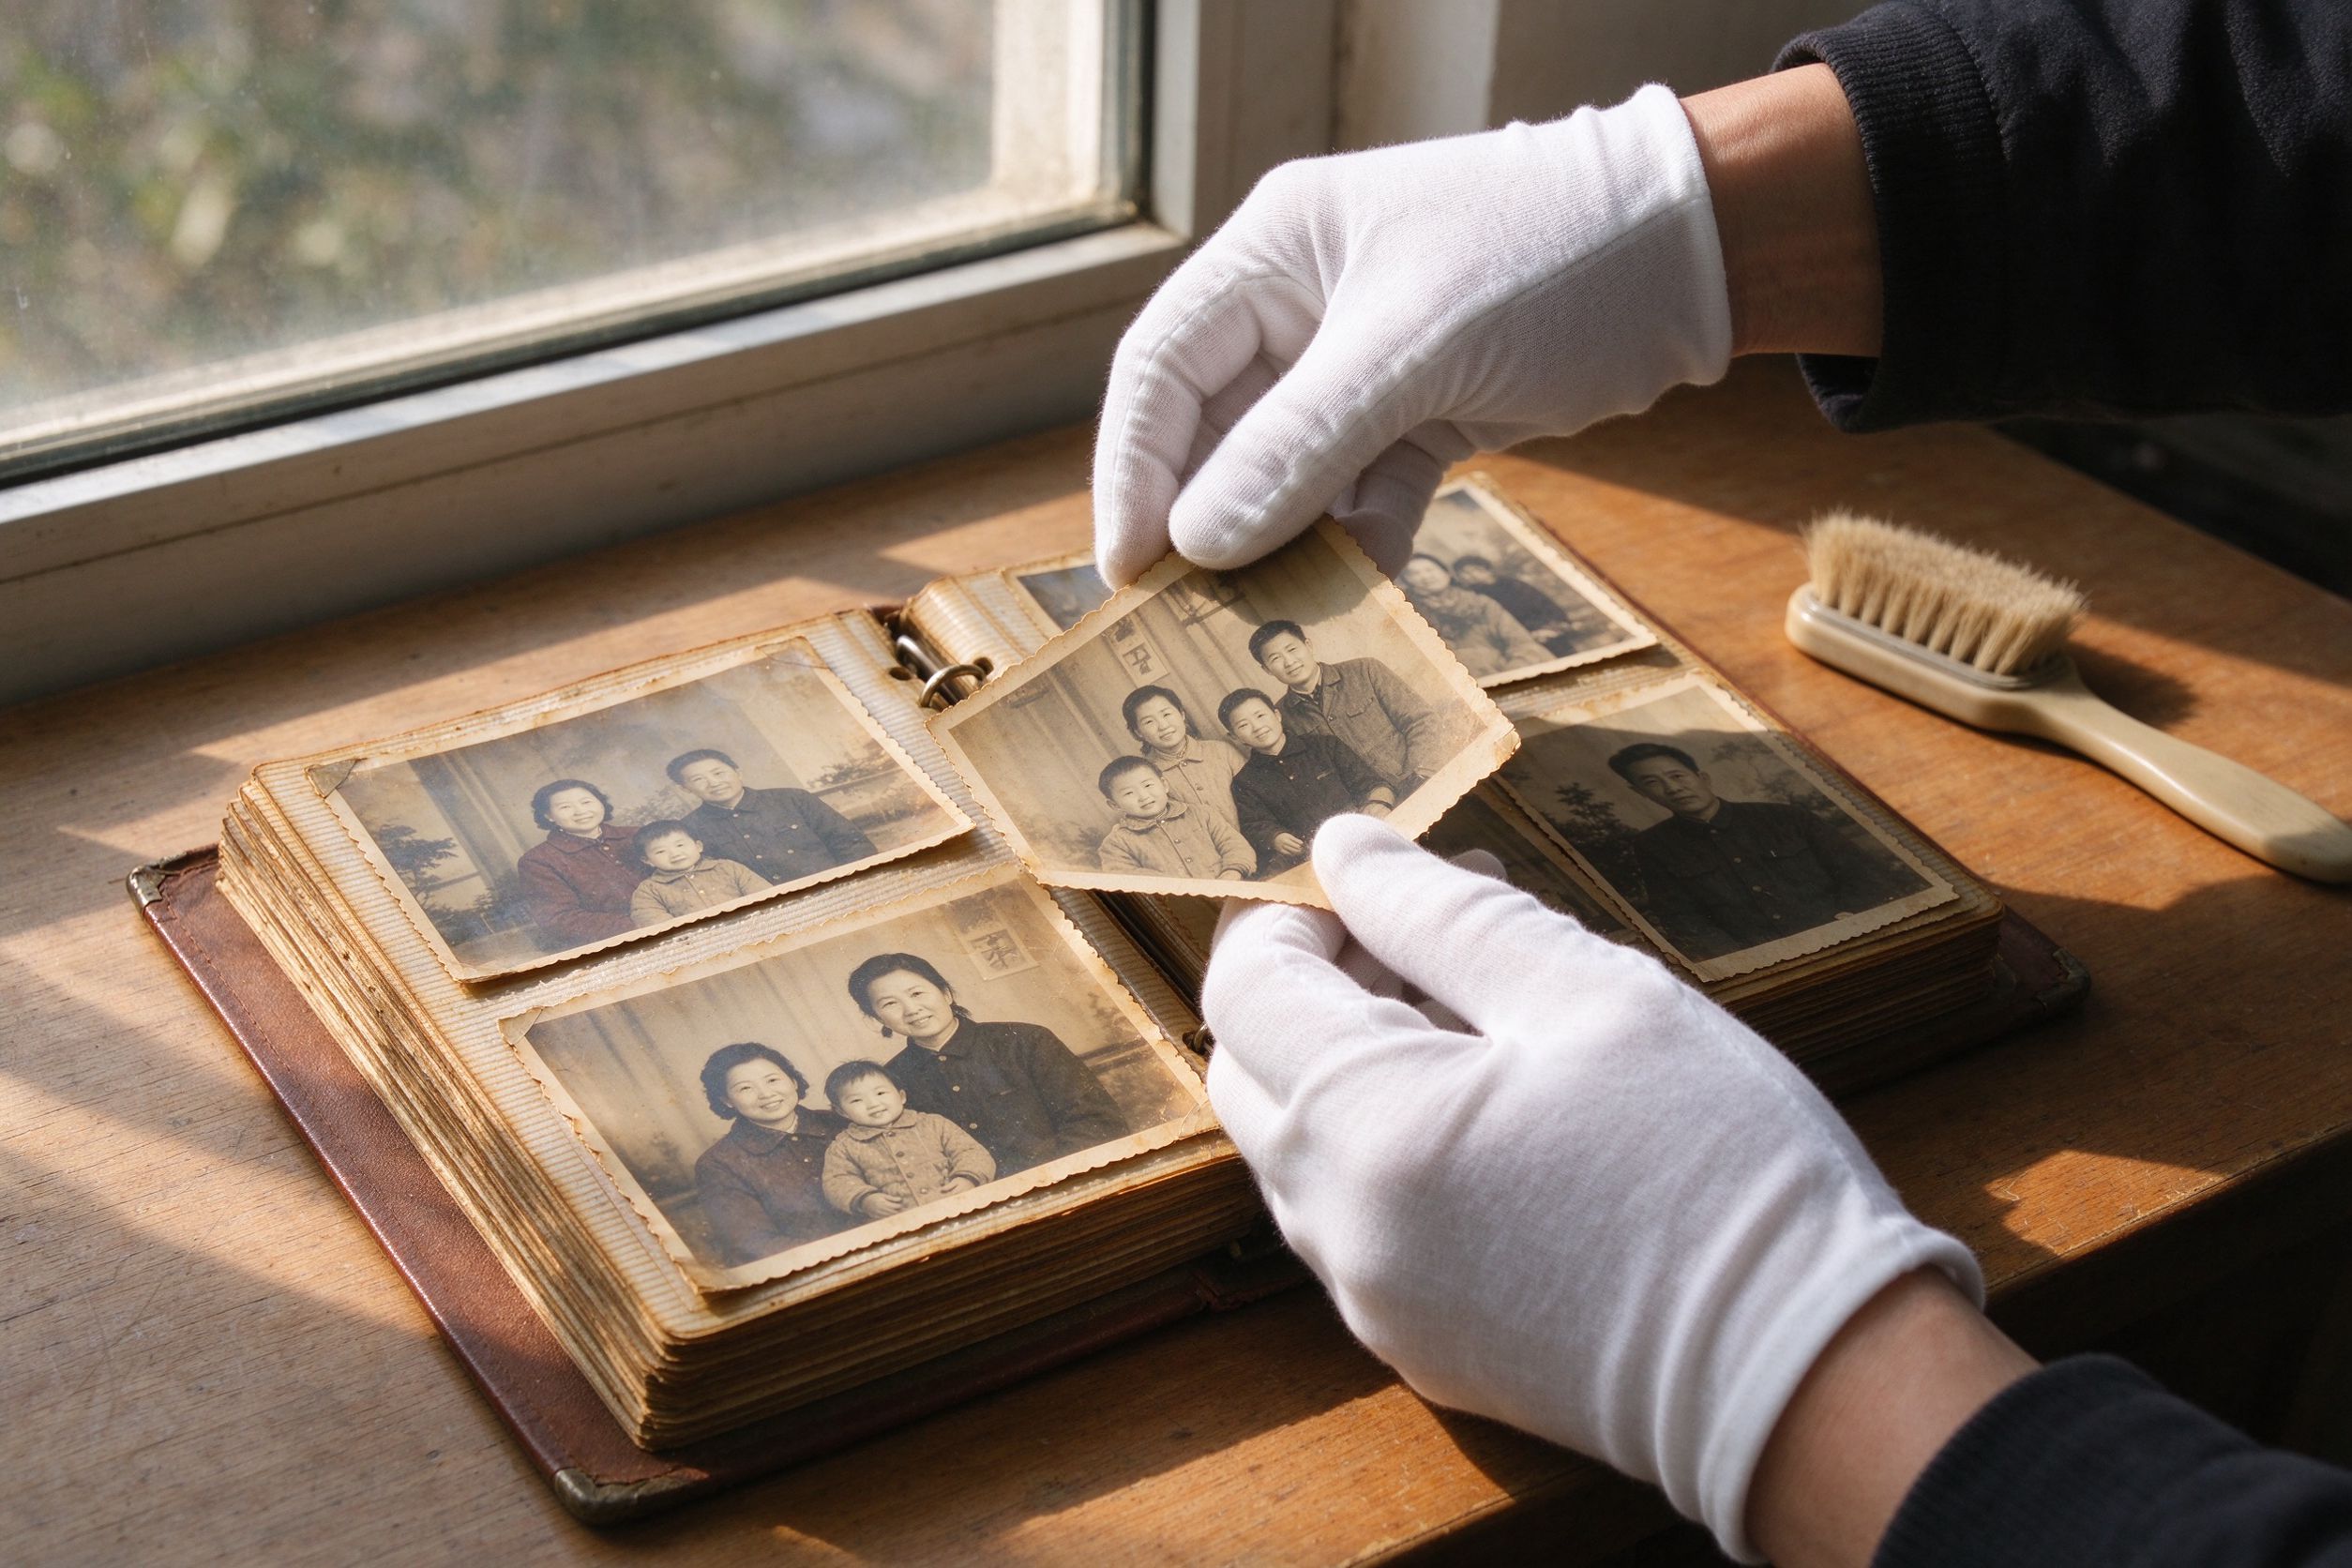
- Dust the print itself. Use a soft, dry brush or a rubber air blower — never a damp cloth on an emulsion that might peel.
- Handle edges, not surfaces. Oils from fingers leave marks that show up later; hold prints by the borders, and consider cotton gloves for very valuable ones.
- Flatten curled prints. Place them under a light book for a while, or scan with a second sheet of paper gently holding the corner down. A curled edge scans soft and out of focus.
- Scan slightly off the glass line if a photo is warped. Keep the lid propped open rather than forcing pressure that could crack brittle prints.
After a good scan, the restoration itself — fading, spots and sharpening — follows the workflow in our family photo restoration guide. Good preservation habits for the physical prints live in the photo care guide.
When you only have a phone
No flatbed? You can still get a usable digital copy with a smartphone, though it will not equal a scanner. Shoot in bright, even, diffused daylight — near a window but never in direct sun, which causes glare. Lay the photo flat on a neutral surface, hold the phone directly above it, perfectly parallel, and tap to lock focus and exposure on the image. Turn off flash completely; flash creates a hot reflection. If possible, use a free scanning app that automatically detects edges and flattens perspective.
The biggest phone-scan enemies are tilt (which trapezoids the photo), glare, and uneven light. Tilt is the hardest to correct later — line the phone up carefully. You can fix slight angle problems later with the Perspective Corrector, but a perfectly straight photo from the start is always better.
Batch scanning, naming and archiving
Once you start, scan in batches rather than one photo a week — the setup time is the same, and momentum matters. Keep a simple, consistent naming scheme with year and people, such as 1965-summer-garden-001.png, so files sort themselves chronologically. When a whole album needs converting to a shareable format, use the Batch Converter to turn many PNG masters into smaller JPGs in one pass — but restore each special photo individually rather than applying one automatic fix to the whole album.
Finally, store at least two copies of your masters: one on an external drive and one in a cloud service. A digital archive you only keep in one place is an archive one hard-drive failure away from being gone. With clean 600 DPI masters safely stored, your family photos are finally out of the fragile hands of time — and ready to be brought back to life.
修复软件的上限,取决于你喂给它的文件。用错 DPI、在布满灰尘的玻璃上扫成压缩 JPG,这些问题任何在线工具都修不回来。反过来,一张普通老照片只要扫描得法,修出来的效果常常让全家人惊喜。因此,把照片数字化,是整个修复过程中杠杆最高的一步,而它花的不过是一个小时的耐心。
本指南讲清家用平板扫描仪的具体设置、如何处理和准备易碎相纸、没有扫描仪时怎么办,以及如何整理这些文件。一旦有了干净的数字母版,真正的修复——色彩、划痕、锐化——反而是简单的部分,而且全程在你浏览器里私密完成。
一、为什么扫描决定最终质量
每个修复工具都只对眼前的像素负责。它无法找回扫描时没拍下的细节,无法把扫描失焦的脸变清晰,也无法消除曝光那一刻落在扫描玻璃上的灰尘。把扫描想象成给你的照片再拍一张:更差的扫描就像更差的原件,再多编辑也造不出从未记录的信息。这就是为什么只要有平板扫描仪,我们总是建议扫描而非用手机翻拍——但手机的办法我们下面也会讲。
好消息是你并不需要昂贵的扫描仪。一台入门级、600–1200 DPI 的平板,只要保持干净、用法正确,就足以漂亮地数字化整座家庭档案。错误几乎总是出在设置和操作上,而不是硬件上。
二、选对 DPI
DPI(每英寸点数)是扫描仪在相纸每一英寸上记录的细节量。DPI 越高,像素越多、文件越大,之后裁剪、放大、锐化的余地也越大。但并非越高越好——把一张 4×6 英寸的照片扫成 4800 DPI,会得到一个巨大的文件,却没有额外真实细节,因为相纸里本来就没有。
- 300 DPI——最低线。常见的 10×15 厘米(4×6 英寸)照片约变成 1200×1800 像素。屏幕观看和小尺寸冲印够用,但裁进一张脸的余地很小。
- 600 DPI——推荐的甜点。同一张照片约变成 2400×3600 像素。这是最佳平衡:足以从合影里裁出一张脸仍有细节,文件又不至于大得离谱。几乎所有照片都选它。
- 1200 DPI——给很小或很精细的物件。留给小照片——钱包大小的婴儿照、合影密集的小照片——那些你会用力裁剪的。它也是扫描胶片底片的合适设置,详见我们的胶片扫描指南。
一个捷径:普通相纸扫 600 DPI,只有原件很小或明确要紧裁剪时才用 1200。而且一定要连同边缘整幅扫描——之后可以用照片裁剪工具再裁,但扫描前裁掉的边框再也找不回来。
三、色彩模式与位深
现代扫描仪提供彩色、灰度和胶片模式。对普通相纸照片,即使是黑白照片,也选24 位彩色(RGB)。用彩色模式扫黑白相纸,能捕捉到暖调纸色和年代污渍,之后你想保留暖调、中和偏色,还是做正规的棕褐色处理,都有更多素材。直接用灰度模式扫描,则永久丢弃了这些颜色信息。
如果扫描仪提供更高位深(48 位),就打开它——它能捕捉更细腻的阴影与高光细节,对你之后修复褪色对比有帮助。关掉扫描仪的自动增强、自动裁切、除尘和校色:你要的是一张原始、忠实的扫描,艺术化校正由你自己在修复工具里完成。扫描仪的「自动」模式往往会压死对比、饱和过度。
四、TIFF、PNG 还是 JPG?
扫描件是你的母版,母版绝不能用有损格式。如果软件允许,扫成 TIFF 或 PNG——这两种无损格式保留扫描仪抓到的每一个像素。JPG 是有损压缩,会丢弃细节并产生块状伪影,一旦你锐化或放大,这些伪影就刺目地显现出来。把原始扫描存为 PNG 或 TIFF,永远不动它。
JPG 仍有位置——但只作为派生副本。修复完成后,再导出一份 JPG 或 WebP 发到家庭群和社交媒体,用图片压缩把体积压小。链条应该是这样:无损扫描(母版)→ 修复工作文件 → 小尺寸 JPG/WebP(分享)。绝不要用分享副本覆盖母版。
五、为干净扫描做准备
准备步骤,正是大多数数字灰尘进入的地方。每一批都照做。
- 擦净扫描玻璃。用镜布擦;对着污渍哈一口气再擦亮。玻璃上的灰会变成你扫的每张照片里永久的白点。
- 去掉照片本身的浮尘。用柔软的干刷或橡胶气吹——乳剂可能剥落时,绝不要用湿布。
- 捏边缘,不碰画面。手指油脂会留下日后显现的印子;捏边框拿照片,非常珍贵的可以戴棉手套。
- 压平卷曲照片。先用一本轻书压一会儿,或扫描时用另一张纸轻轻压住翘角。卷曲的边缘扫出来是虚的。
- 照片翘曲时别硬压玻璃。把盖子撑起留缝扫描,而不是用力压,那样可能让发脆的照片开裂。
扫好之后,修复本身——褪色、斑点、锐化——按我们家庭老照片修复指南的流程走。物理照片的保存习惯见照片保养指南。
六、只有手机时怎么办
没有平板扫描仪?用智能手机仍能得到可用的数字拷贝,虽然比不上扫描仪。在明亮、均匀、漫射的自然光下拍——靠窗但绝不直射阳光,阳光会造成反光。把照片平放在中性背景上,手机从正上方、完全平行地对准它,在照片上点按锁定对焦与曝光。彻底关掉闪光灯;闪光灯会打出一团热反光。如果可以,用一个能自动识别边缘、拉平透视的免费扫描 App。
手机翻拍的三大敌人是倾斜(让照片变成梯形)、反光和光线不均。倾斜是最难后期补救的——一开始就把手机对齐。轻微的角度问题之后可以用透视校正处理,但从一开始就拍正,永远更好。
七、批量扫描、命名与归档
一旦开始,就成批扫描,而不是一周扫一张——搭设备的时间一样,而一鼓作气很重要。用简单一致的命名,带年份和人物,例如 1965-summer-garden-001.png,文件就会按时间自动排序。整本相册需要转成可分享格式时,用批量转换一次把许多 PNG 母版转成较小的 JPG——但每张特别的照片都应单独修复,而不是对整本册子套一个自动修复。
最后,母版至少存两份:一块移动硬盘加一个云服务。只放在一处的数字档案,差一次硬盘故障就烟消云散。把干净的 600 DPI 母版安全存好,你的家庭照片才算真正从时间脆弱的手中接了过来——准备好重获新生。