Scratch & Spot Remover
Brush away thin scratches, dust specks and age stains from old photographs with smart local smoothing — free, private, and right in your browser.
用智能局部平滑,抹去老照片上的细划痕、灰尘点与年代污渍——免费、私密,就在浏览器中完成。
Private by design — your photo is processed locally and never uploaded.Drop a photo here, or click to browse
Supported formats: JPG, PNG, WebP, GIF, BMP
Drag to compare
Tip: upload the largest scan you have — bigger input gives better results.
How It Works
Most old prints carry small enemies: a hair dragged across the scanner glass, dust that baked onto the emulsion, a thin crack in the negative, foxing stains in the paper. A global blur would erase these marks — but also every eyelash and pore. The Scratch & Spot Remover instead asks one question of every pixel: "are you suspicious compared to your local neighborhood?" If yes, it blends you toward the neighborhood median; if no, it leaves you completely alone. Everything runs locally in your browser, so the photo never leaves your device.
The two controls:
Repair radius
The size of the neighborhood inspected around each pixel. Radius 1 handles hairline scratches and dust dots; radius 2 covers wider specks and light stains, at the cost of slightly softer fine detail.
Sensitivity (threshold)
How different a pixel must look from its surroundings before it is treated as damage. Higher sensitivity removes more scratches, but also starts softening real texture; lower sensitivity is conservative and keeps faces intact.
Why median, not blur
A median filter takes the middle value of the neighborhood instead of the average. A single bright scratch line is the minority in every window it crosses, so it is voted out — while real edges, where half the pixels are dark and half light, survive the vote.
Selective blending
Only pixels that strongly disagree with the median are pulled toward it. Skin, walls and sky that look normal are never touched, which is why the result stays natural instead of going plastic.
An honest note: this tool is tuned for thin scratches, dust and small spots. It cannot fill a large torn-out area, inpaint around a big fold, or remove a heavy stain that covers a whole face — those need cropping or careful manual work. If a mark is wider than a few pixels, raise the repair radius and sensitivity gradually and check the before/after preview.
大多数老照片都有一些小麻烦:扫进玻璃的一根头发、烘焙进乳剂的灰尘、底片上一道细裂纹、相纸上的褐锈斑。整体模糊能去掉这些痕迹——但也会抹掉每一根睫毛和毛孔。Scratch & Spot Remover 转而对每个像素只问一个问题:「你和周围邻居相比,是不是很可疑?」可疑,就把你拉向邻域中值;不可疑,就完全不动你。全程在浏览器本地运行,照片从不离开设备。
两个控制项:
修复半径
每个像素周围考察的邻域大小。半径 1 处理发丝细划痕与灰尘点;半径 2 覆盖更大的斑点与浅污渍,代价是细腻细节略软。
敏感度(阈值)
一个像素要和周围差多少才算「损伤」。敏感度越高,去掉的划痕越多,但也开始软化真实纹理;低敏感度更保守,能保住人脸。
为什么用中值而不是模糊
中值滤波取邻域中间值而非平均值。一条亮划痕线在它穿过的每个窗口里都是少数派,会被「投票淘汰」;而真实边缘(一半暗一半亮)则能通过投票存活。
选择性混合
只有与中值差异很大的像素才被拉向中值。正常的皮肤、墙面与天空从不被触碰,所以结果保持自然,不会变成塑料感。
诚实说明:本工具针对细划痕、灰尘与小斑点。它无法填补大块撕裂缺失区域,无法修补深折痕周围,也无法去除覆盖整张脸的重度污渍——这些需要裁剪或手工精修。如果痕迹比几个像素宽,请逐步提高修复半径与敏感度,并观察前后对比预览。
How to Use
- Upload the damaged scanDrop in the photo with visible scratches or dust. A clean flatbed scan at 300+ DPI gives the algorithm clear signal to work with.
- Click "Auto Smooth"The default radius 1 and sensitivity 50 remove most hairline scratches and dust specks while keeping faces natural.
- Raise sensitivity for bad scansIf visible scratches survive, nudge "Sensitivity" up in steps of 10 until they fade — stop before skin texture starts to soften.
- Widen the radius for big spotsFor larger dust blobs or light stains, switch "Repair radius" to 2; keep an eye on eyelashes and fine lines.
- Download the cleaned photoExport PNG for your archive, JPG for sharing, WebP for the smallest size.
- 上传有损伤的扫描件拖入带划痕或灰尘的照片。干净的 300 DPI 以上平板扫描能给算法清晰的信号。
- 点击「自动平滑」默认半径 1、敏感度 50,可去除大多数发丝划痕与灰尘点,同时保持人脸自然。
- 糟糕扫描就提高敏感度如果还有可见划痕,以 10 为步长提高「敏感度」直到它们消失——在皮肤纹理开始发软之前停下。
- 大斑点就加宽半径对付较大的灰点或浅污渍,把「修复半径」切到 2;留意睫毛与细线是否变柔。
- 下载清洗结果存档导出 PNG,分享用 JPG,追求最小体积用 WebP。
FAQ
Is my photo uploaded to a server?
Can it remove big tears or missing areas?
Some thin scratches are still visible. What now?
Why does the photo look soft after processing?
Is it free?
我的照片会被上传到服务器吗?
它能去除大撕裂或缺失区域吗?
一些细划痕还看得见,怎么办?
处理后照片为什么发柔?
是免费的吗?
Related Tools

AI Photo Restorer
Full one-click restore: it runs its own light scratch smoothing on top of color and noise fixes.
一键完整修复:在色彩与降噪之上再做轻度划痕平滑。

Photo Denoiser
Dust specks are a form of noise — the denoiser handles fine grain while this tool targets long scratches.
灰尘点也是一种噪点——降噪器管细腻颗粒,本工具专攻长条划痕。
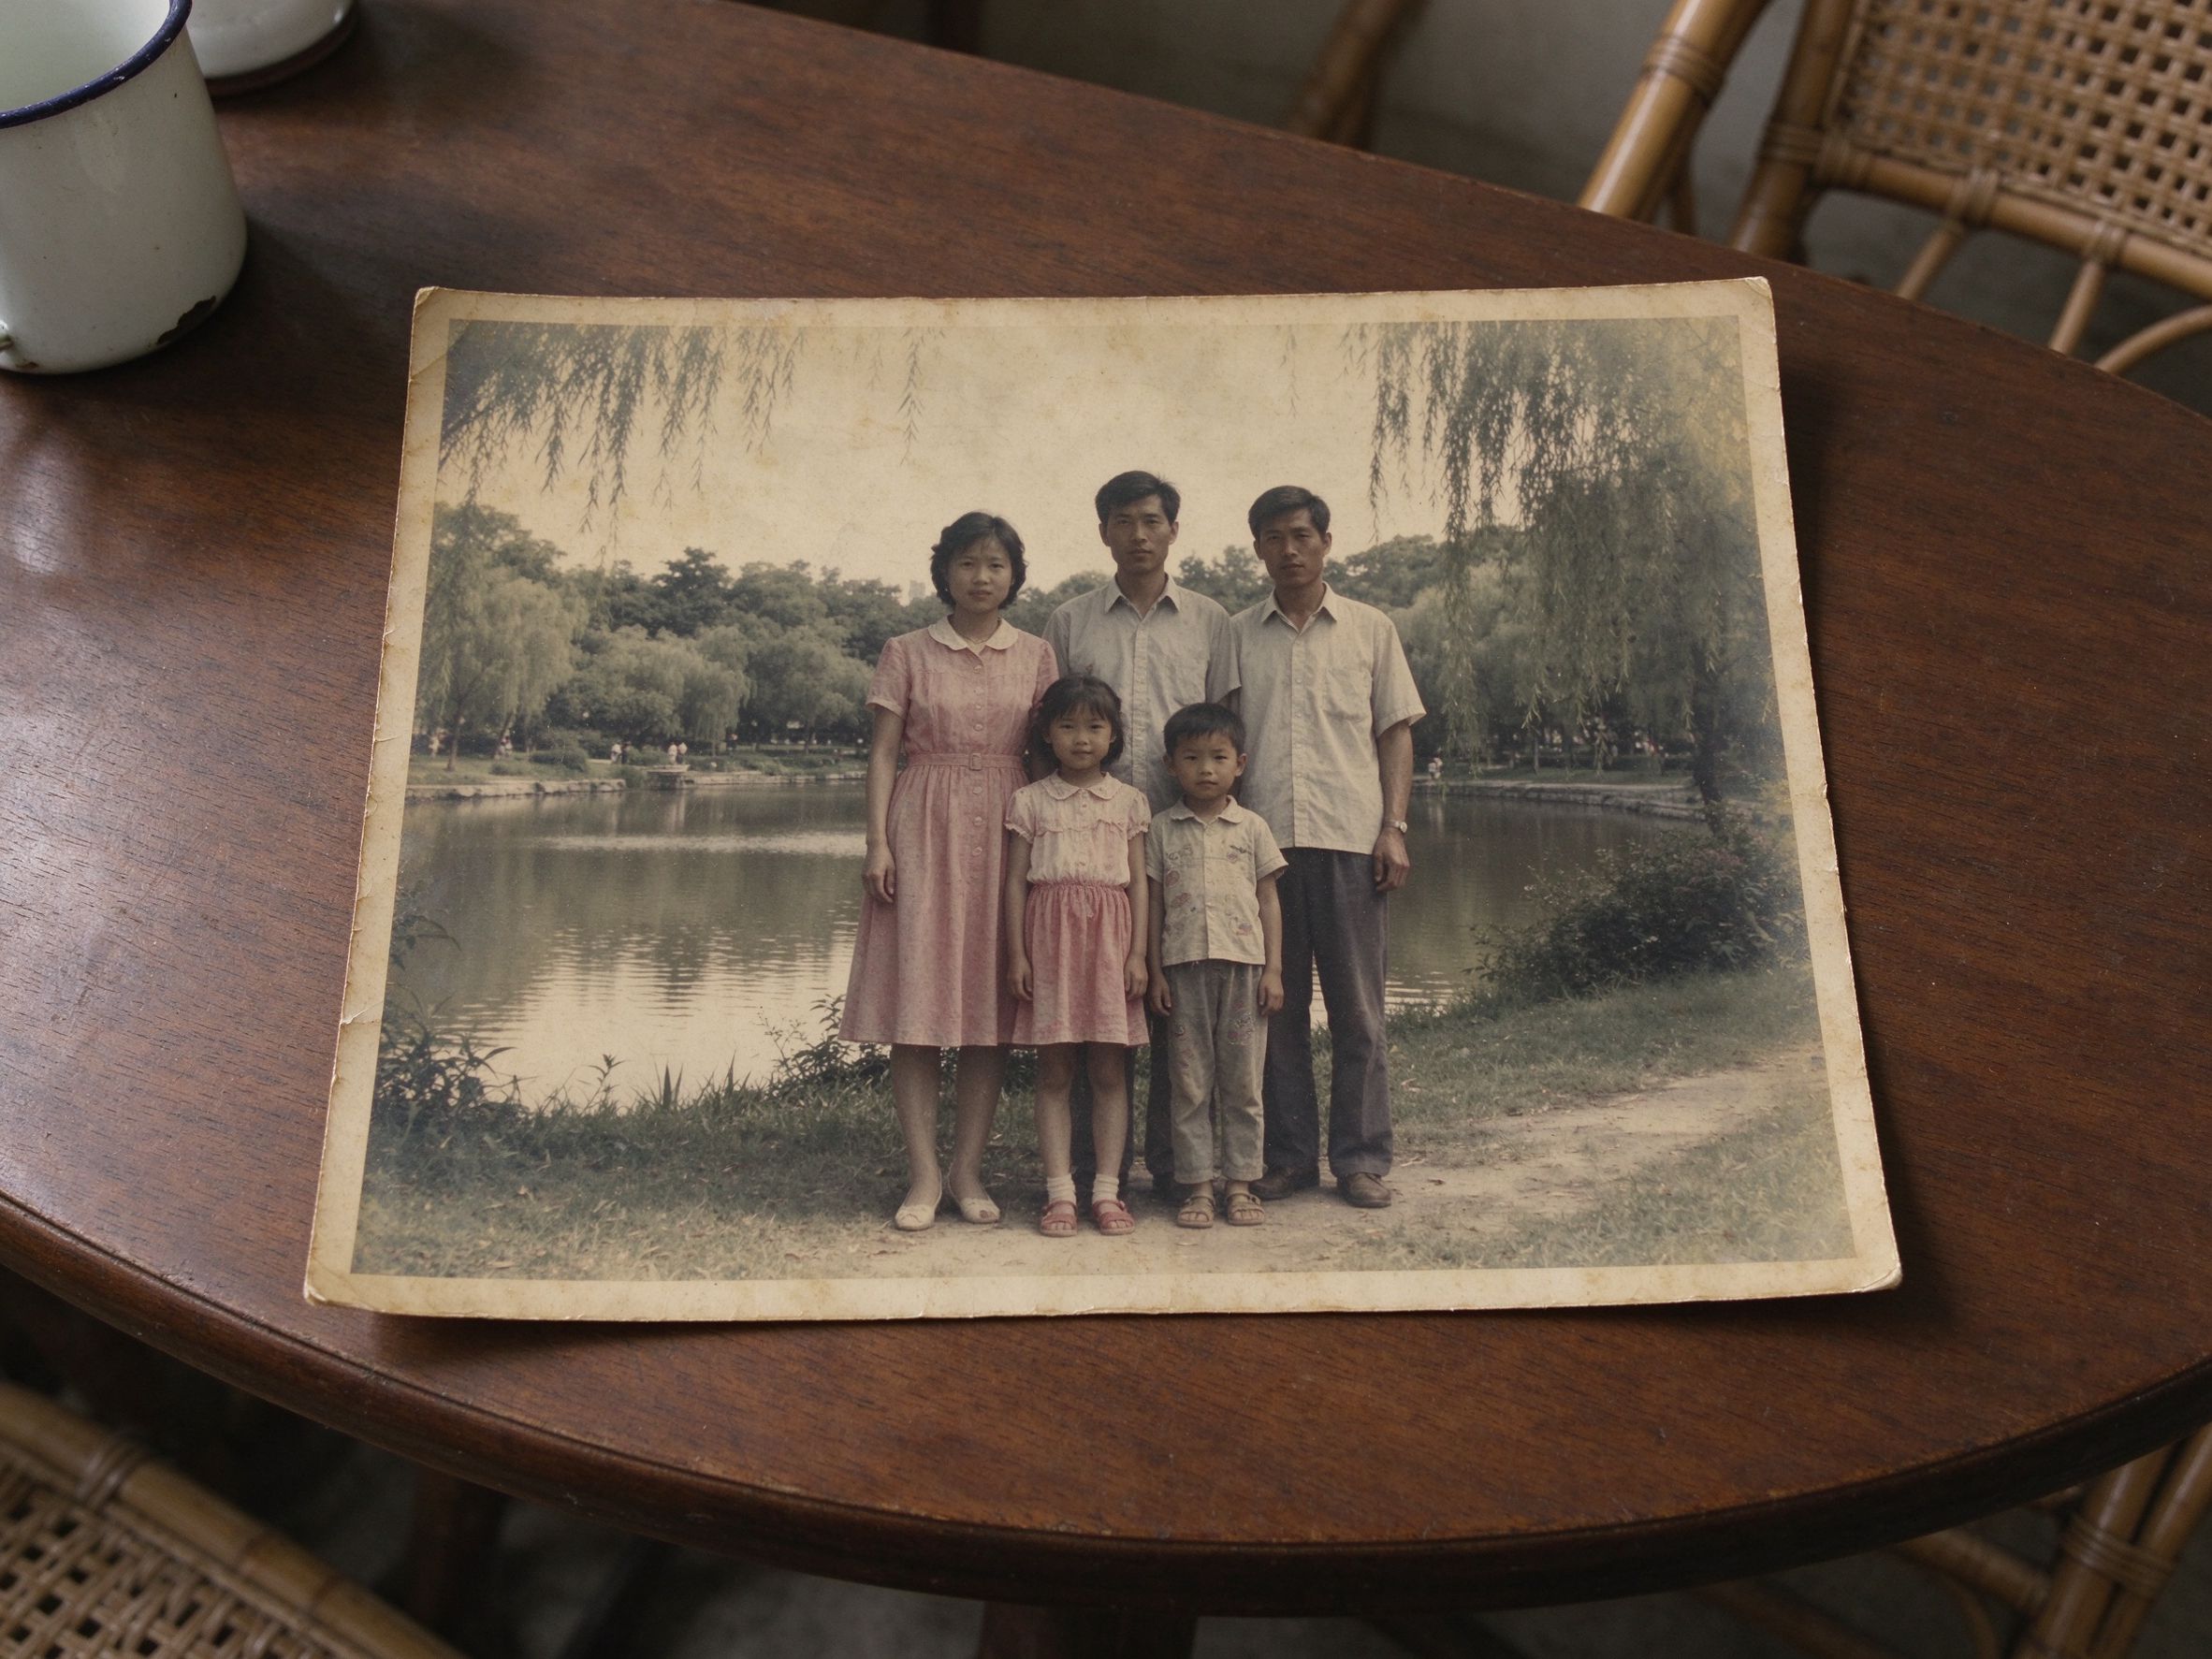
Faded Photo Fixer
Remove marks first, then bring back the color and contrast — the natural restore order.
先去痕迹,再恢复色彩与对比度——自然的修复顺序。
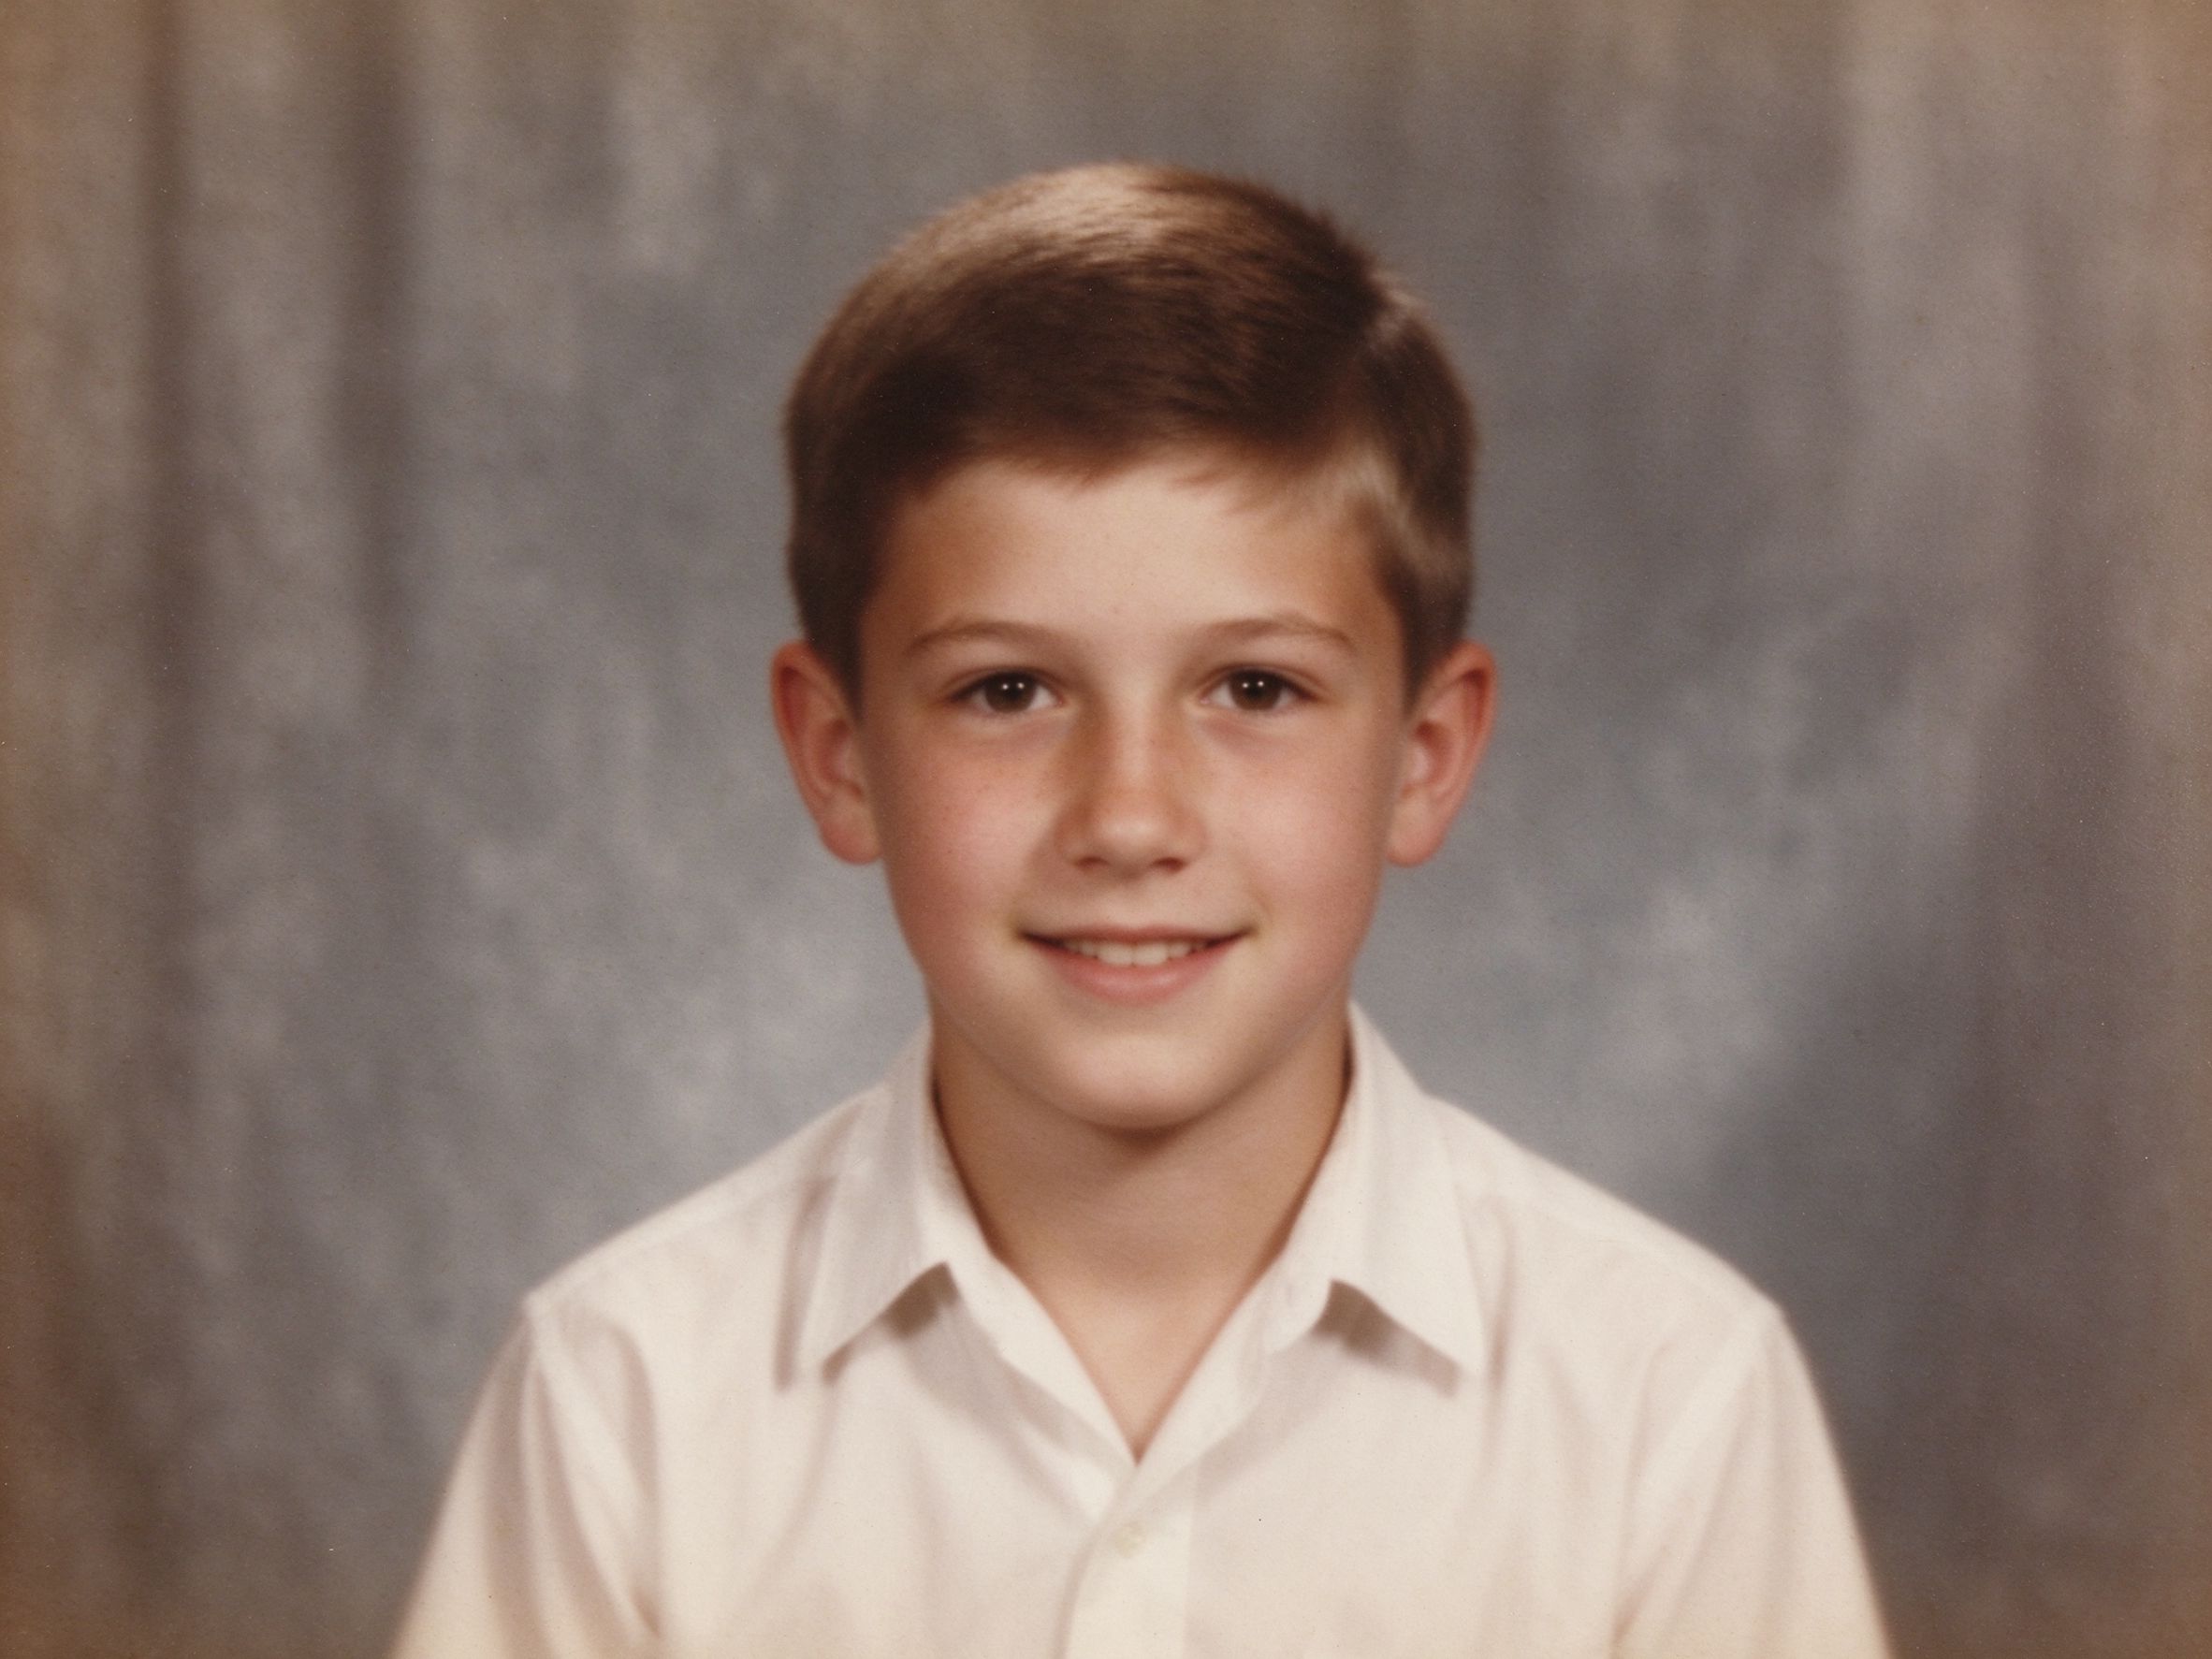
Photo Sharpener
Once scratches are gone, sharpen the cleaned image for that finished restored look.
划痕去除后,锐化清洗好的图像,获得完成修复的观感。
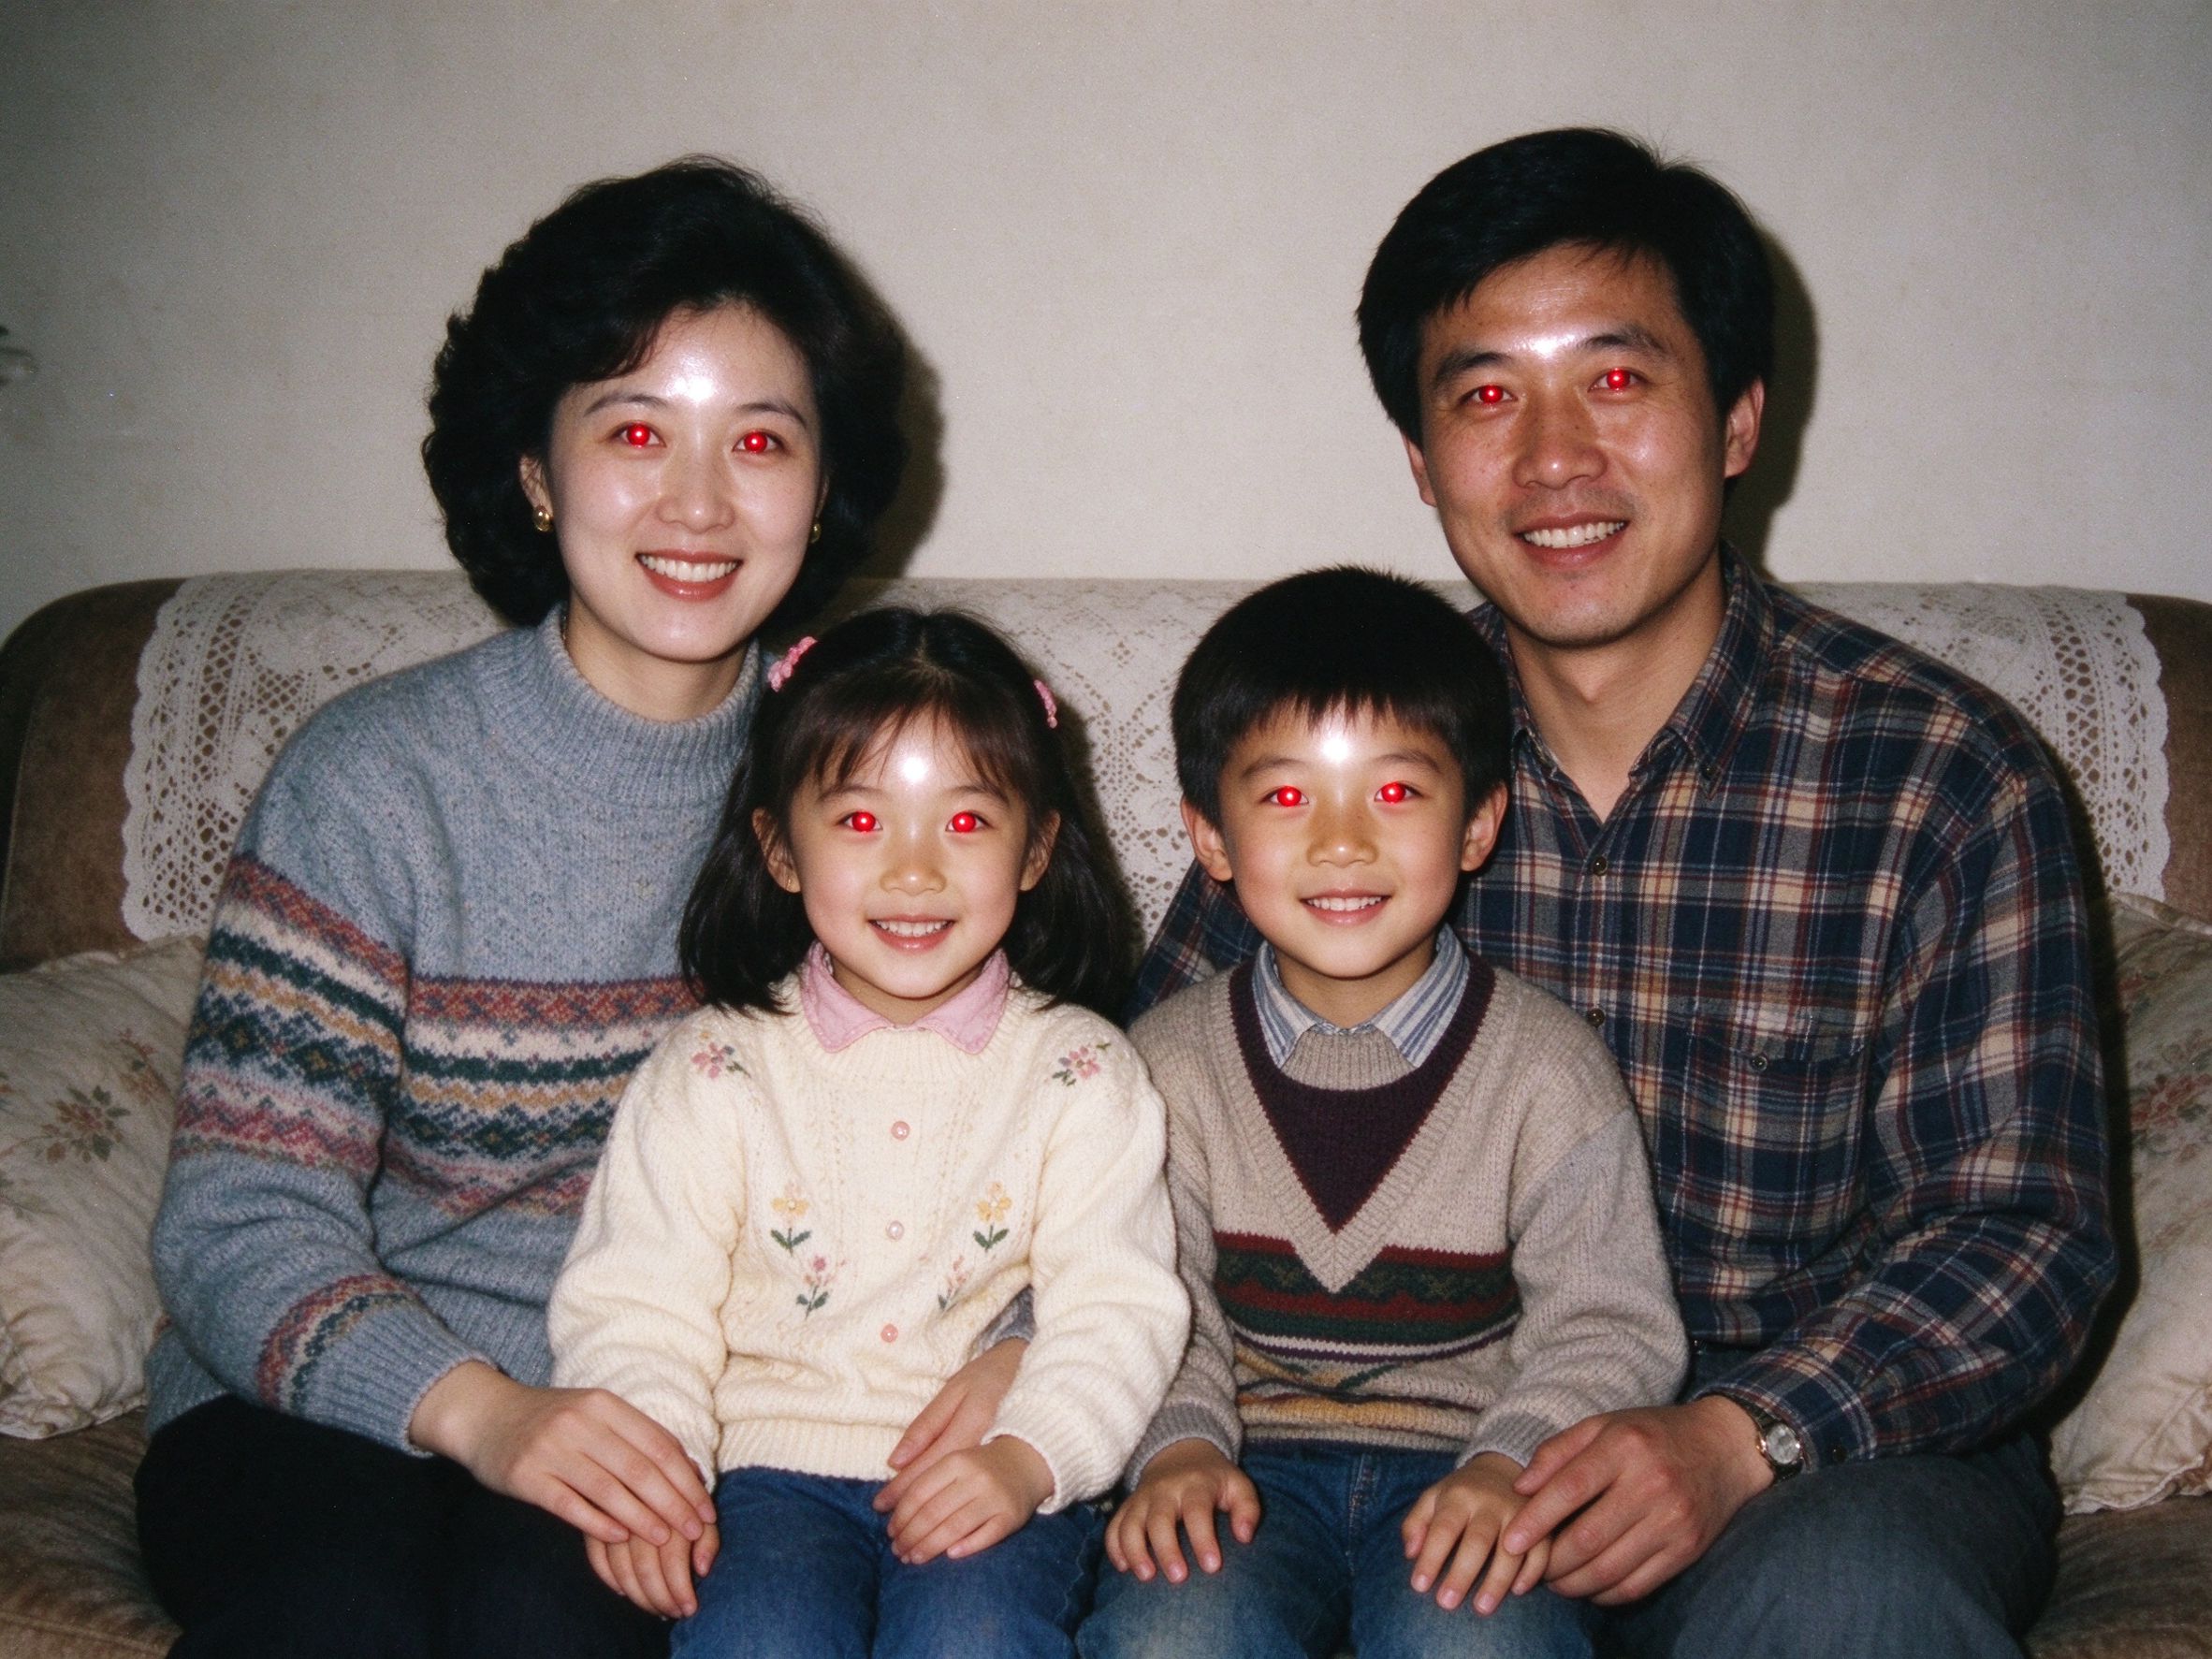
Red Eye Remover
Spot-fix flash red eyes after the broader scratch cleanup is done.
大范围划痕清理完成后,再定点修复闪光灯红眼。

Black & White Converter
Clean scratches first — monochrome makes every remaining spot twice as visible.
先清理划痕——黑白会让任何残留斑点显眼两倍。
Related Guides
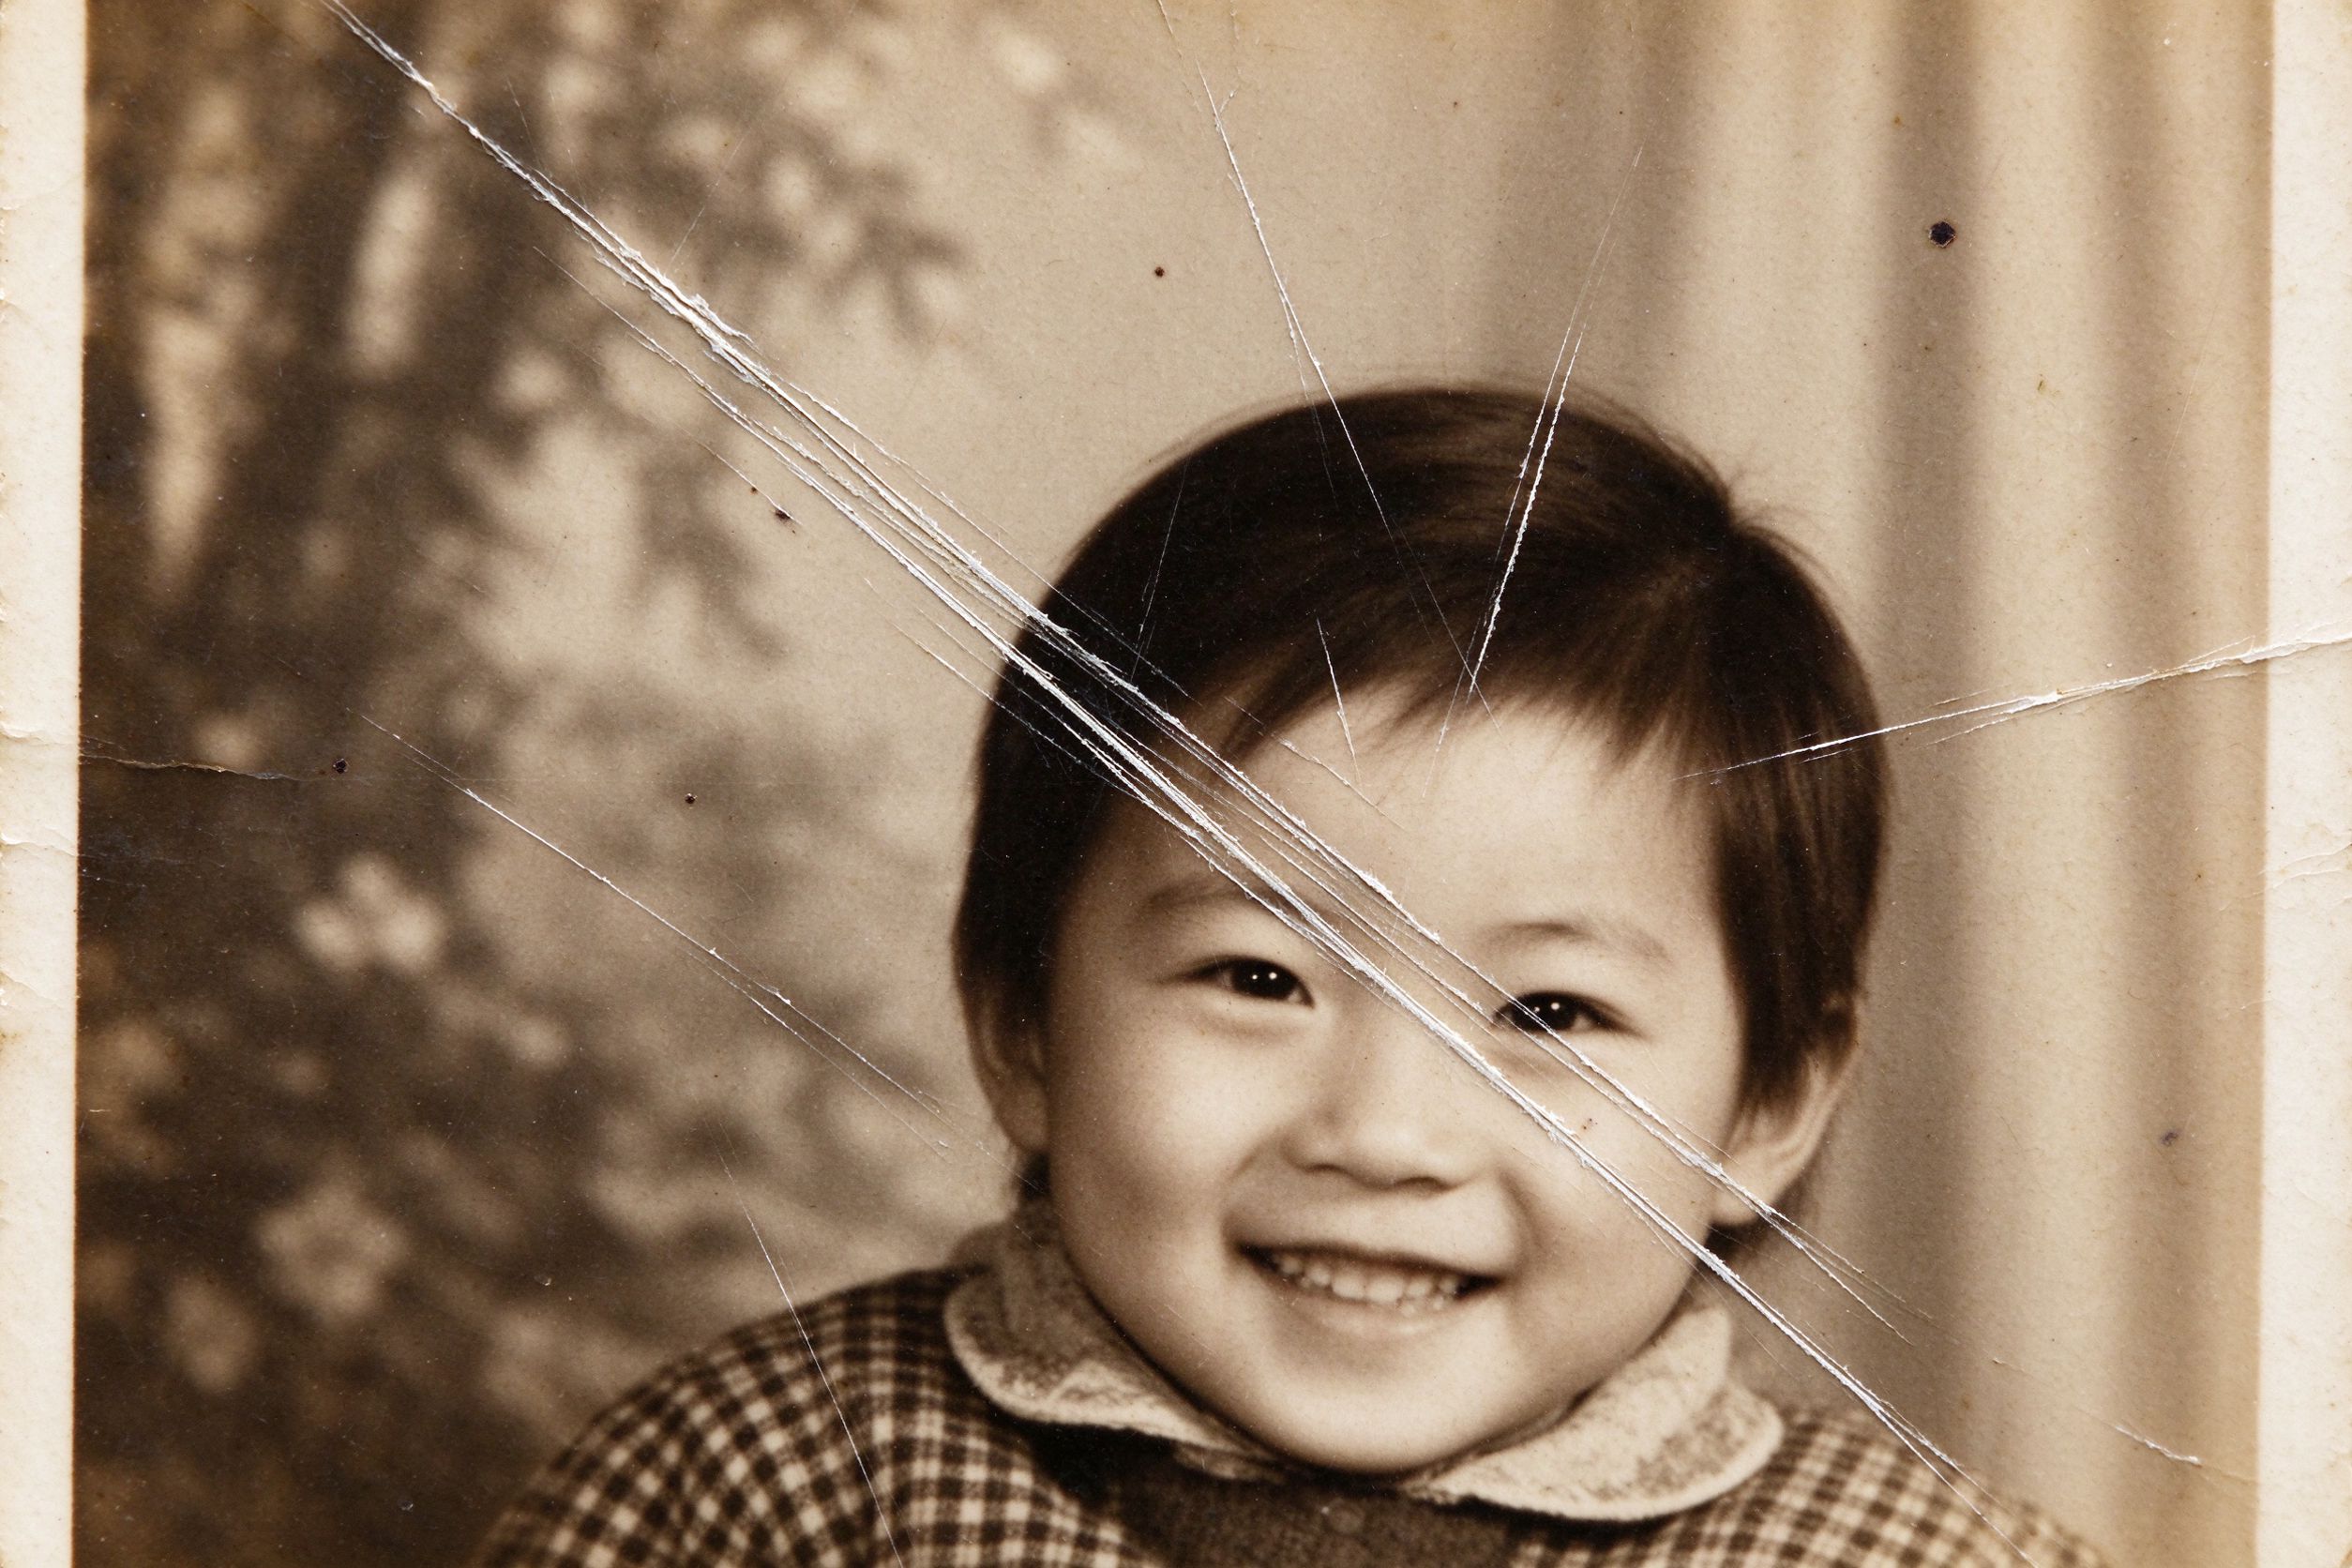
How to Remove Scratches and Spots from Old Photographs
Which marks to fix automatically and which need careful manual retouching.
哪些痕迹适合自动处理,哪些需要手工精修。
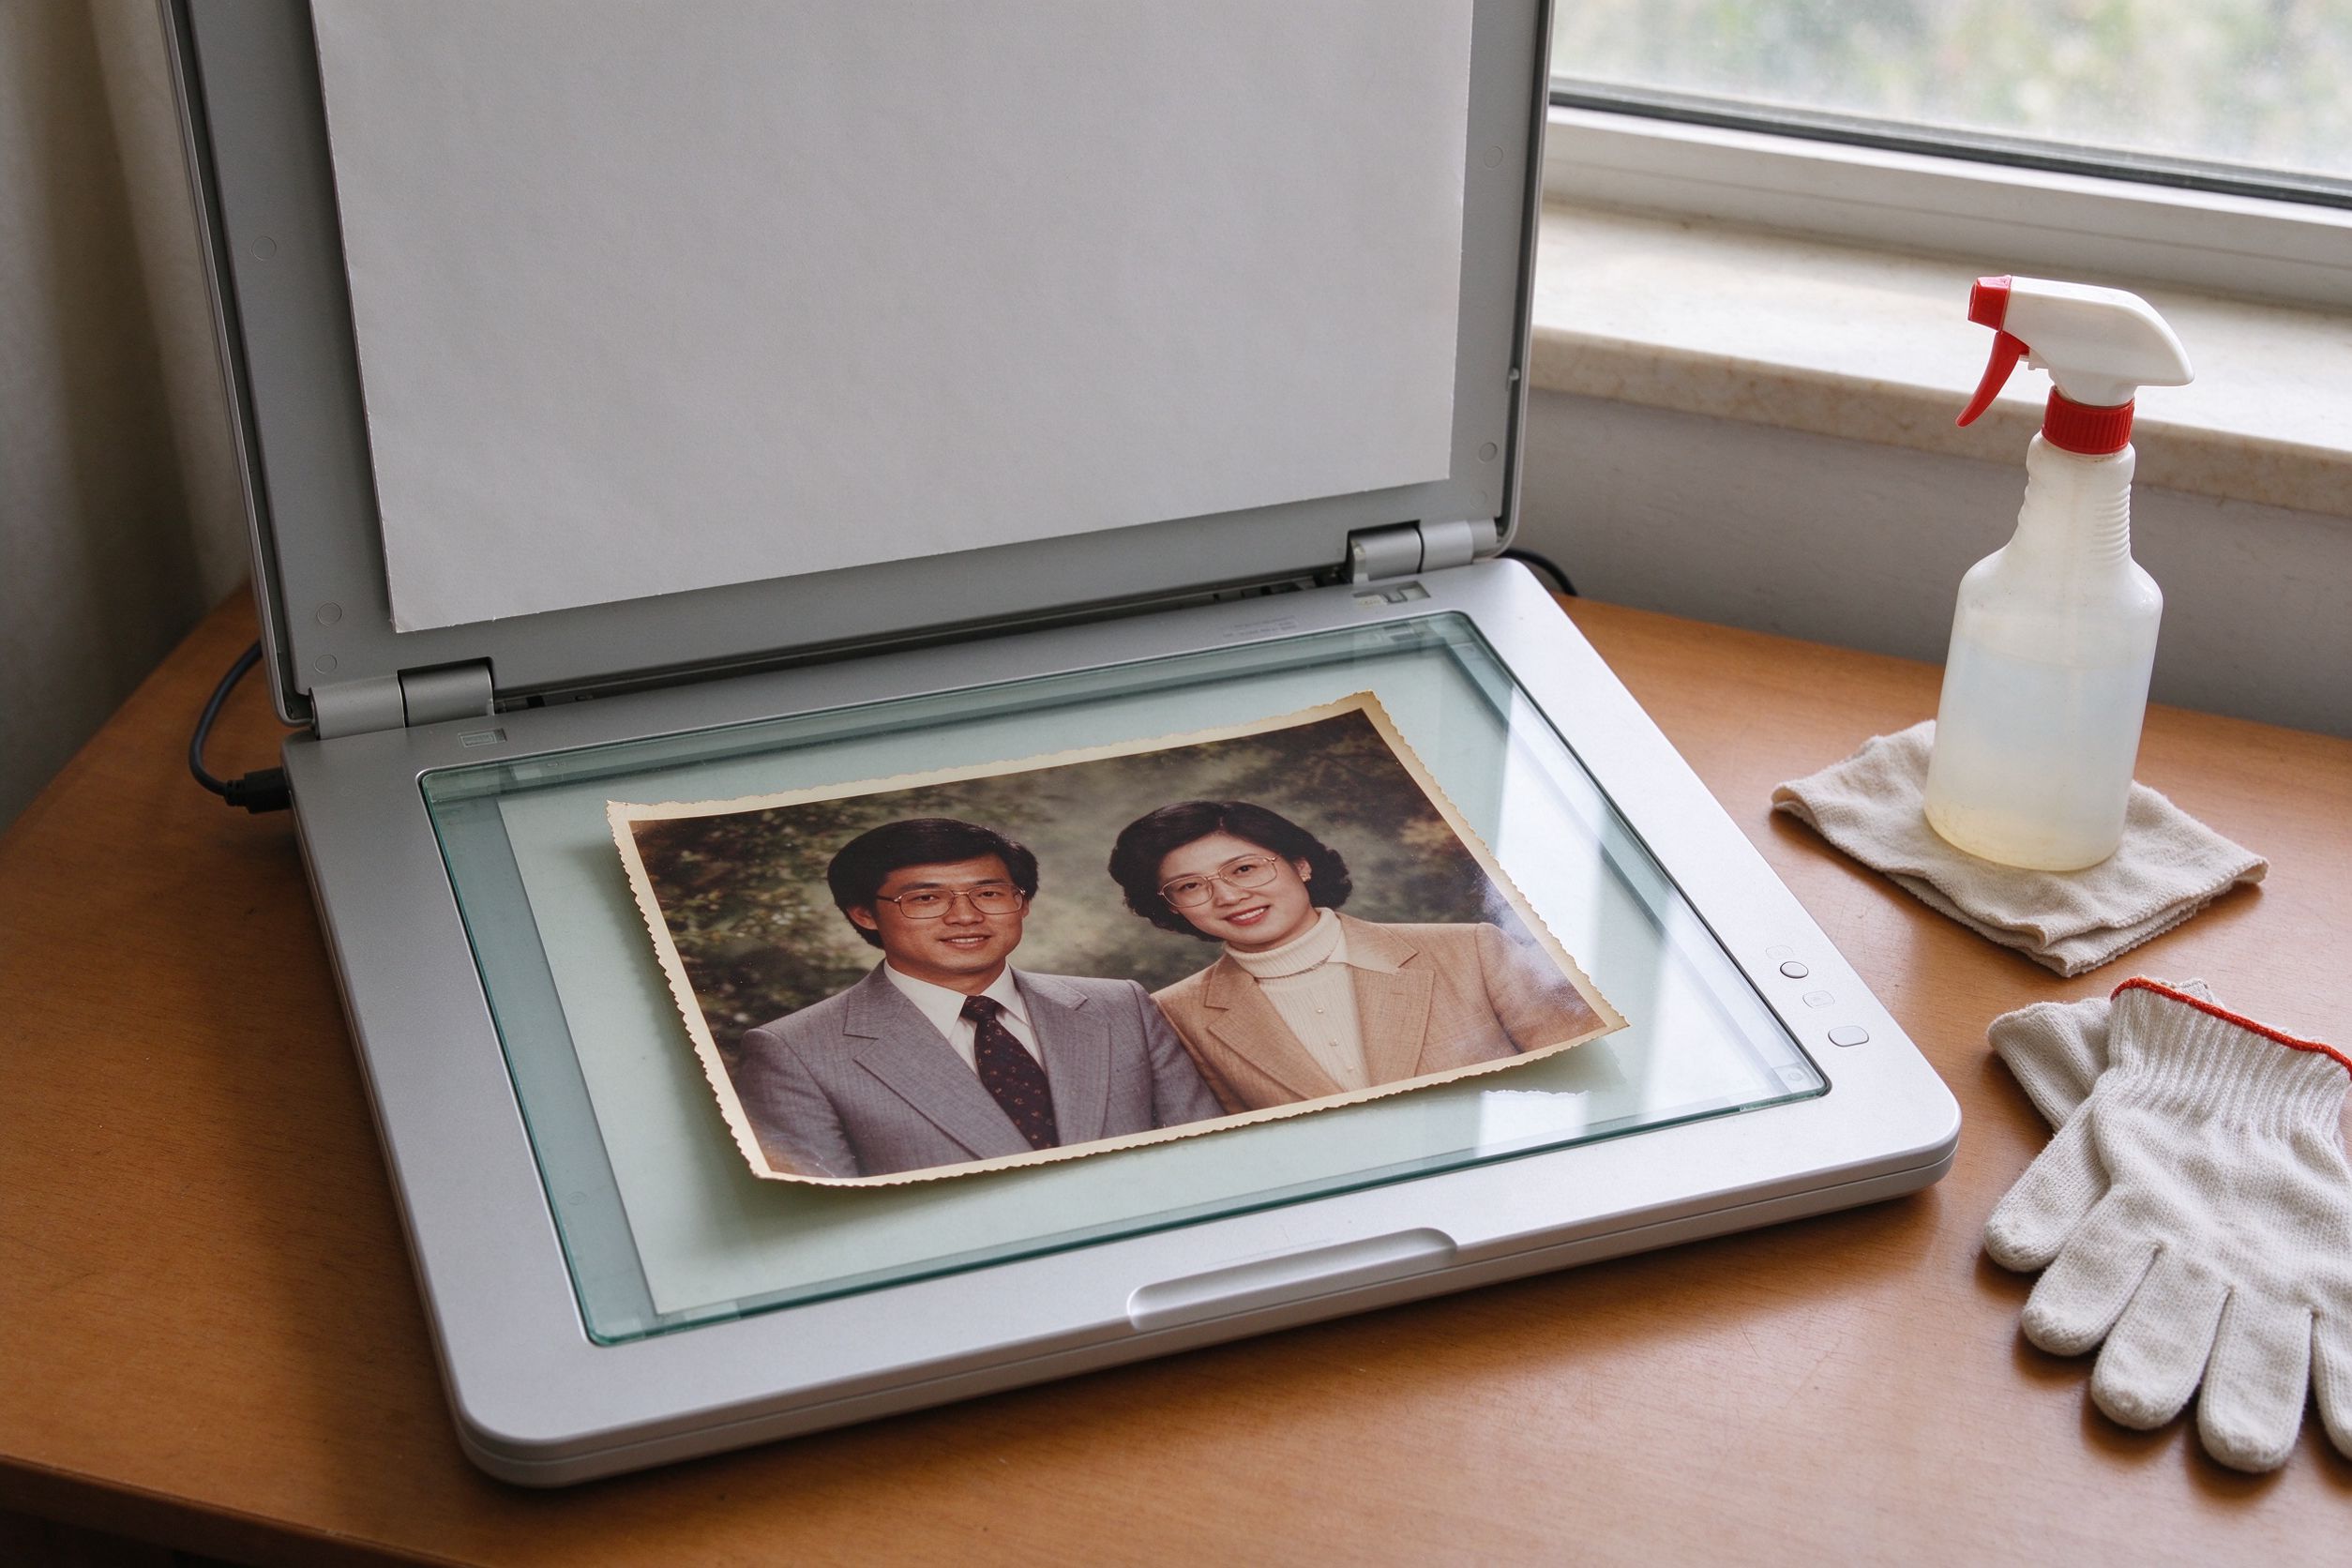
Scanning Old Photos: Best Settings & Prep
Wiping the scanner glass prevents half the scratches you would otherwise remove.
擦净扫描玻璃,能避免一半本来要去除的划痕。
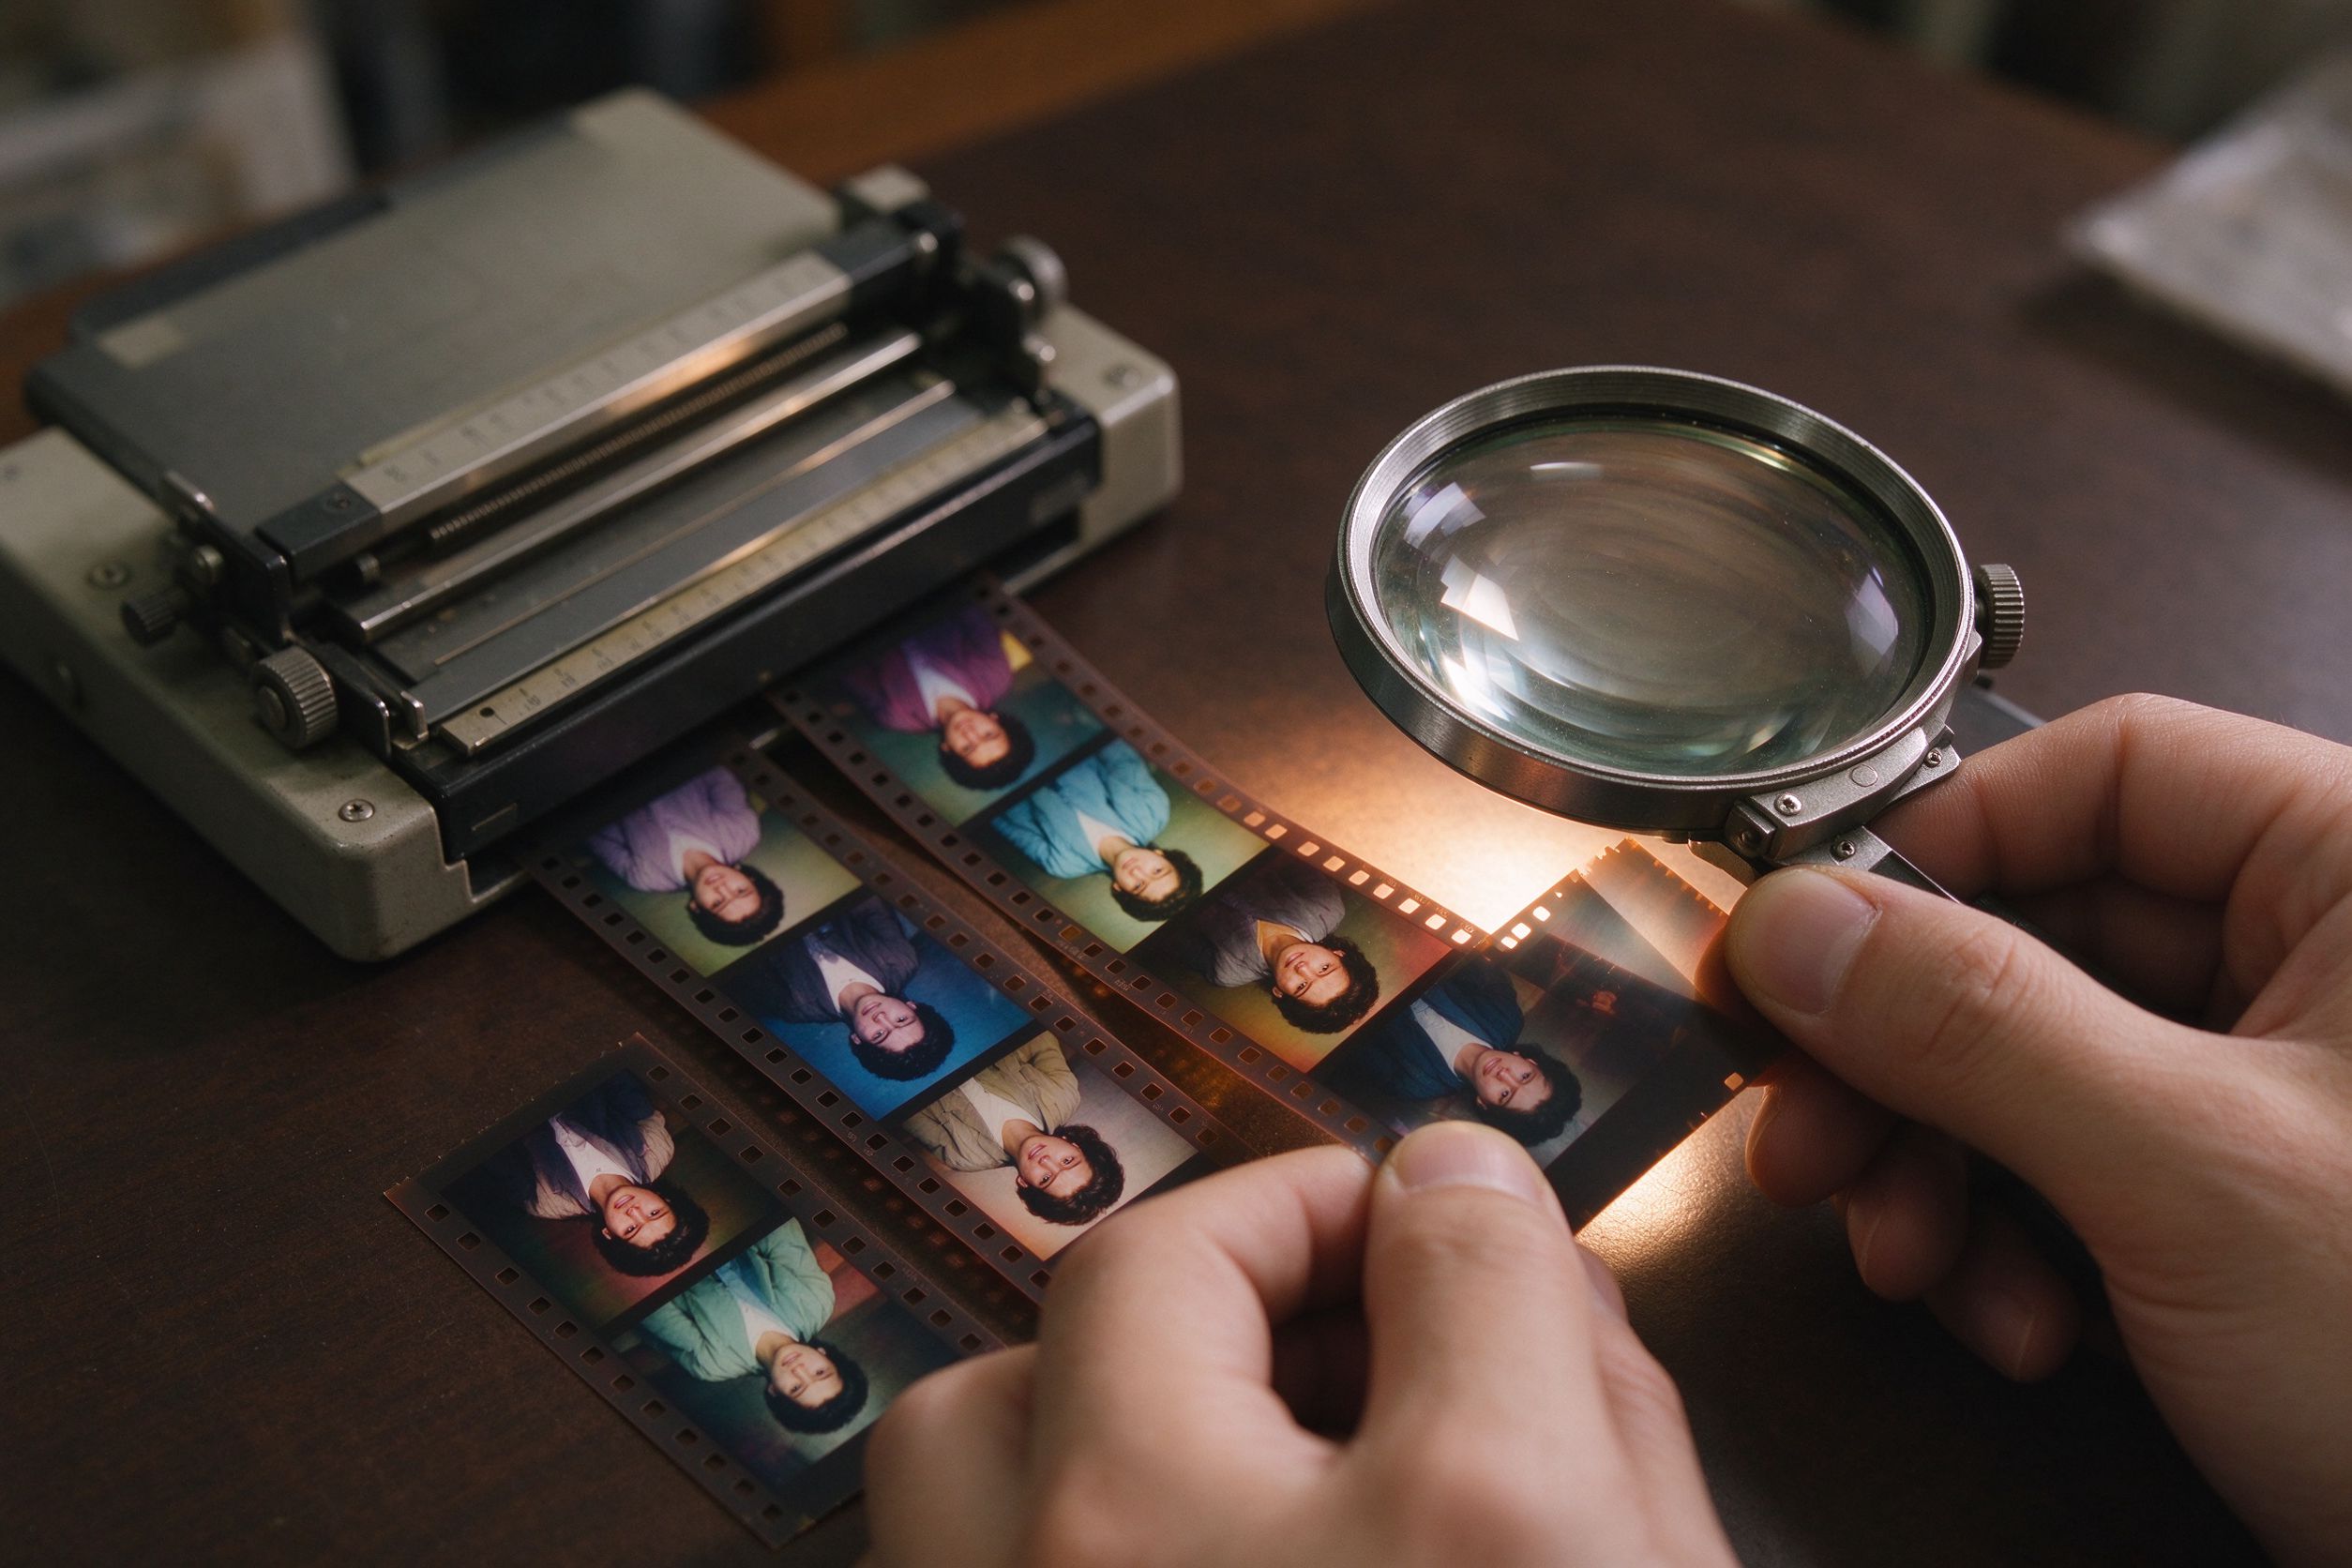
Film Scan Restoration: Dust, Grain & Color Shifts
Film scans collect dust fast — how to minimize and then clean it.
胶片扫描极易沾灰——如何从源头减少并在后期清理。
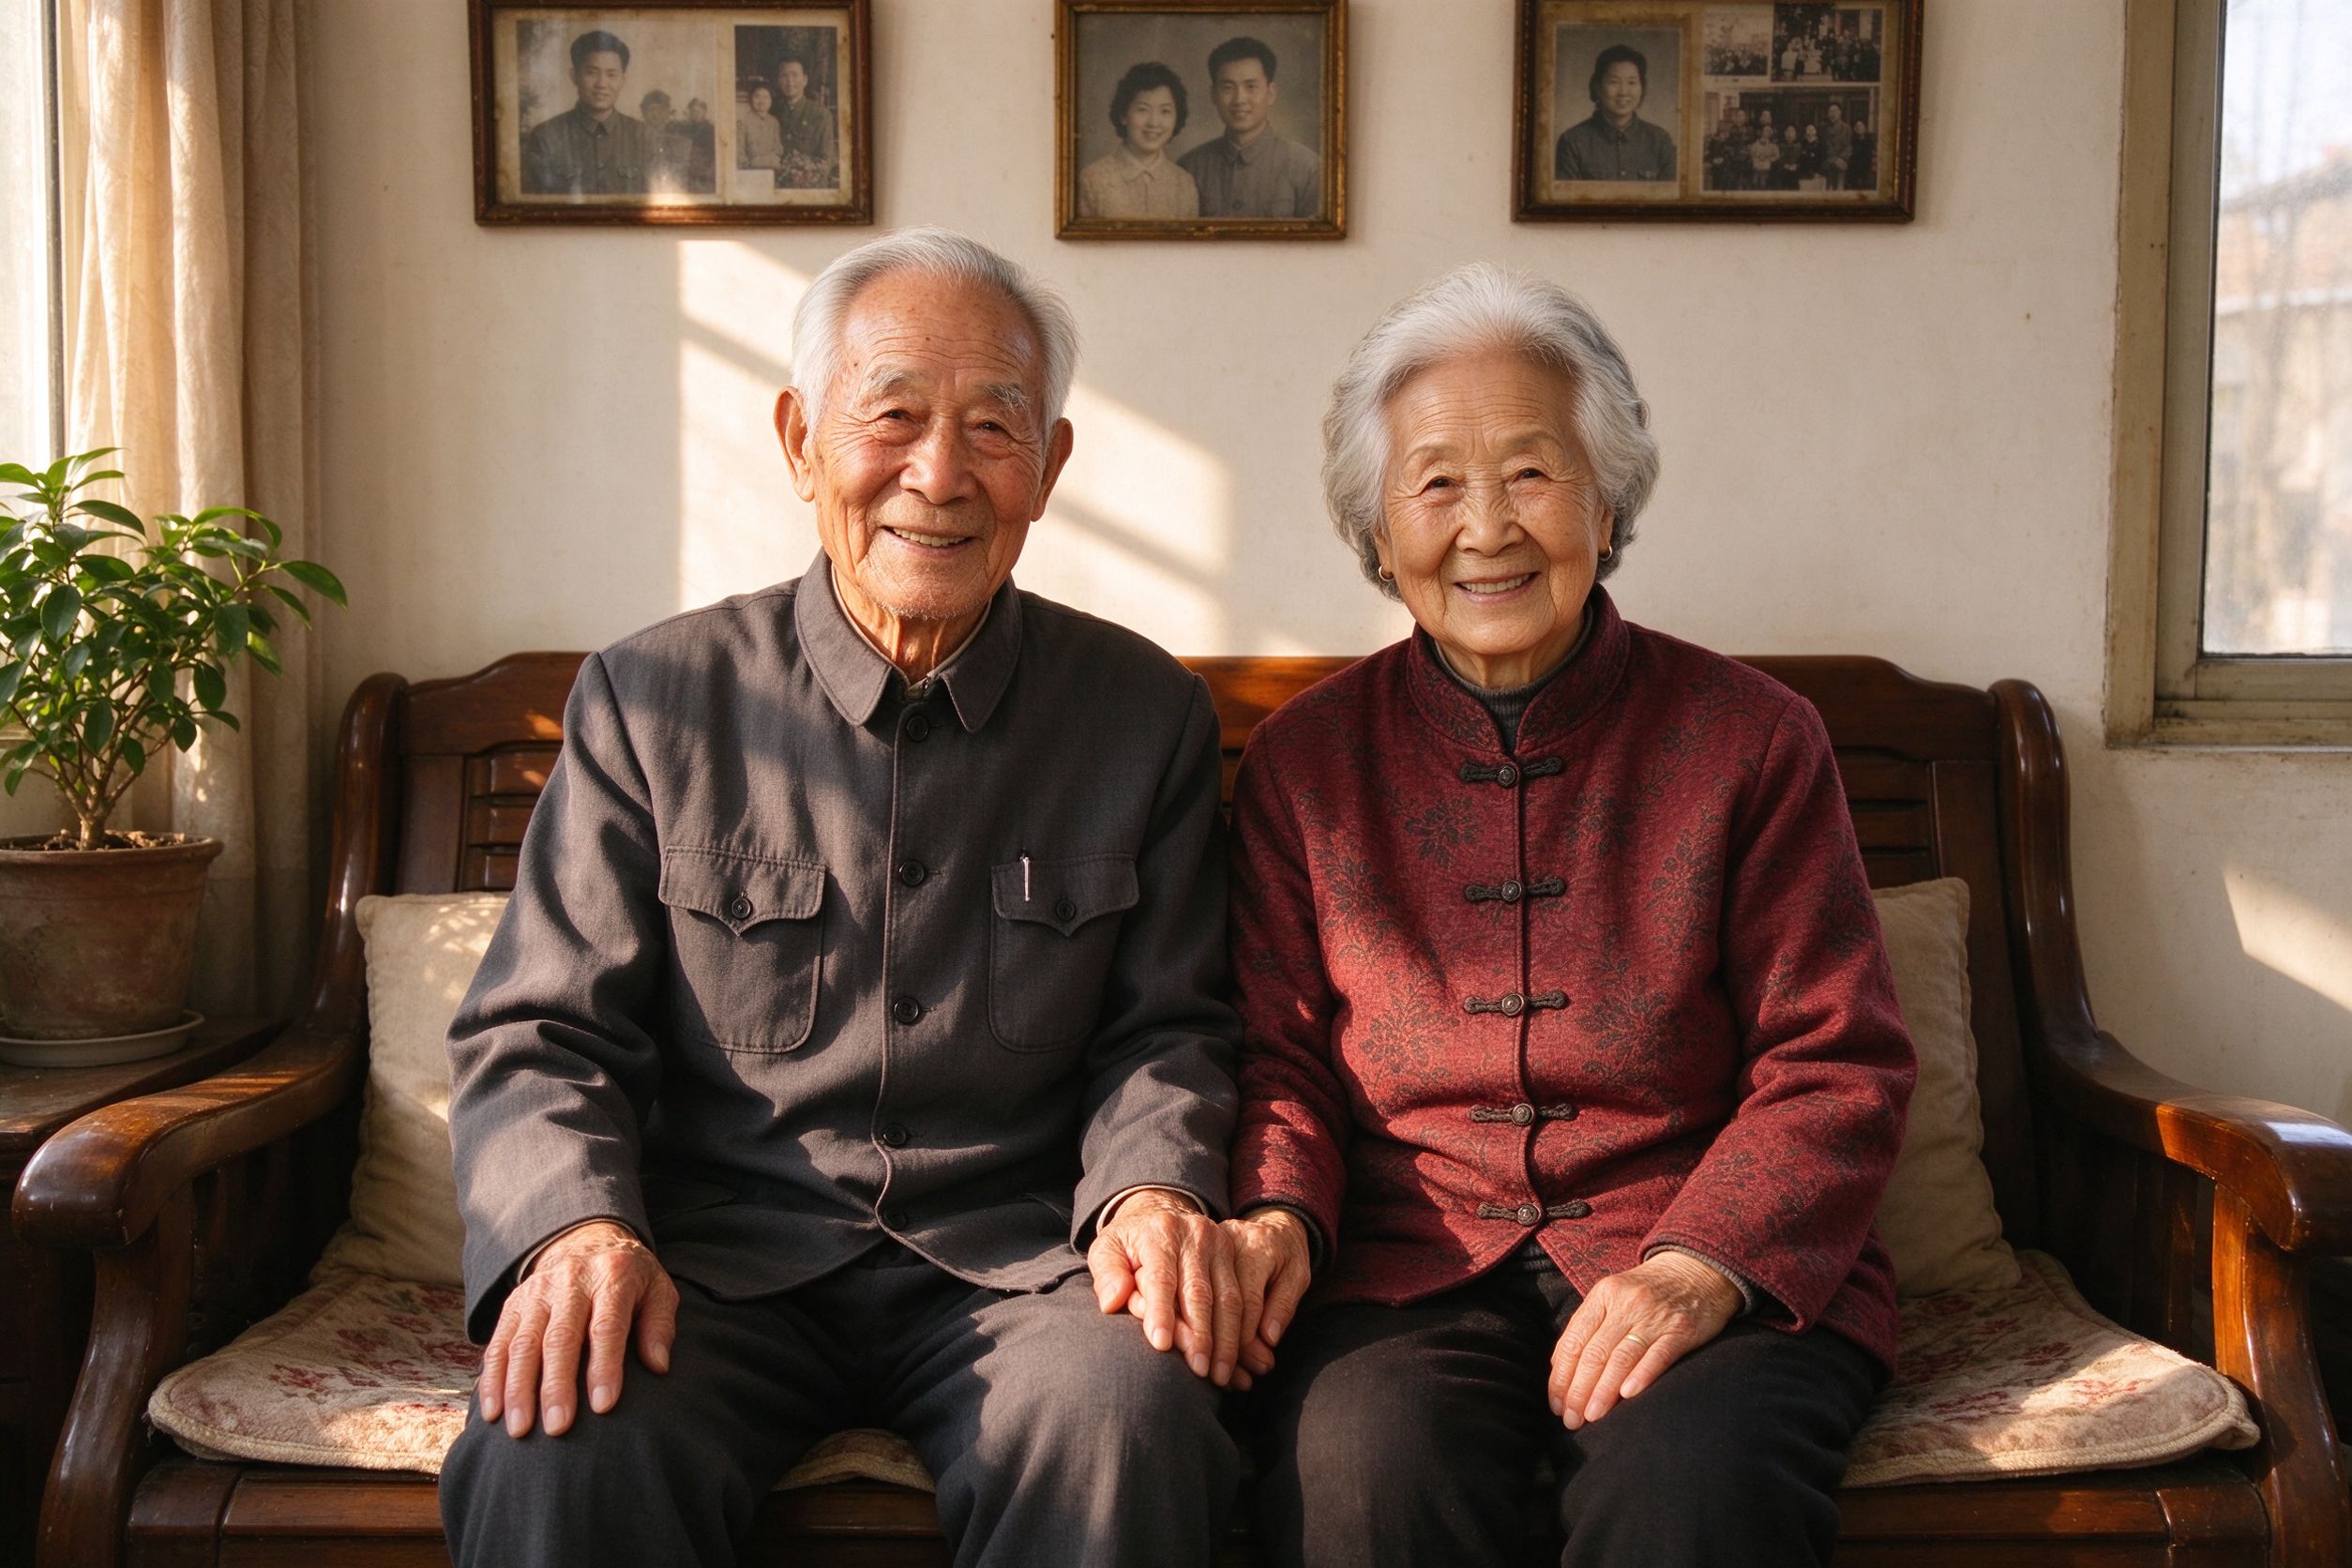
How to Restore Old Photos of Your Grandparents
Where scratch removal fits in the complete family-photo workflow.
划痕去除在完整家庭照片修复流程中的位置。