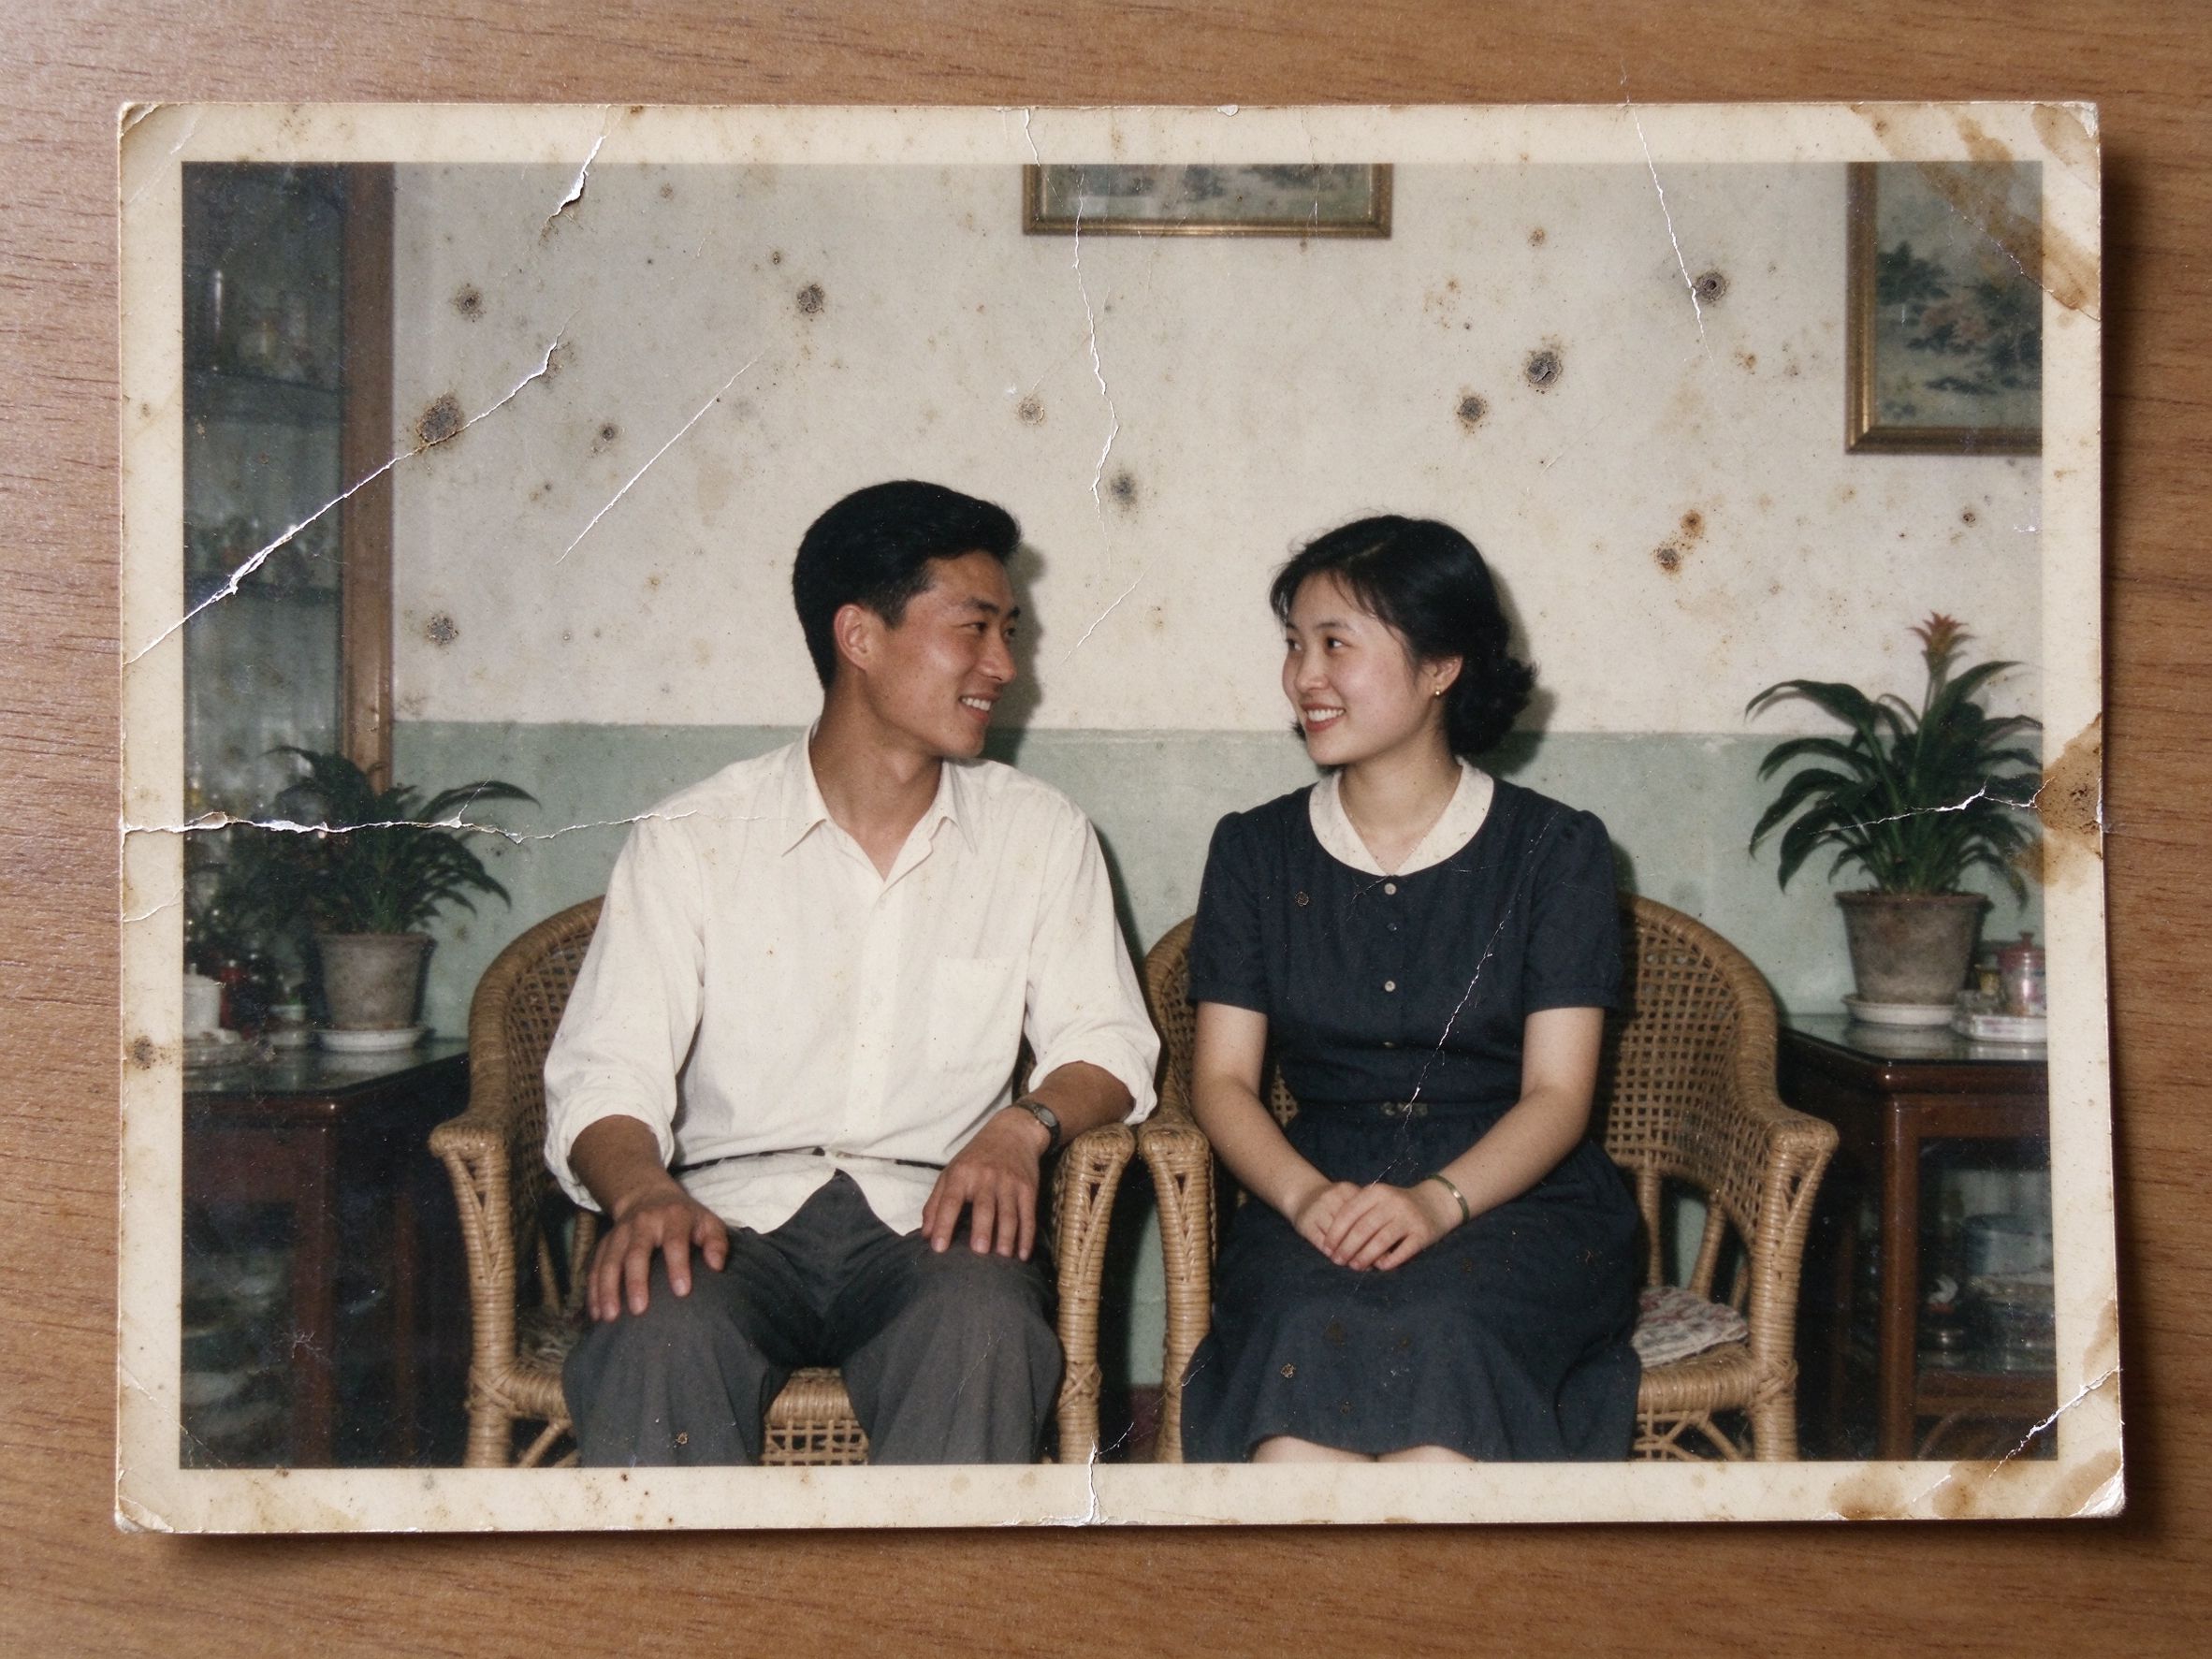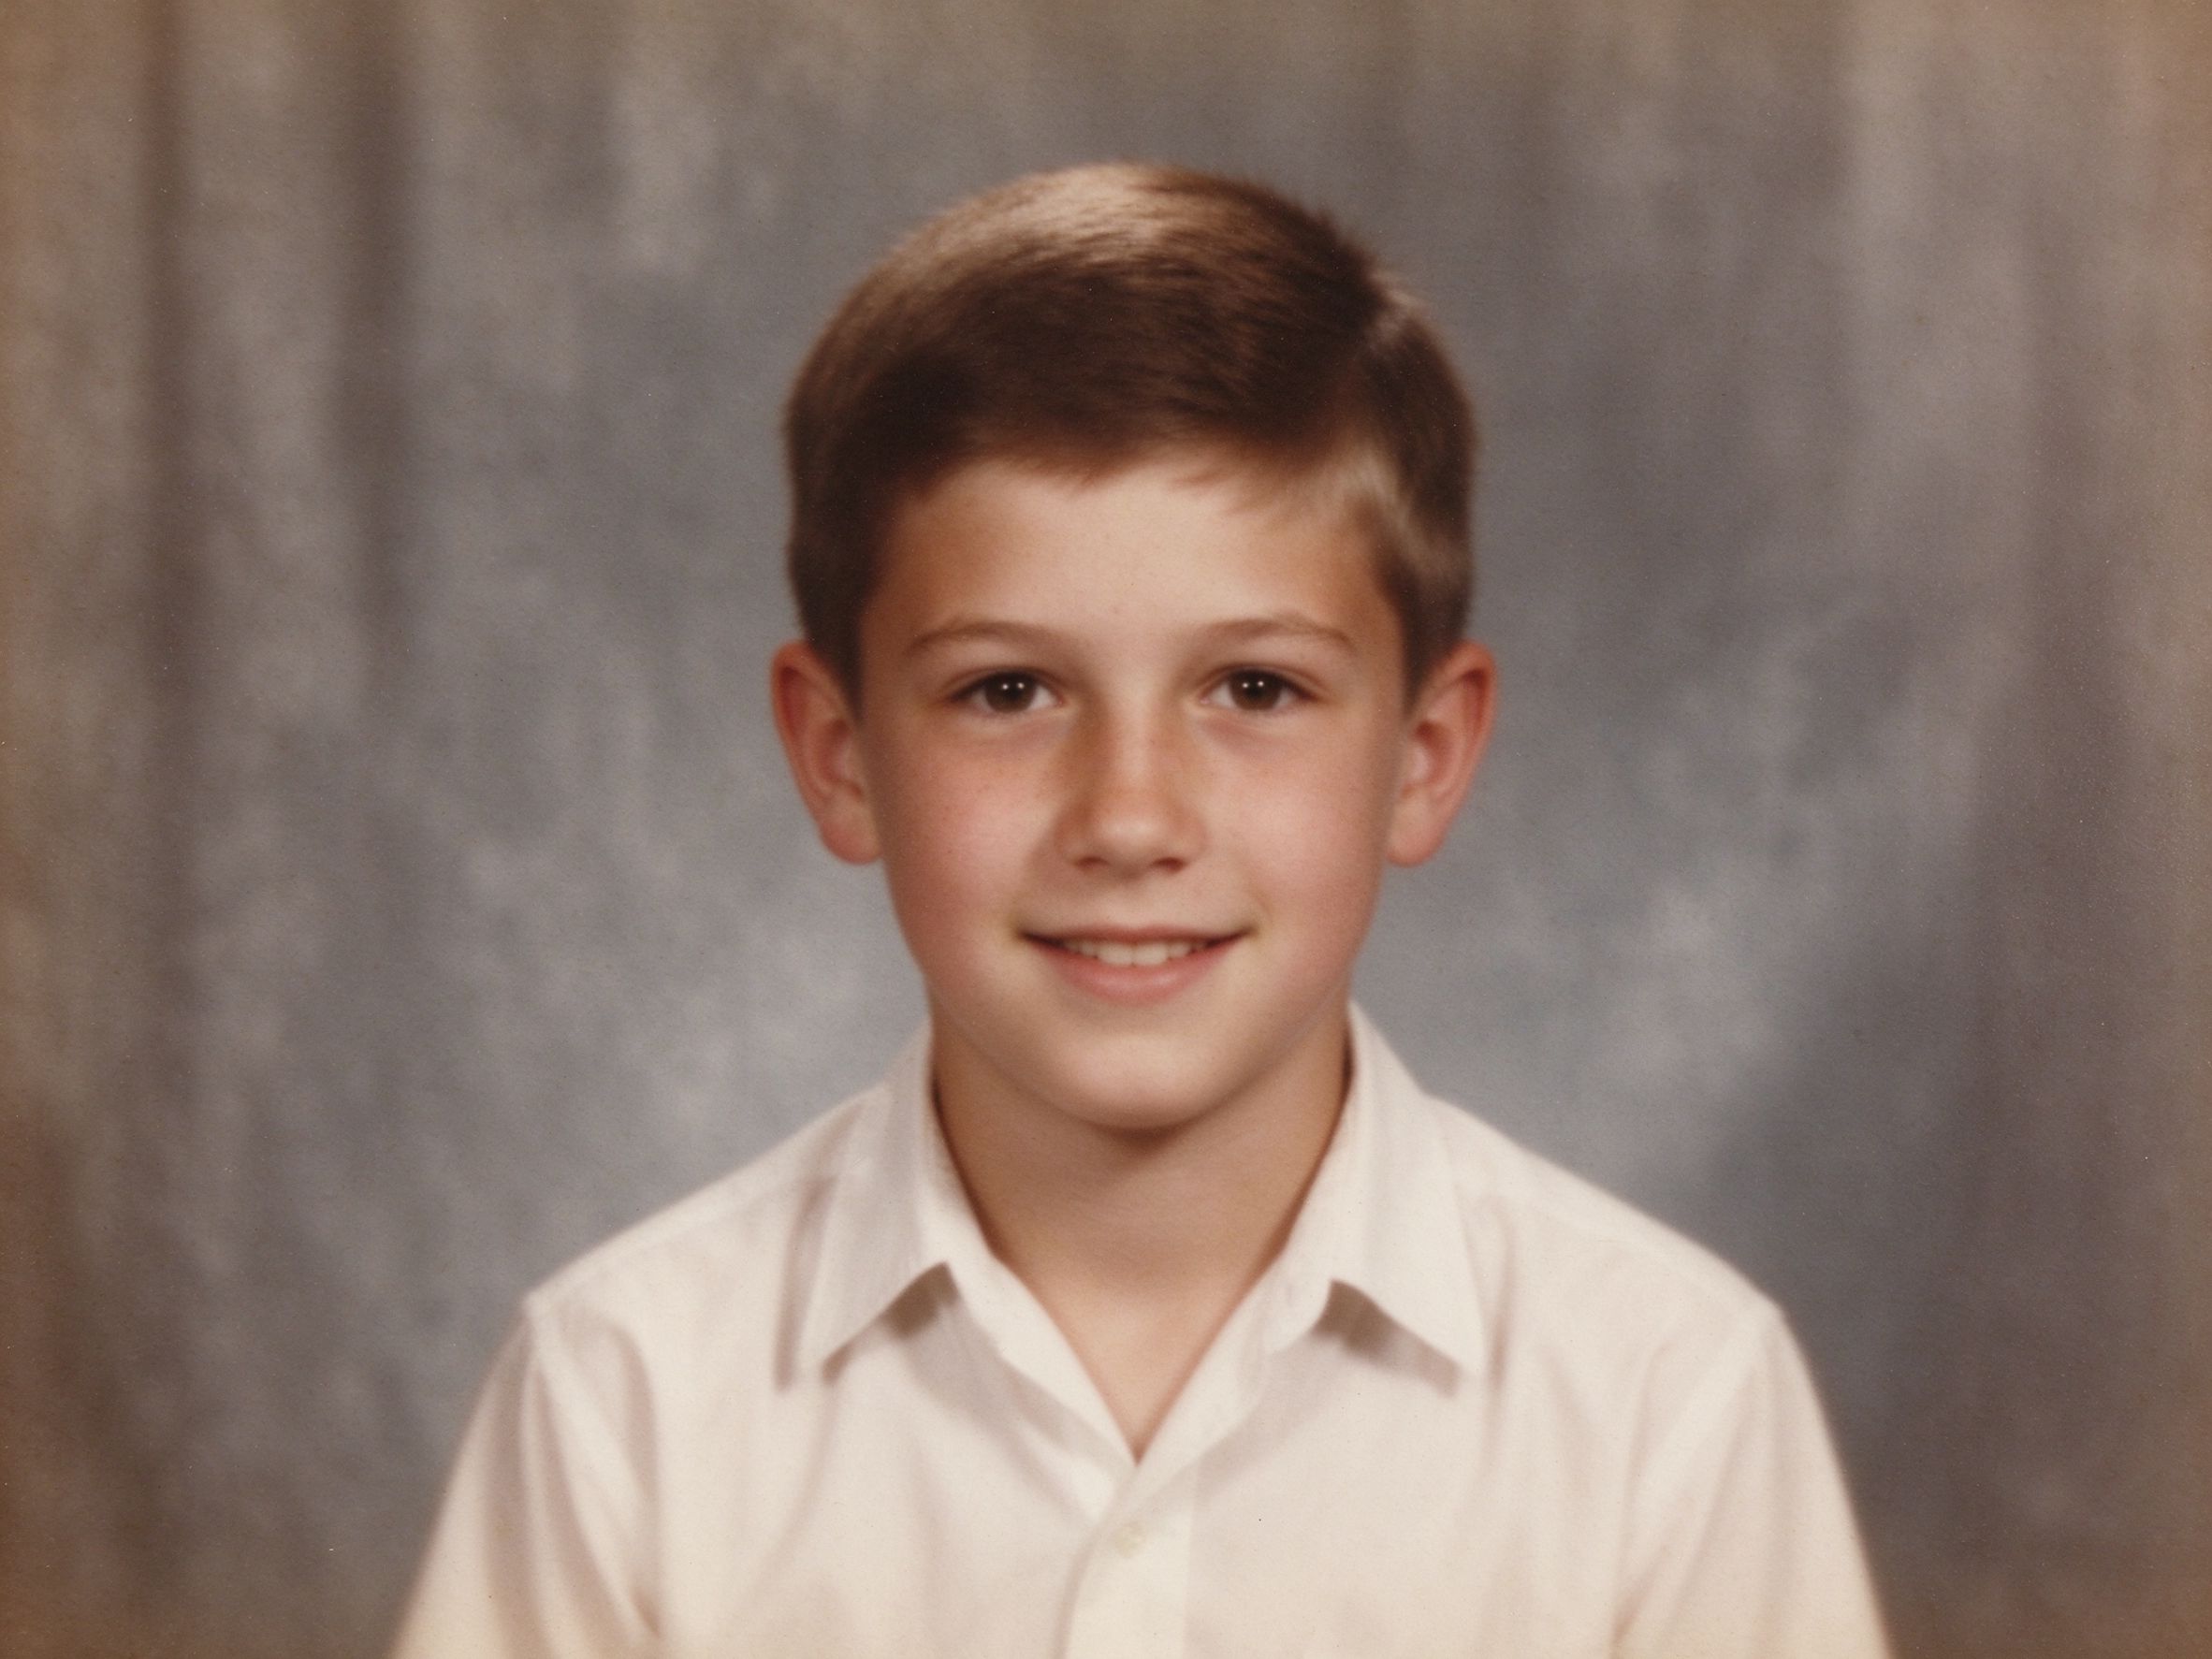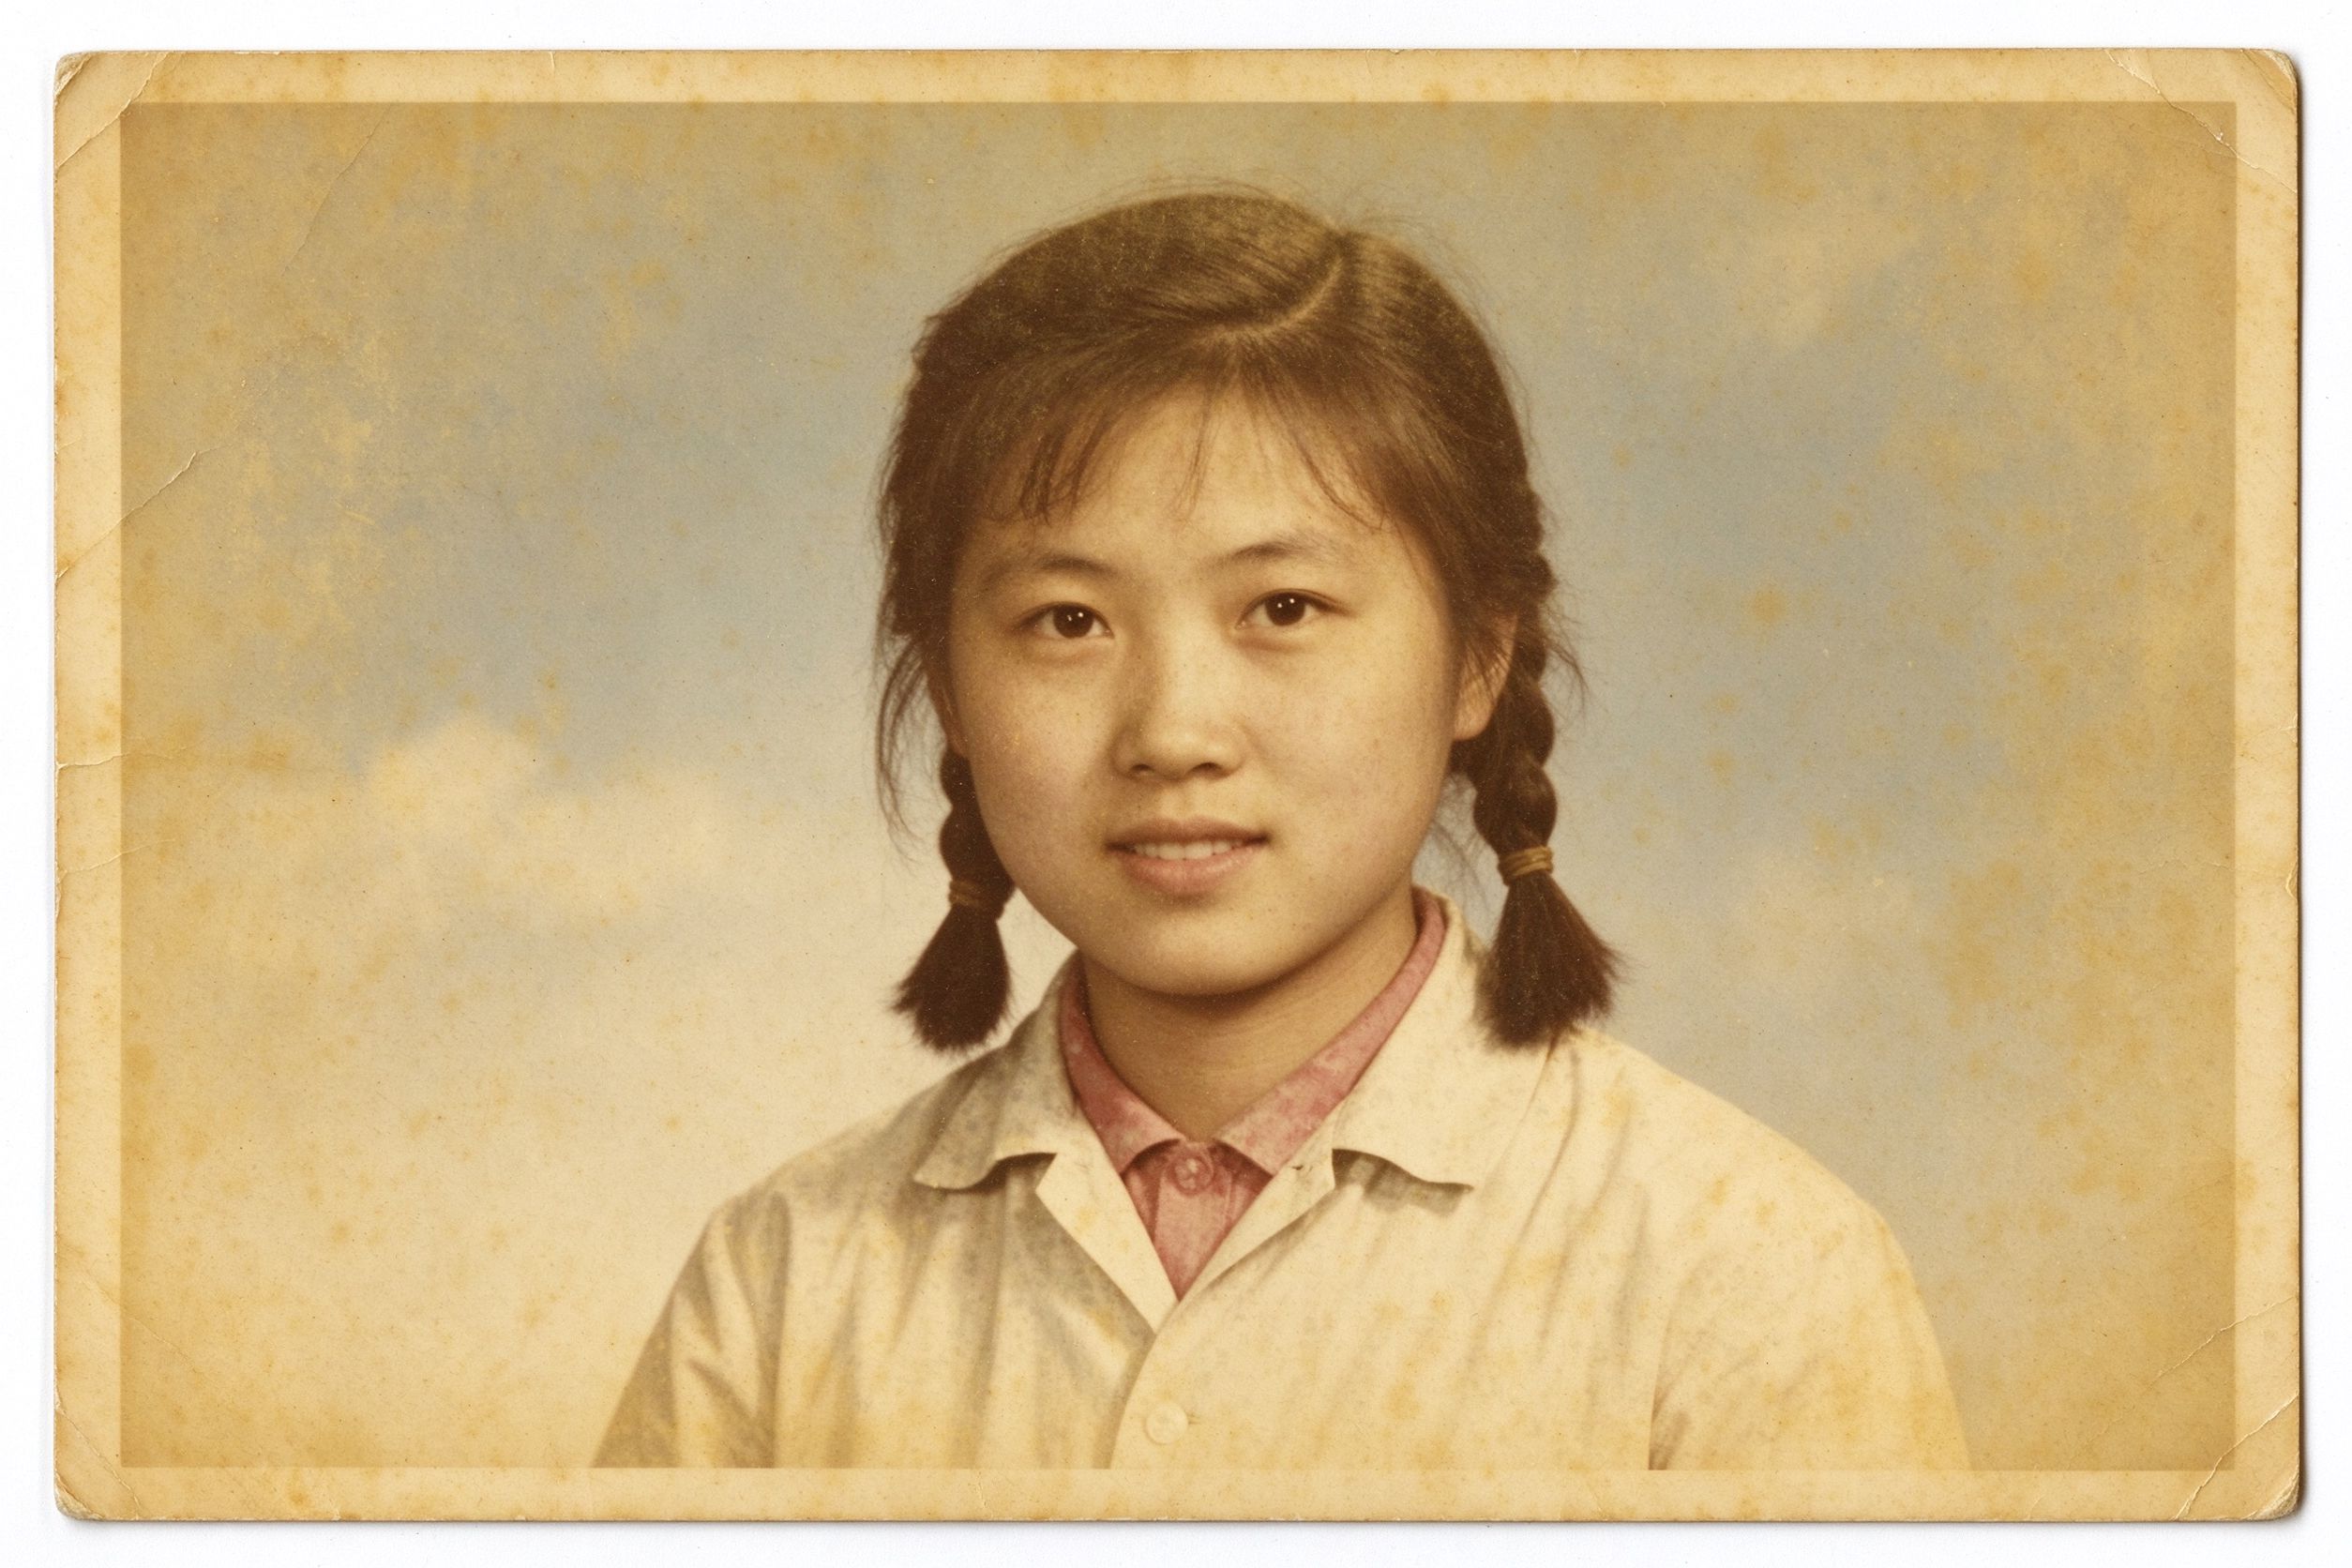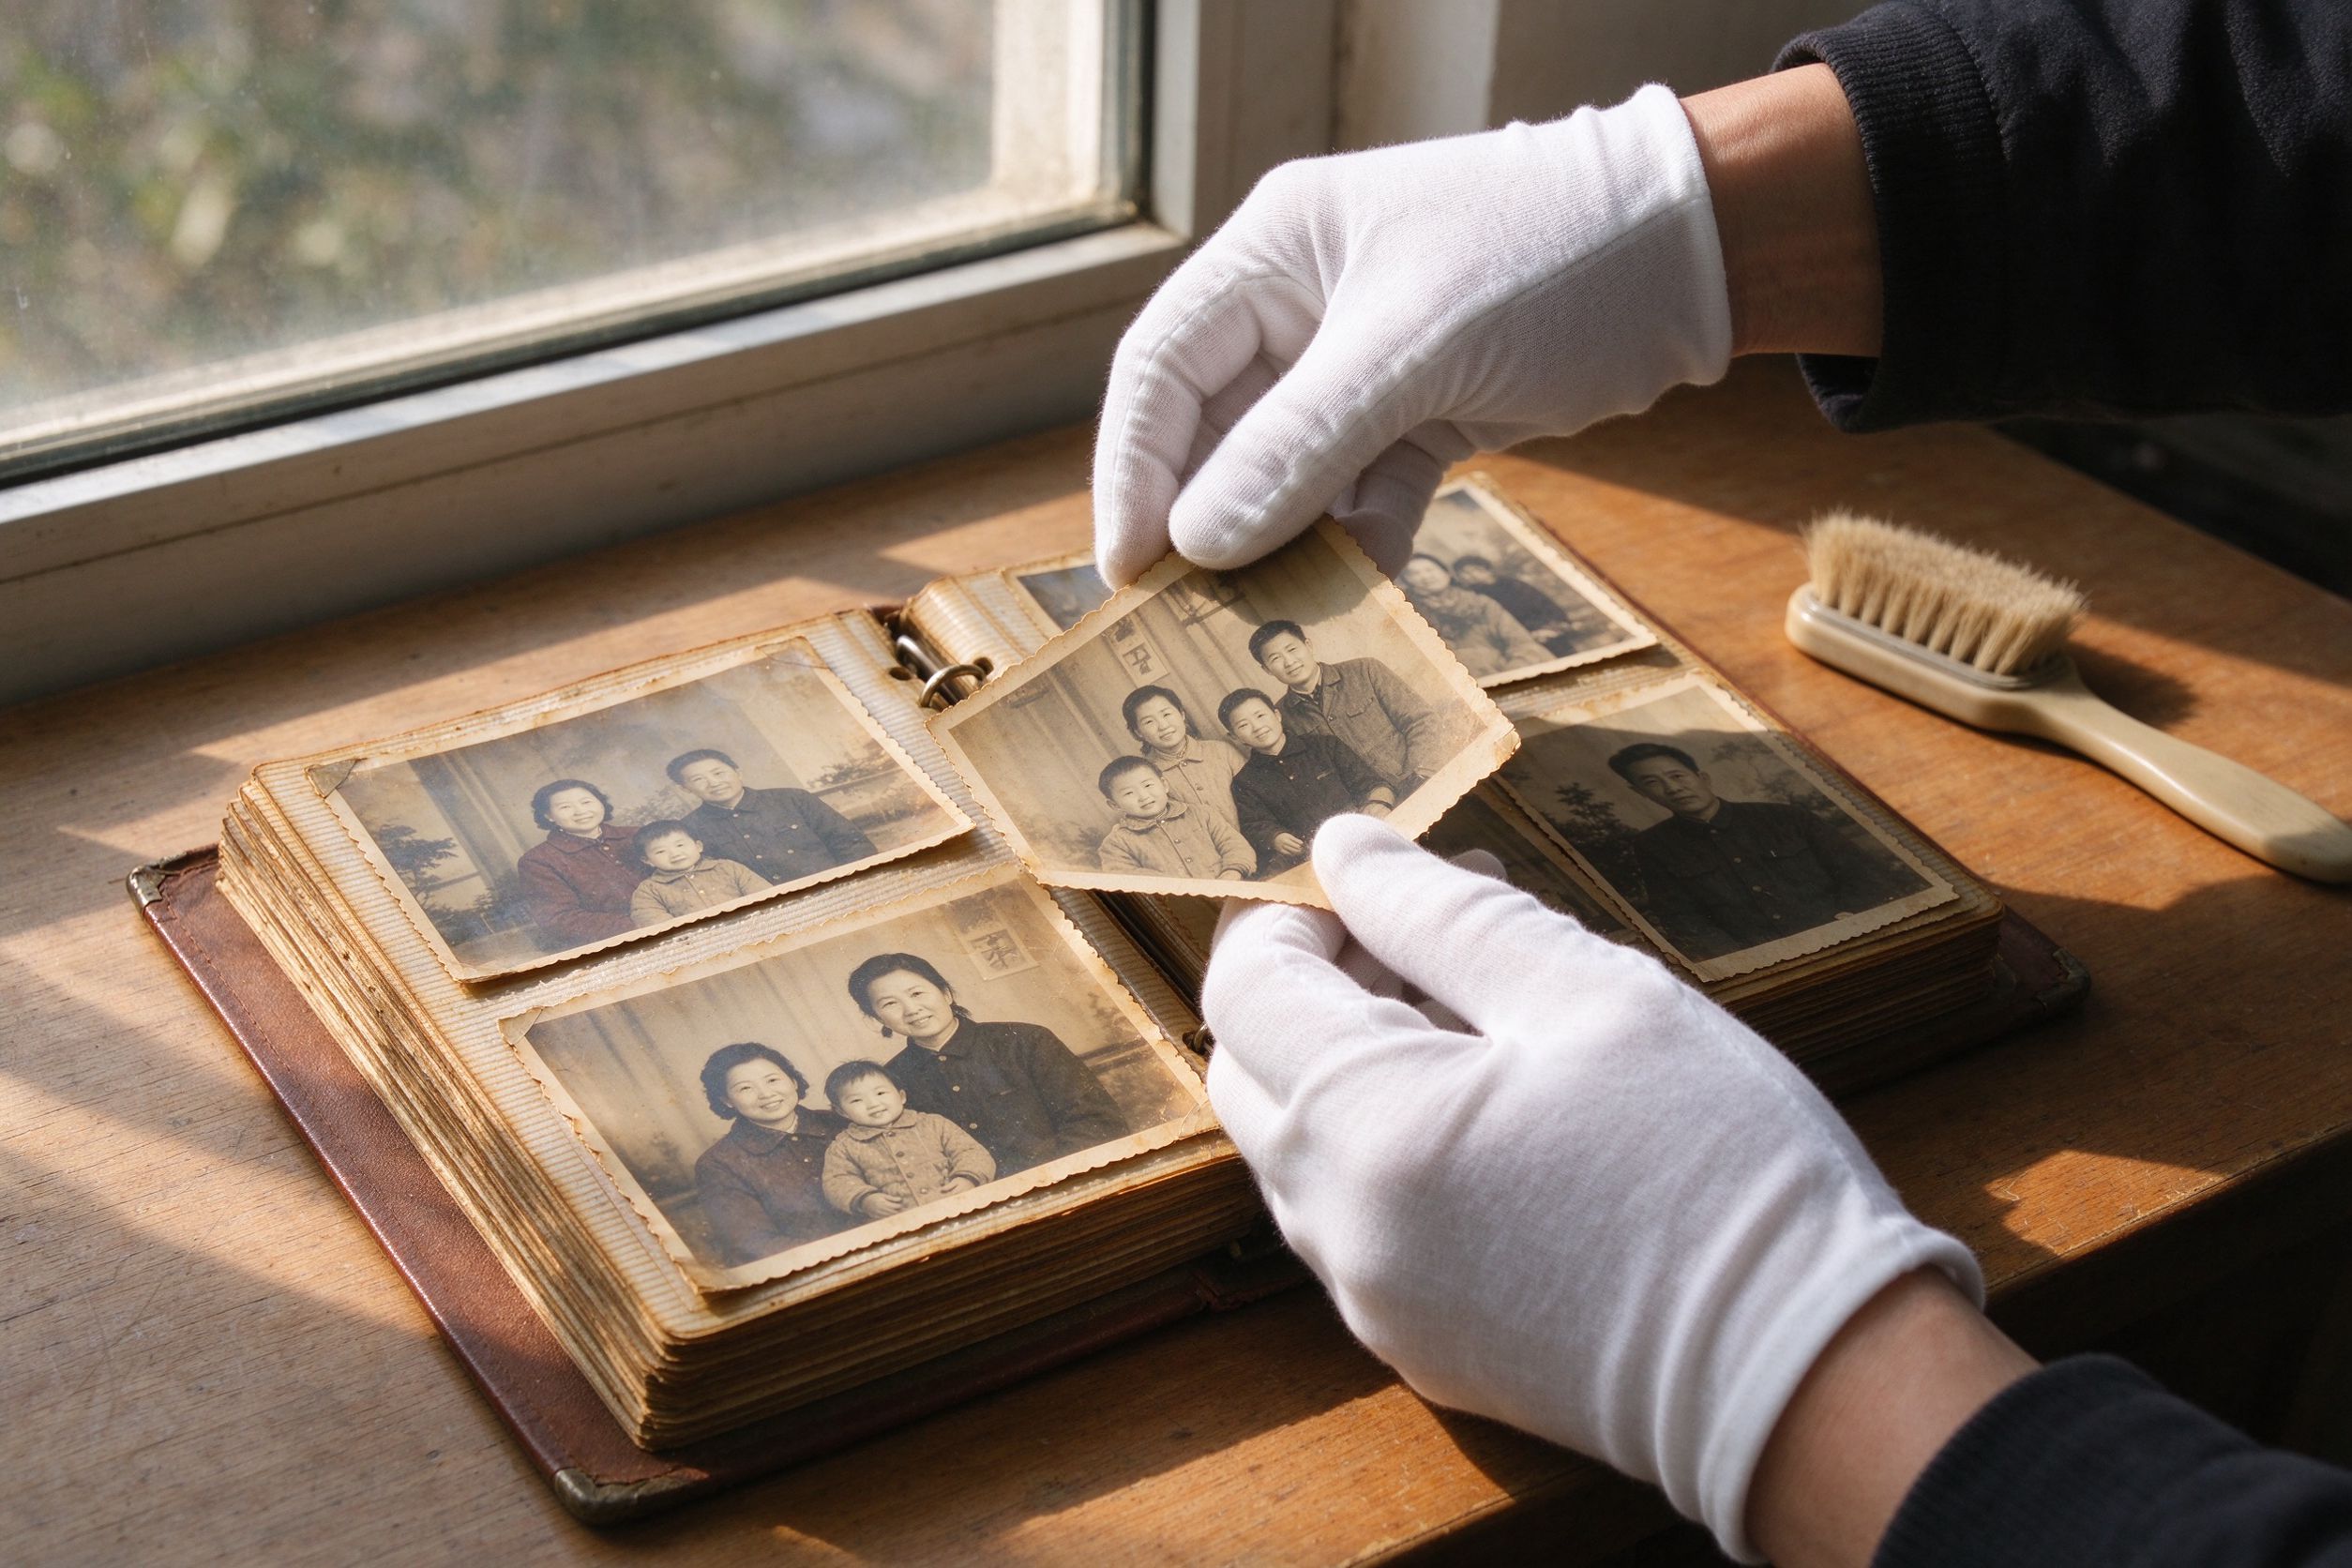
There is something quietly moving about a faded photograph of your grandparents — a wedding day in the 1950s, a family picnic in the 1960s, a proud portrait taken at a studio that no longer exists. These prints carry decades of light, moisture and handling, and they show it: yellowed paper, washed-out faces, fine scratches, creases and dust embedded in the emulsion.
The good news is that restoring them is no longer a job for an expensive professional or a complicated desktop application. With a decent scanner and a free, browser-based tool like PhotoRevive AI, you can bring most family portraits back to a surprisingly clean and natural state — and your originals never leave your hands, because everything is processed locally on your device.
Why old family photos fade and crack
Understanding the enemy makes restoration much easier. Traditional silver-gelatin prints fade because the dyes and silver grains degrade under light, humidity and airborne acids. That is why older photos often have a yellow or brown cast, reduced contrast and a washed-out look: the brightest tones have drifted, the deepest blacks have lifted, and the color balance has shifted toward warm browns. Scratches come from careless storage, and the fine white lines you see are usually where the emulsion was physically scraped away. Creases and cracks are mechanical damage — the paper bends and the emulsion fractures along the fold.
Knowing this matters because each type of damage needs a different treatment. Color shifts are corrected with white balance and saturation; flat contrast is fixed with a tonal stretch; scratches respond to local smoothing; and softness is recovered with careful sharpening. None of these steps can invent content that is gone, but together they can make a worn print look clean, warm and true to how the moment actually felt.
Step 1: Get the best scan
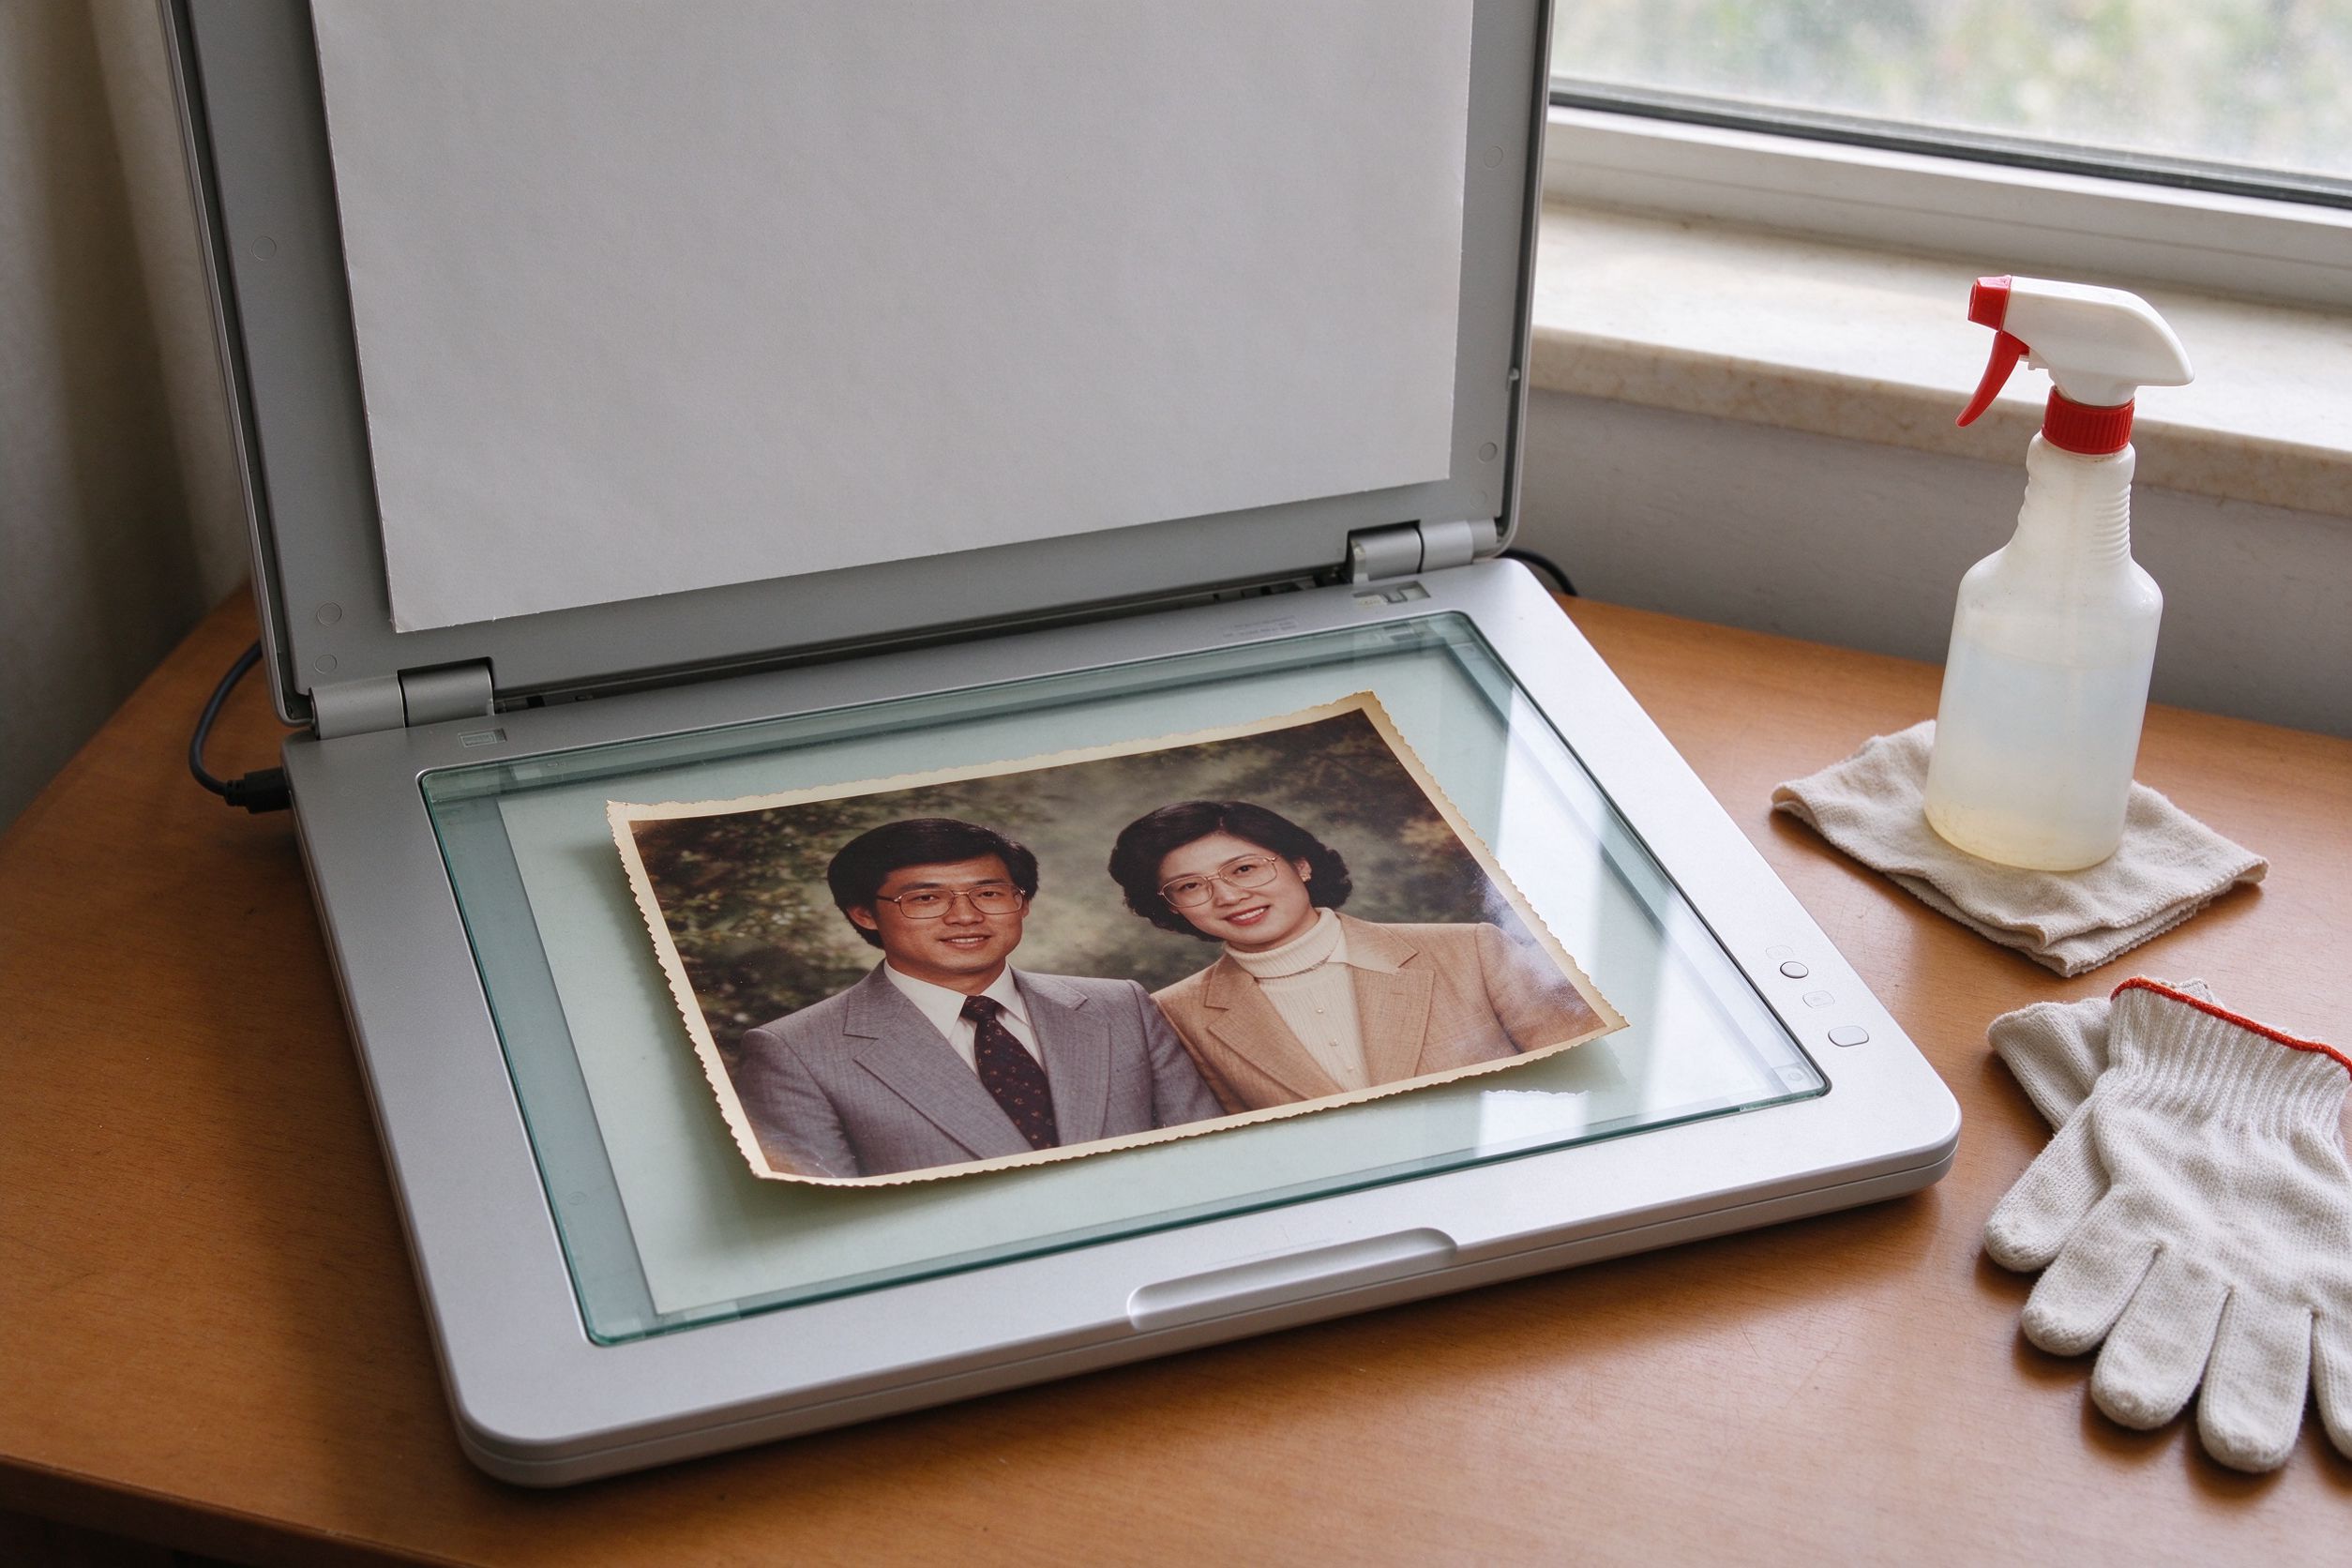
Restoration quality is decided at the scanner, not at the filter. A blurry phone photo of a print contains less information than a modest flatbed scan, and no amount of processing can add back what was never captured.
- Scan at 300–600 DPI. For a typical 10×15 cm print, 300 DPI is a good minimum; 600 DPI gives you room to crop and sharpen later. Higher than that rarely helps for prints.
- Clean the glass and the print. Use a soft microfiber cloth. Dust on the scanner bed becomes white specks in every photo you scan.
- Choose TIFF or high-quality PNG if possible. JPG saves space but compresses detail and can add blocky artifacts that become visible when you sharpen.
- Scan flat, with a small book or weight if needed. Curled prints produce soft corners.
- Scan the whole print, including edges. You can crop damaged borders later; cropping too early loses information.
If your only copy is a phone photo of a print, shoot in good, even light, keep the phone parallel to the photo, and avoid flash reflections. It is not ideal, but modern restoration tools still do surprisingly well.
Step 2: Restore color and contrast
Open your scan in the AI Photo Restorer and run the one-click restore mode first. The pipeline performs several corrections in the right order:
- Auto white balance neutralizes the yellow or green cast so skin tones look natural again.
- Contrast stretch re-expands the tonal range that has collapsed over the years, restoring deep blacks and clean highlights.
- Color recovery gently increases saturation — enough to bring life back, but not so much that faces look painted.
Then tune by hand. If the faces still look sallow, raise the restore strength slightly or use the color temperature adjustment in a companion tool. If the photo looks flat, increase contrast a little more. A good rule of thumb: make small changes and compare constantly with the original using the before/after slider — the goal is a natural, believable print, not a hyper-saturated digital painting.
Step 3: Remove scratches, dust and stains
For thin scratches, dust specks and small stains, use the Scratch & Spot Remover. The tool analyzes each pixel against its neighborhood and smoothly replaces outliers — the bright lines and dark specks — while leaving real detail like hair and fabric texture untouched. Start with a moderate threshold and increase it only where needed, because an overly strong setting will start to blur fine details such as eyelashes and lace.
For heavy grain from scanned film, combine this with the Photo Denoiser, which removes noise while preserving edges. Work in this order: denoise first, then remove scratches, then sharpen. If you reverse the order, sharpening will amplify the very defects you are trying to hide.
Step 4: Sharpen without destroying
Scanning softens every image slightly. The final step is a gentle Photo Sharpener pass to bring back crispness in eyes, hair and fabric. The important word is gentle: over-sharpening produces white halos around edges and makes skin look grainy. Raise the amount in small steps, zooming into the eyes to check. If the result starts to look crunchy, dial it back — a slightly soft restoration is far more pleasant than an overcooked one.
Step 5: Save and archive properly
When you are happy with the result, download a lossless PNG as your master copy. Keep a separate JPG for sharing with family, and optionally a WebP for the web. Store the master in at least two places — an external drive and one cloud service — and name it with the date and subjects, for example 1962-grandparents-wedding-restored.png. Do not overwrite your scan: keep the original file untouched as the source of truth, and keep the physical print in a cool, dry, dark album. See our photo care guide for the full preservation routine.
What you should not expect
Honesty matters in restoration. No tool that runs in a browser can reconstruct a face that was torn away, guess what color grandma's dress really was, or invent the details of a blurred background. Our tools enhance and repair what is actually in the scan — that is the difference between restoration and fabrication. If a face is severely damaged, the best practical approach is to restore everything else perfectly, then do a careful manual touch-up, or frame the photo as it is: a beloved object with its history intact.
Pro tips and common mistakes
- Scan, don't photograph, when you can. It is the single biggest quality lever.
- Process at full resolution. Don't resize the image before restoring; resize only when exporting for the web.
- Do one task at a time. Fix color, then scratches, then sharpness. Jumping between sliders makes it hard to see what each change actually did.
- Compare against the original constantly. The before/after slider is your best tool for avoiding over-processing.
- Batch only similar photos. Use the Batch Converter to convert a whole album to one format, but restore each unique photo individually.
- Don't delete the original. Digital and physical originals are irreplaceable history.
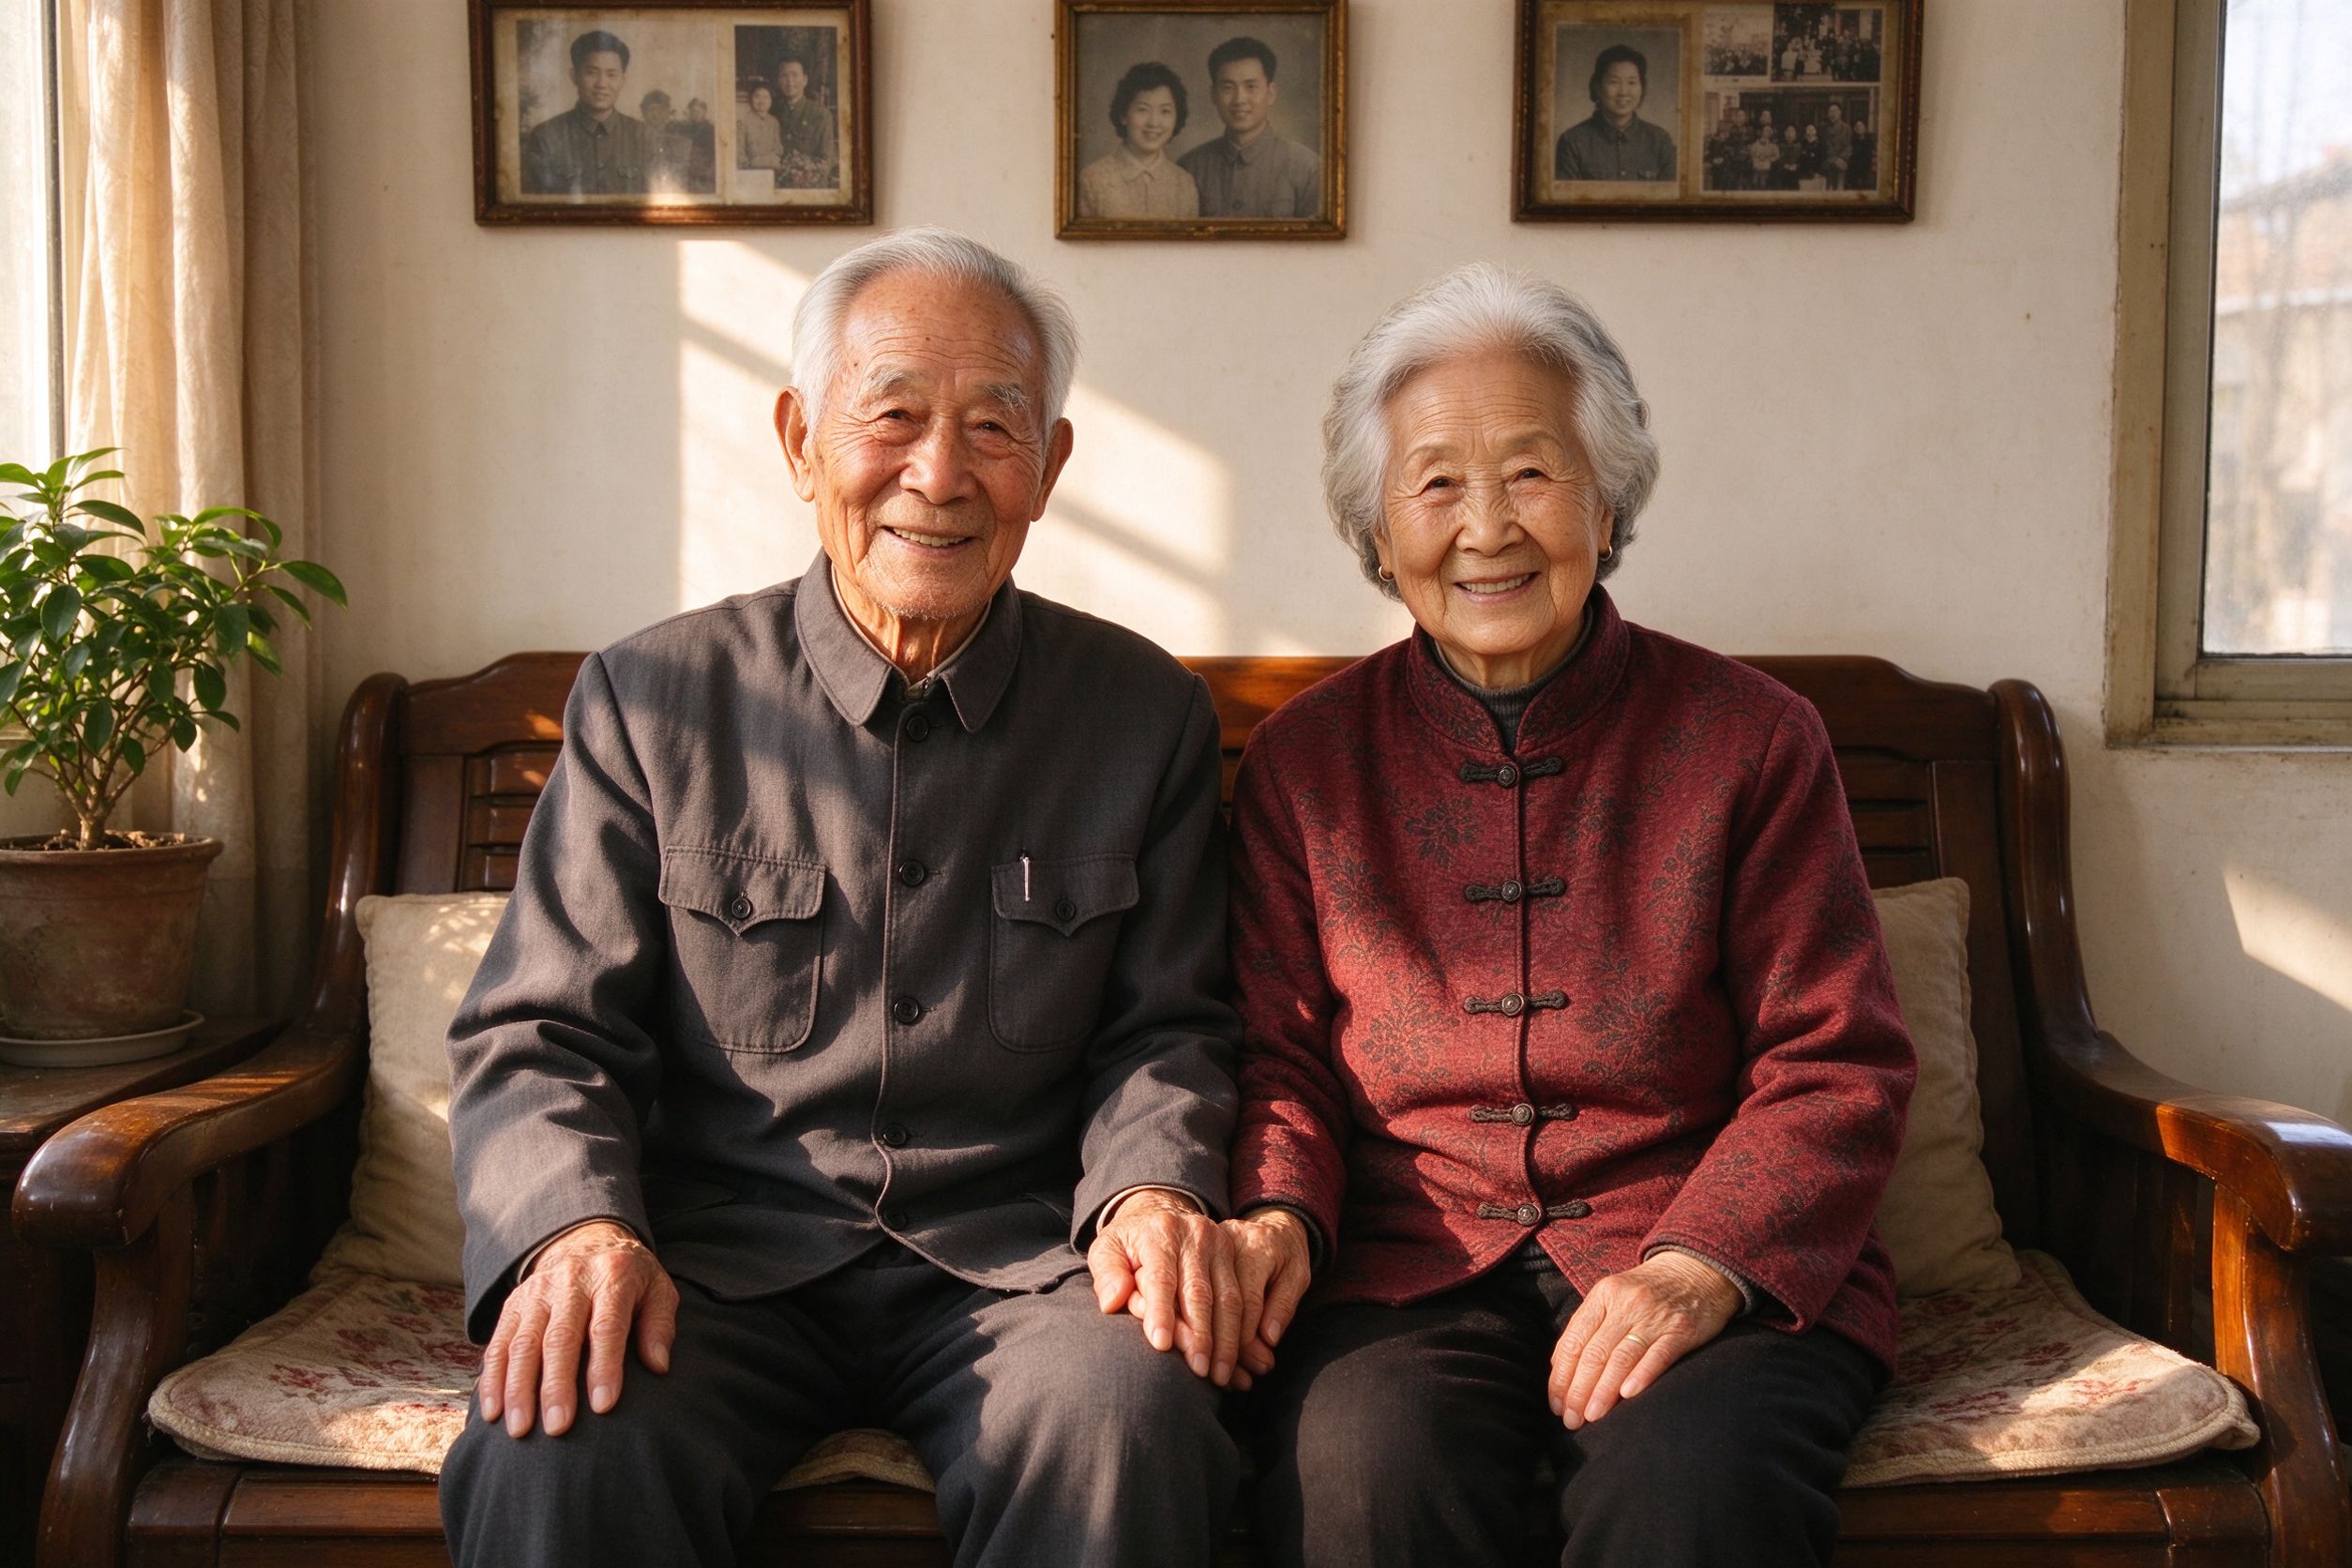
Restoring a photo of your grandparents is one of the most personal projects you can do with software. Take your time, keep the changes natural, and you will end up with something the whole family can treasure — a small piece of your history, brought back into the light.
一张褪色的祖辈老照片,总有一种安静的力量——那是 1950 年代的婚礼、1960 年代的家庭野餐,或是一张来自早已消失的照相馆的正式肖像。这些相纸承载了几十年的光线、潮气与反复触摸,也因此留下了痕迹:发黄的纸面、褪色的面孔、细细的划痕、折痕,以及嵌在乳剂里的灰尘。
好消息是,修复它们不再需要昂贵的专业人士或复杂的桌面软件。只要有一台像样的扫描仪和一个免费、浏览器内运行的工具(比如 PhotoRevive AI),你就能让大多数家庭肖像恢复出人意料的干净与自然——而且原片始终在你手中,因为所有处理都在你的设备本地完成。
一、老照片为什么会褪色、开裂
了解敌人,修复就成功了一半。传统的银盐照片会褪色,是因为染料与银颗粒在光线、湿气和空气中的酸性物质作用下逐渐降解。这就是为什么老照片常带有黄褐色调、对比度下降、看起来发白:亮部漂移了、暗部提亮了、色偏向了暖棕。划痕来自粗糙的存放方式,你看到的白色细线通常是乳剂被物理刮掉的地方;折痕与裂纹则是机械损伤——纸张弯折时乳剂沿折线碎裂。
明白这一点很重要,因为每种损伤需要不同的处理:色偏用白平衡和饱和度校正;发灰的对比度用影调拉伸修复;划痕适合局部平滑;发虚则用克制的锐化恢复。没有任何一步能凭空创造已经消失的内容,但组合起来,它们能让一张磨损的照片看起来干净、温暖,接近那个时刻本来的样子。
二、第一步:获得最好的扫描件
修复质量在扫描仪上就决定了,而不是在滤镜里。一张翻拍的照片所包含的信息少于一台普通平板扫描仪,再多处理也补不回从未被记录下来的细节。
- 用 300–600 DPI 扫描。对常见的 10×15 厘米照片,300 DPI 是良好下限;600 DPI 为后续裁剪与锐化留出余地。更高对相纸照片意义不大。
- 擦净玻璃与照片。用柔软的镜布。扫描台上的灰尘会变成每张照片上的白点。
- 尽量选 TIFF 或高质量 PNG。JPG 省空间,但会压缩细节并产生块状伪影,锐化时会更加明显。
- 尽量扫平。卷曲的照片角落会发虚,必要时用书本轻压。
- 连同边缘一起扫描。破损的边缘可以之后再裁,过早裁剪会丢失信息。
如果你只有翻拍的照片,请在均匀明亮的光线下拍摄,手机与照片保持平行,避开闪光灯反光。这并不理想,但现代修复工具依然能表现得相当好。
三、第二步:恢复色彩与对比度
在 AI Photo Restorer 中打开扫描件,先运行一键修复模式。这条管线按正确顺序完成多项校正:
- 自动白平衡中和黄色或绿色偏色,让肤色回归自然。
- 对比度拉伸重新扩展多年间坍缩的影调范围,恢复深邃的黑色与干净的亮部。
- 色彩恢复温和地提升饱和度——足以唤回生机,又不至于让面孔像画上去的。
然后手工微调。如果脸色仍然发灰,可略微提高修复强度;如果画面发闷,再增加一点对比度。经验法则:小步调整,并不断用前后对比滑块与原图比较——目标是自然可信的相纸质感,而不是过度饱和的数字绘画。
四、第三步:去除划痕、灰尘与污渍
对于细划痕、灰尘点和小污渍,使用 划痕与污点修复 工具。它会分析每个像素与邻域的差异,平滑地替换异常值——亮线与暗点——同时保留头发、织物纹理等真实细节。从中等阈值开始,只在需要处提高,因为过强的设置会开始模糊睫毛、蕾丝这类精细细节。
对于扫描胶片带来的重颗粒,可配合 照片降噪 工具,它在保留边缘的同时去除噪点。按此顺序操作:先降噪,再除划痕,最后锐化。顺序反过来,锐化会把你要掩盖的缺陷放大。
五、第四步:恰到好处的锐化
扫描会让每张照片轻微发虚。最后一步是用 照片锐化 工具做一次克制的锐化,让眼睛、头发与织物重新变得清晰。关键在于「克制」:过度锐化会在边缘产生白色光晕,让皮肤显得粗糙。小步提高强度,放大眼睛部位检查。一旦开始发硬,就回调——略微偏软的结果远好于过度处理的。
六、第五步:正确地保存与归档
对结果满意后,下载无损 PNG 作为母版。另存一份 JPG 用于与家人分享,视需要再存一份 WebP 用于网页。母版至少存放两处——一块移动硬盘加一个云服务——并以日期和人物命名,例如 1962-grandparents-wedding-restored.png。不要覆盖你的扫描件:保留原始文件作为事实来源,同时把纸质照片放进阴凉、干燥、避光的相册。完整的保存流程见我们的照片保养指南。
七、不要抱有的期望
修复需要诚实。任何在浏览器中运行的工具都无法重建被撕掉的脸、猜出祖母裙子真正的颜色,或虚构模糊背景中的细节。我们的工具增强和修复扫描件中真实存在的内容——这正是修复与伪造的区别。如果某张脸破损严重,最实际的做法是把其余部分修复到完美,再做仔细的手工修补,或者就这样装裱:它是一件带着完整历史的、被珍爱的物品。
八、专业技巧与常见错误
- 能扫描就别翻拍。这是最大的质量杠杆。
- 用全分辨率处理。修复前不要缩小图片,只在导出网页版本时再缩小。
- 一次只做一件事。先修色彩,再除划痕,最后锐化。来回切换滑杆会让你看不清每步的实际效果。
- 不断与原图对比。前后对比滑块是避免过度处理的最好工具。
- 只对相似照片批量操作。用 批量转换 把整本相册转成一种格式,但每张独特照片都应单独修复。
- 不要删除原图。数字与纸质原片都是不可替代的历史。
修复祖辈的照片,是用软件能做的最有温度的项目之一。慢慢来,保持自然,你会得到一件全家人都珍视的东西——一小段属于你的历史,重新回到光里。