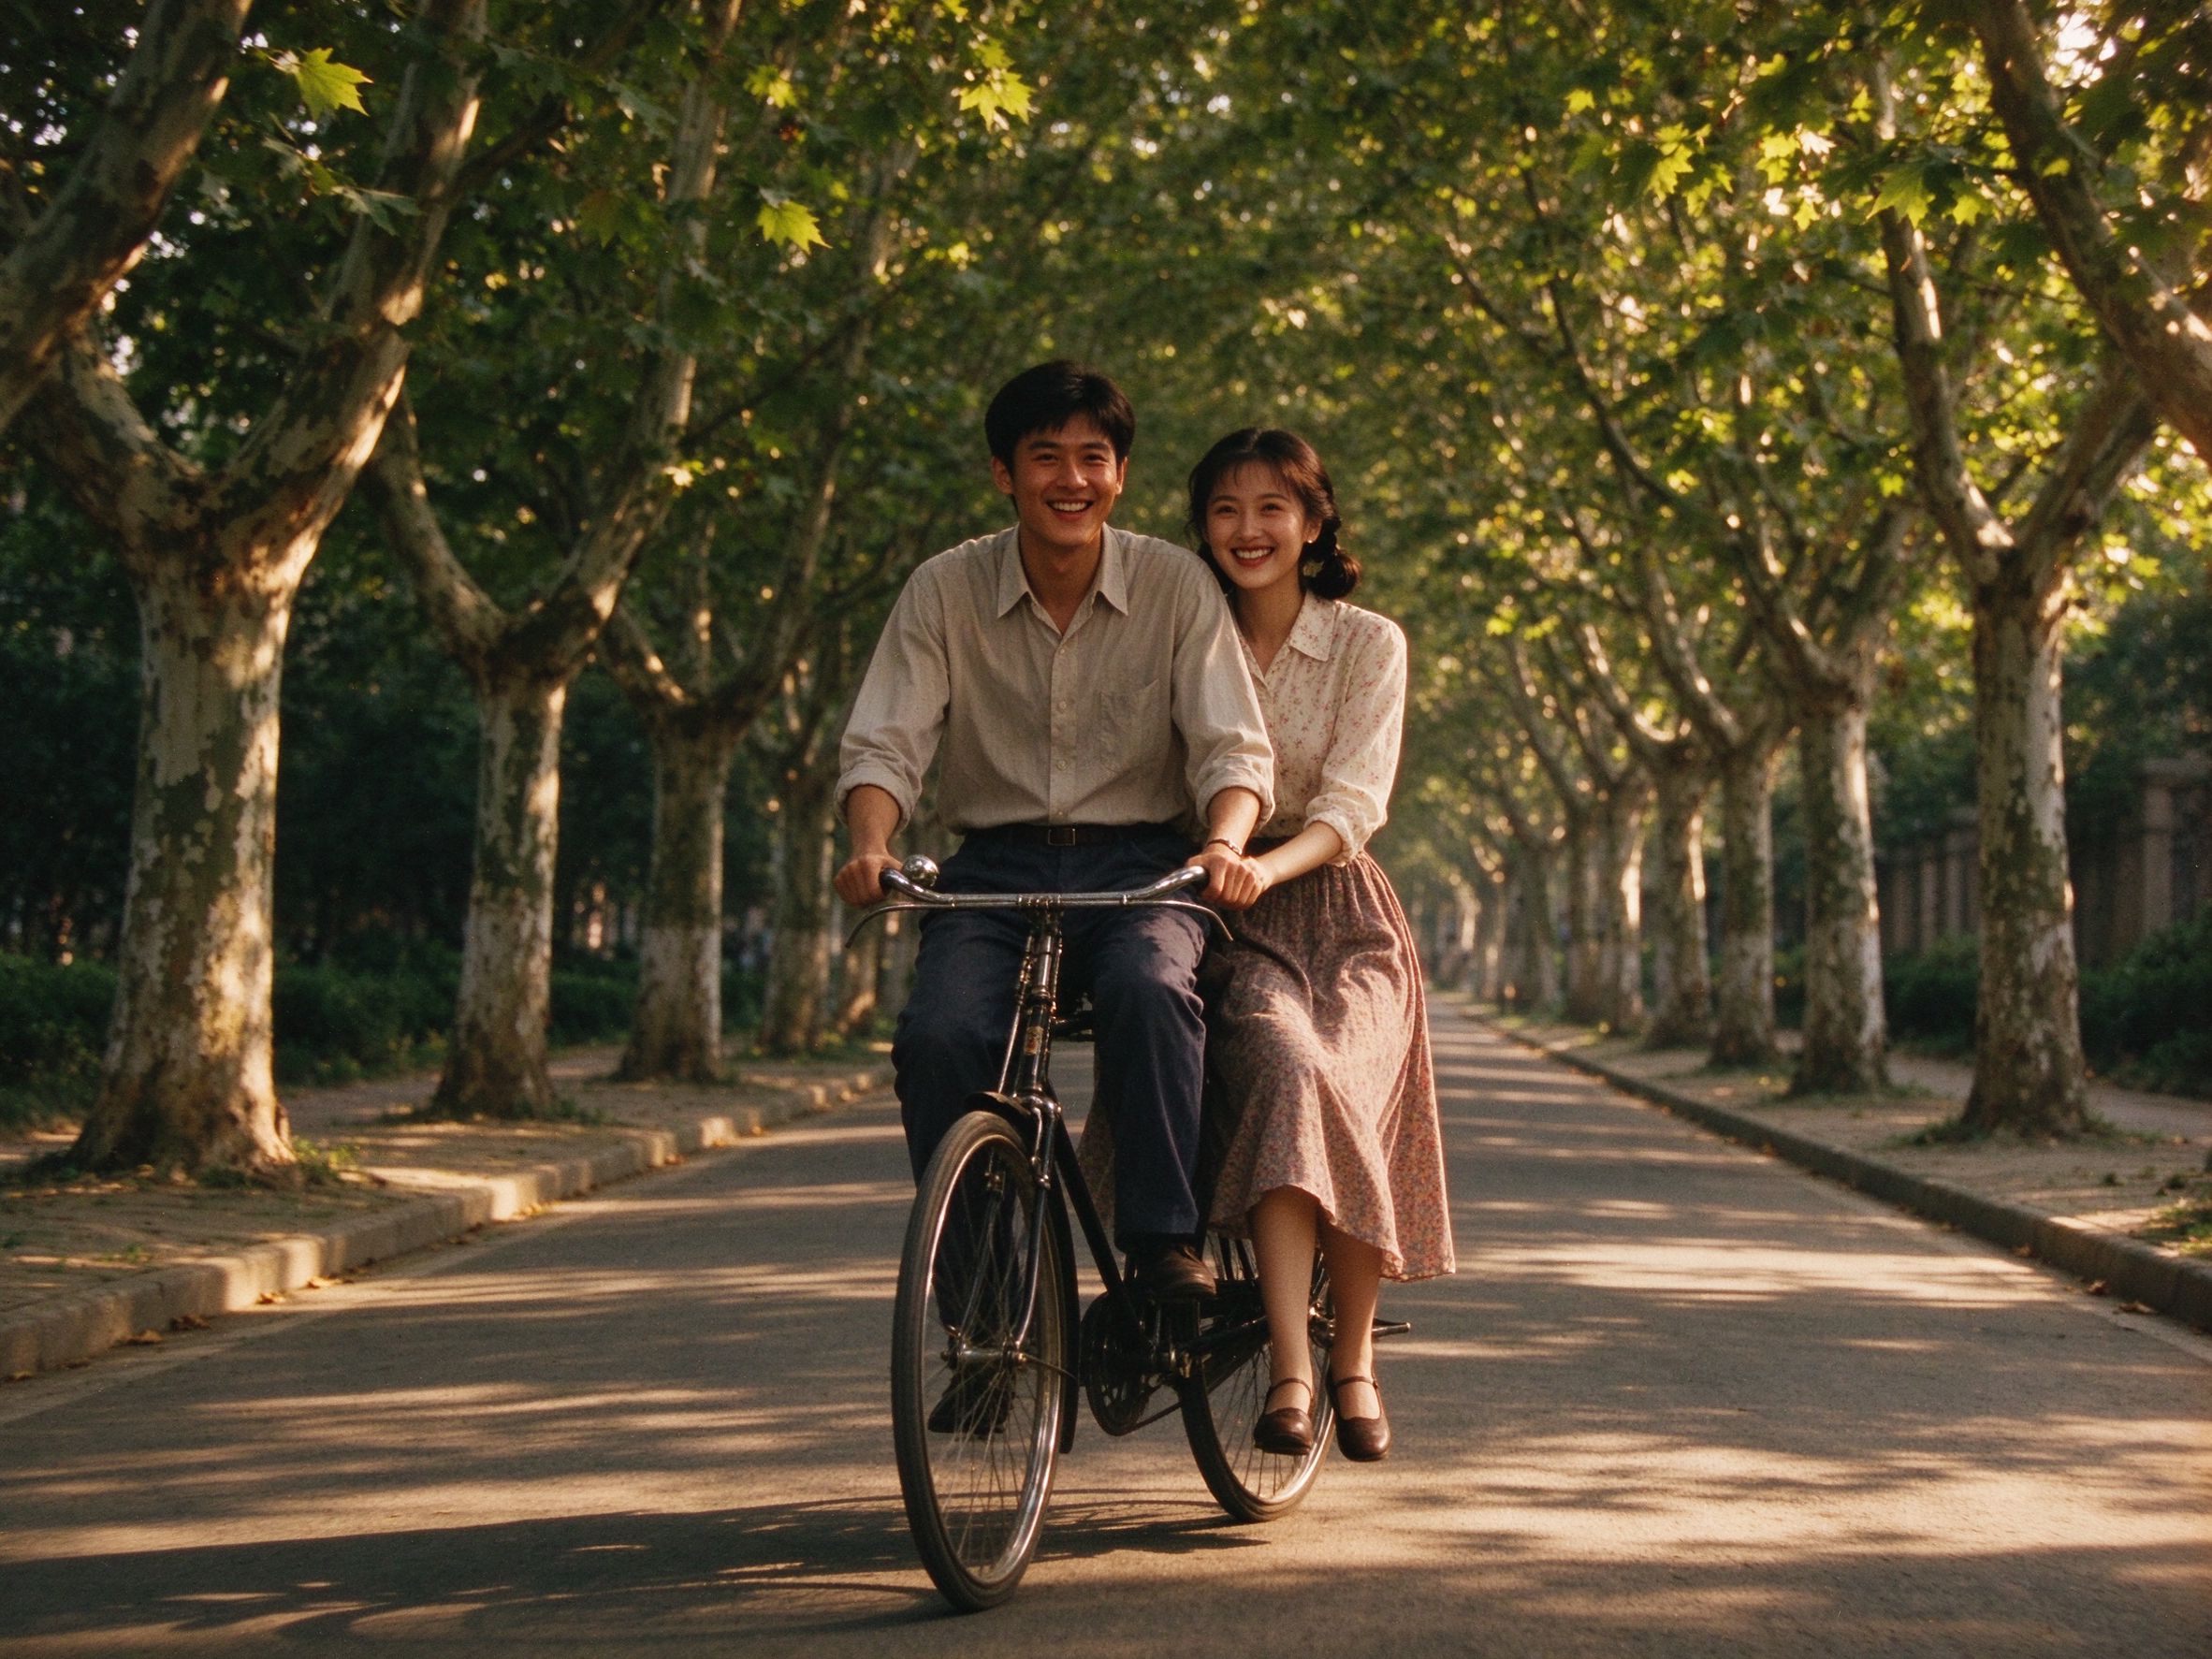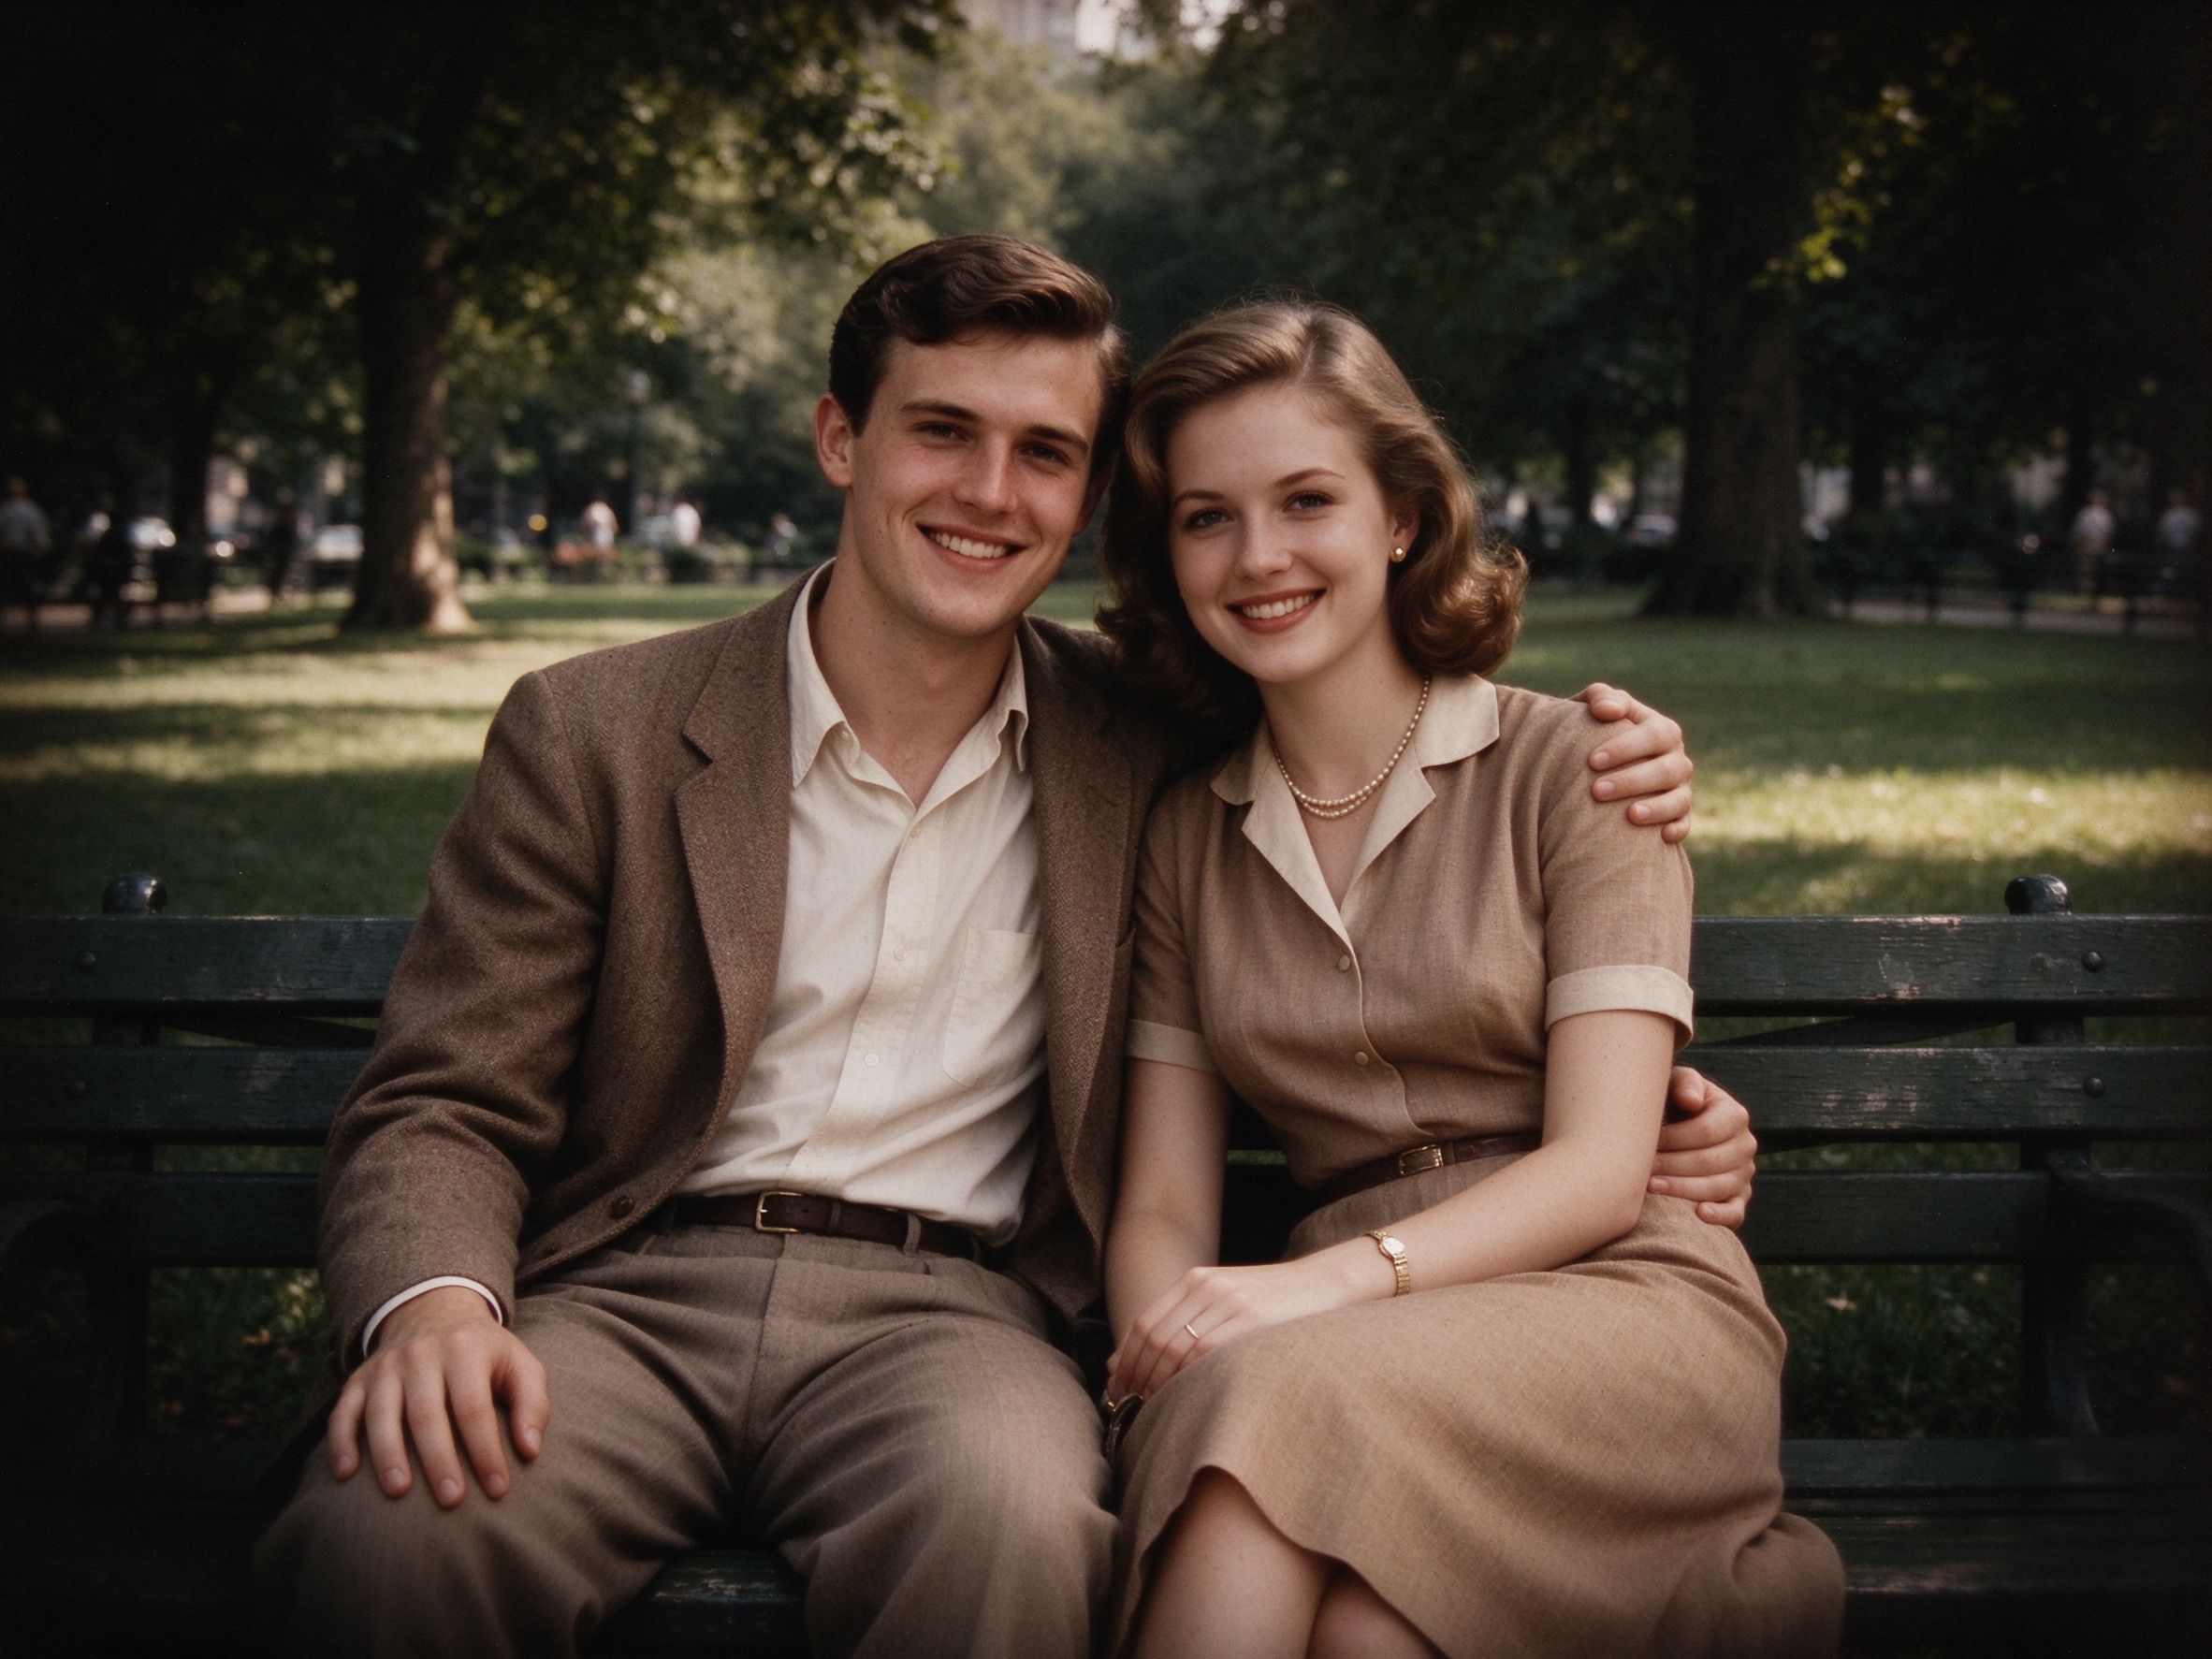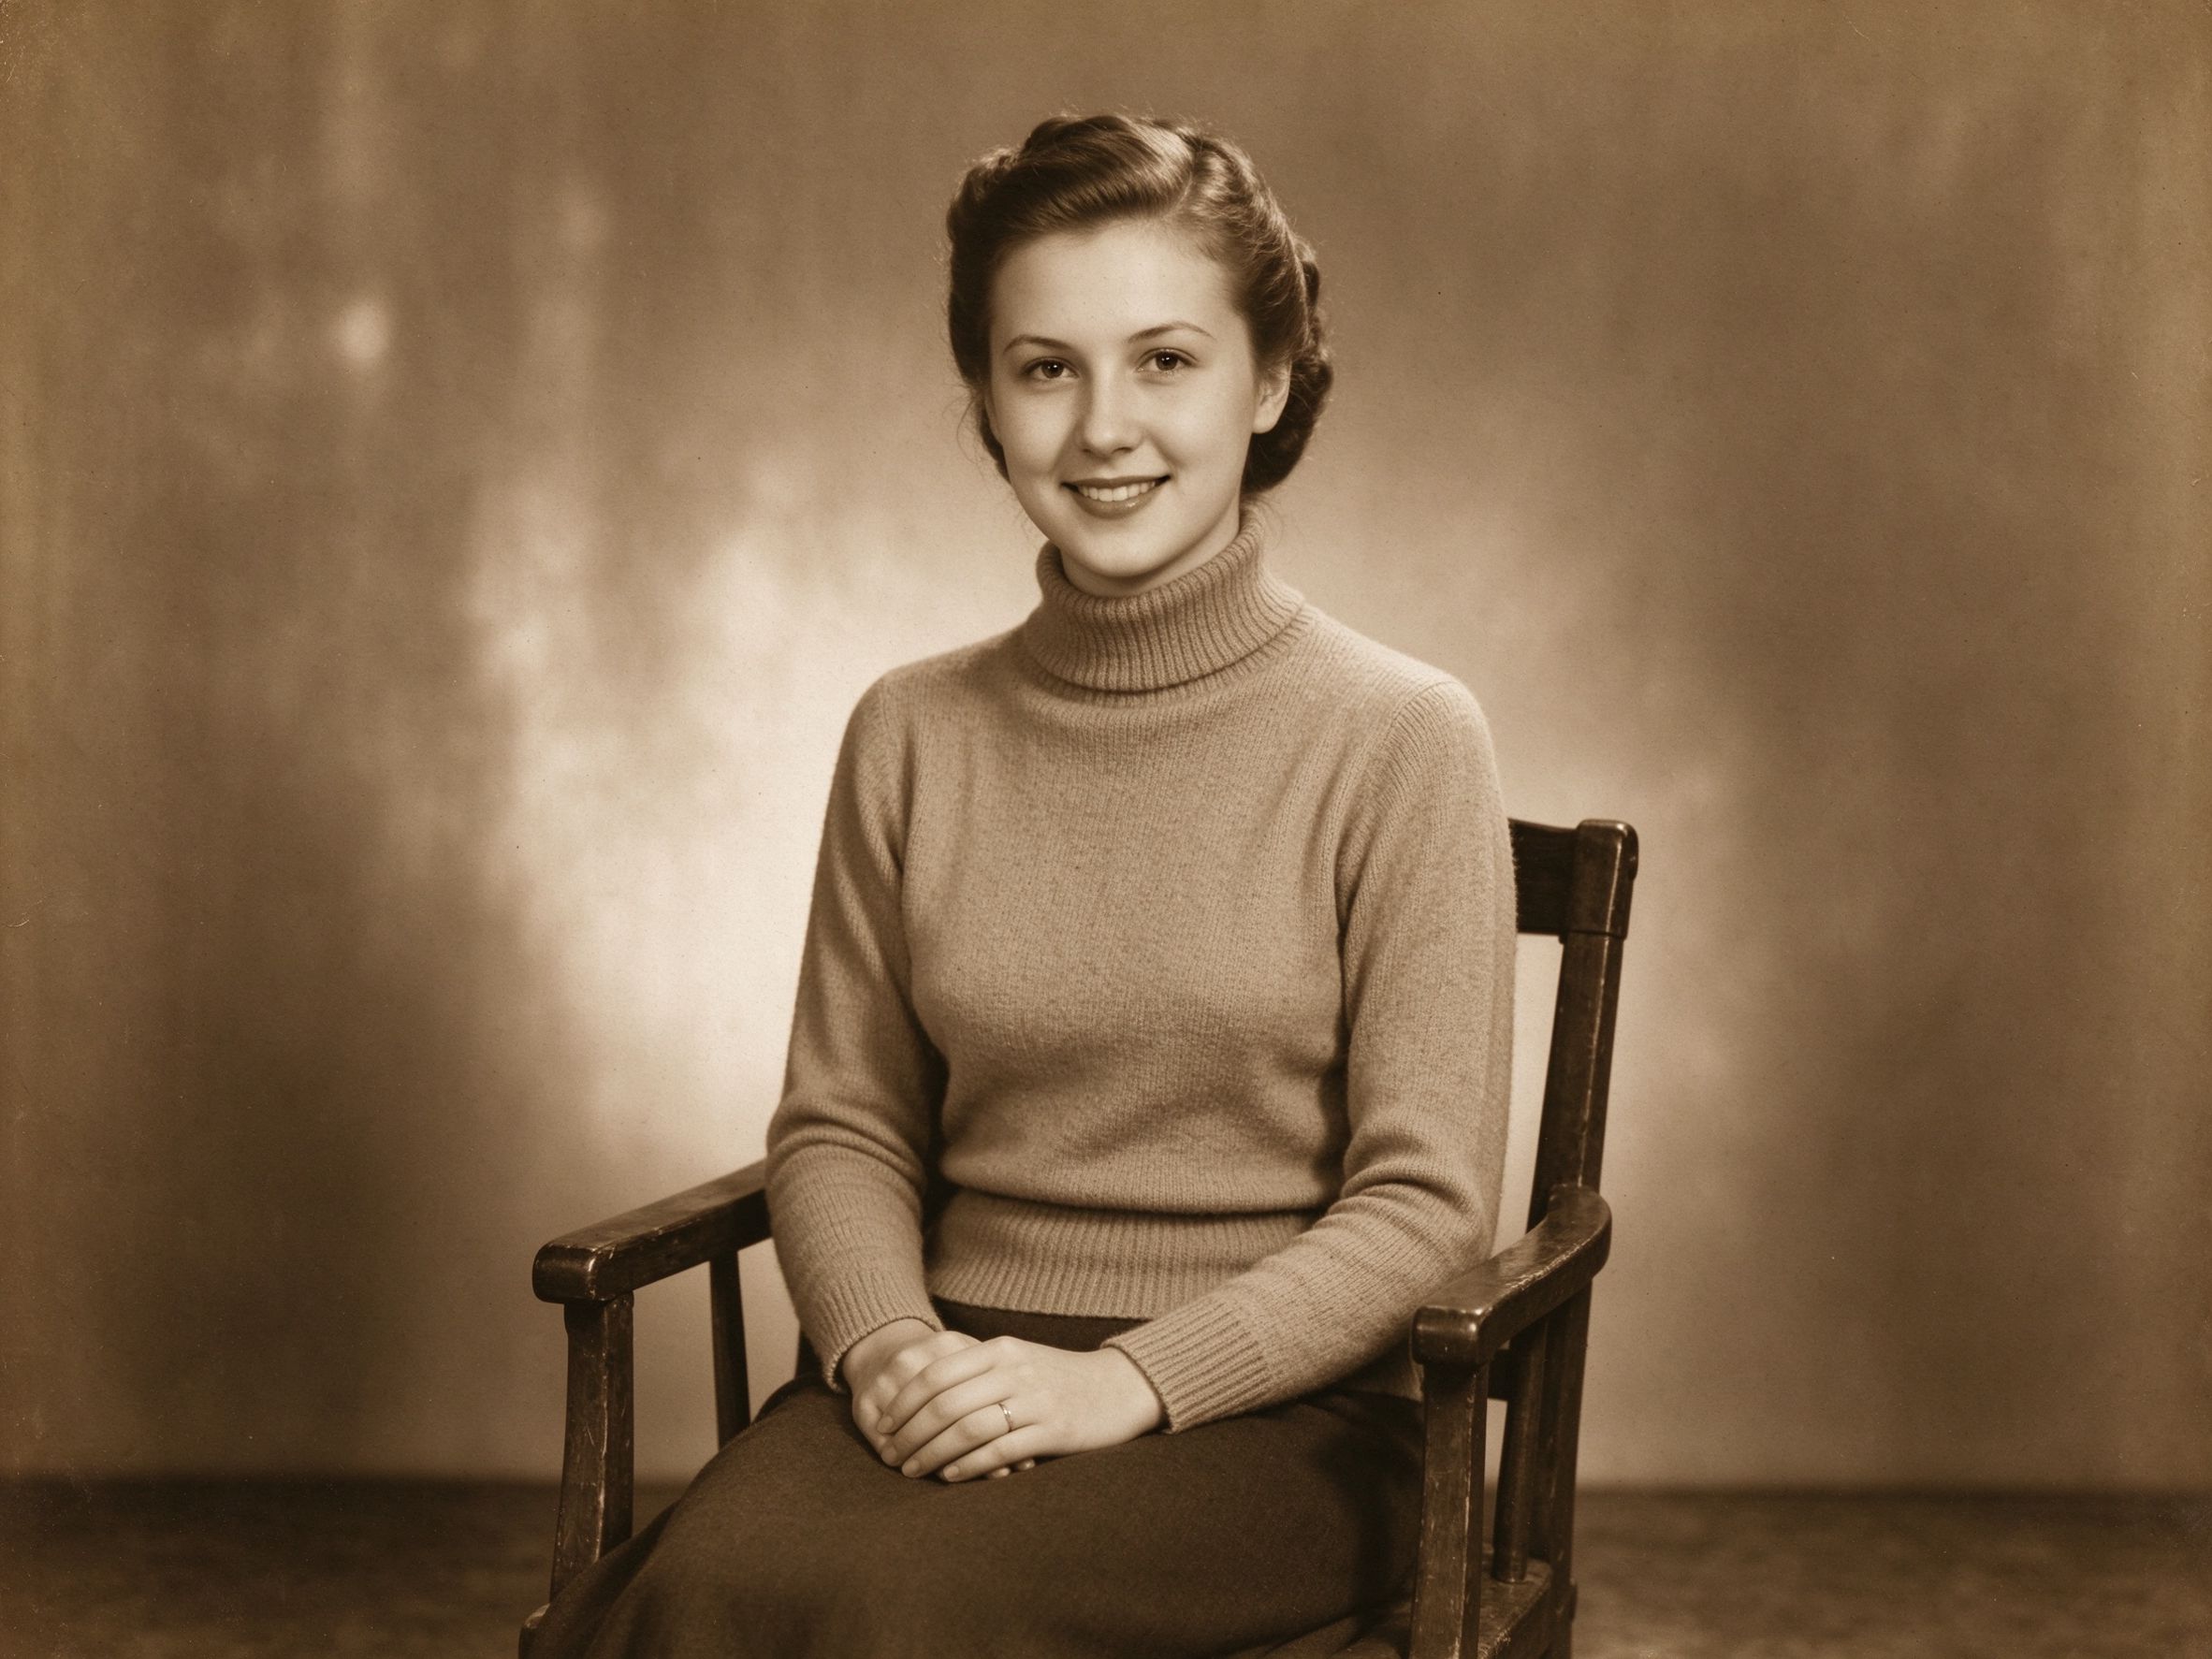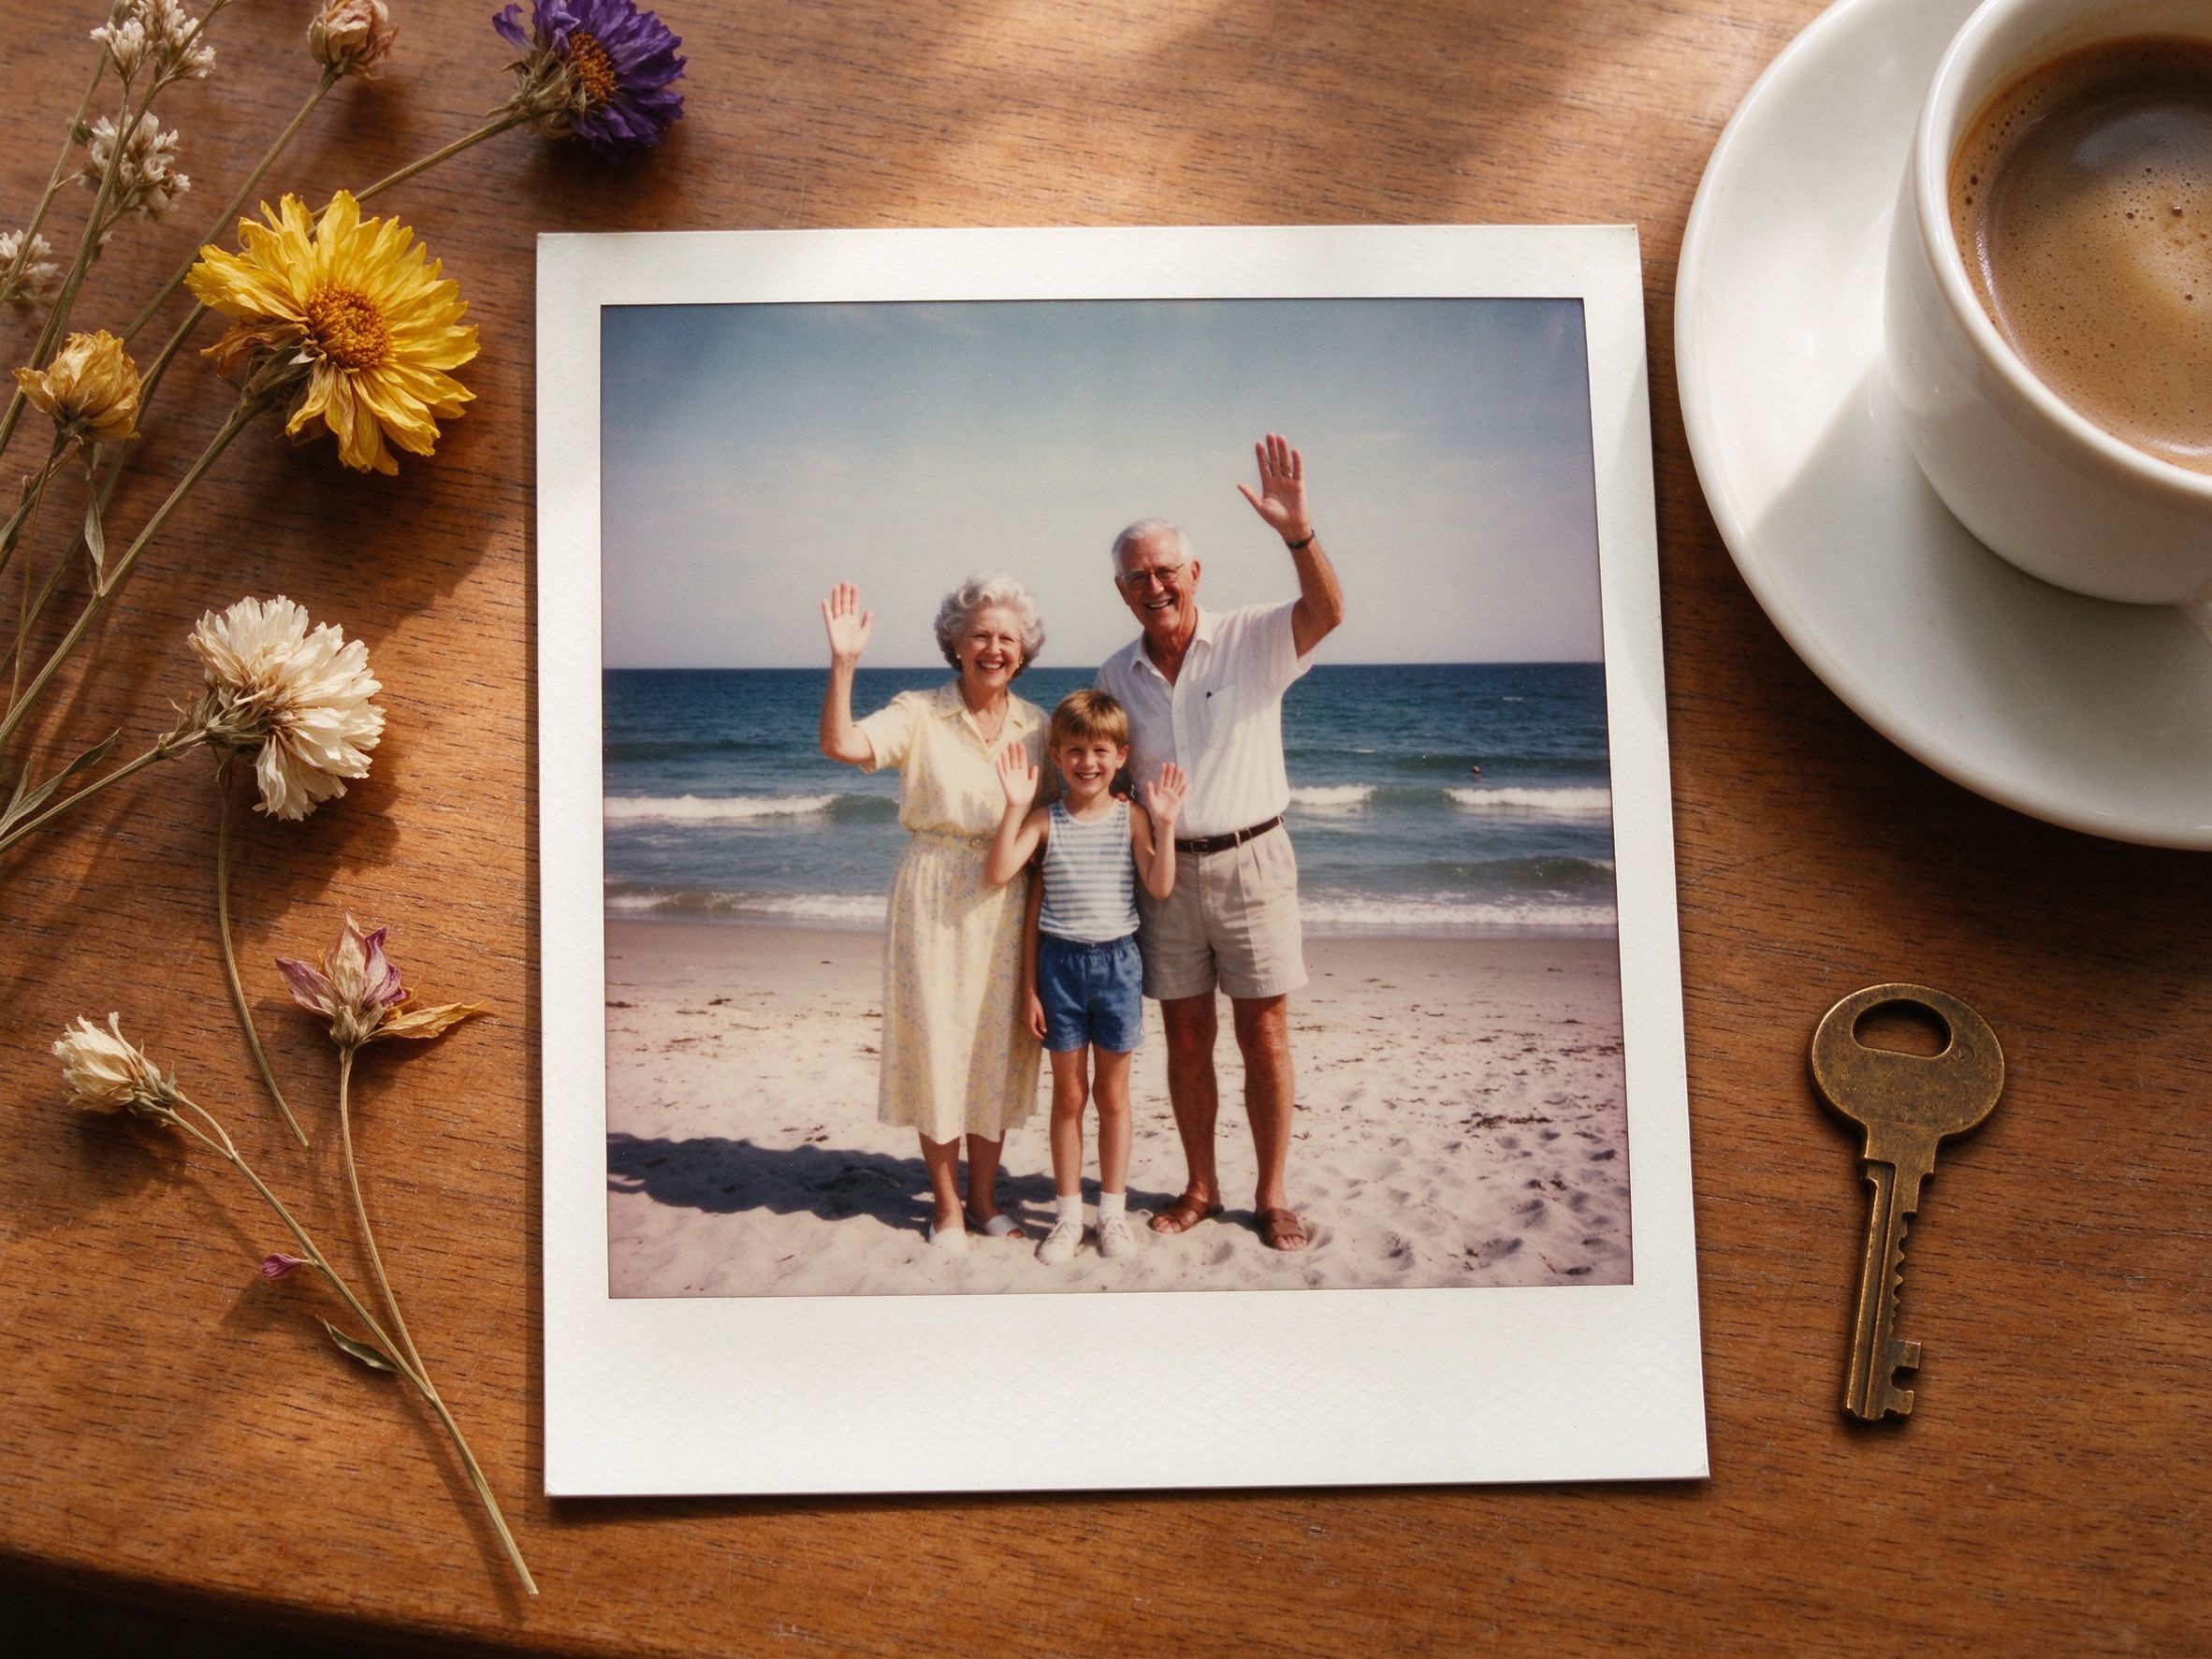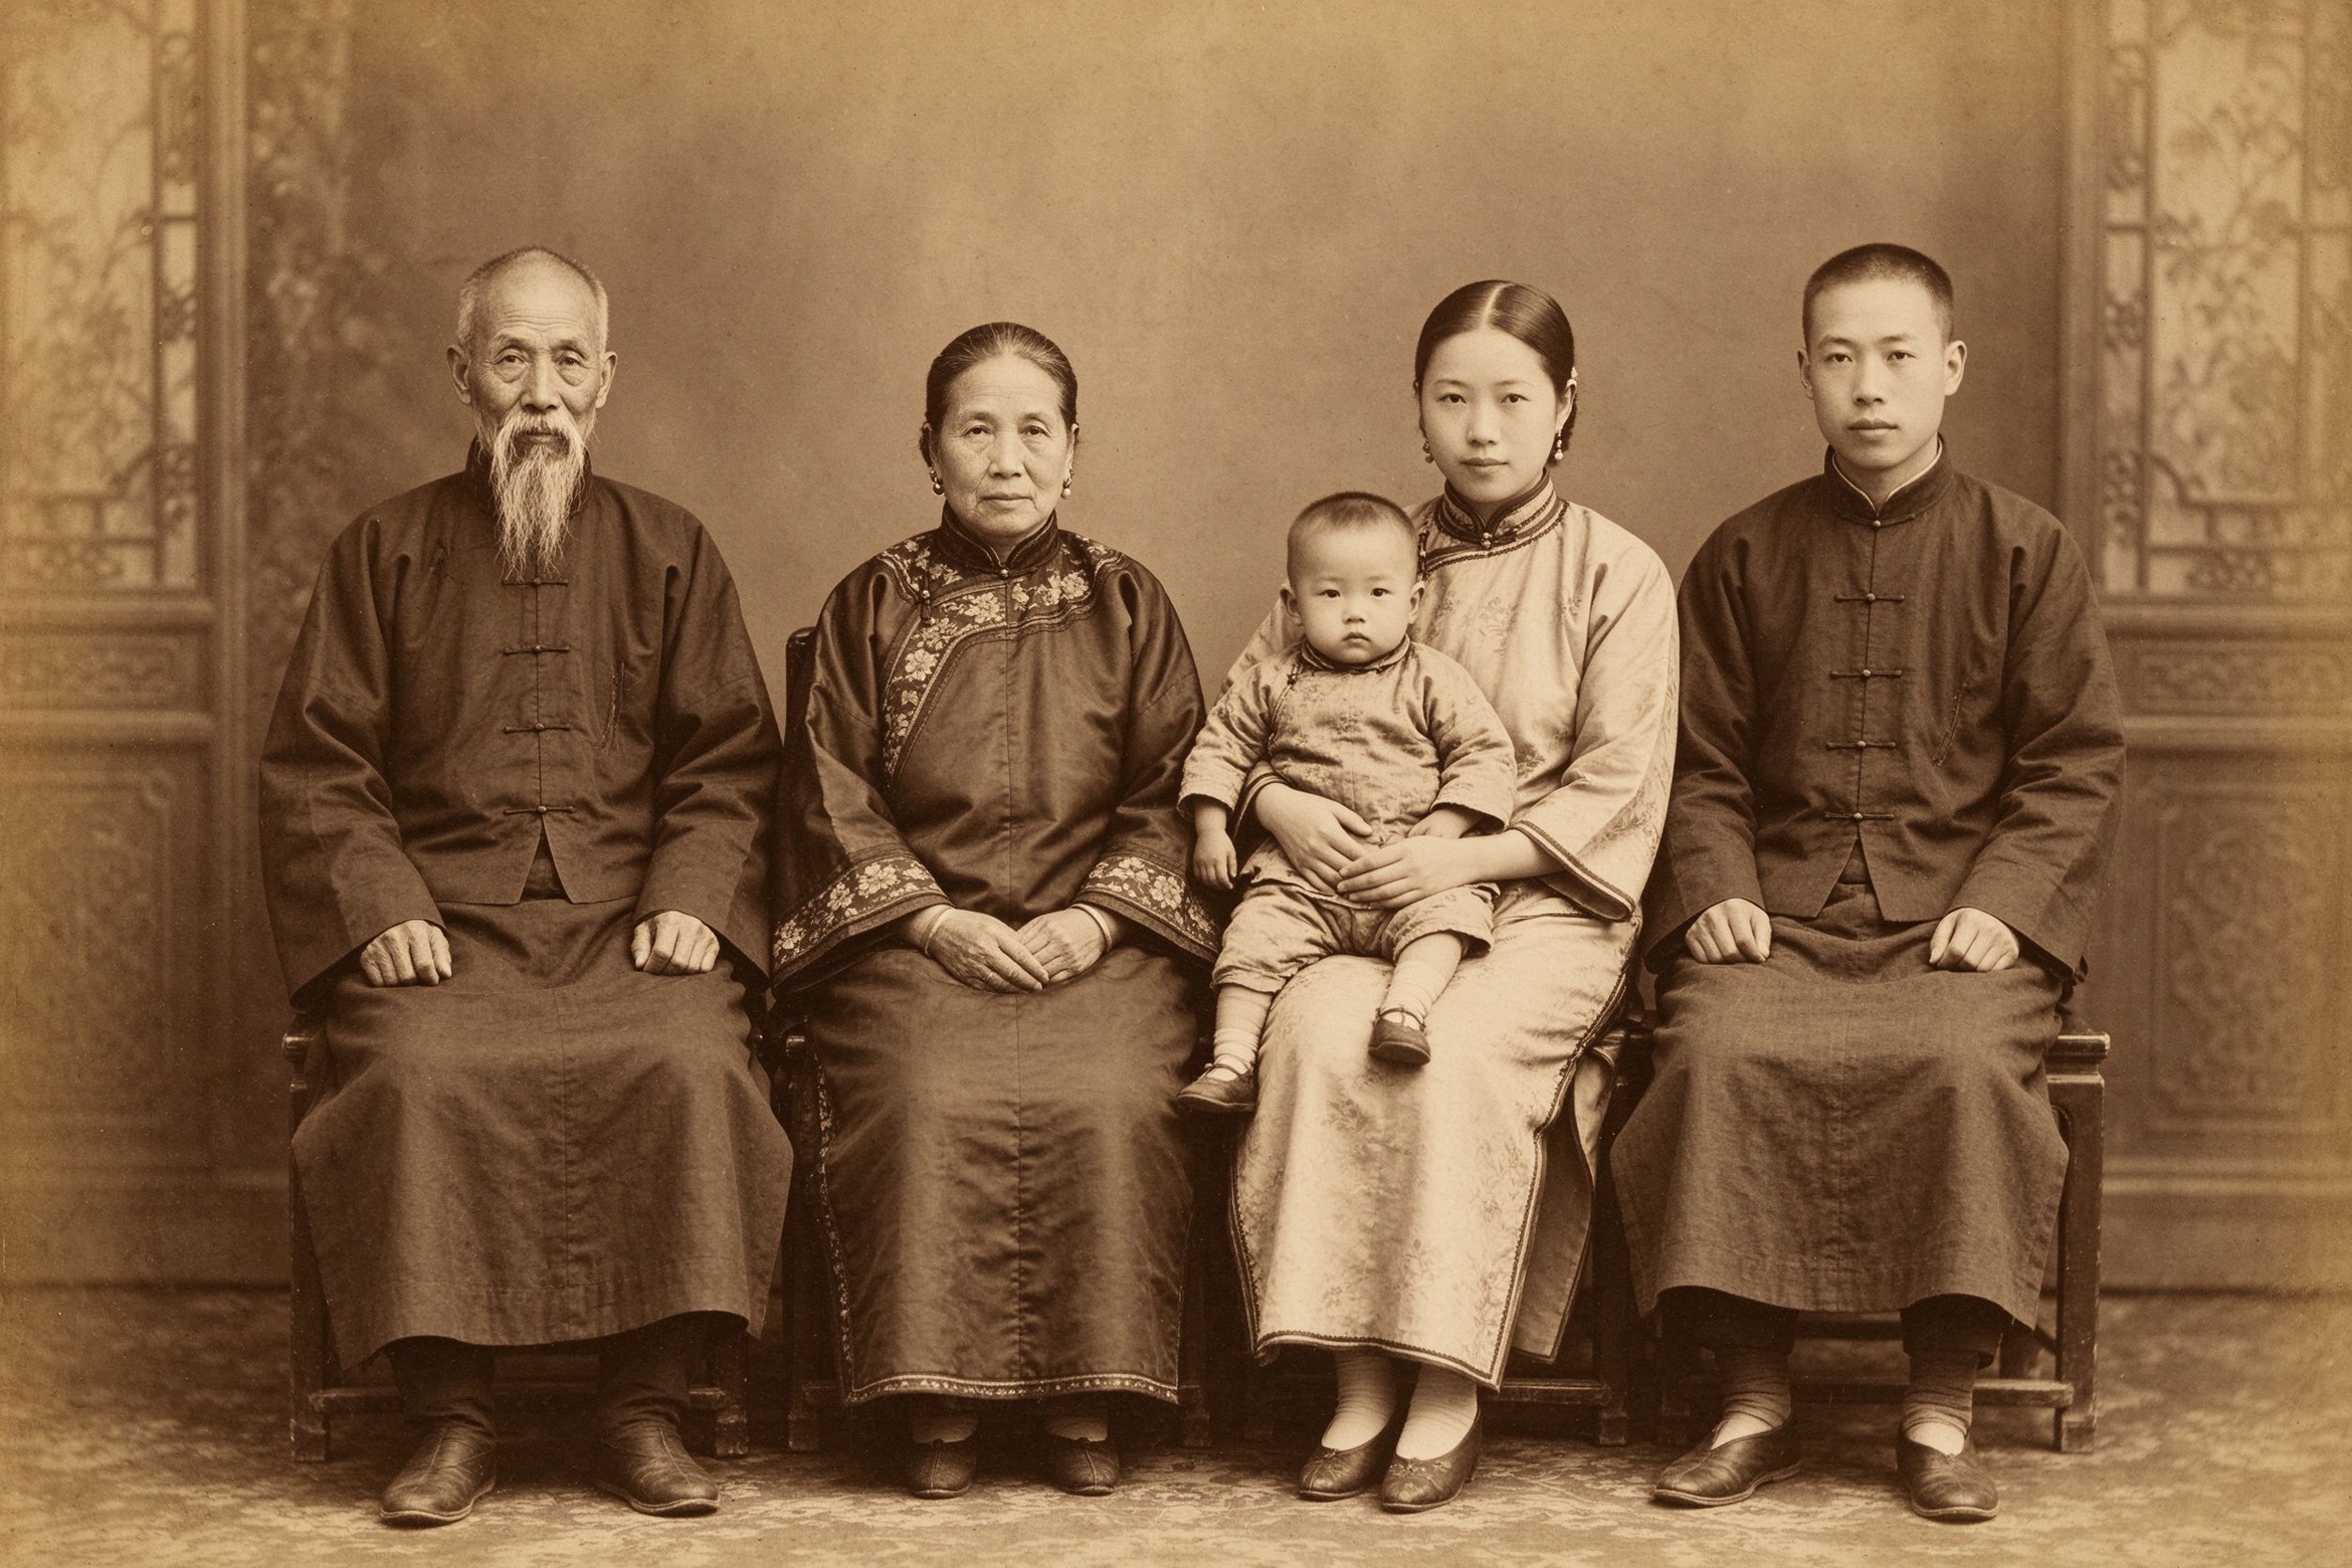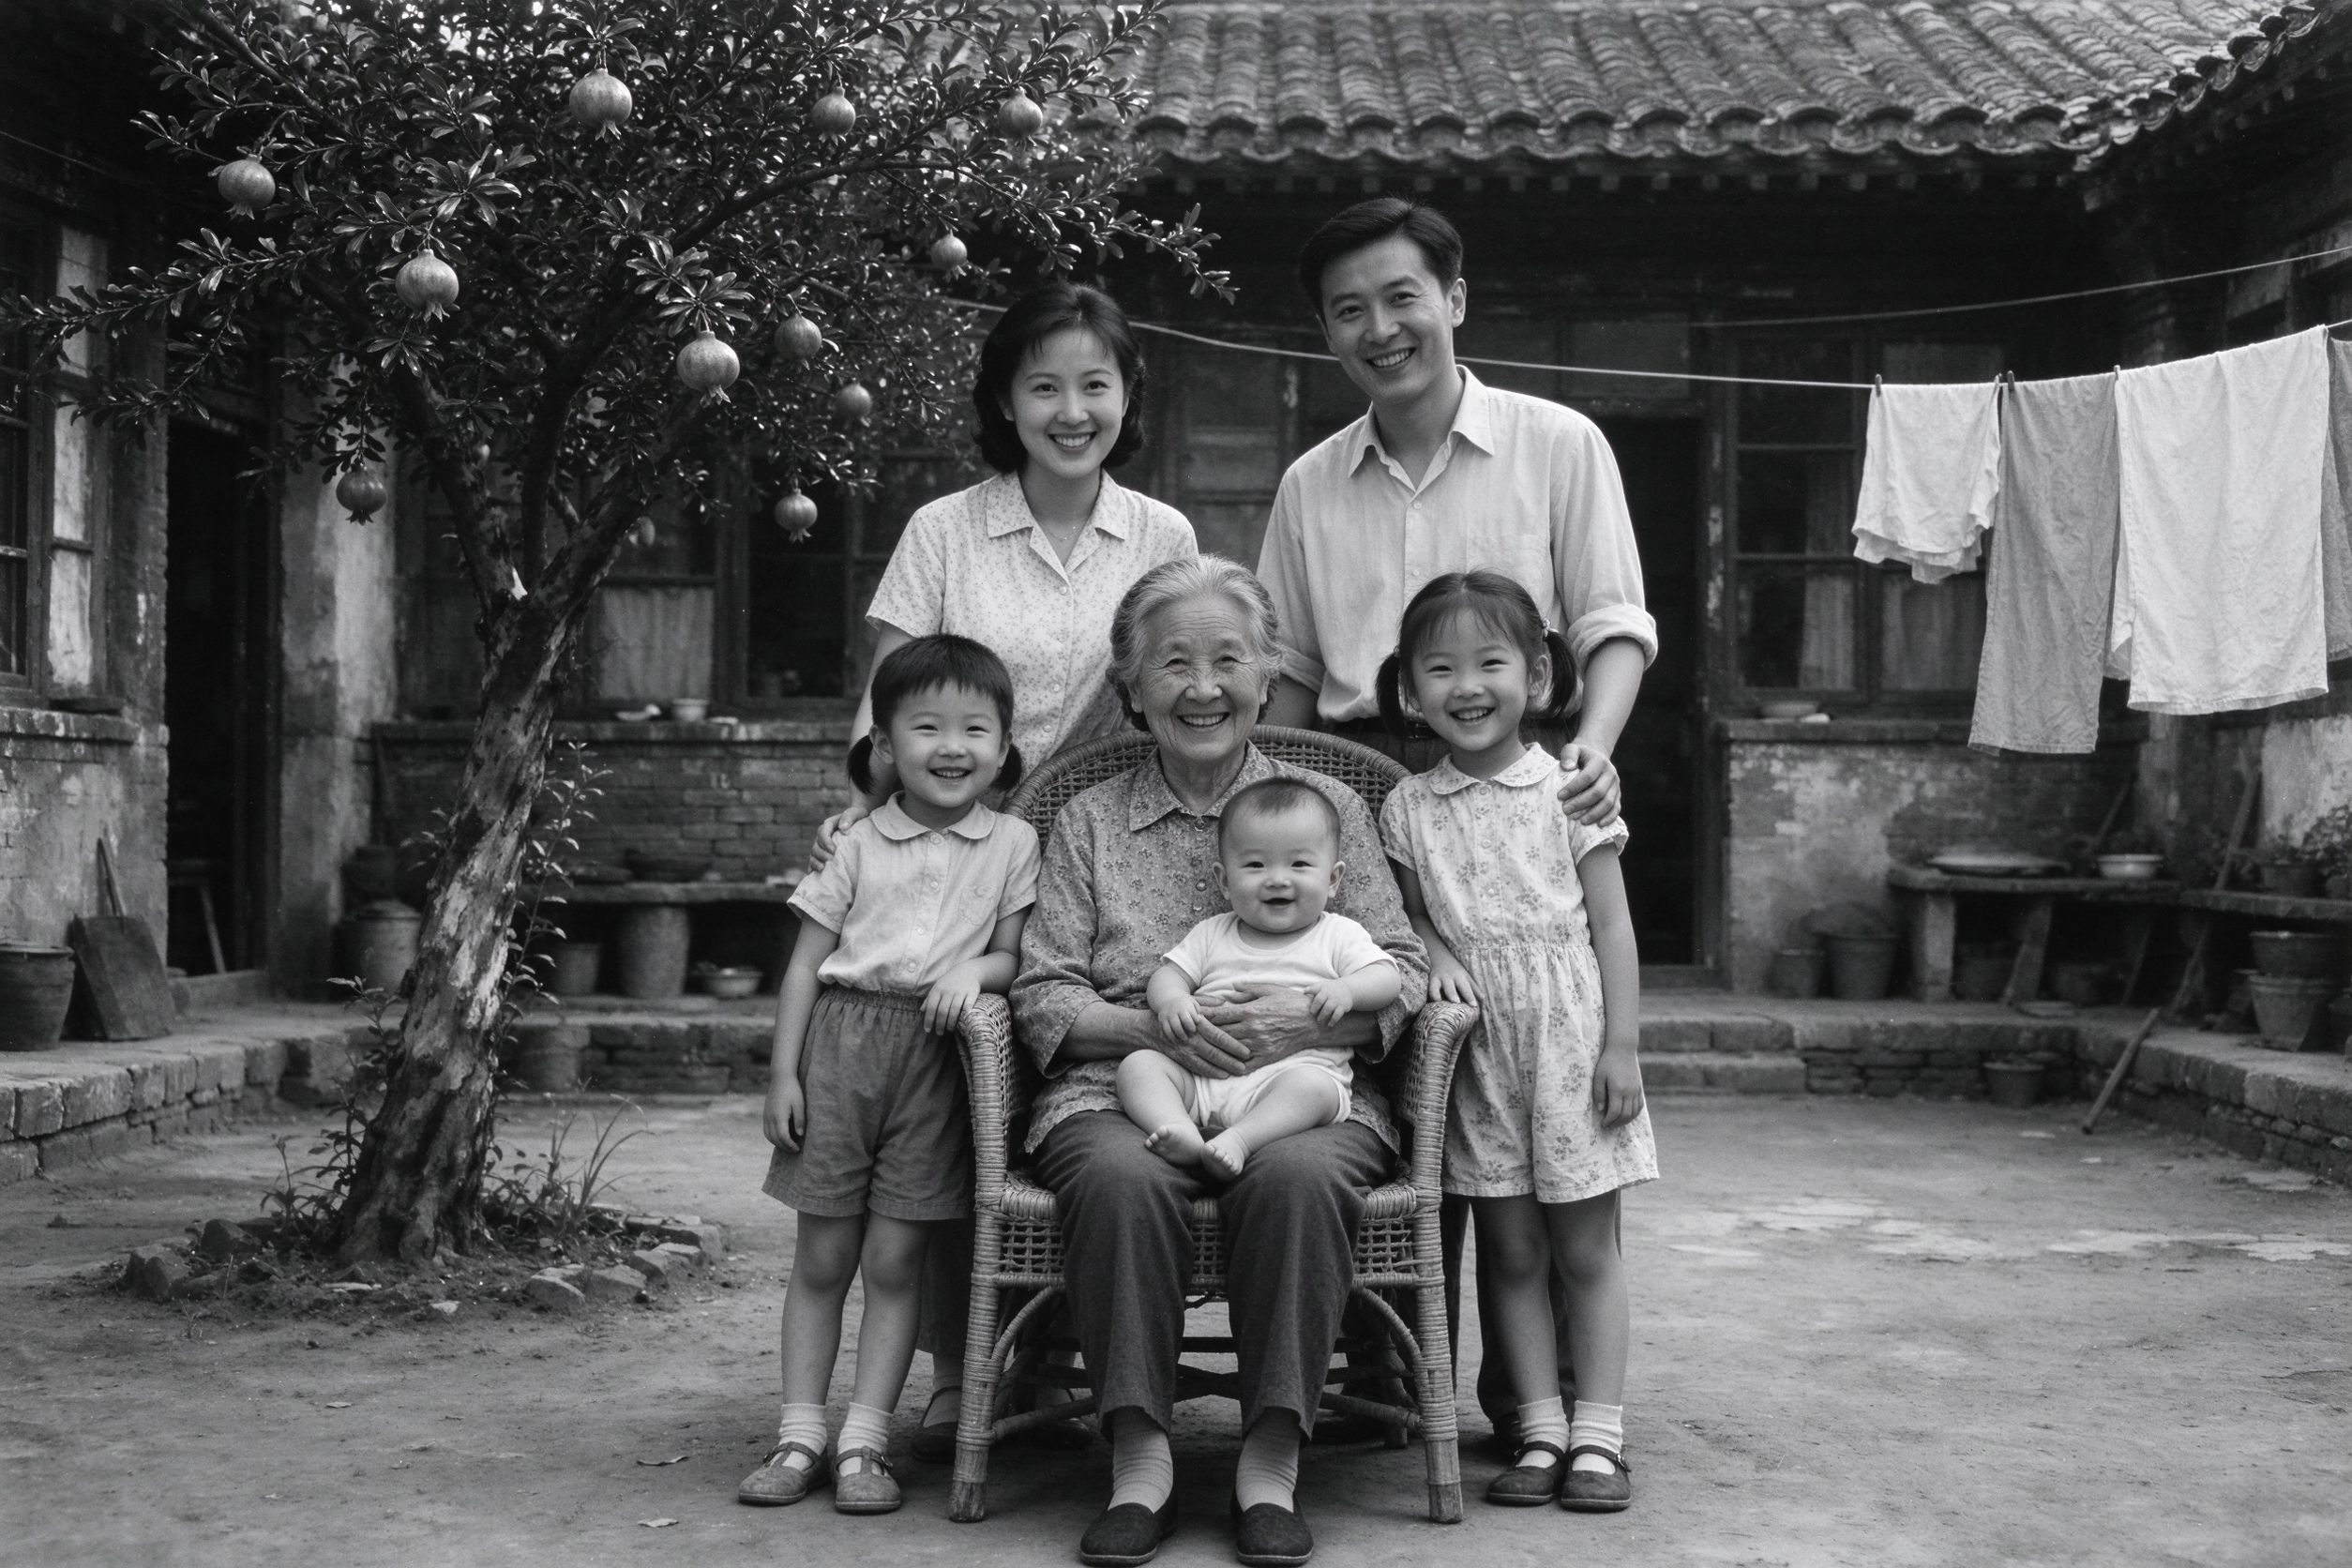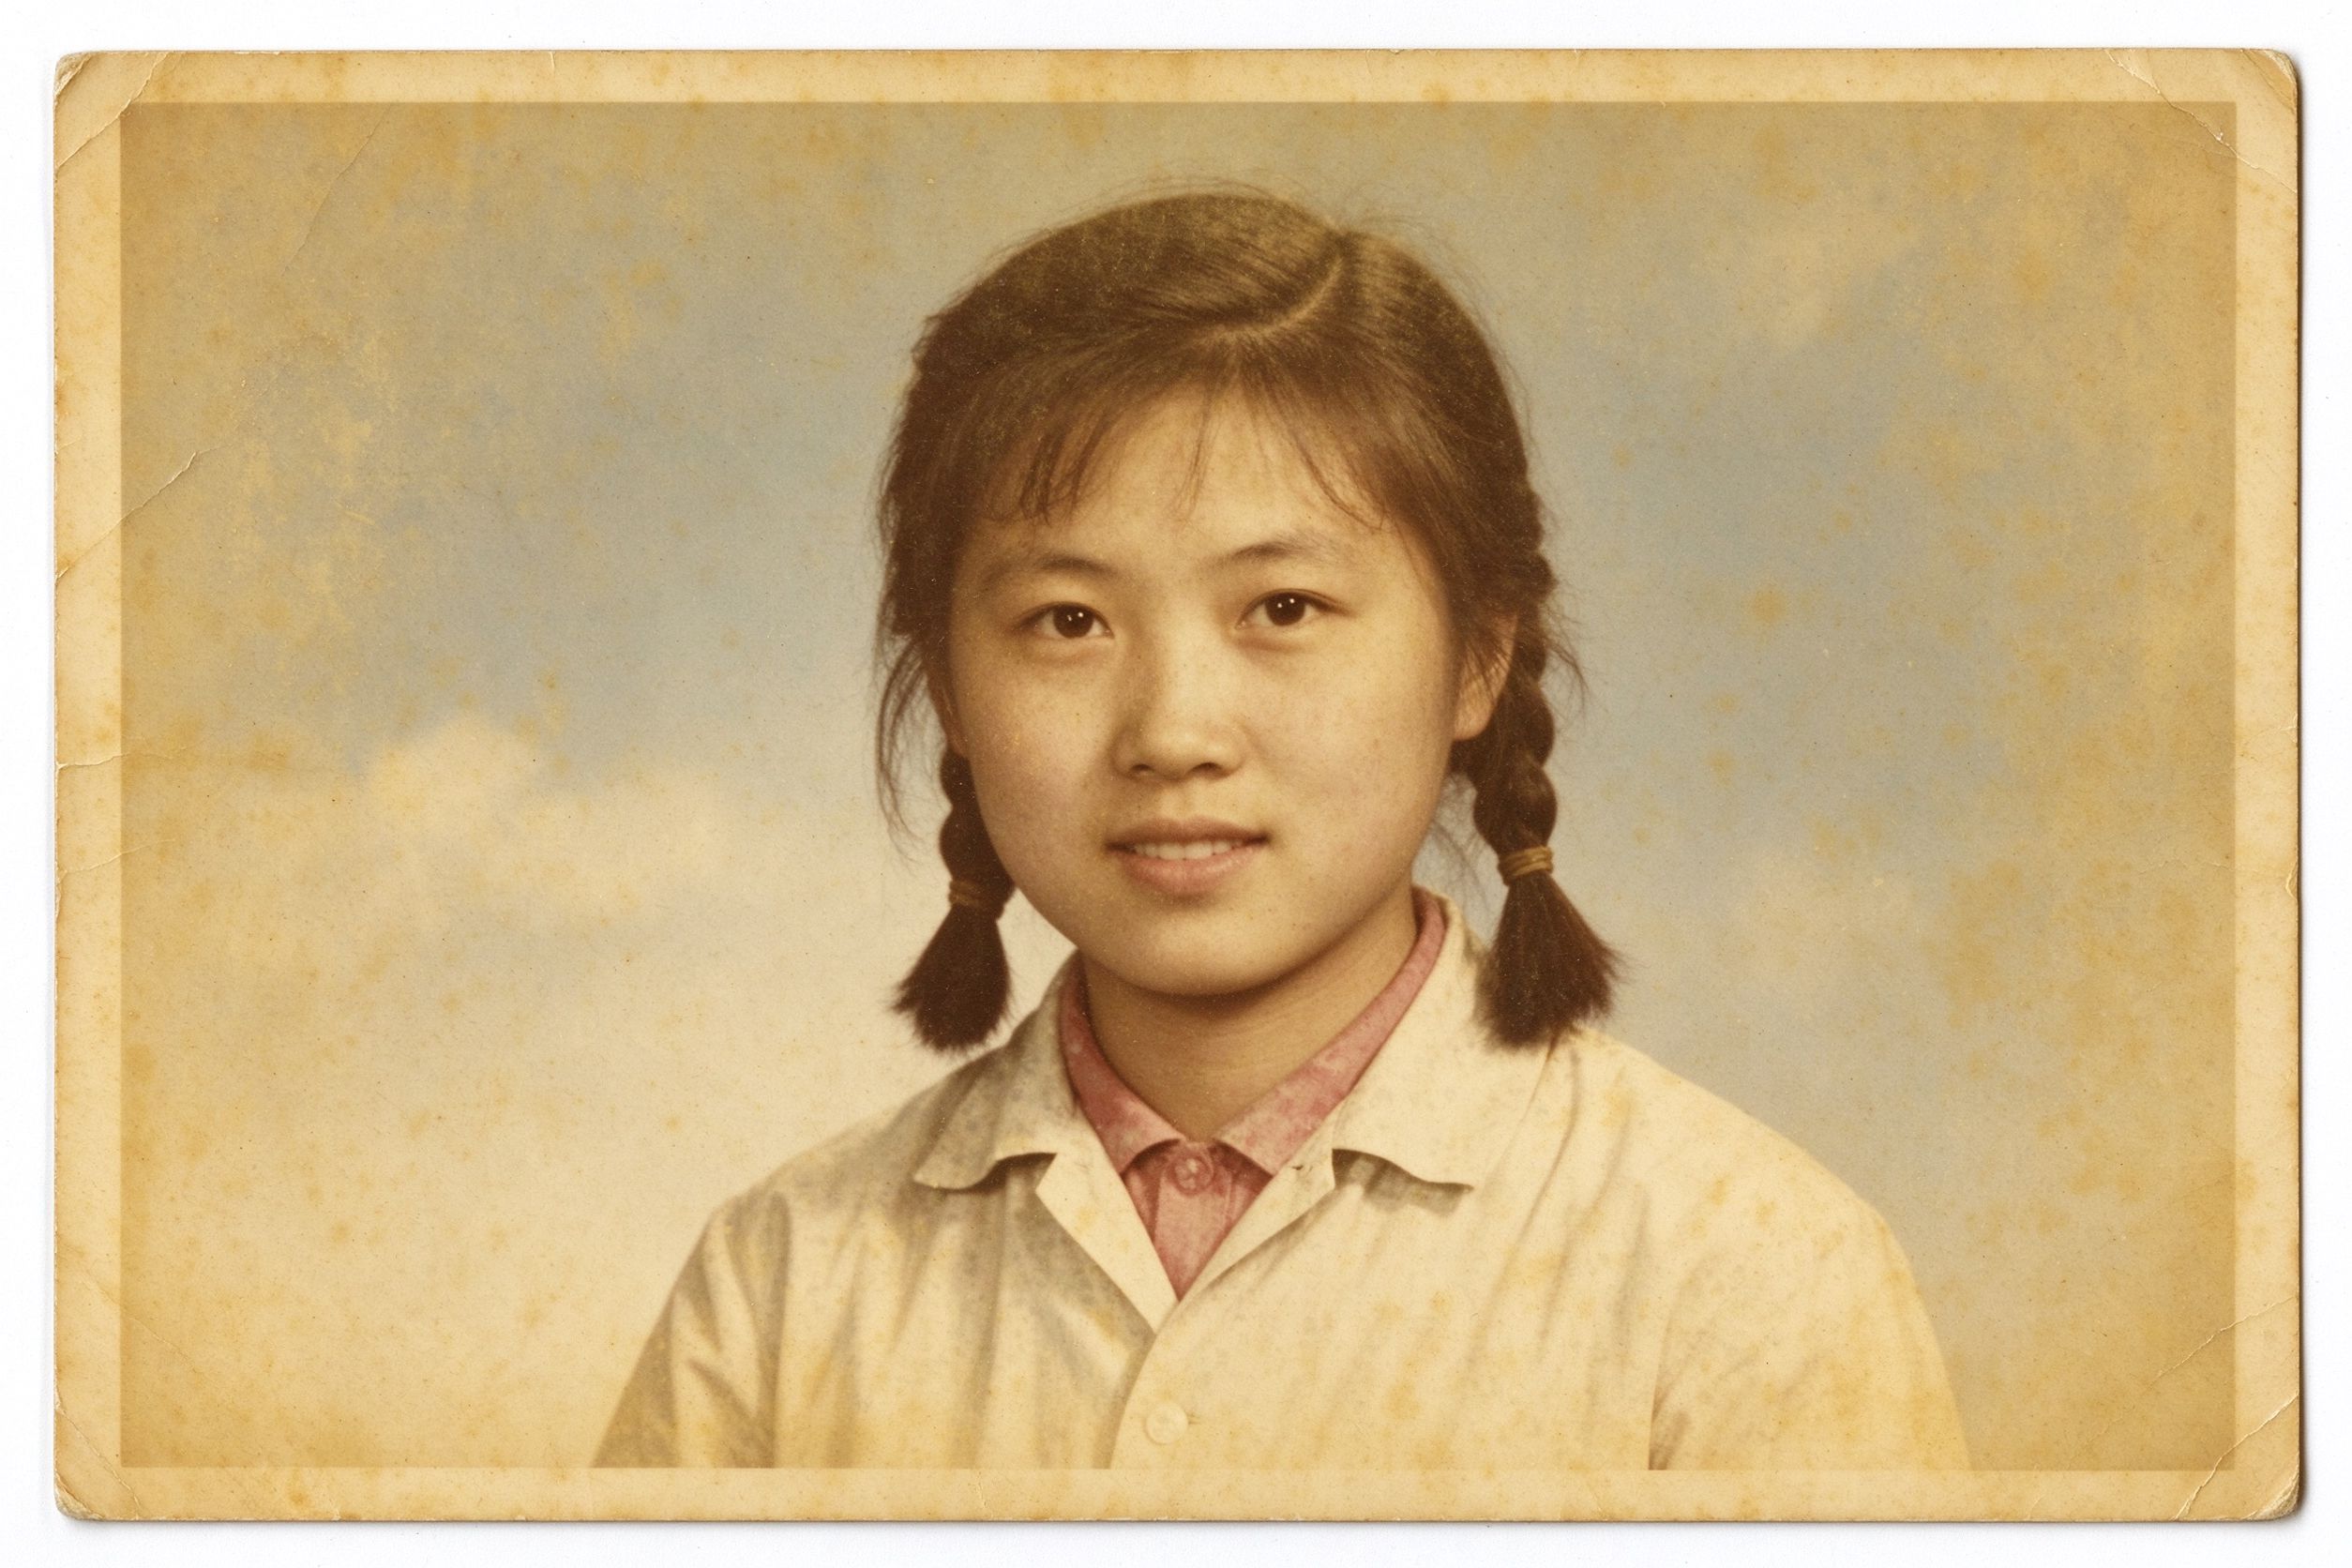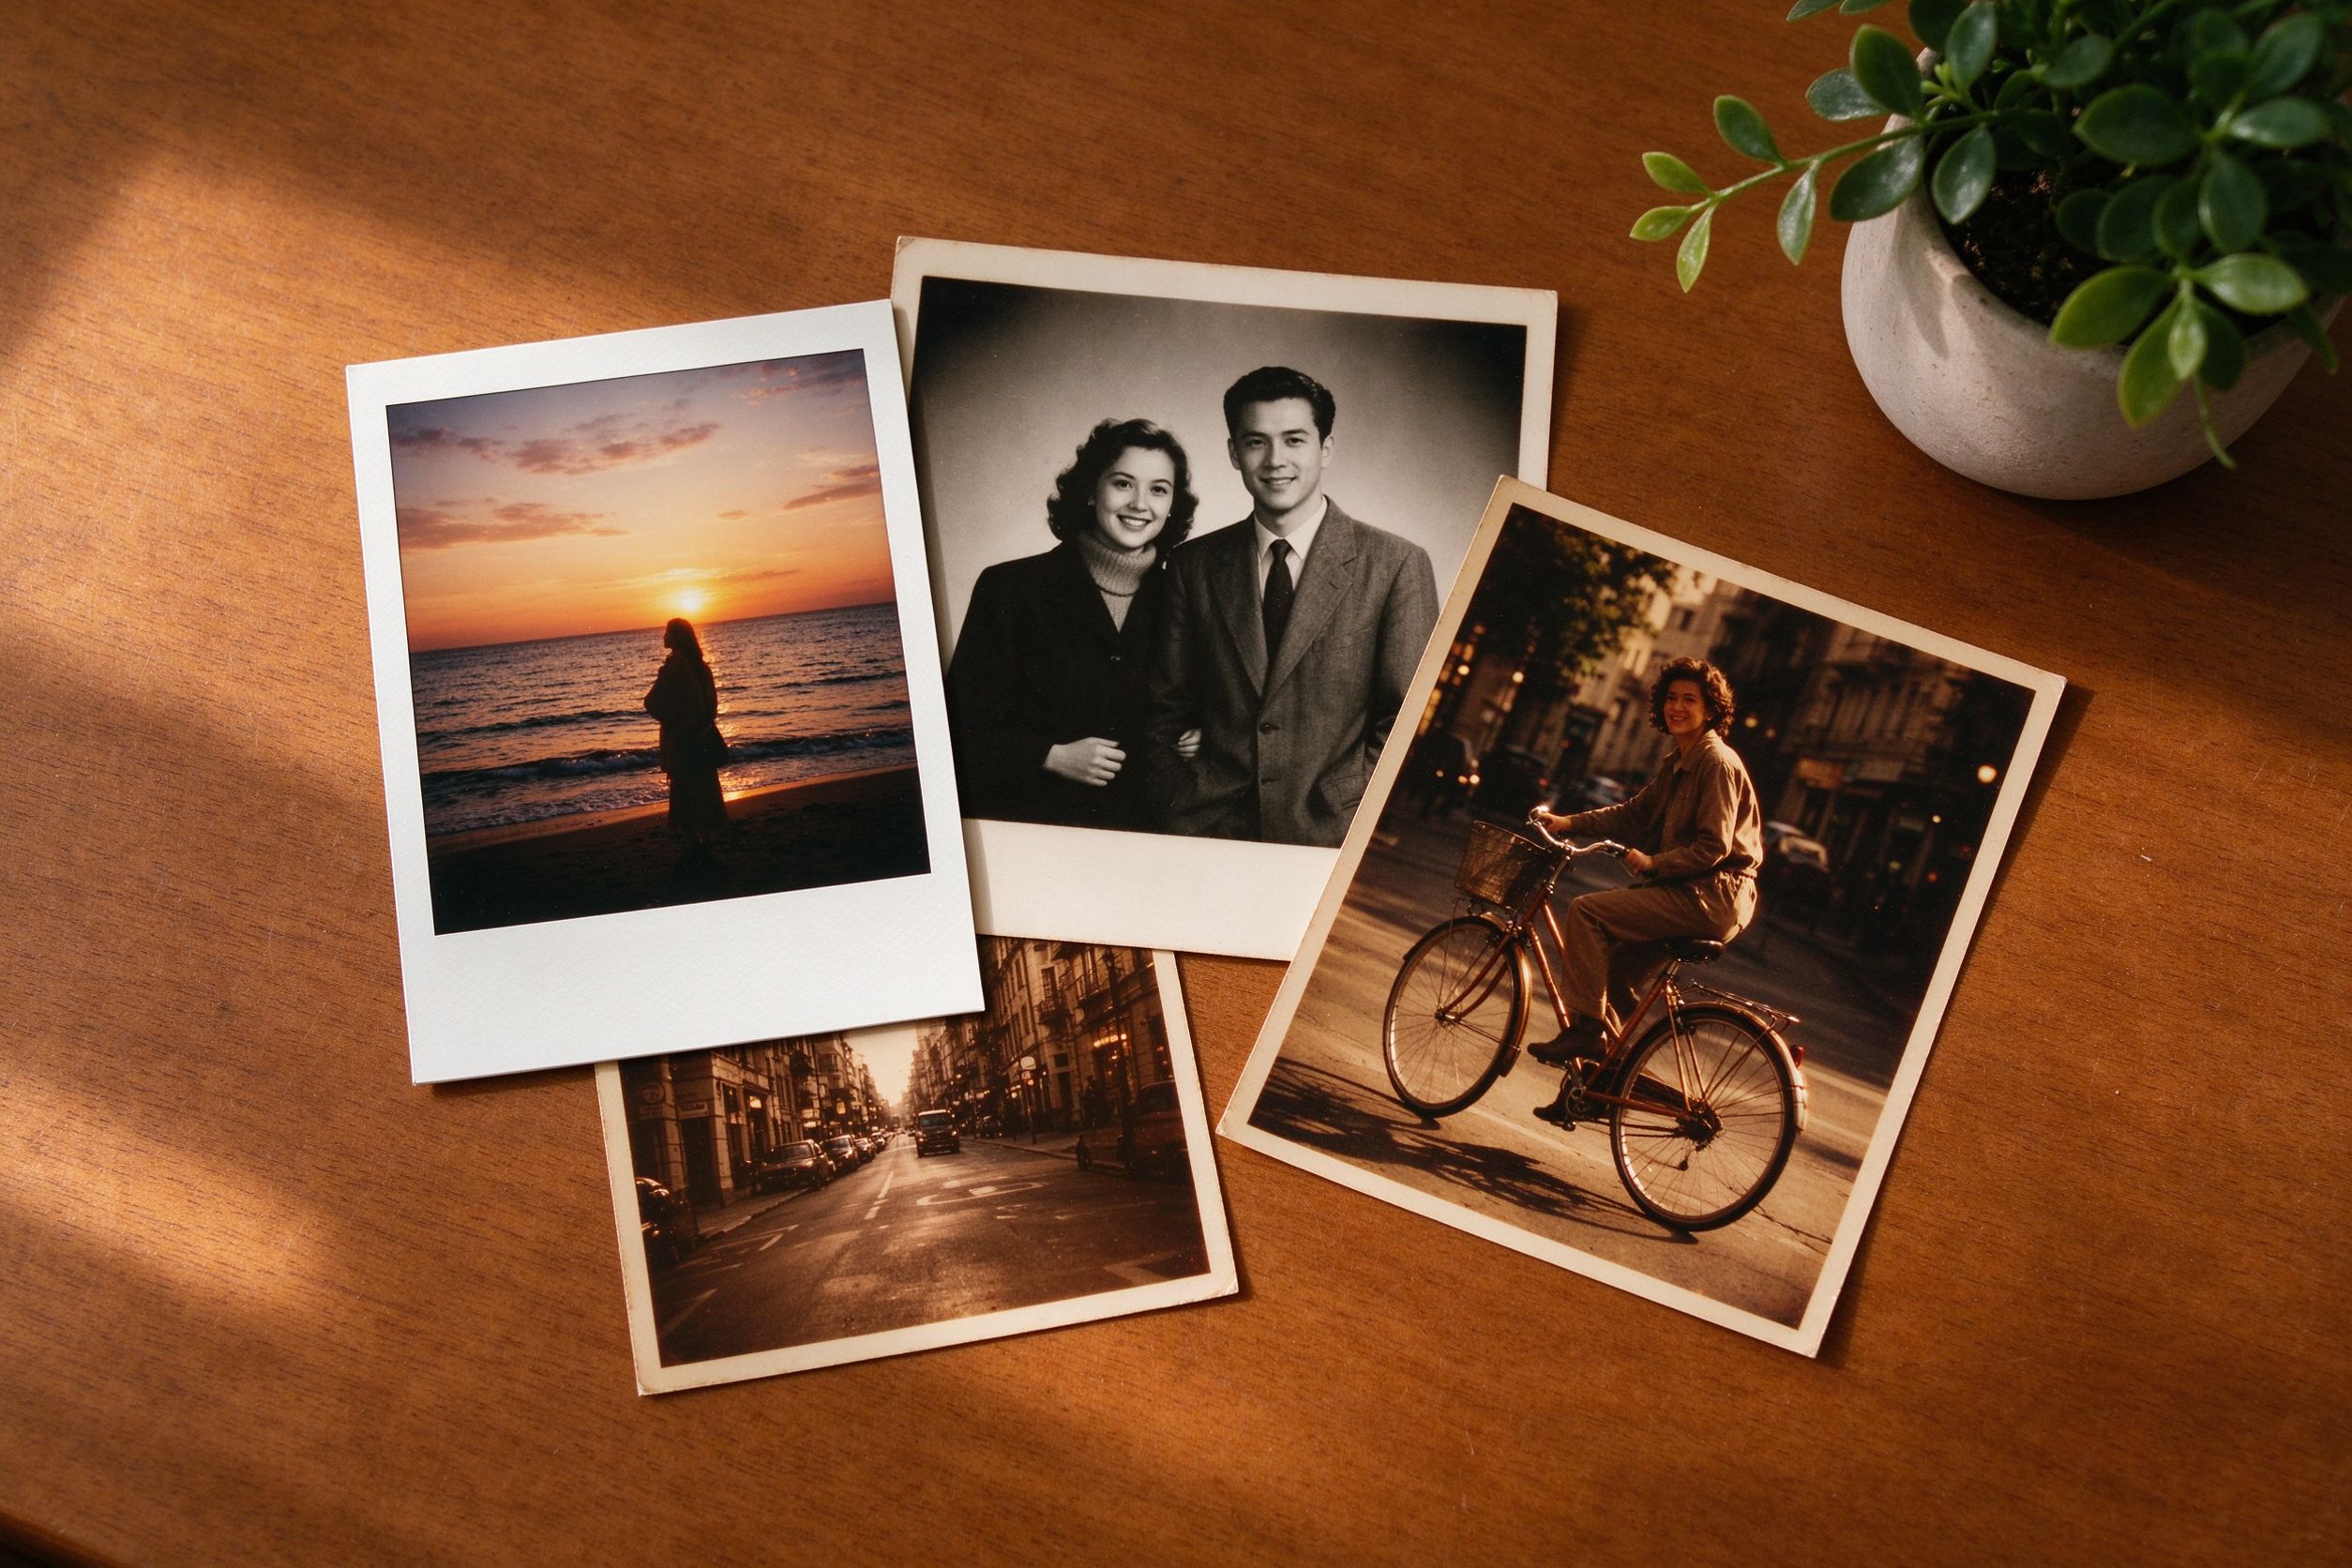
Once a photo is restored — color corrected, scratches gone, softly sharpened — you may want to do the opposite of restoration: give it character. A little film grain, a warm cast, darkened corners, or a white instant-film border can turn a clean scan into something that feels like a memory rather than a file. The trouble is that vintage effects are where most people over-do it. The result is either invisible or so heavy it looks like a filter from a 2010s social app.
This guide separates the three most popular effects — the old movie look, the vignette, and the frame — explains what each slider actually controls, and gives you three recipes that tastefully combine them. Everything runs in your browser, so your photos never leave your device.
Why vintage effects feel right
Vintage effects work because they imitate physical qualities of old film and paper. Grain is the visible silver or dye particles in an emulsion. A vignette appears because old lenses let slightly less light reach the corners of the frame. Warm color casts come from aging dyes, and white borders come from instant film's physical develop frame. When you add these in moderation, you are mimicking reality; when you push them to the max, you are making a costume.
The guiding principle is restraint. A viewer should feel the warmth without immediately noticing "a filter was applied." If the grain is so strong it looks like television static, or the vignette is so dark the corners are pure black, the effect calls attention to itself and stops serving the photo. Start subtle, compare against the original, and dial back whenever you feel the urge to add one more thing.
The old movie look, slider by slider
Our Old Movie Effect combines four controls into one cinematic recipe. Each one is worth understanding on its own:
- Sepia (0–100, default 65). Warm brown color grading. At low values it gently warms skin and shadows; at high values it fully desaturates toward brown like a 1920s silent film. For a believable "old home movie" feel, keep it between 40 and 65 — brown, but not monochrome.
- Saturation (0–100, default 78). Color strength. Old film was slightly less saturated than modern digital, so lowering this to 65–80 makes colors feel period-appropriate instead of neon.
- Grain (0–100, default 18). Film noise. This is the easiest control to overdo. Default 18 is already visible; 30–40 reads clearly as grain on screen, and anything above 50 looks like static. Treat grain as texture, not as a main feature.
- Vignette (0–100, default 40). Corner darkening. Combined with the film look, it draws the eye to the center of the frame. Keep it modest so the corners stay detail, not holes.
A good workflow: apply the old movie effect last, after restoration. Pick a sepia value you like first, then nudge saturation down, then add a whisper of grain. Resist raising grain above 30 on a family portrait — the texture of faces should stay recognizable.
Vignette done tastefully
A vignette darkens the edges of a photo to pull attention to the center. It is the single most effective way to add focus, and also the easiest to make look artificial. Our Vignette Effect has two controls:
- Strength (0–100, default 50). How dark the corners become. Think of it as an overall amount of shading. For portraits, 35–55 is usually plenty; for landscapes, 20–40 keeps the scene open.
- Feather (0–100, default 50). How softly the dark edge blends into the center. A low feather creates a hard, visible oval — the classic "wrong" vignette. A high feather makes the darkening fade gradually, so viewers barely notice the transition. Always lean toward a higher feather for a natural look.
The mistake to avoid is a strong, tight vignette that looks like a spotlight on the subject. Real lens vignetting is broad and soft. If you cannot tell where the vignette begins, it is working. If the corners are black and the middle is bright white, you have pushed too far. Use the before/after slider: the vignette should be a subtle nudge, not a spotlight.
Frames, borders and instant-film style
A frame is the most literal nod to nostalgia. Our Vintage Frame draws a white instant-photo border around your image, with space underneath for a short handwritten-style caption. You control the border thickness, the paper color, and the text. A thicker border reads more like a keepsake; a thinner one stays closer to the original photo.
Taste matters here. Add a frame to a restored family photo and it instantly becomes a printable keepsake — something you would actually pin on a board or tuck in a letter. But a frame competes with other effects: if you also stack heavy grain, a strong vignette and a full sepia grade, the image becomes busy. Choose the frame when it is the main idea, and keep the other effects gentle underneath. For a softer warm tone without going fully brown, pair the frame with the Sepia & Vintage Tone tool at a low intensity rather than the full movie effect.
One practical note: a frame adds to the overall image dimensions, so export at the size you intend to print or share. A white border looks best on a plain, warm background — which is exactly why many people put their framed photo back into an album or a simple card.
Three recipes that actually work
Combine the tools in this order: restore first, then grade, then finish. These starting points remove the guesswork.
- The gentle home-movie look. Old Movie Effect: sepia 50, saturation 70, grain 20, vignette 30. This is warm and filmic without losing color or making faces noisy. Best for family portraits and candid snapshots.
- The classic instant photo. Restore the photo normally, then add Vintage Frame with a medium-thickness white border and a short caption like "Summer, 1968." Finish with Vignette Effect at strength 30, feather 70. The frame carries the nostalgia; the vignette is barely there.
- The moody monochrome-adjacent shot. Convert to black and white with the Black & White Converter (see our black and white guide), then add Old Movie Effect with high sepia (75), low saturation (40), light grain (25) and a moderate vignette (45). This gives a serious, archival feel for older portraits or dramatic scenes.
In every recipe, compare against the original constantly. If you squint and the effect disappears against the original, it is probably at the right level. If it jumps out, reduce one control at a time until it settles.
Vintage effects FAQ
Should I apply effects before or after restoring? After. Restore color, remove scratches and sharpen first. Effects are a finishing layer on top of a clean image; applying grain to a scratchy photo just hides the problem you meant to fix.
Is a heavier vintage effect better for a very old photo? Not necessarily. A genuinely 80-year-old print already has its own character; adding heavy sepia and grain on top can look artificial. Match the effect to the mood you want, not the age of the photo.
Can I undo an effect after exporting? Not on the exported file. Always keep your restored master as a separate file, then export effect copies from it. That way you can try a different look later without starting over.
Do vintage effects work on color photos, or only black and white? Both. A light sepia and grain on a color photo gives a warm, faded look; see our sepia guide for how far to push it. Black and white is where the moodiest results live.
Will these effects make my photo look fake? Only if pushed. Restraint and a high feather on the vignette are the two habits that keep vintage effects believable. And because everything is processed locally in your browser, you can experiment freely without uploading anything.
当一张照片修复完毕——校好色、除净划痕、温和锐化之后——你也许想做与修复相反的事:赋予它性格。一点点胶片颗粒、一层暖调、压暗的四角,或是一条白色拍立得边框,能把一张干净的扫描件变成"记忆",而不只是一个文件。问题在于,复古效果恰恰是多数人用力过猛的地方。结果要么毫无存在感,要么重得像 2010 年代社交软件里的滤镜。
本指南拆解三种最流行的效果——老电影感、暗角、边框——解释每个滑杆到底控制什么,并给出三个能把它们有品味地组合起来的配方。所有处理都在你的浏览器里完成,照片从不离开你的设备。
一、复古效果为何恰到好处
复古效果之所以有效,是因为它们模仿了老胶片与相纸的物理质感。颗粒是乳剂中可见的银盐或染料颗粒;暗角来自老镜头到达画面四角的光线略少;暖色偏色来自染料老化;白边则来自拍立得相纸真实的显影边框。适度添加时,你在模仿真实;推到极致时,你在做戏服。
指导原则是克制。观者应当感受到暖意,而不是立刻察觉"加了滤镜"。如果颗粒强得像电视雪花,或暗角深得四角全黑,效果就喧宾夺主,不再为照片服务。从低调开始,与原图对比,每次想再加一点时就回调。
二、老电影效果:逐个滑杆讲清
我们的 老电影效果 把四个控件合成一套电影感配方,每个都值得单独理解:
- Sepia 褐色(0–100,默认 65)。暖棕调色。数值低时轻轻给皮肤和阴影加温;数值高时完全褪成棕色,像 1920 年代默片。想要可信的"老家庭电影"感,保持在 40–65——是棕色,但不是单色。
- Saturation 饱和度(0–100,默认 78)。色彩浓度。老胶片饱和度本就略低于现代数码,降到 65–80 会让颜色显得符合年代,而不是霓虹灯。
- Grain 颗粒(0–100,默认 18)。胶片噪点。这是最容易用力过猛的控件。默认 18 已可见;30–40 在屏幕上明显是颗粒,超过 50 就像雪花。把颗粒当纹理,而不是主角。
- Vignette 暗角(0–100,默认 40)。四角压暗。配合电影感,把视线引向画面中心。保持克制,让四角仍是细节,而不是黑洞。
好的工作流:修复之后再最后套用老电影效果。先选一个你喜欢的褐色值,再把饱和度略降,然后加一丝颗粒。家庭肖像上别把颗粒拉过 30——面部纹理应保持可辨认。
三、有品味地加暗角
暗角压暗照片边缘,把注意力拉向中心。它是增强聚焦最有效的办法,也最容易做得假。我们的 暗角效果 有两个控件:
- Strength 强度(0–100,默认 50)。四角变暗的程度。可理解为整体遮光量。人像 35–55 通常足够;风景 20–40 能保持画面开阔。
- Feather 羽化(0–100,默认 50)。暗边向中心过渡得有多柔。羽化低会形成一条生硬可见的椭圆——典型的"做错的"暗角;羽化高则让压暗逐渐消退,观者几乎察觉不到过渡。想要自然,永远偏向高羽化。
要避免的错误,是那种又强又紧、像聚光灯打在主体上的暗角。真实镜头暗角是宽而柔的。如果你说不出暗角从哪里开始,它就生效了;如果四角发黑、中间惨白,就推过头了。用前后对比滑块:暗角应是微妙的一点,而不是聚光灯。
四、边框与拍立得风格白边
边框是最直白的怀旧。我们的 复古边框 在照片四周画一圈白色拍立得边框,下方留一块空间放一行手写风的短说明。你可以控制边框粗细、纸色和文字。粗一点的边框更像纪念品,细一点的更贴近原照。
品味在这里很重要。给一张修复后的家庭照片加上边框,它立刻变成可打印的纪念物——真的会被钉在软木板上或夹进信里。但边框会和其他效果竞争:如果再叠加重颗粒、强暗角和全幅褐色,画面就忙了。把边框当主角时再加,其余效果在底下保持轻柔。想要暖调又不想完全变棕,可以用 棕褐复古色调 工具以低强度打底,而不是套用完整电影效果。
一个实用提醒:边框会增加整体画面尺寸,所以按你打算打印或分享的尺寸导出。白边在素净暖色的背景上最好看——这正是很多人把加框照片放回相册或简单卡片里的原因。
五、三个真正好用的配方
按这个顺序组合工具:先修复,再调色,最后收尾。以下起点去掉了大部分猜测。
- 温和的家庭电影感。老电影效果:褐色 50、饱和度 70、颗粒 20、暗角 30。温暖有胶片感,又不失颜色、不让脸变噪。适合家庭肖像与生活快照。
- 经典拍立得。正常修复照片,然后加复古边框:中等粗细白边,配一行短说明如"1968 年夏"。最后用暗角效果,强度 30、羽化 70。怀旧由边框承担,暗角几乎隐形。
- 偏单色的深沉档案感。用 黑白转换器转黑白(参考我们的黑白指南),再加老电影效果:高褐色(75)、低饱和度(40)、轻颗粒(25)、中等暗角(45)。这给老肖像或戏剧性场景一种严肃的档案气质。
每个配方都要不断与原图对比。如果你眯起眼睛,效果和原图几乎融在一起,那大概就是合适的程度;如果它跳出来,就一次减一个控件,直到它安定下来。
六、复古效果常见问题
应该在修复前还是修复后加效果?之后。先修色、除划痕、锐化。效果是叠在干净图上的收尾层;给带划痕的照片加颗粒,只会掩盖你本想修掉的问题。
越老的照片是不是越该加重复古效果?未必。一张真正有 80 年历史的相纸本就有自己的气质,再叠上重褐色和颗粒反而显得假。按你想要的情绪来配效果,而不是按照片的年龄。
导出后还能撤销效果吗?导出的文件上不行。始终把修复好的母版单独保存,再从母版导出带效果的副本。这样以后想试别的风格,不必从头再来。
复古效果只适合黑白照片吗,彩色行不行?都行。给彩色照片加一点轻褐色和颗粒,能得到温暖褪色感;能推多远见我们的棕褐色调指南。最有情绪的结果通常出现在黑白上。
这些效果会不会让照片显得假?推过头才会。克制,以及暗角用高羽化,是让复古效果可信的两个习惯。而且一切都在浏览器本地处理,你可以自由试验,无需上传任何东西。