Faded Photo Fixer
Bring washed-out, yellowed decades-old prints back to natural color and contrast — completely free, right in your browser.
让褪色发黄的老照片恢复自然的色彩与对比度——完全免费,直接在浏览器中完成。
Private by design — your photo is processed locally and never uploaded.Drop a photo here, or click to browse
Supported formats: JPG, PNG, WebP, GIF, BMP
Drag to compare
Tip: upload the largest scan you have — bigger input gives better results.
How It Works
Film and prints stored for decades slowly oxidize: dyes fade, silver salts shift, and warm paper yellows. The result is a flat, washed-out image with a muddy yellow cast and almost no contrast. The Faded Photo Fixer reverses this with a four-step local pipeline that runs entirely on your device through the HTML5 Canvas API — your photo is never uploaded, stored, or seen by anyone.
What each step does:
Gray-world white balance
Averages the red, green and blue channels of the whole photo and stretches them toward a common neutral. This removes the yellow-brown cast so skin, walls and whites stop looking like old paper.
Contrast stretch
Faded photos pile their tones into a narrow middle-gray band. A histogram percentile stretch re-expands the range so shadows go deep and highlights stay clean, giving the print its punch back.
Color recovery
Saturation is pulled moderately toward the original channel differences. Sky blues, dress colors and leaf greens return without turning the whole picture into an over-saturated cartoon.
Fine warmth control
Old color film tends to go cool-magenta after yellowing is neutralized. A small warmth slider lets you nudge the result warm or cool until skin tones look right.
An honest note: this is a local algorithm, not a cloud AI model, and it works on the pixels you already have. It cannot recover colors that have chemically vanished from the negative or print, it cannot rebuild torn or missing areas, and it cannot add detail that was never captured. A severely faded photo will improve but may still look flat — in that case pair it with a higher-quality scan and the Photo Sharpener.
胶片与相纸存放数十年后会缓慢氧化:染料褪色、银盐迁移、纸基泛黄。结果就是一张发灰、发平的照片——笼罩着浑浊的黄色偏色,几乎没有对比度。褪色修复器用一套四步本地管线逆转这个过程,全部通过 HTML5 Canvas API 在你的设备上完成——照片永远不会被上传、存储或被人看到。
每一步做什么:
灰度世界白平衡
统计整张照片红、绿、蓝三个通道的平均值,并把它们拉伸到同一中性水平,去除黄棕色偏色,让皮肤、墙面与白色不再像旧纸。
对比度拉伸
褪色照片的影调挤在很窄的中间灰区间。直方图百分位拉伸重新扩展影调范围,让暗部沉下去、亮部透出来,恢复照片的力量感。
色彩恢复
适度向原始通道差异方向提升饱和度,天空蓝、衣裙色、树叶绿重新回来,而不会把整张照片变成过饱和的卡通片。
精细暖色控制
老彩色底片去除泛黄后往往偏冷偏品红。用一个小范围的暖色滑杆微调,直到肤色看起来自然。
诚实说明:这是本地算法,不是云端 AI 模型,它处理的是你已经拥有的像素。它无法恢复底片或相纸上已经化学消失的颜色,无法重建撕裂缺失的区域,也无法添加从未被拍下的细节。褪色极其严重的照片会有改善,但可能仍然偏平——这时建议换更高质量的扫描件,并配合 Photo Sharpener 使用。
How to Use
- Upload your faded photoDrag the scan into the dropzone or click to browse. A 300–600 DPI flatbed scan works far better than a phone snap of the print.
- Click "Auto Fix Fade"The default settings neutralize the yellow cast, stretch contrast and recover color in one pass. Use the before/after slider to judge the result.
- Fine-tune the slidersIf the photo still looks too warm, lower "White balance"; if colors are weak, raise "Color recovery"; nudge "Warmth" until skin tones feel natural.
- Download the restored photoSave a lossless PNG for your archive, a JPG for printing or sharing, or a WebP for the smallest file size.
- 上传褪色照片将扫描件拖入上传区或点击选择。300–600 DPI 的平板扫描效果远好于用手机翻拍相纸。
- 点击「自动修复褪色」默认参数一次性去除黄偏色、拉伸对比度并恢复色彩。用前后对比滑块判断效果。
- 用滑杆微调如果照片仍偏暖,降低「白平衡」;颜色不够就提高「色彩恢复」;微调「暖色调」直到肤色自然。
- 下载修复结果存档用无损 PNG,打印或分享用 JPG,追求最小文件体积用 WebP。
FAQ
Is my photo uploaded to a server?
Why does my old photo look yellow?
Can it restore color that has completely faded away?
The result looks too saturated / fake. What now?
Is it really free and unlimited?
我的照片会被上传到服务器吗?
老照片为什么会发黄?
它能恢复已经完全褪掉的颜色吗?
结果看起来过饱和、不自然,怎么办?
真的免费且不限次数吗?
Related Tools

AI Photo Restorer
One-click full restore: color, contrast, denoise and sharpen together.
一键完整修复:色彩、对比度、降噪与锐化一次完成。

Photo Denoiser
Remove film grain and dust noise while keeping real detail.
去除胶片颗粒与灰尘噪点,同时保留真实细节。
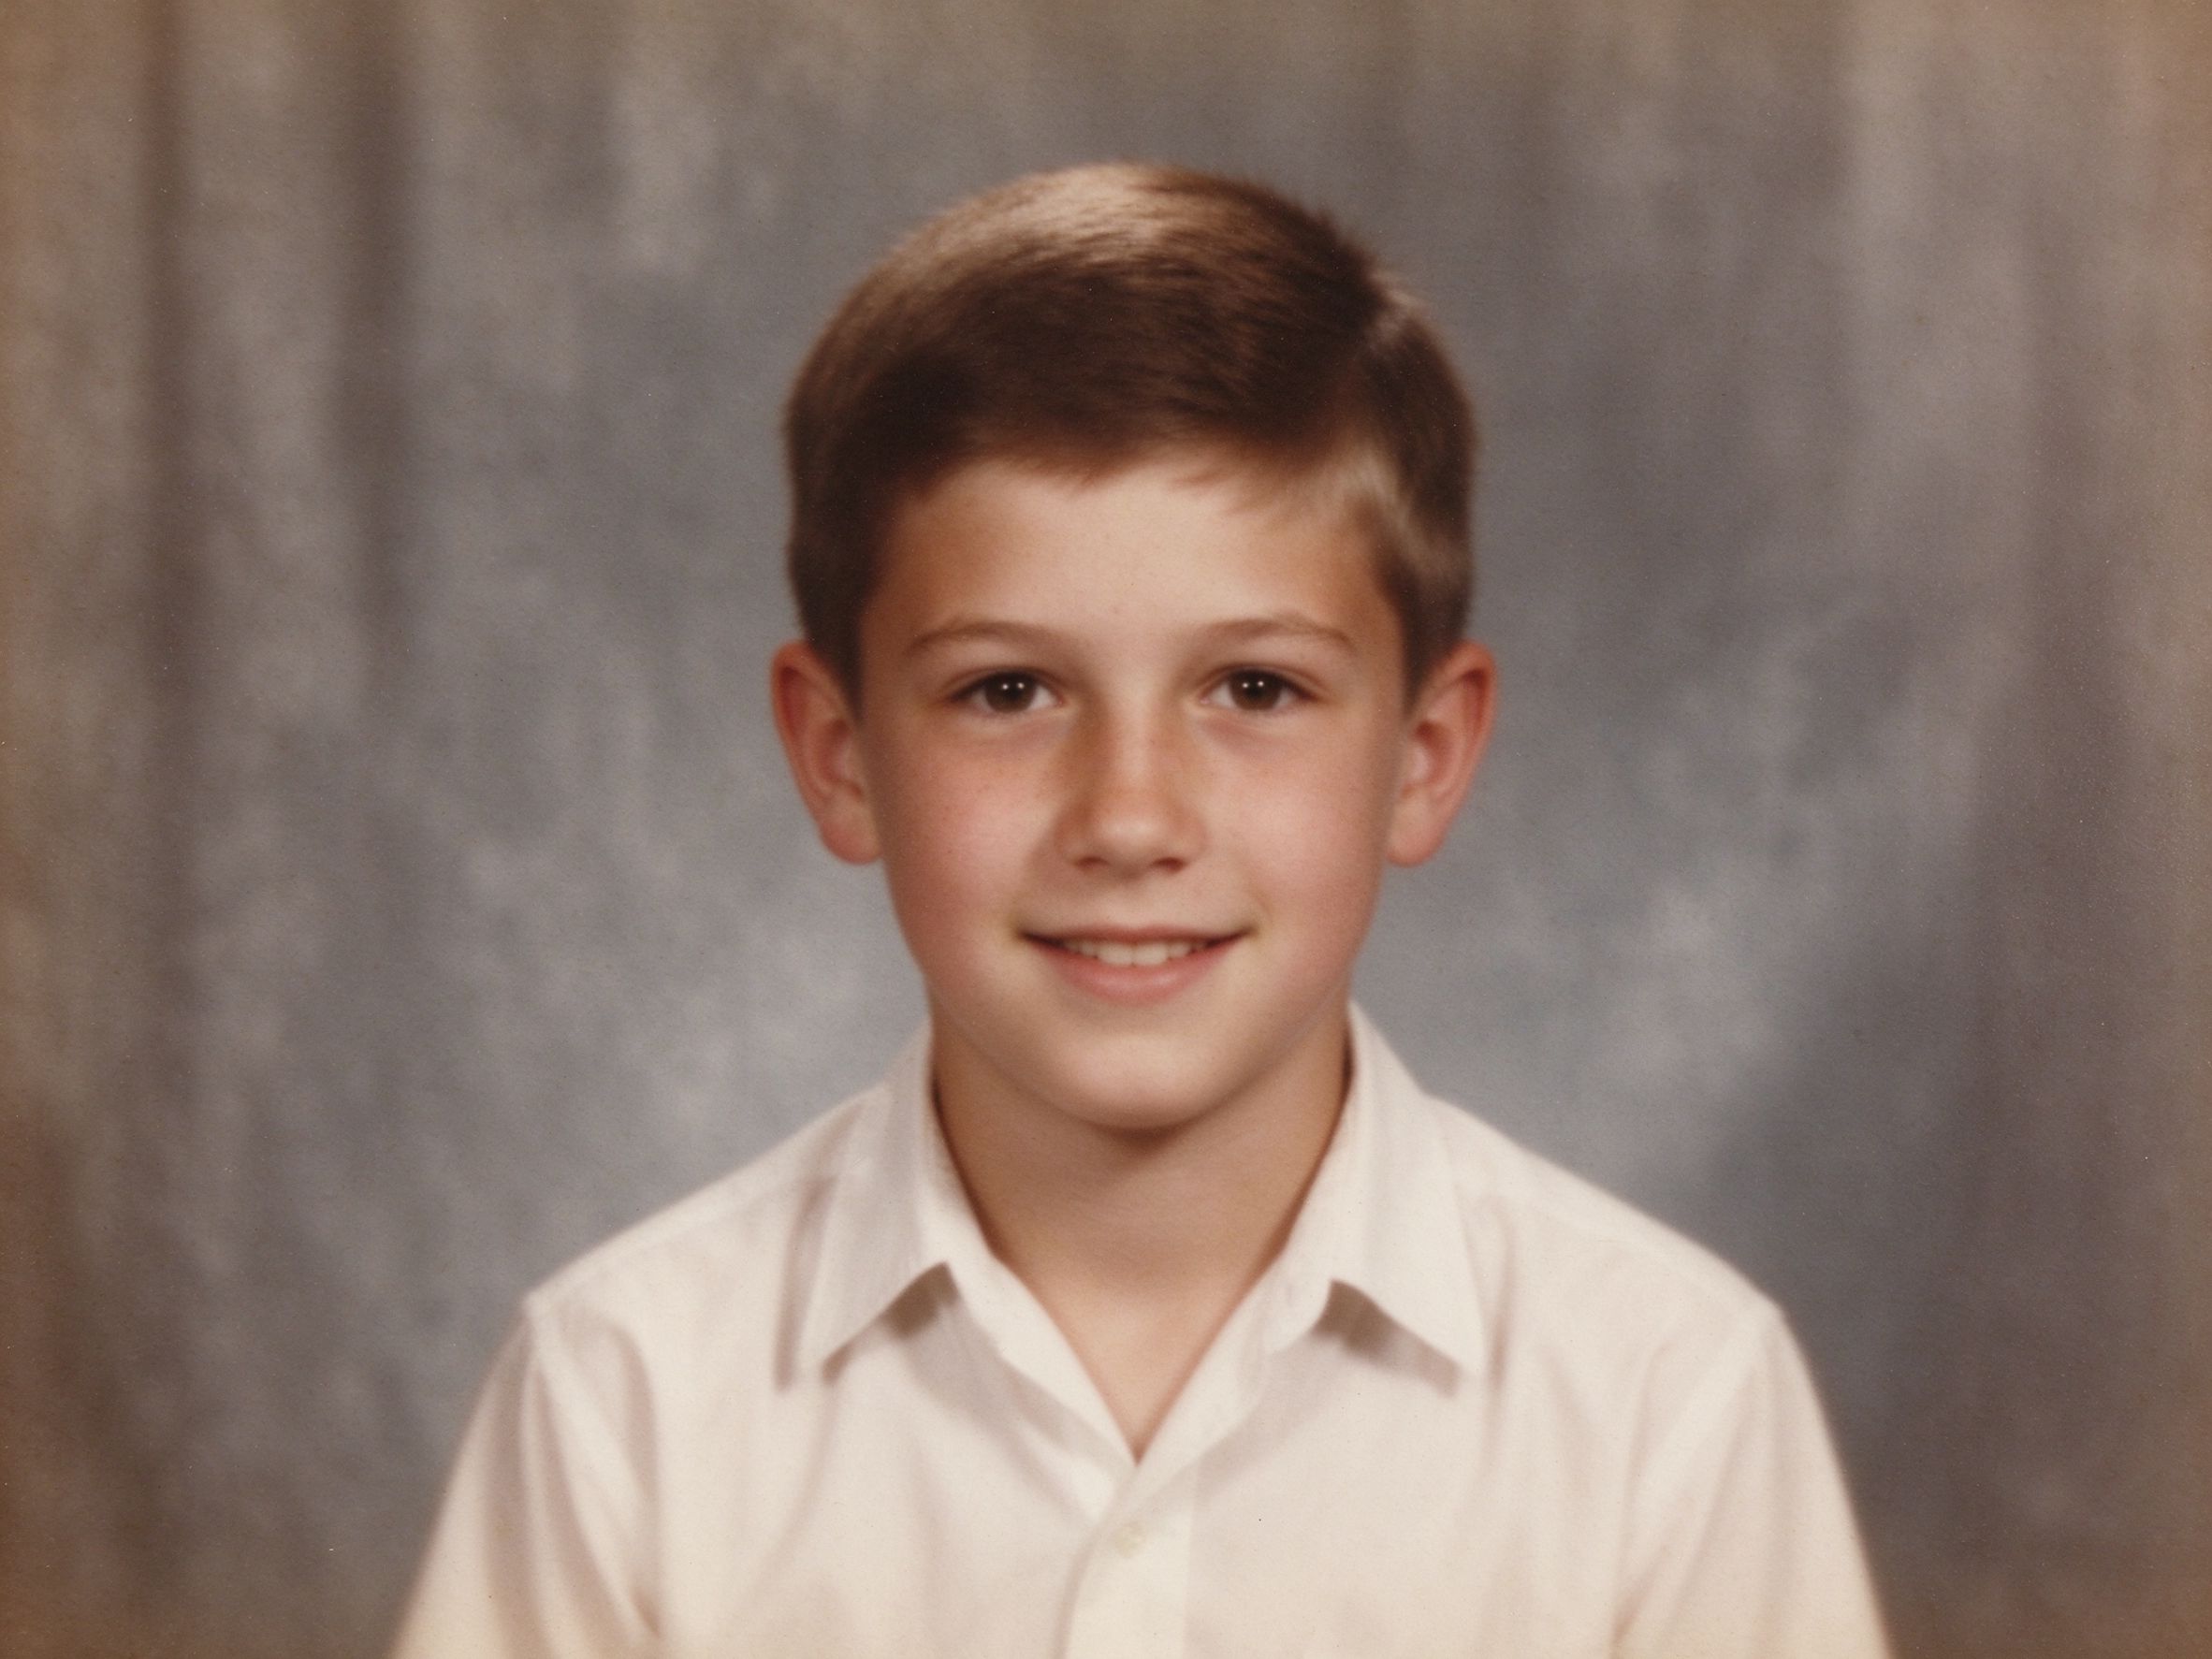
Photo Sharpener
Recover crisp edge detail from soft, washed-out scans.
从发虚的扫描件中恢复清晰锐利的边缘细节。
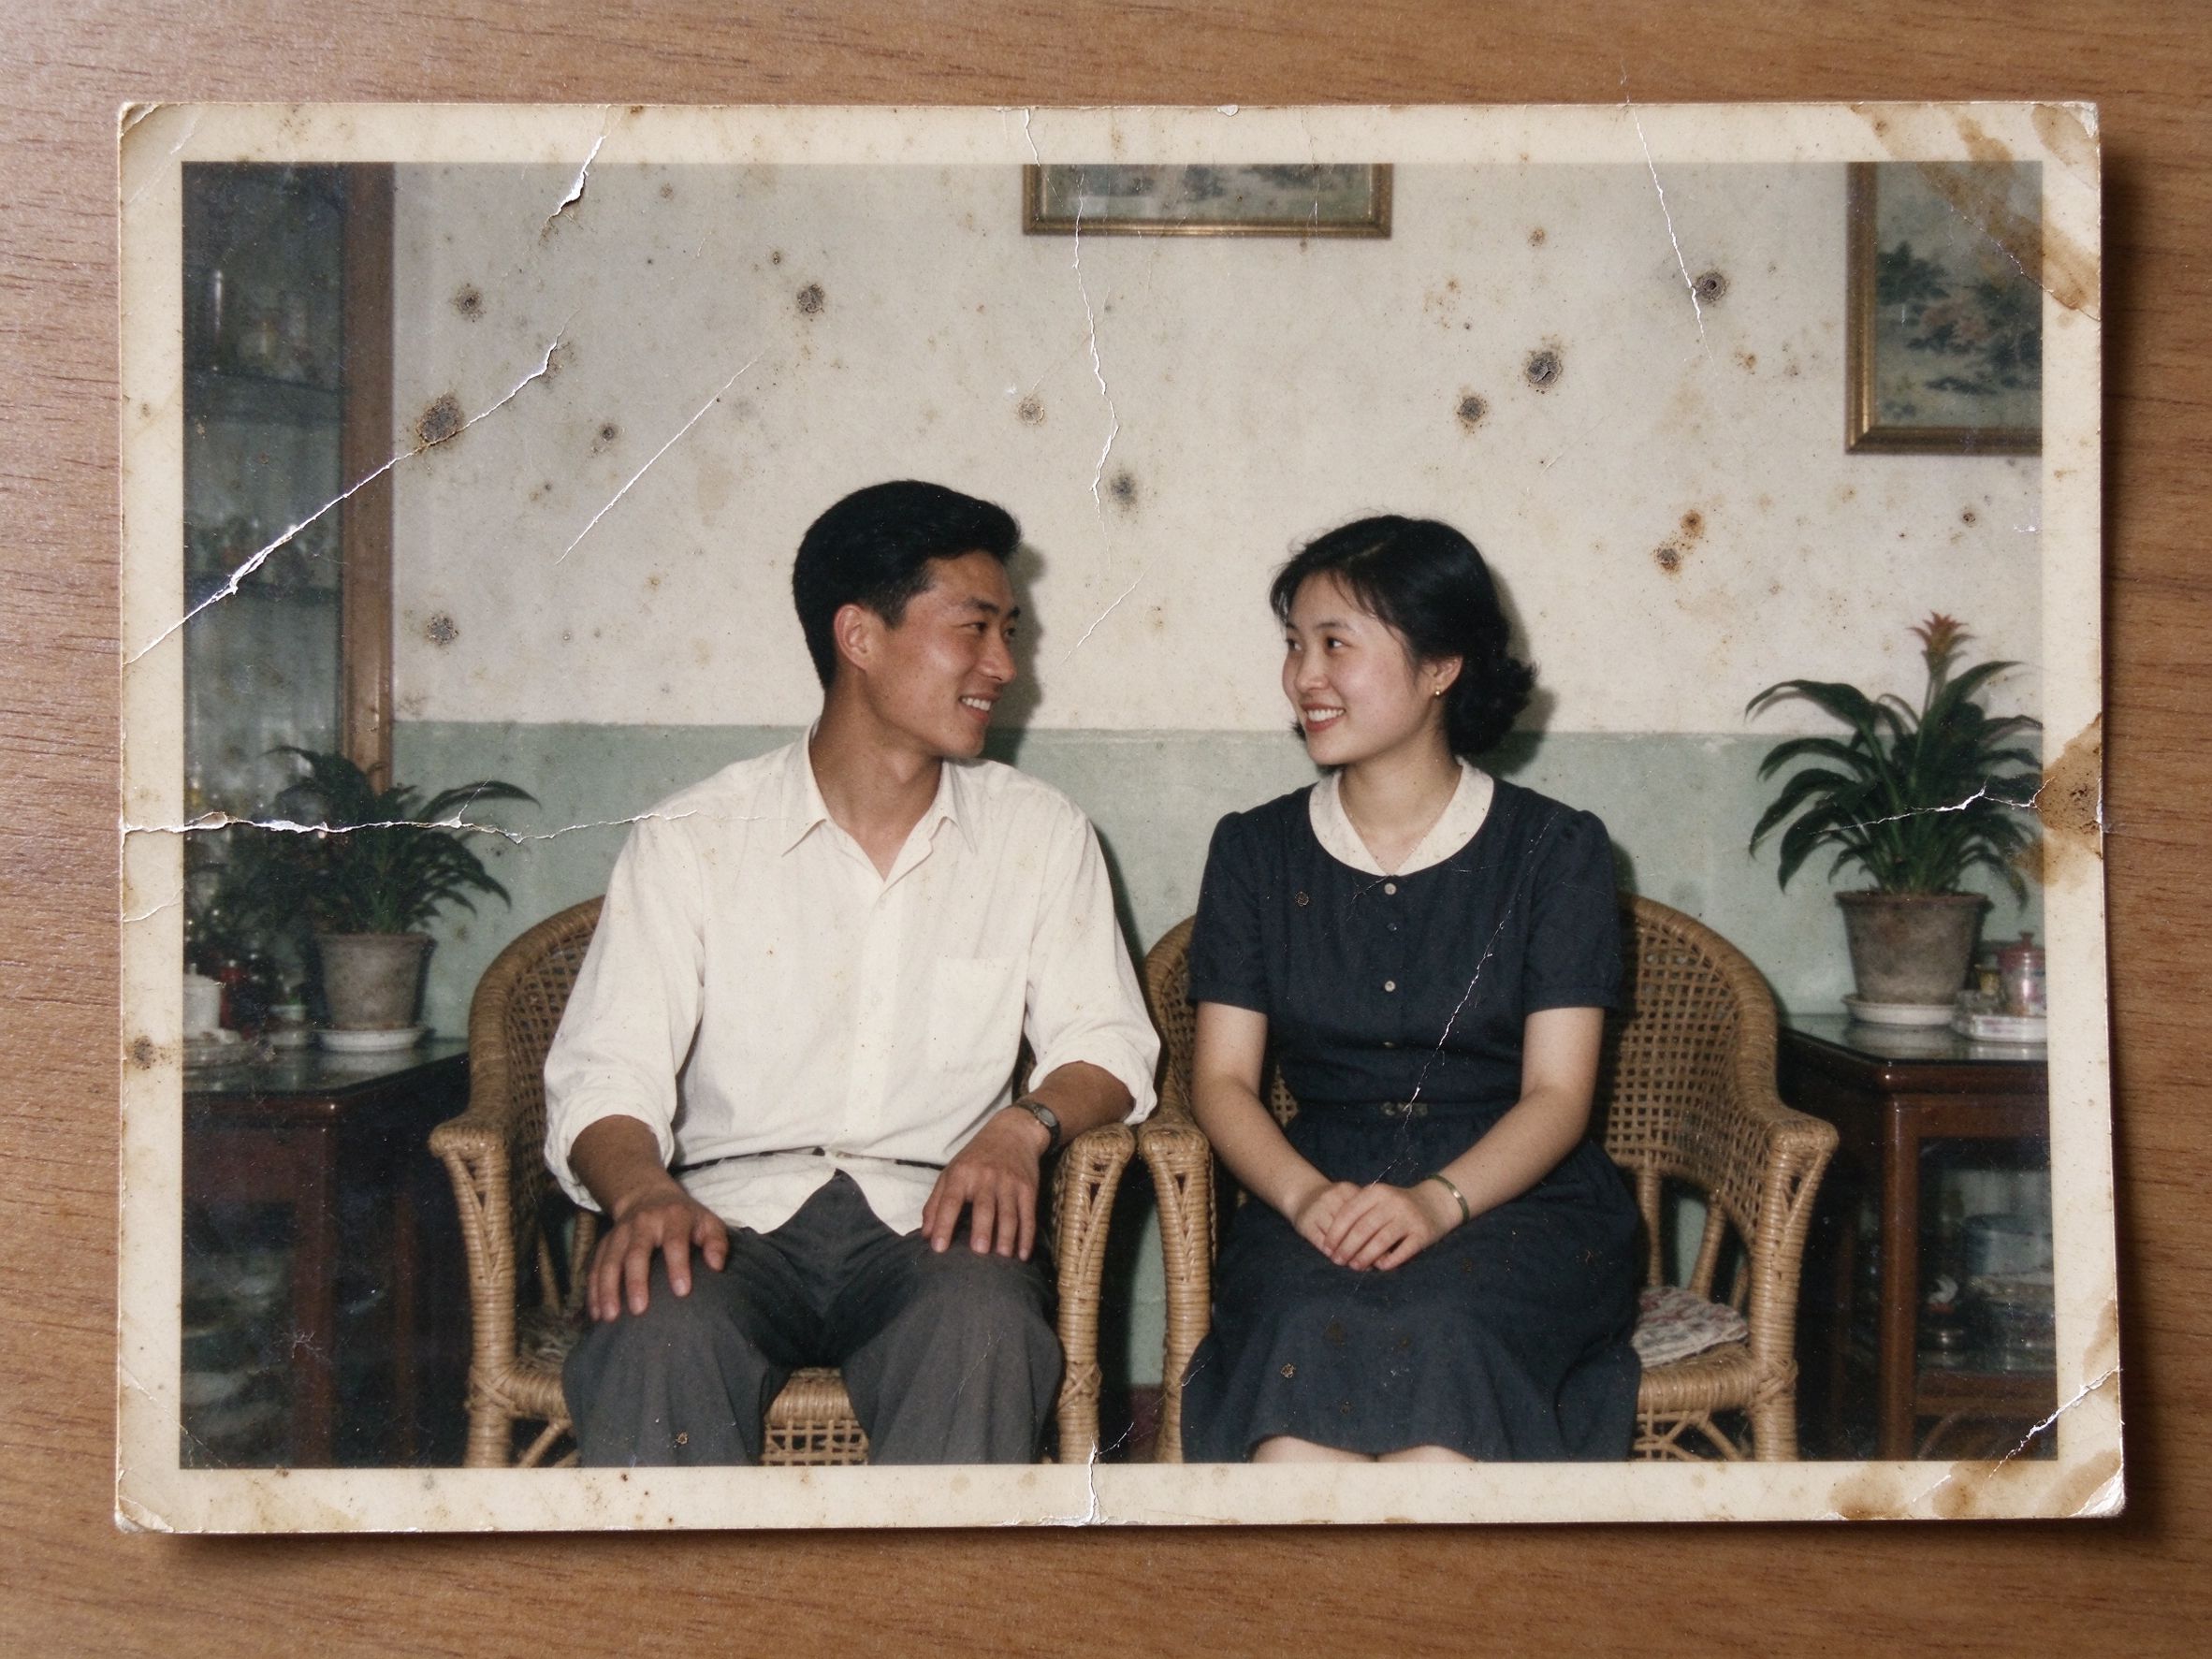
Scratch & Spot Remover
Smooth away scratches, dust and stains from old prints.
平滑去除老照片上的划痕、灰尘与污渍。
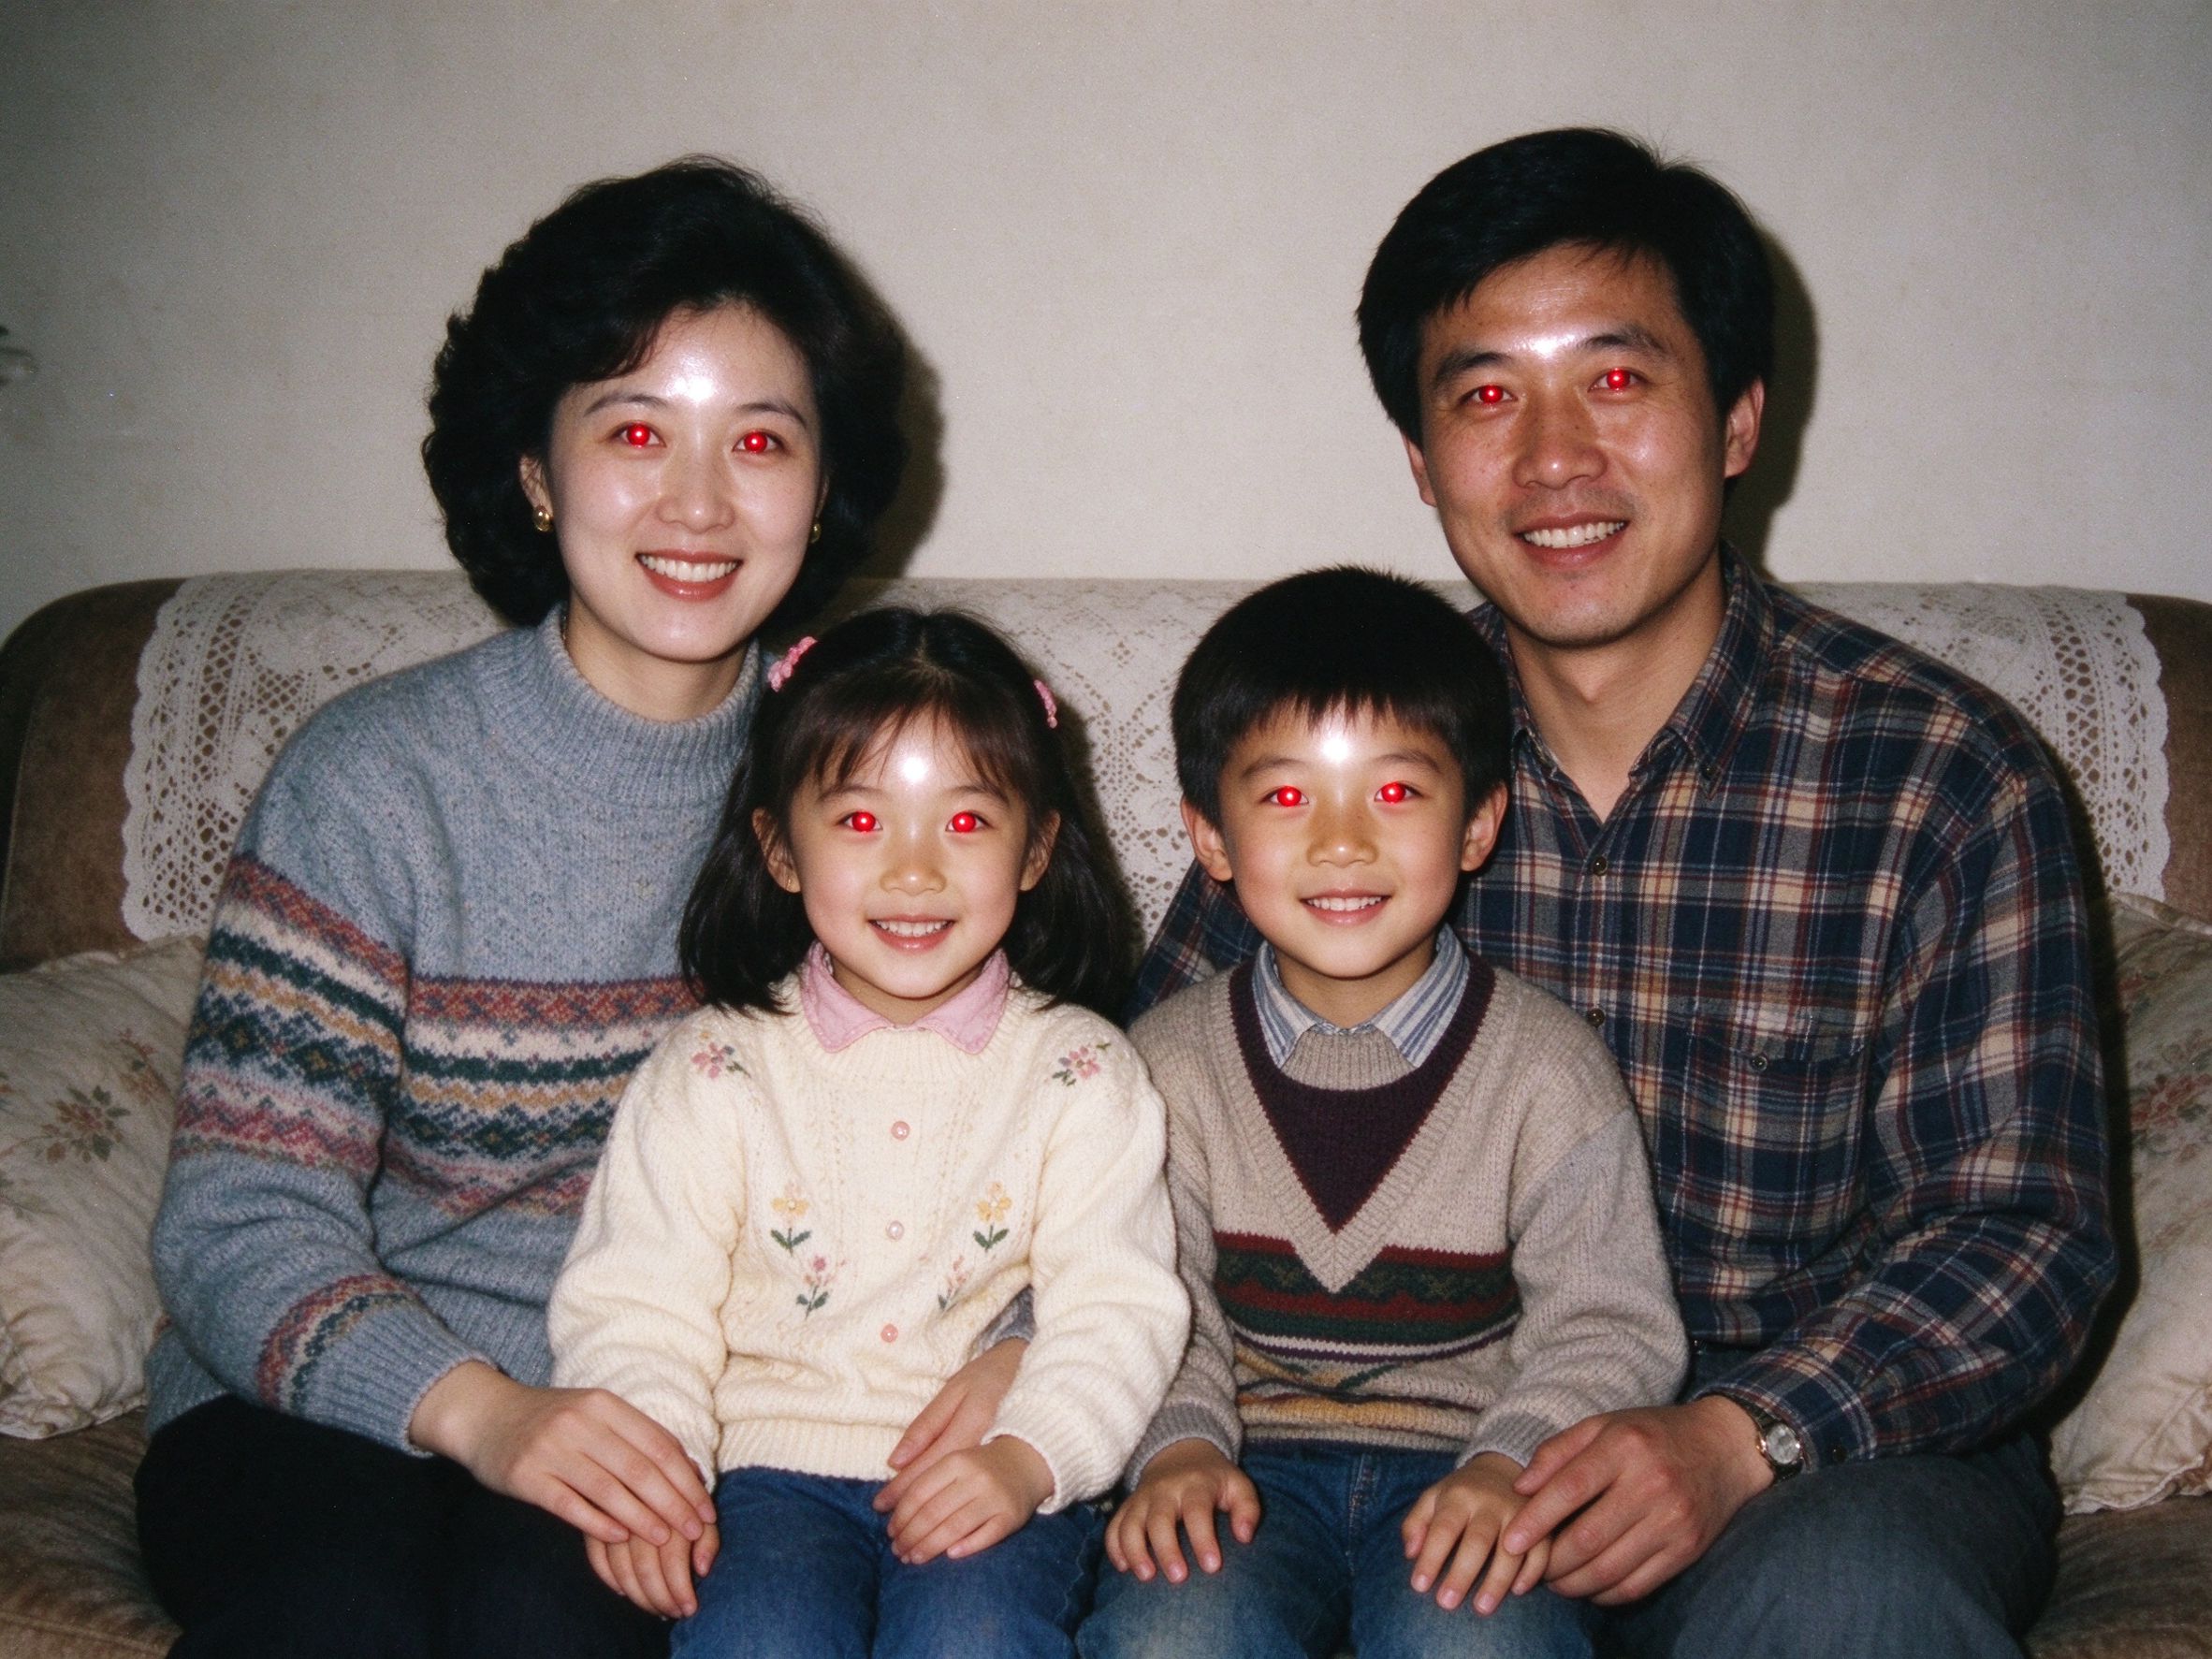
Red Eye Remover
Click the pupil to fix classic flash red eyes.
点击瞳孔即可修复经典闪光灯红眼。

Black & White Converter
Turn a faded color print into a beautiful, timeless monochrome.
把褪色彩色照片变成优美永恒的黑白作品。
Related Guides
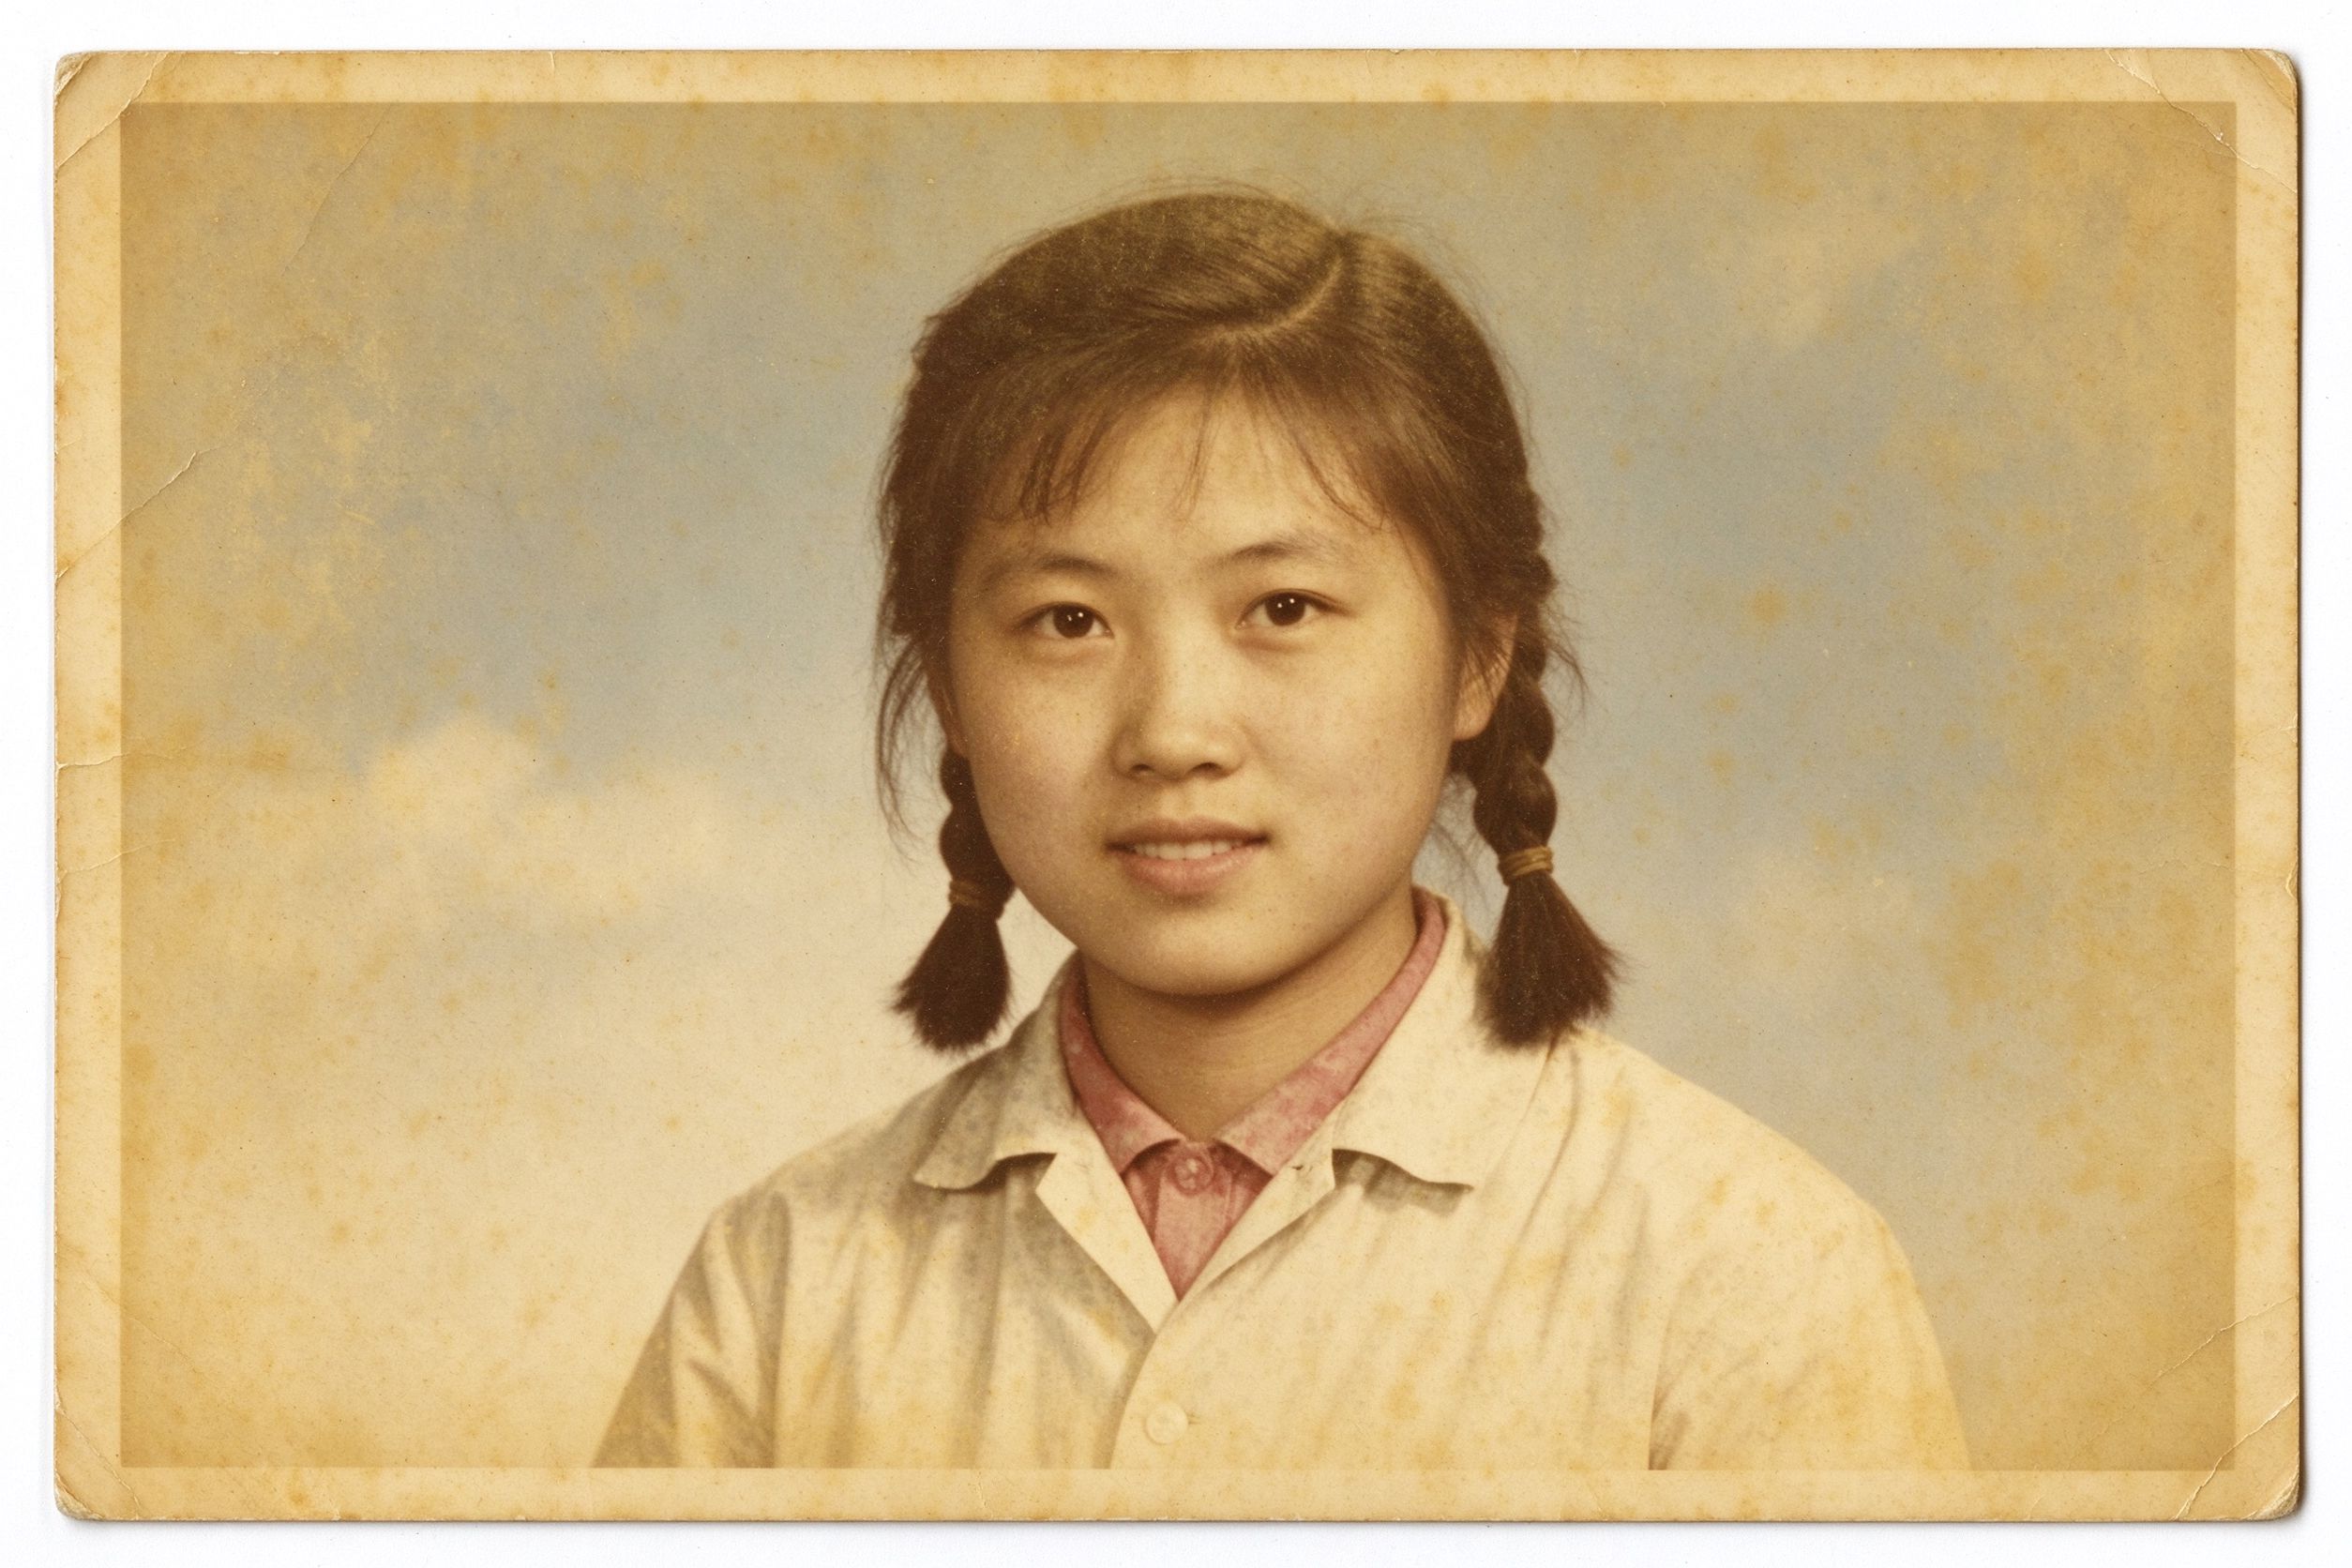
Faded Photo Restoration: Color & Contrast
Understand why photos fade and how to bring color back safely.
理解照片褪色的原因,以及如何安全地恢复色彩。
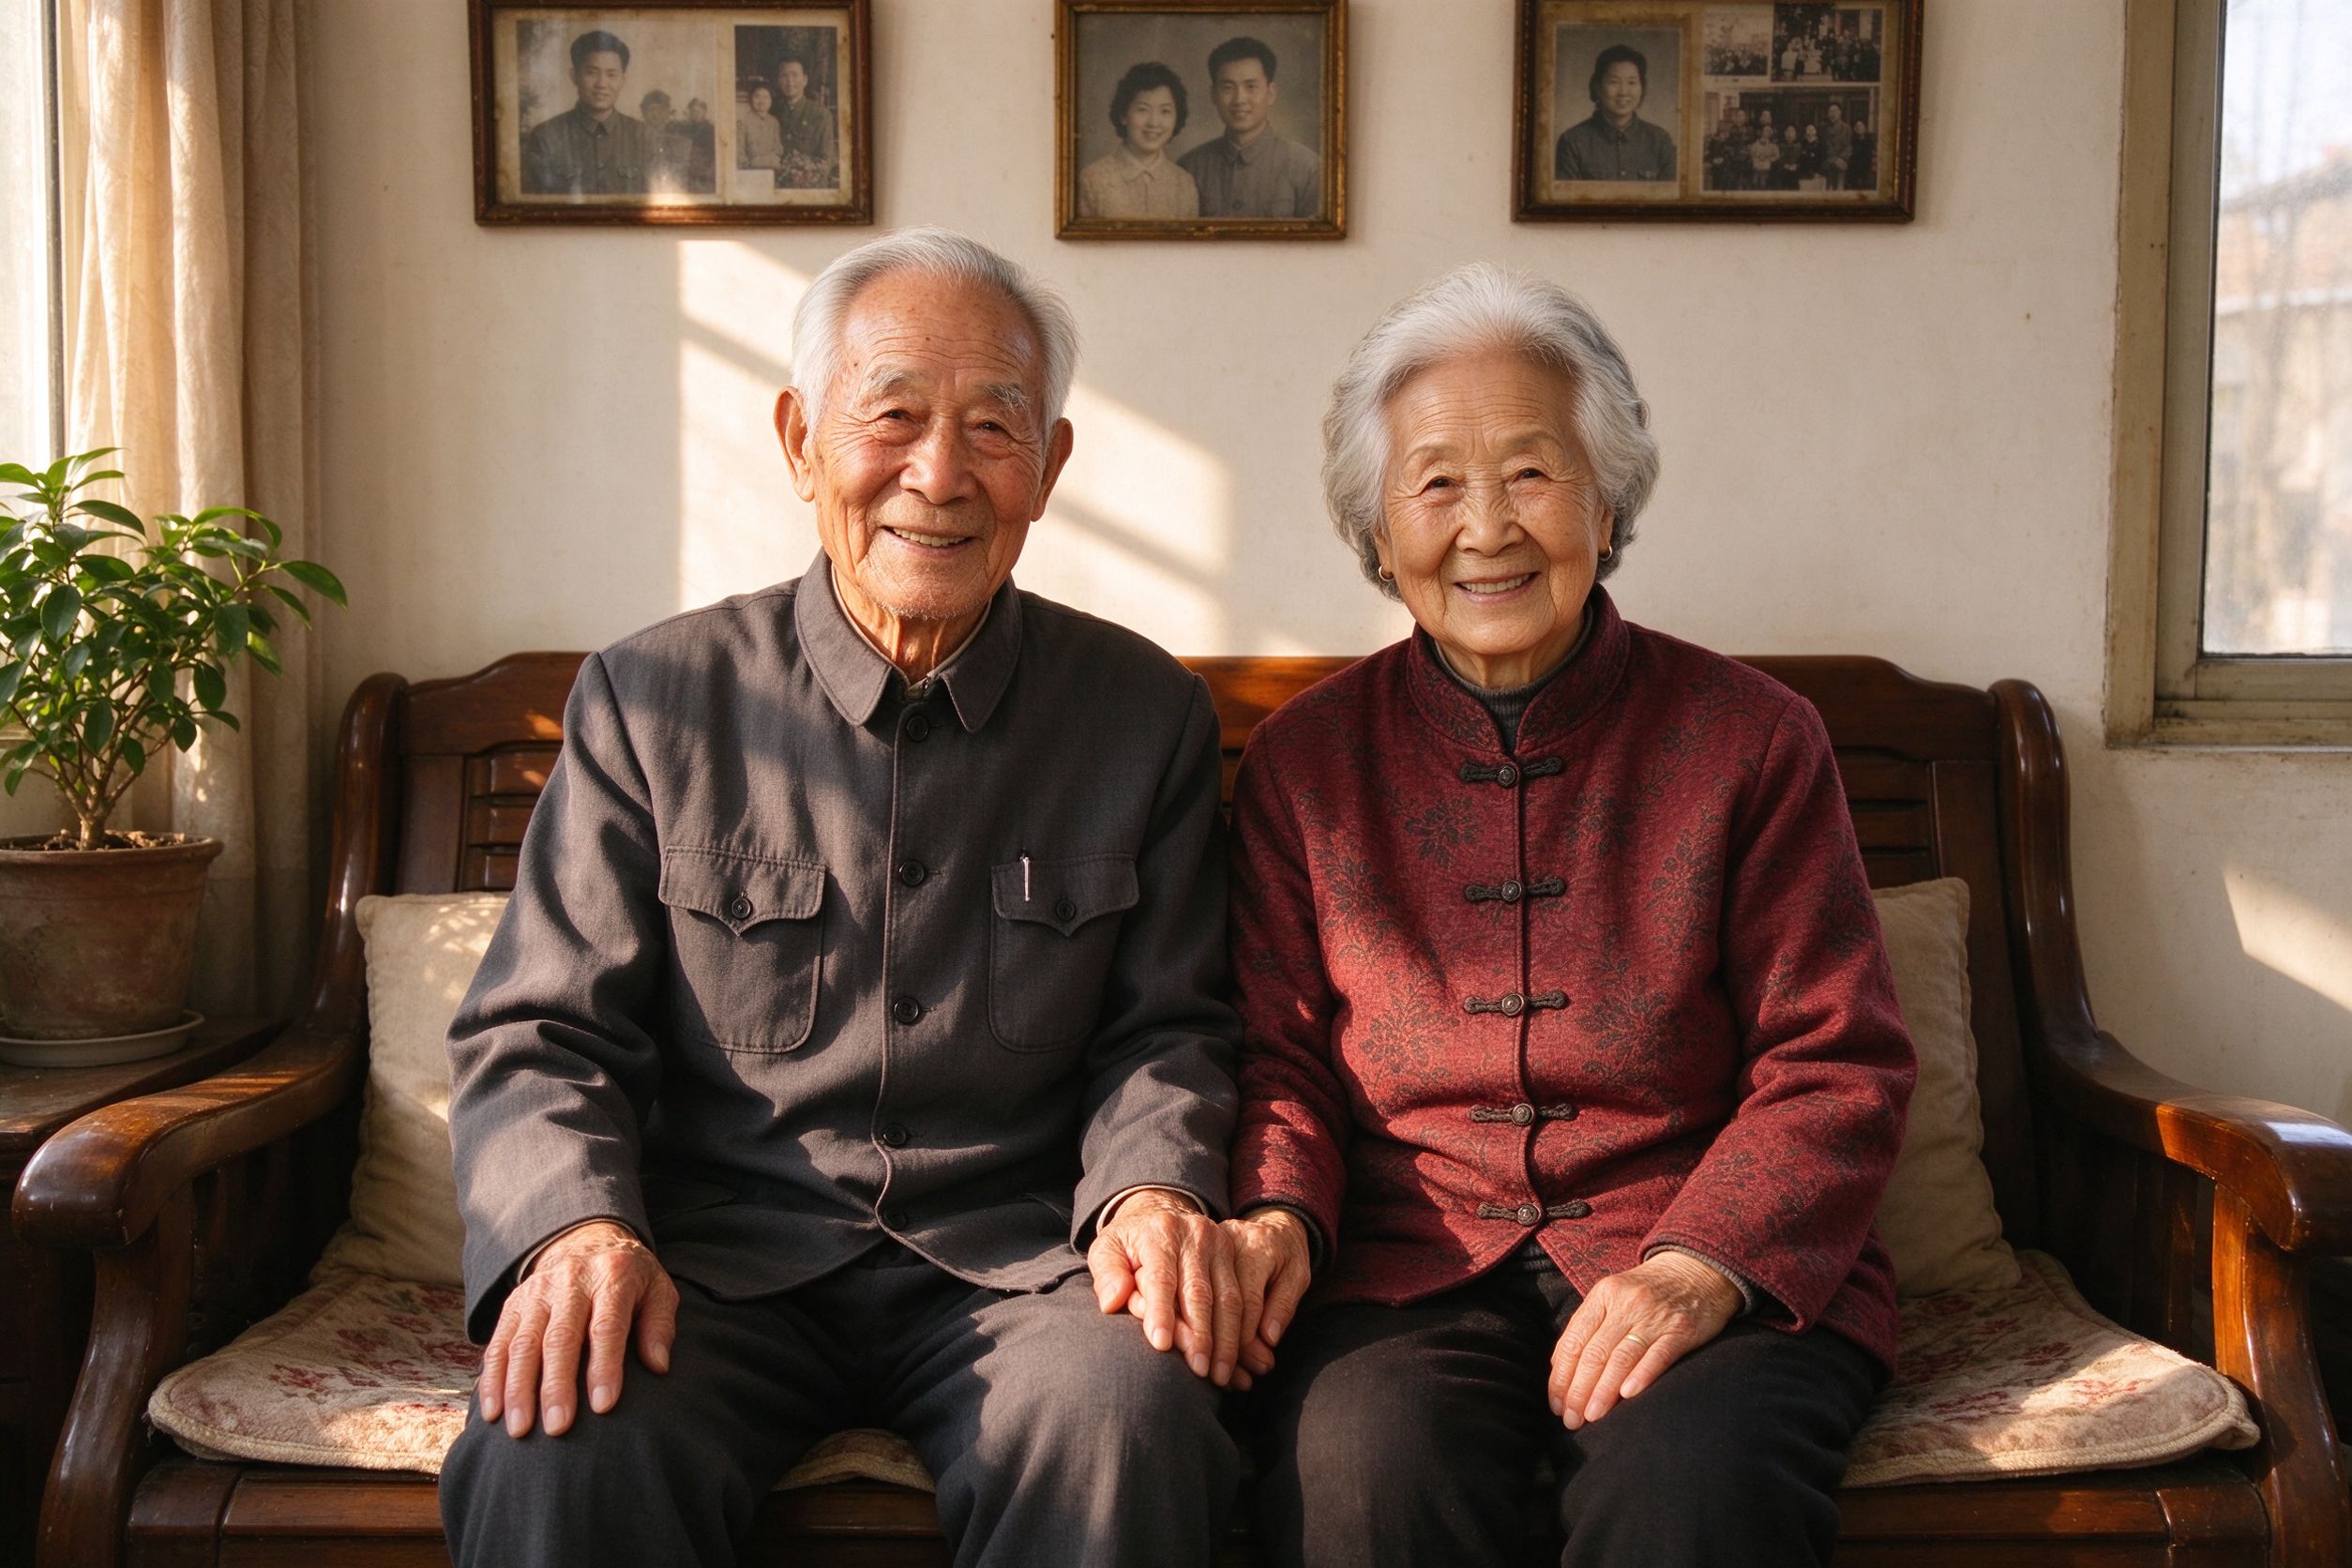
How to Restore Old Photos of Your Grandparents
A complete step-by-step guide to reviving family portraits.
修复祖辈肖像照的完整分步指南。
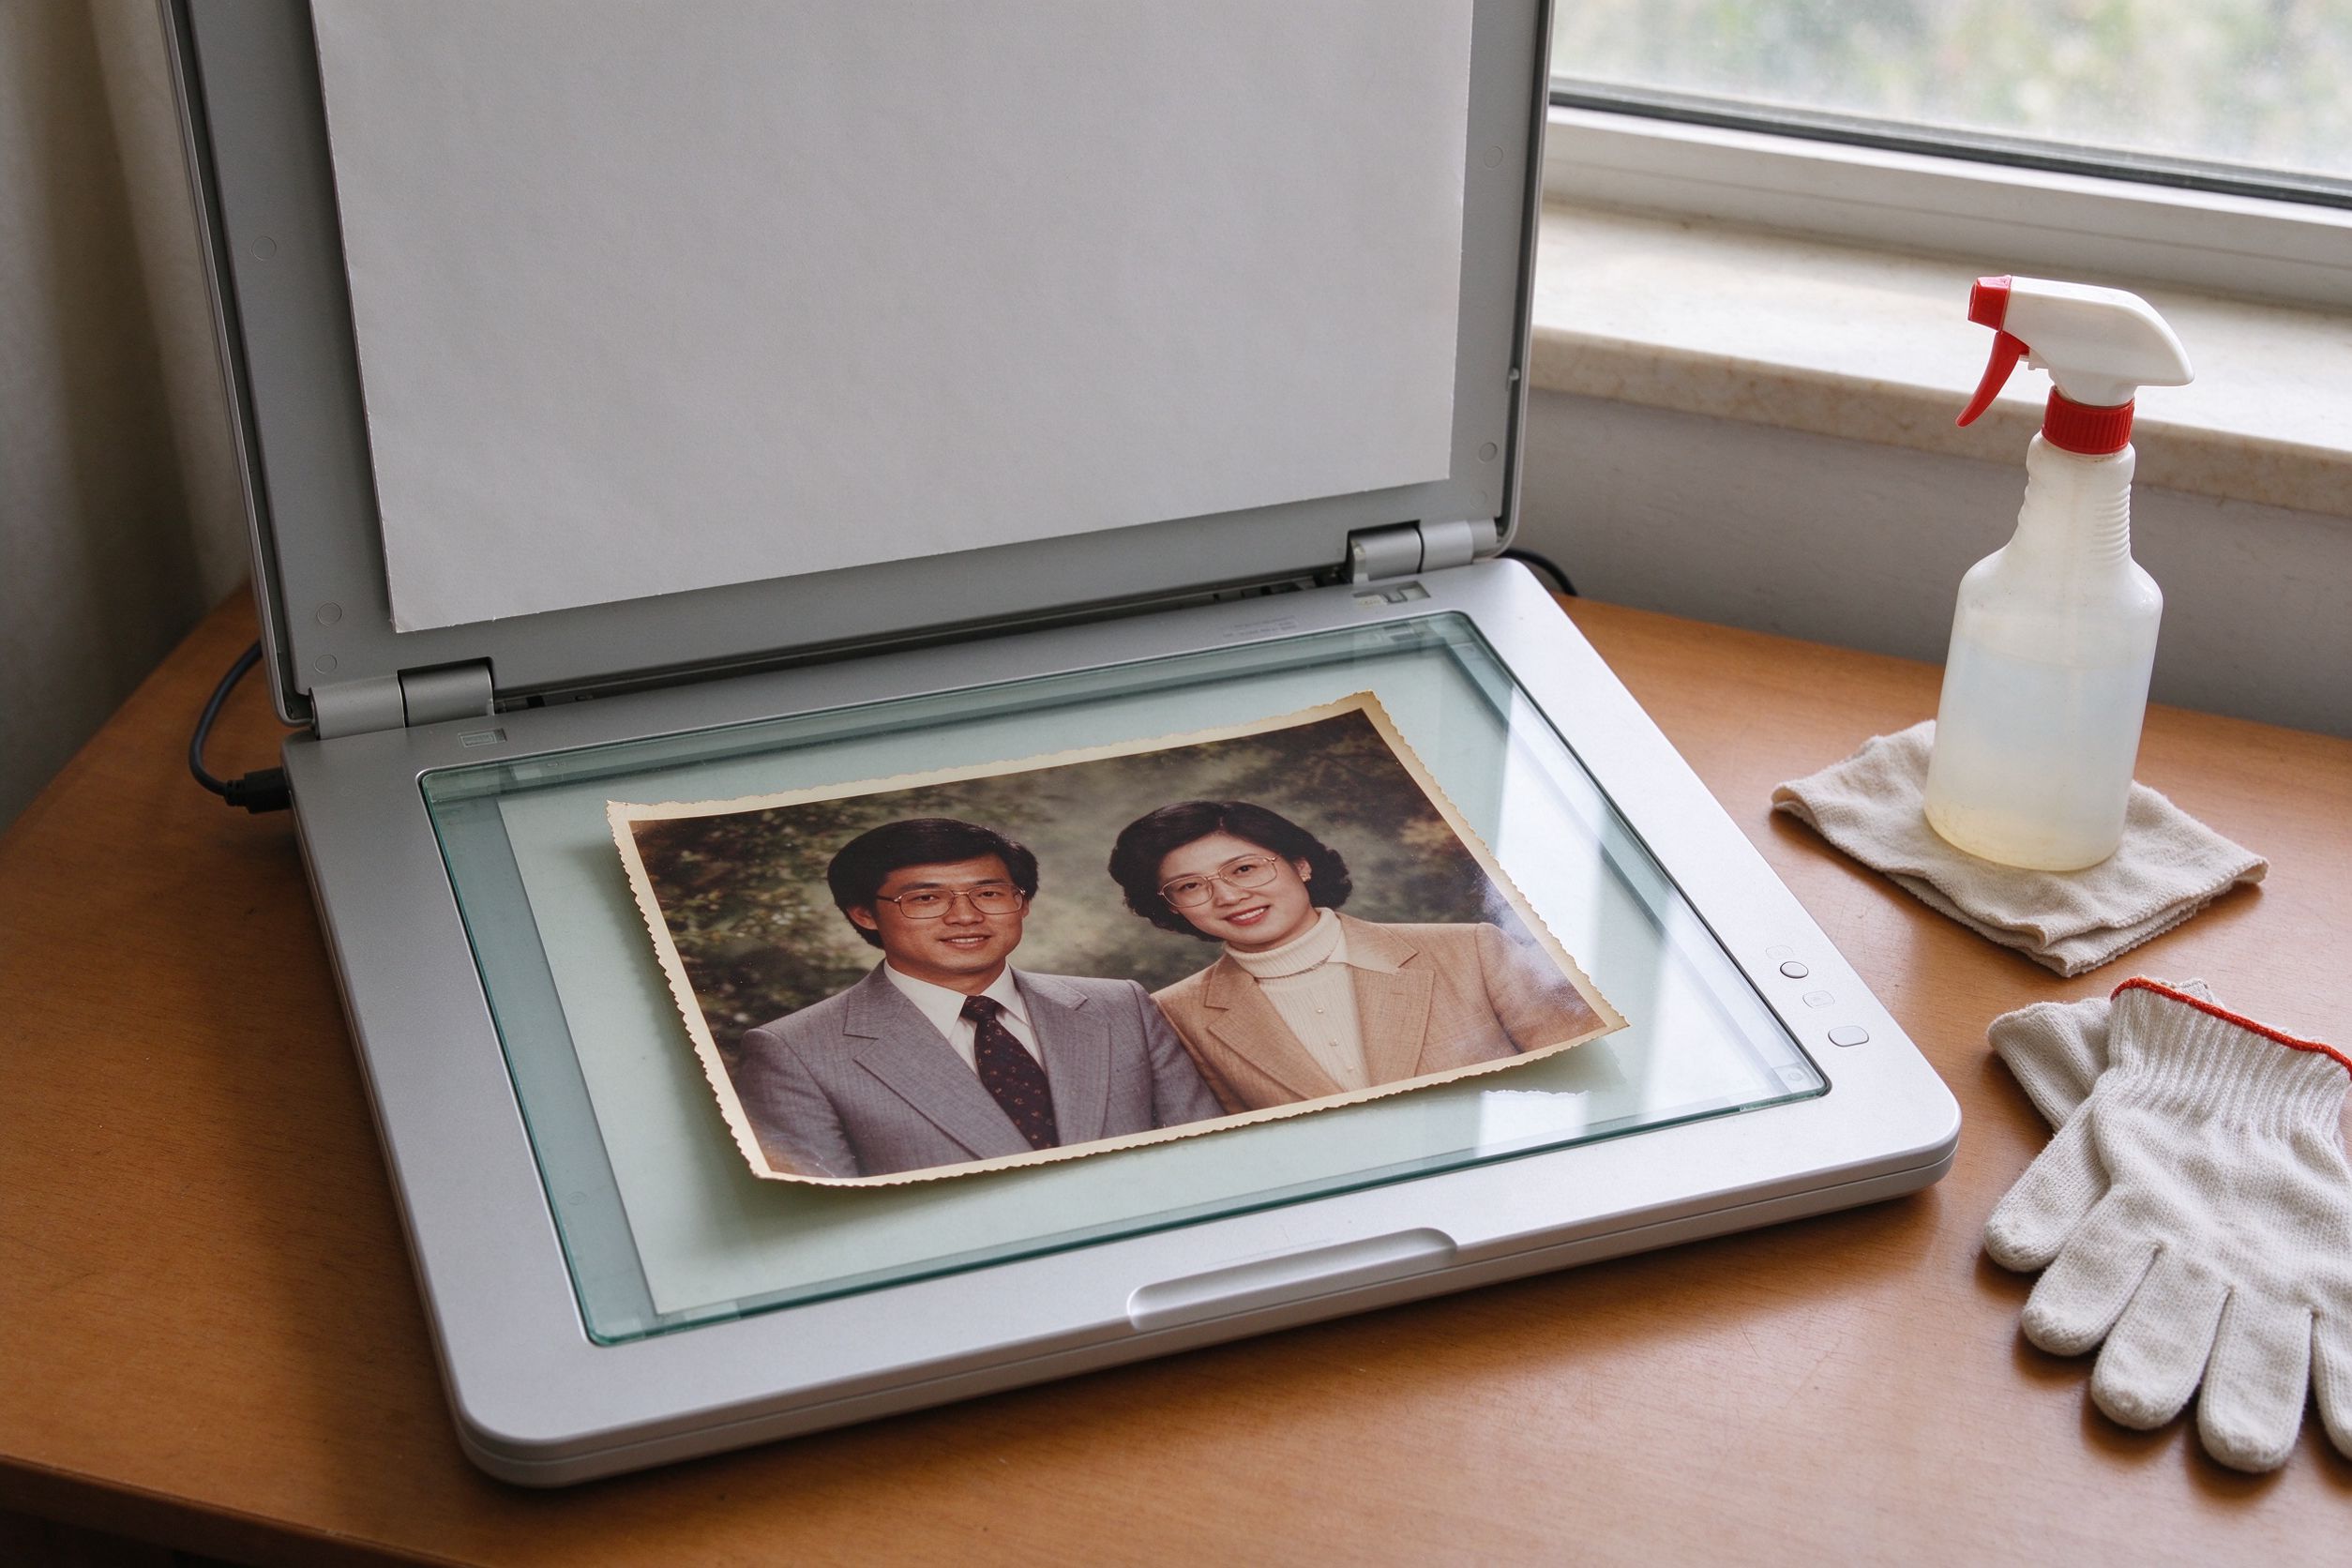
Scanning Old Photos: Best Settings & Prep
Get the best digital copy possible before you start restoring.
在开始修复前,先获得最好的数字拷贝。
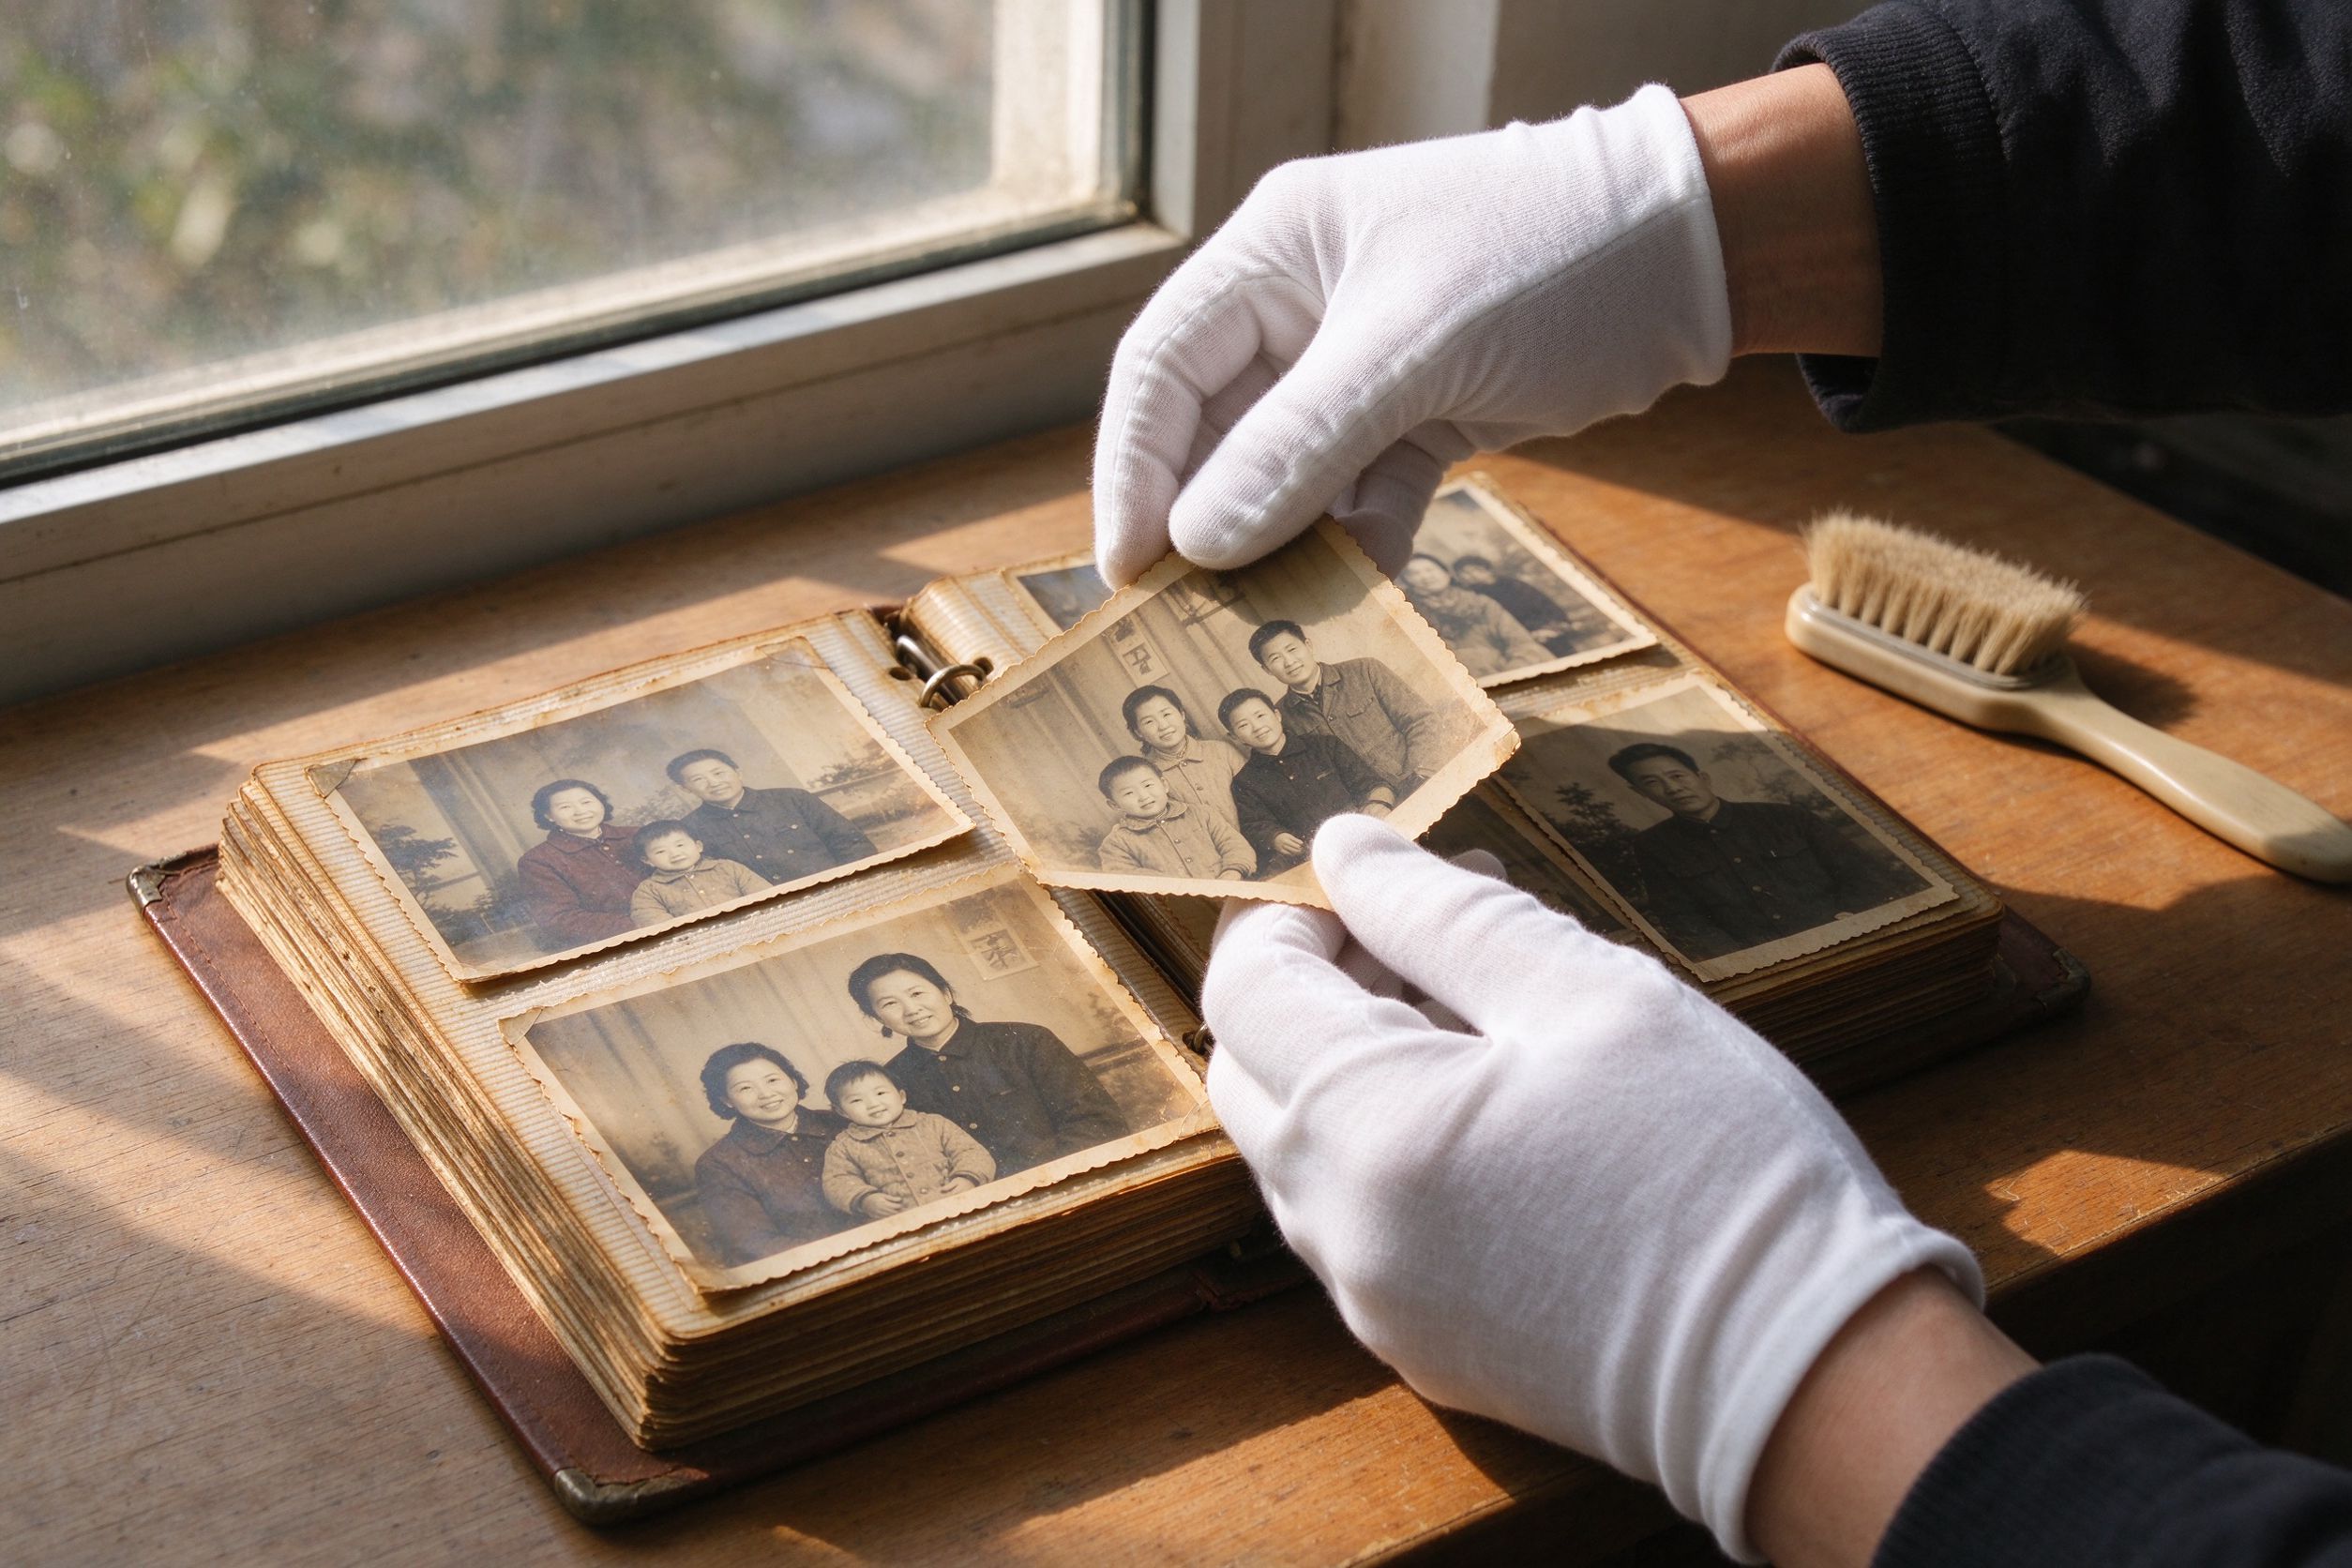
10 Photo Care Tips to Preserve Memories
Keep your physical and digital photos safe for the next generation.
让纸质与数字照片世代相传的保养技巧。