Most people think of photo preservation as something museums do with climate-controlled vaults. In reality, the difference between a photo that survives fifty more years and one that turns brittle, yellow and stuck to the glass comes down to a handful of ordinary habits: where you keep the album, how you handle a print, and whether you have made a digital backup.
Restoration tools like our AI Photo Restorer are wonderful at recovering what a scan shows, but they cannot undo a print that has stuck to its frame, grown mold, or crumbled to powder. Care is cheaper than repair, and far more effective. Below are ten practical tips you can start using today, followed by the reasoning behind them.
Why daily care matters more than restoration
Every old photograph is a small chemical factory. Silver-gelatin prints, color chromogenic prints, and even inkjet prints degrade through the same three enemies: light radiation, heat that speeds chemical reactions, and humidity that feeds acid migration and mold. You cannot stop aging, but you can slow it dramatically by controlling these three factors. A print kept cool, dry and in the dark can outlive its owner by generations; the same print left on a sunny windowsill may fade in under a decade.
The good news is that you do not need an archive. A drawer in a cool bedroom, a box of acid-free sleeves, and the habit of washing your hands before touching the prints you love most will already put you ahead of ninety percent of households. The goal is not perfection; it is avoiding the mistakes that cause irreversible damage.
The 10 everyday photo care tips
- Keep prints out of direct sunlight. UV light bleaches dyes and silver fastest. Rotate framed photos and store albums in a closed bookcase rather than on a shelf in the sun. Why: fading is cumulative and cannot be reversed by editing.
- Store in a cool, dry, stable place. Aim for around 18–21°C (65–70°F) and 30–40% relative humidity. Avoid attics, basements and bathrooms, which swing between hot, cold and damp. Why: heat and moisture accelerate the chemistry that makes paper brittle and colors shift.
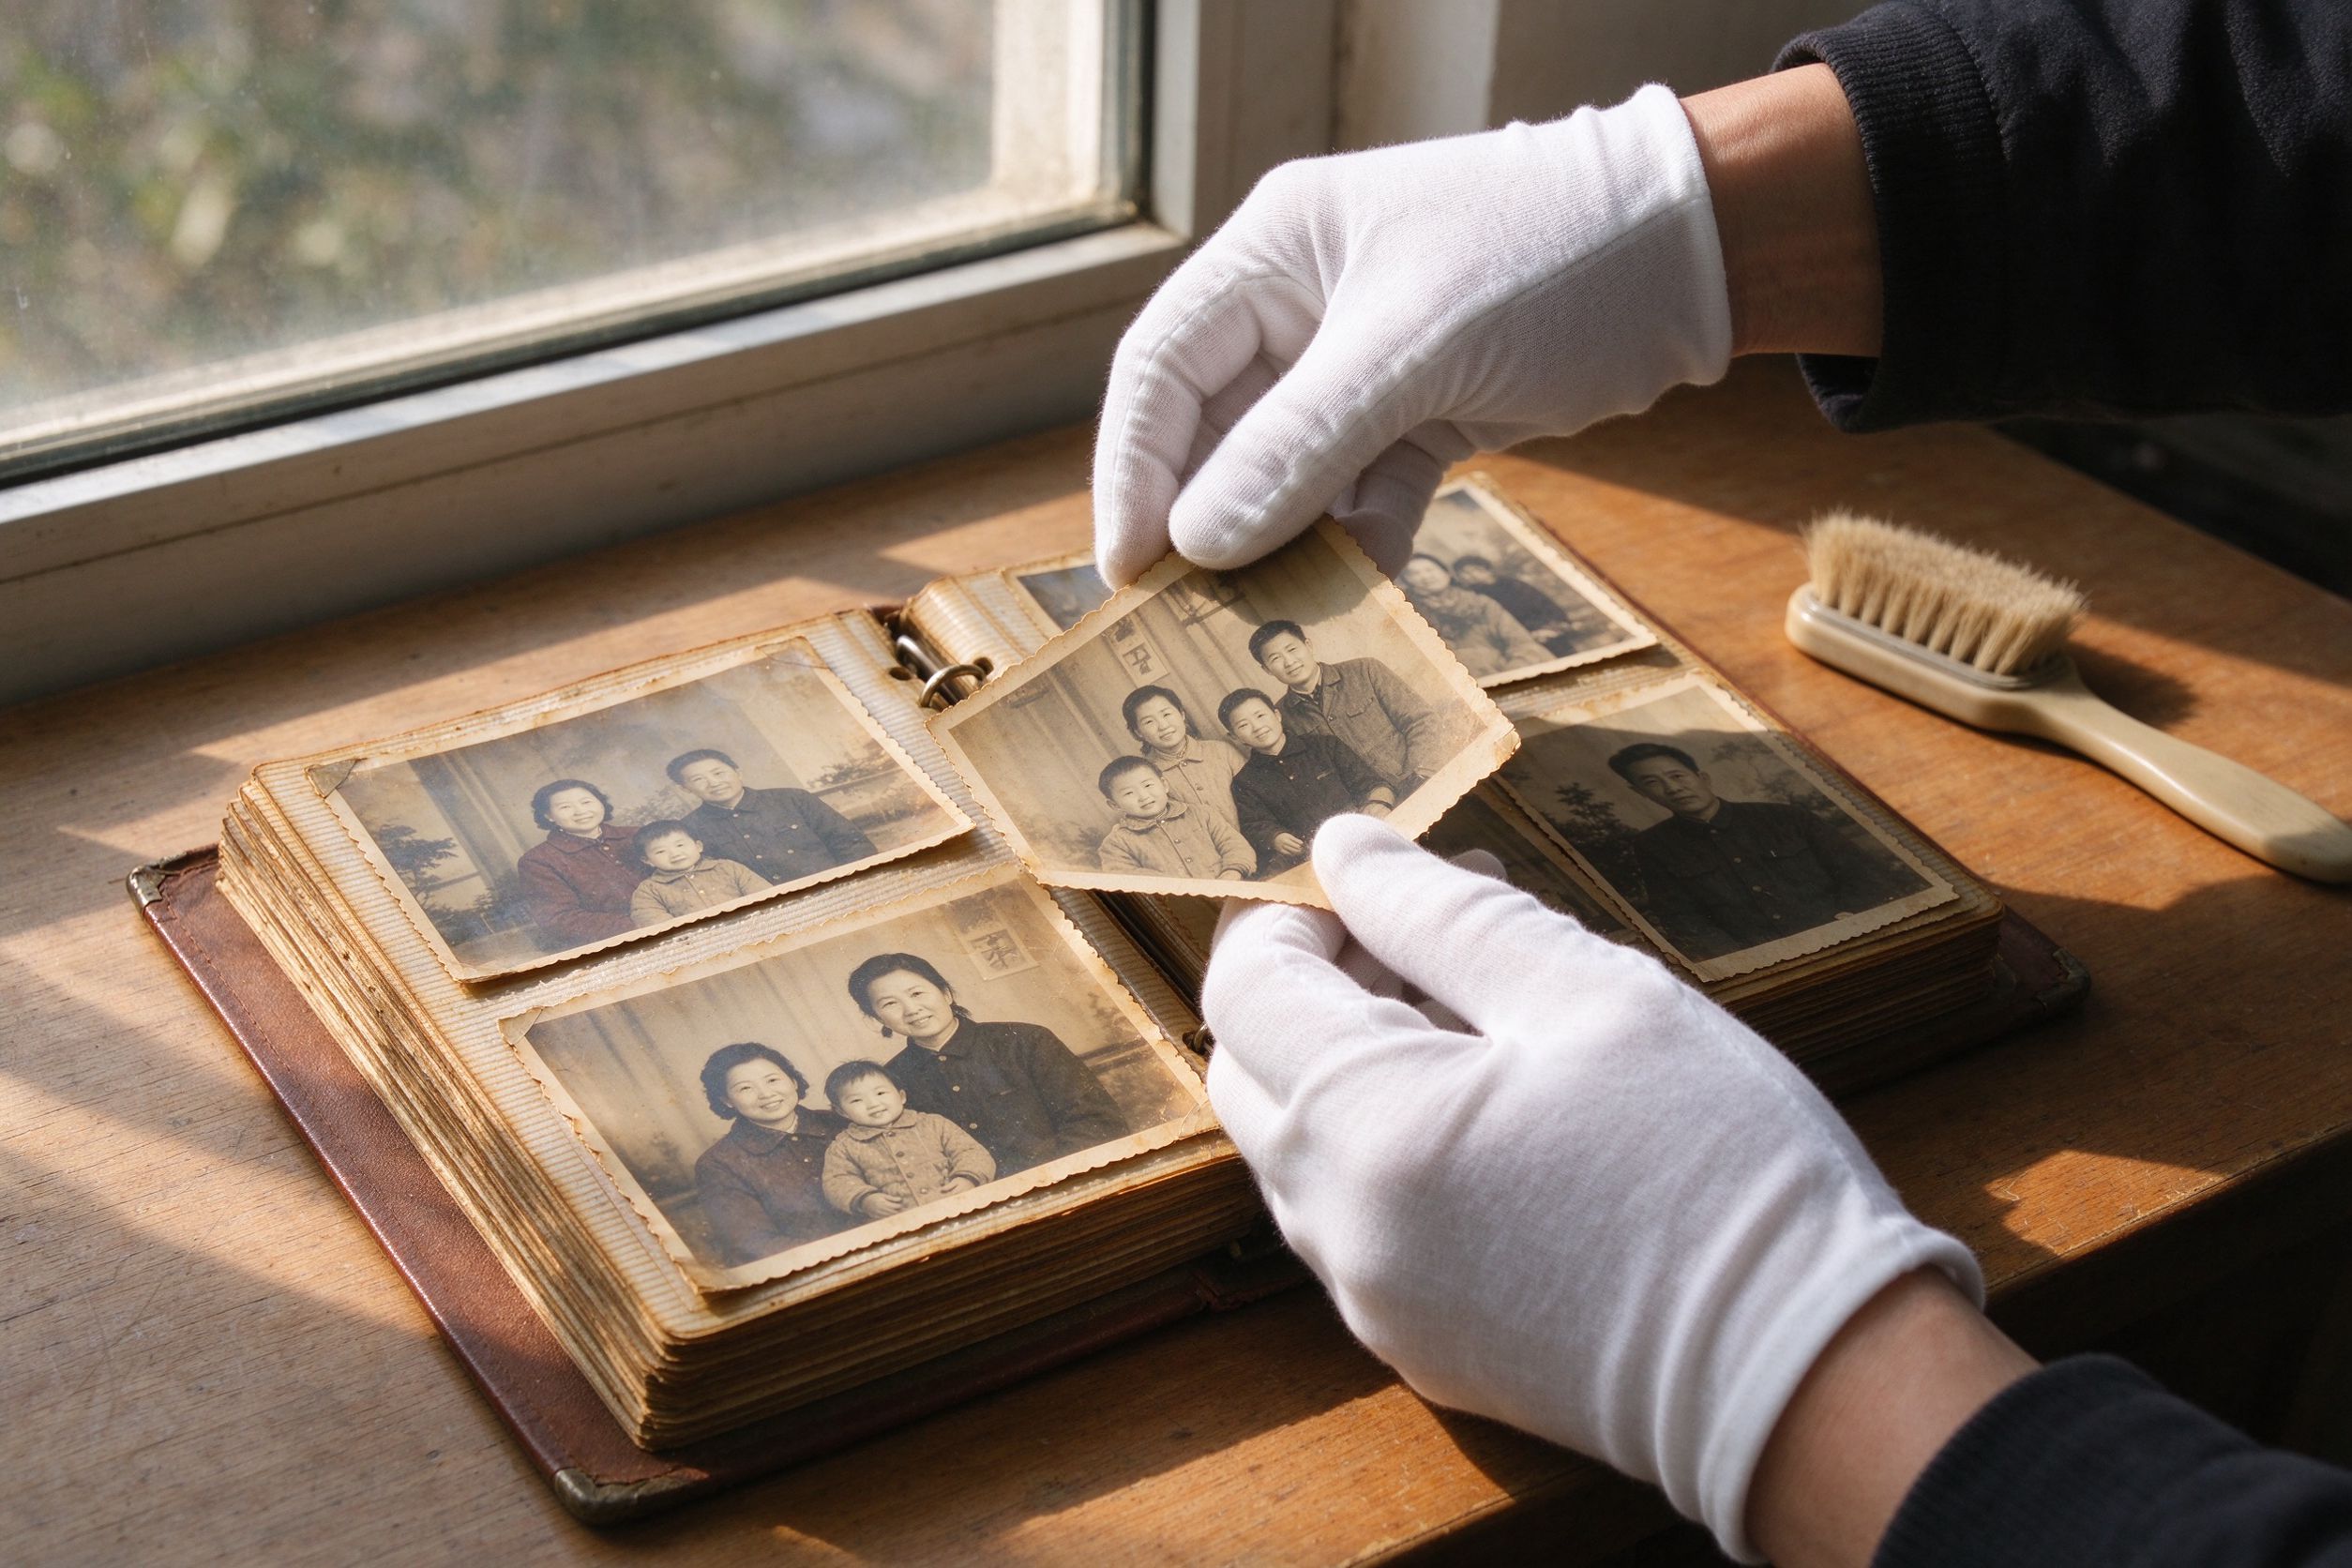
- Wash and dry your hands before handling. Lotions, food oils and sweat leave fingerprints that attract dust and eventually stain the emulsion. Hold prints by the edges. Why: skin oils are acidic and leave permanent marks over time.
- Never write on the back with ballpoint or regular pen. Use a soft graphite pencil or an archival marker designed for photos. Why: ink bleeds through thin photographic paper and shows on the front.
- Use acid-free, lignin-free albums and sleeves. Ordinary cardboard and cheap PVC sleeves release acids that yellow and stick photos. Look for "archival" or "photo-safe" labeling. Why: the envelope the photo lives in ages together with the photo.
- Keep photos away from adhesive and magnetic pages. Those old sticky albums look convenient, but the adhesive dries out, turns yellow and glues the print irreversibly to the page. Why: a stuck photo can tear when you try to free it.
- Do not tape, glue or rubber-band photos. Tape leaves gummy residue; rubber bands corrode and stain. Use polyester sleeves and loose paper envelopes instead. Why: physical fasteners damage exactly the edge you may later need to scan.
- Control pests and dust. Keep food away from stored albums, and wipe sleeves gently with a soft cloth rather than blowing dust off (spit and moisture follow the air). Why: insects eat paper and emulsion; dust becomes embedded when humidity rises.
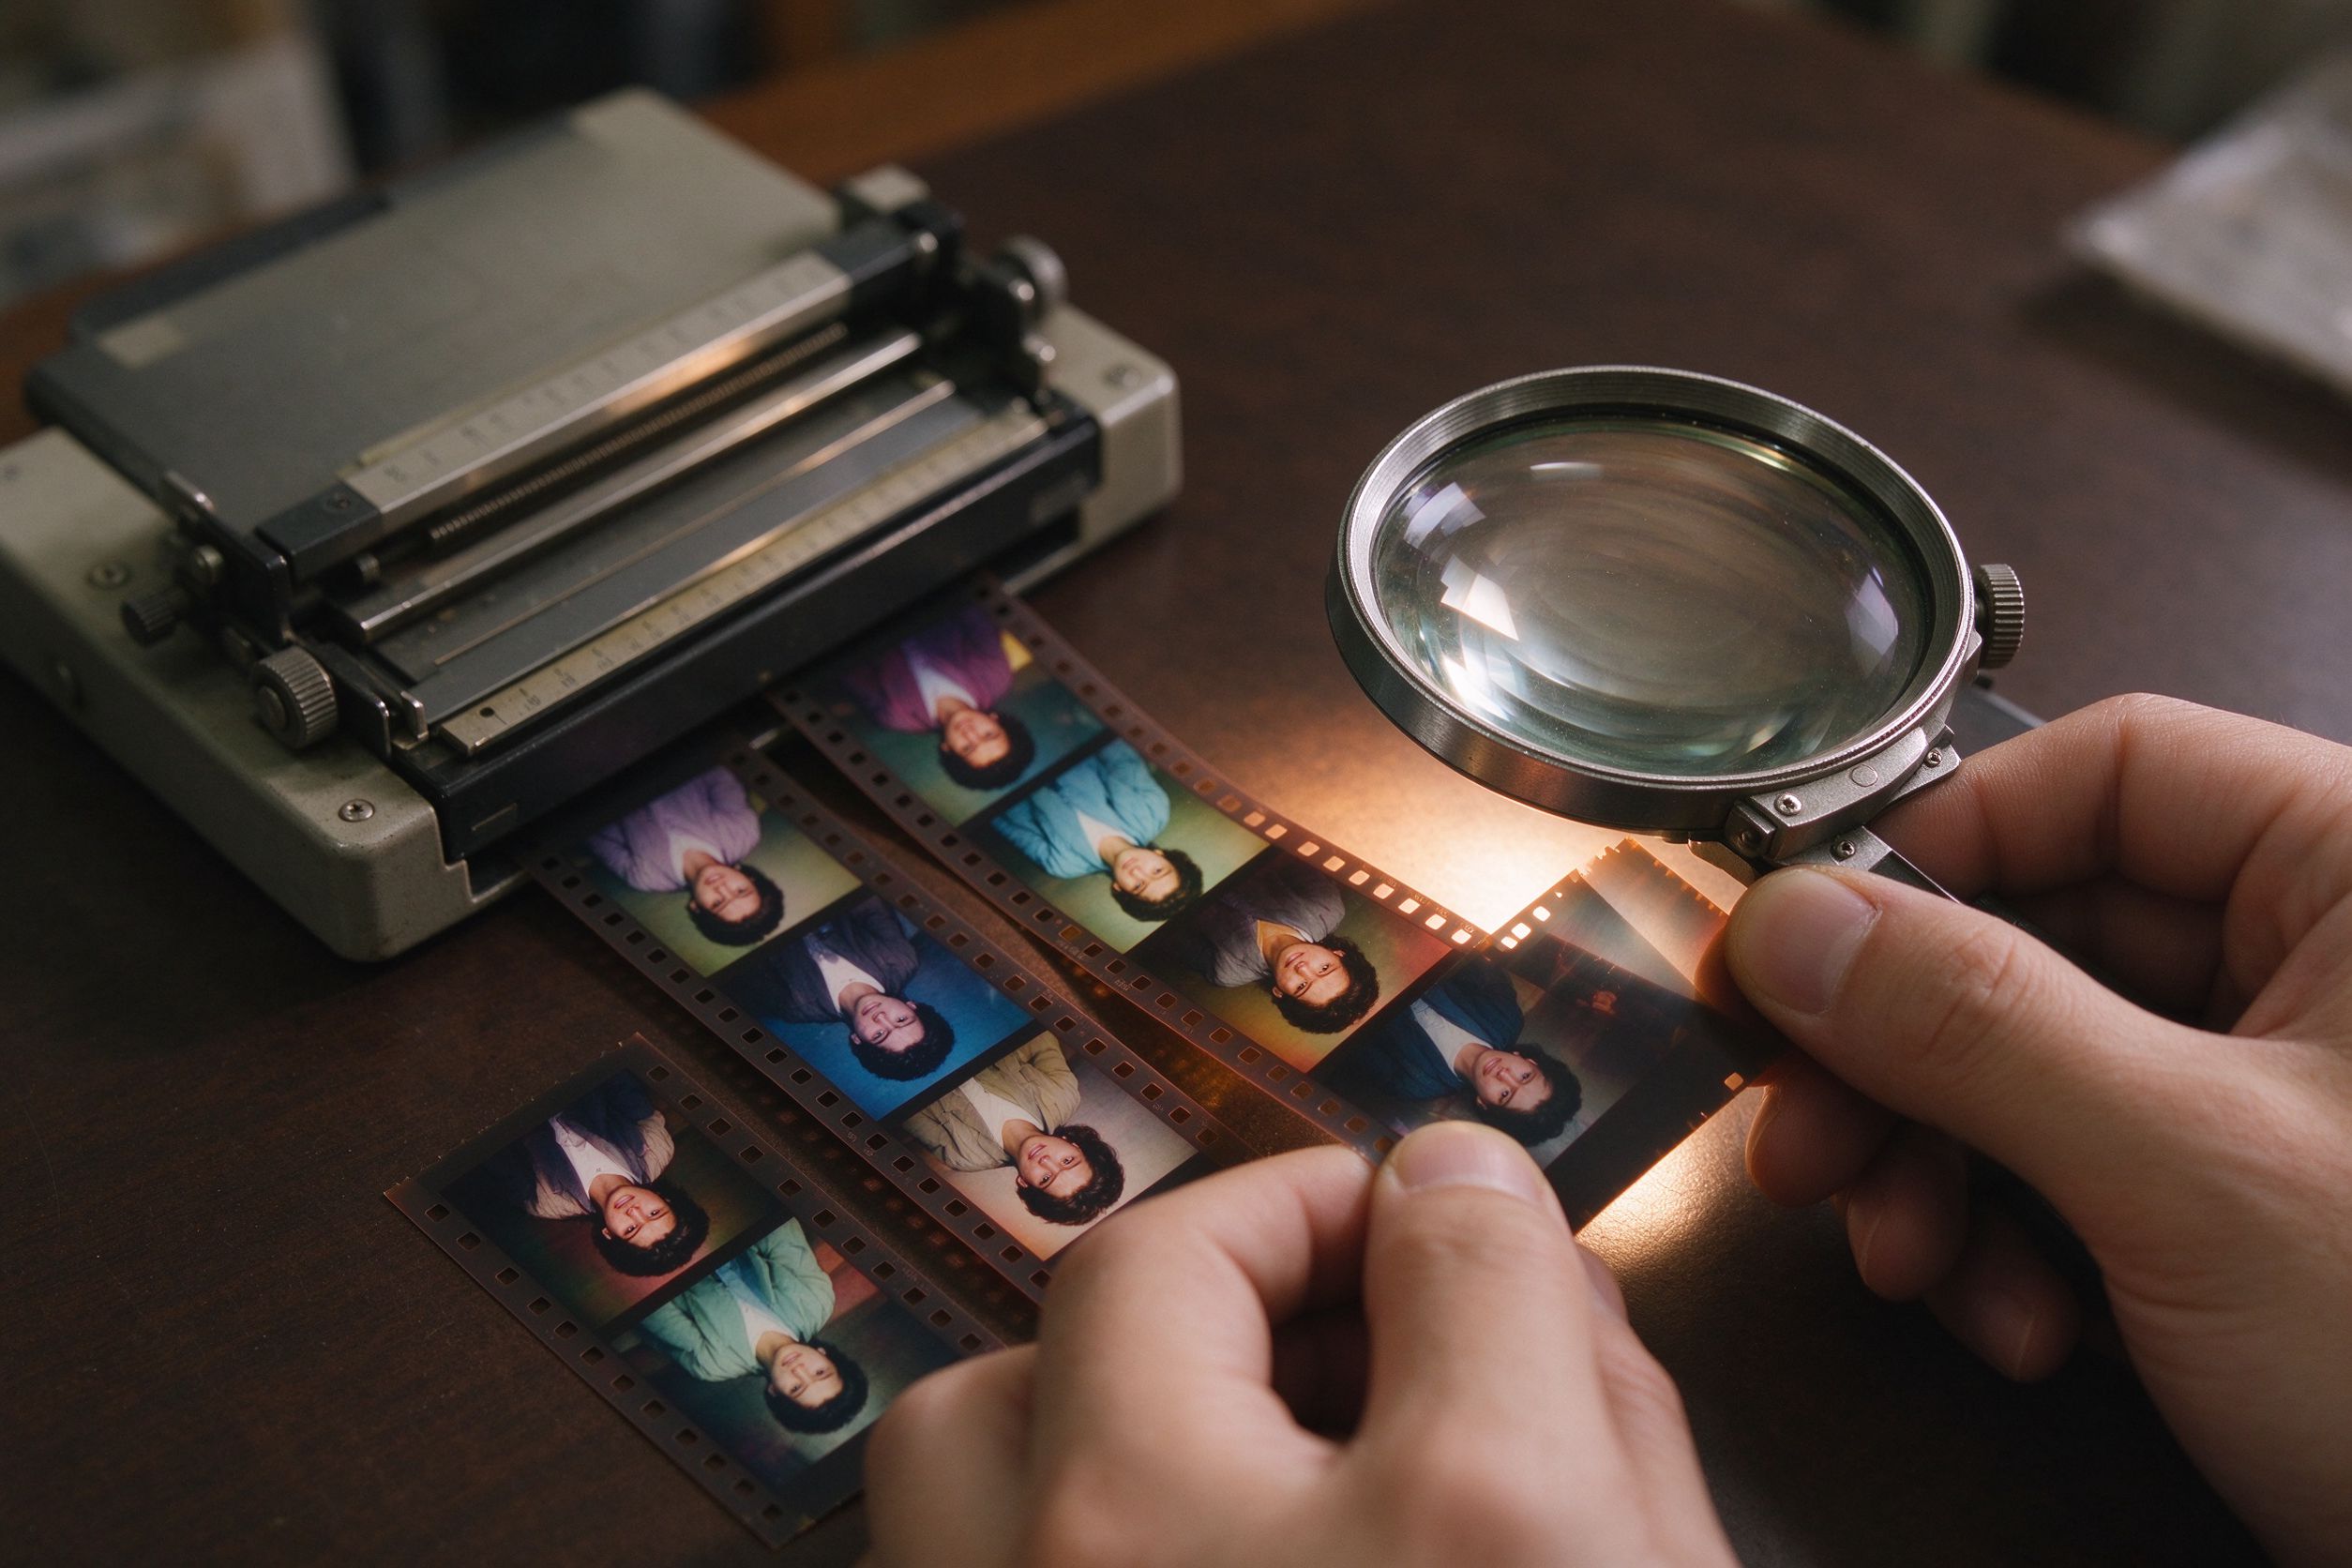
- Handle negatives and film scans carefully too. Negatives are the master copies. Store them in negative sheets, vertically, away from heat. Why: without a good negative, reprinting an old photo means starting from a faded print.
- Digitize the whole collection, then store the files in two places. Scan once at high resolution, then keep a master copy on an external drive and one in a cloud service. Why: the digital file is the only backup that survives a flood, fire or lost box.
These ten habits take almost no money. Their combined effect is that your prints and your scans both stay usable — which means when you finally sit down to restore a treasured photo, the source material is still good enough to work with.
Light, heat and humidity: the slow killers
If you remember only one thing about the environment, remember that damage is exponential. Paper and film degrade slowly at room temperature in the dark, but the rate roughly doubles for every 5–6°C rise in temperature. This is why a box of photos forgotten in a hot attic often looks far worse than one kept in a closet, even when both are the same age.
Humidity is the partner in crime. Below about 30% relative humidity, paper dries out and becomes brittle; above 50%, mold, insects and acid migration thrive. The sweet spot is the same range a human finds comfortable. A cheap hygrometer in your storage closet tells you whether you are in that range. Avoid storing photos near radiators, water heaters, or exterior walls that sweat in winter. If you live somewhere humid, a sealed plastic box with a small desiccant pack (replaced yearly) is far safer than an open shelf.
Light deserves special attention because it is the one killer you usually do not notice until it is too late. A photo on a wall by a window receives low-level UV every single day, and the fading accumulates quietly. Frame photos with UV-filtering glass if they are on display, and accept that displayed copies are disposable — keep the original print in the dark, and hang a high-quality scan of it on the wall. That is exactly why digitizing first is so valuable.
Albums, boxes and materials that help or harm
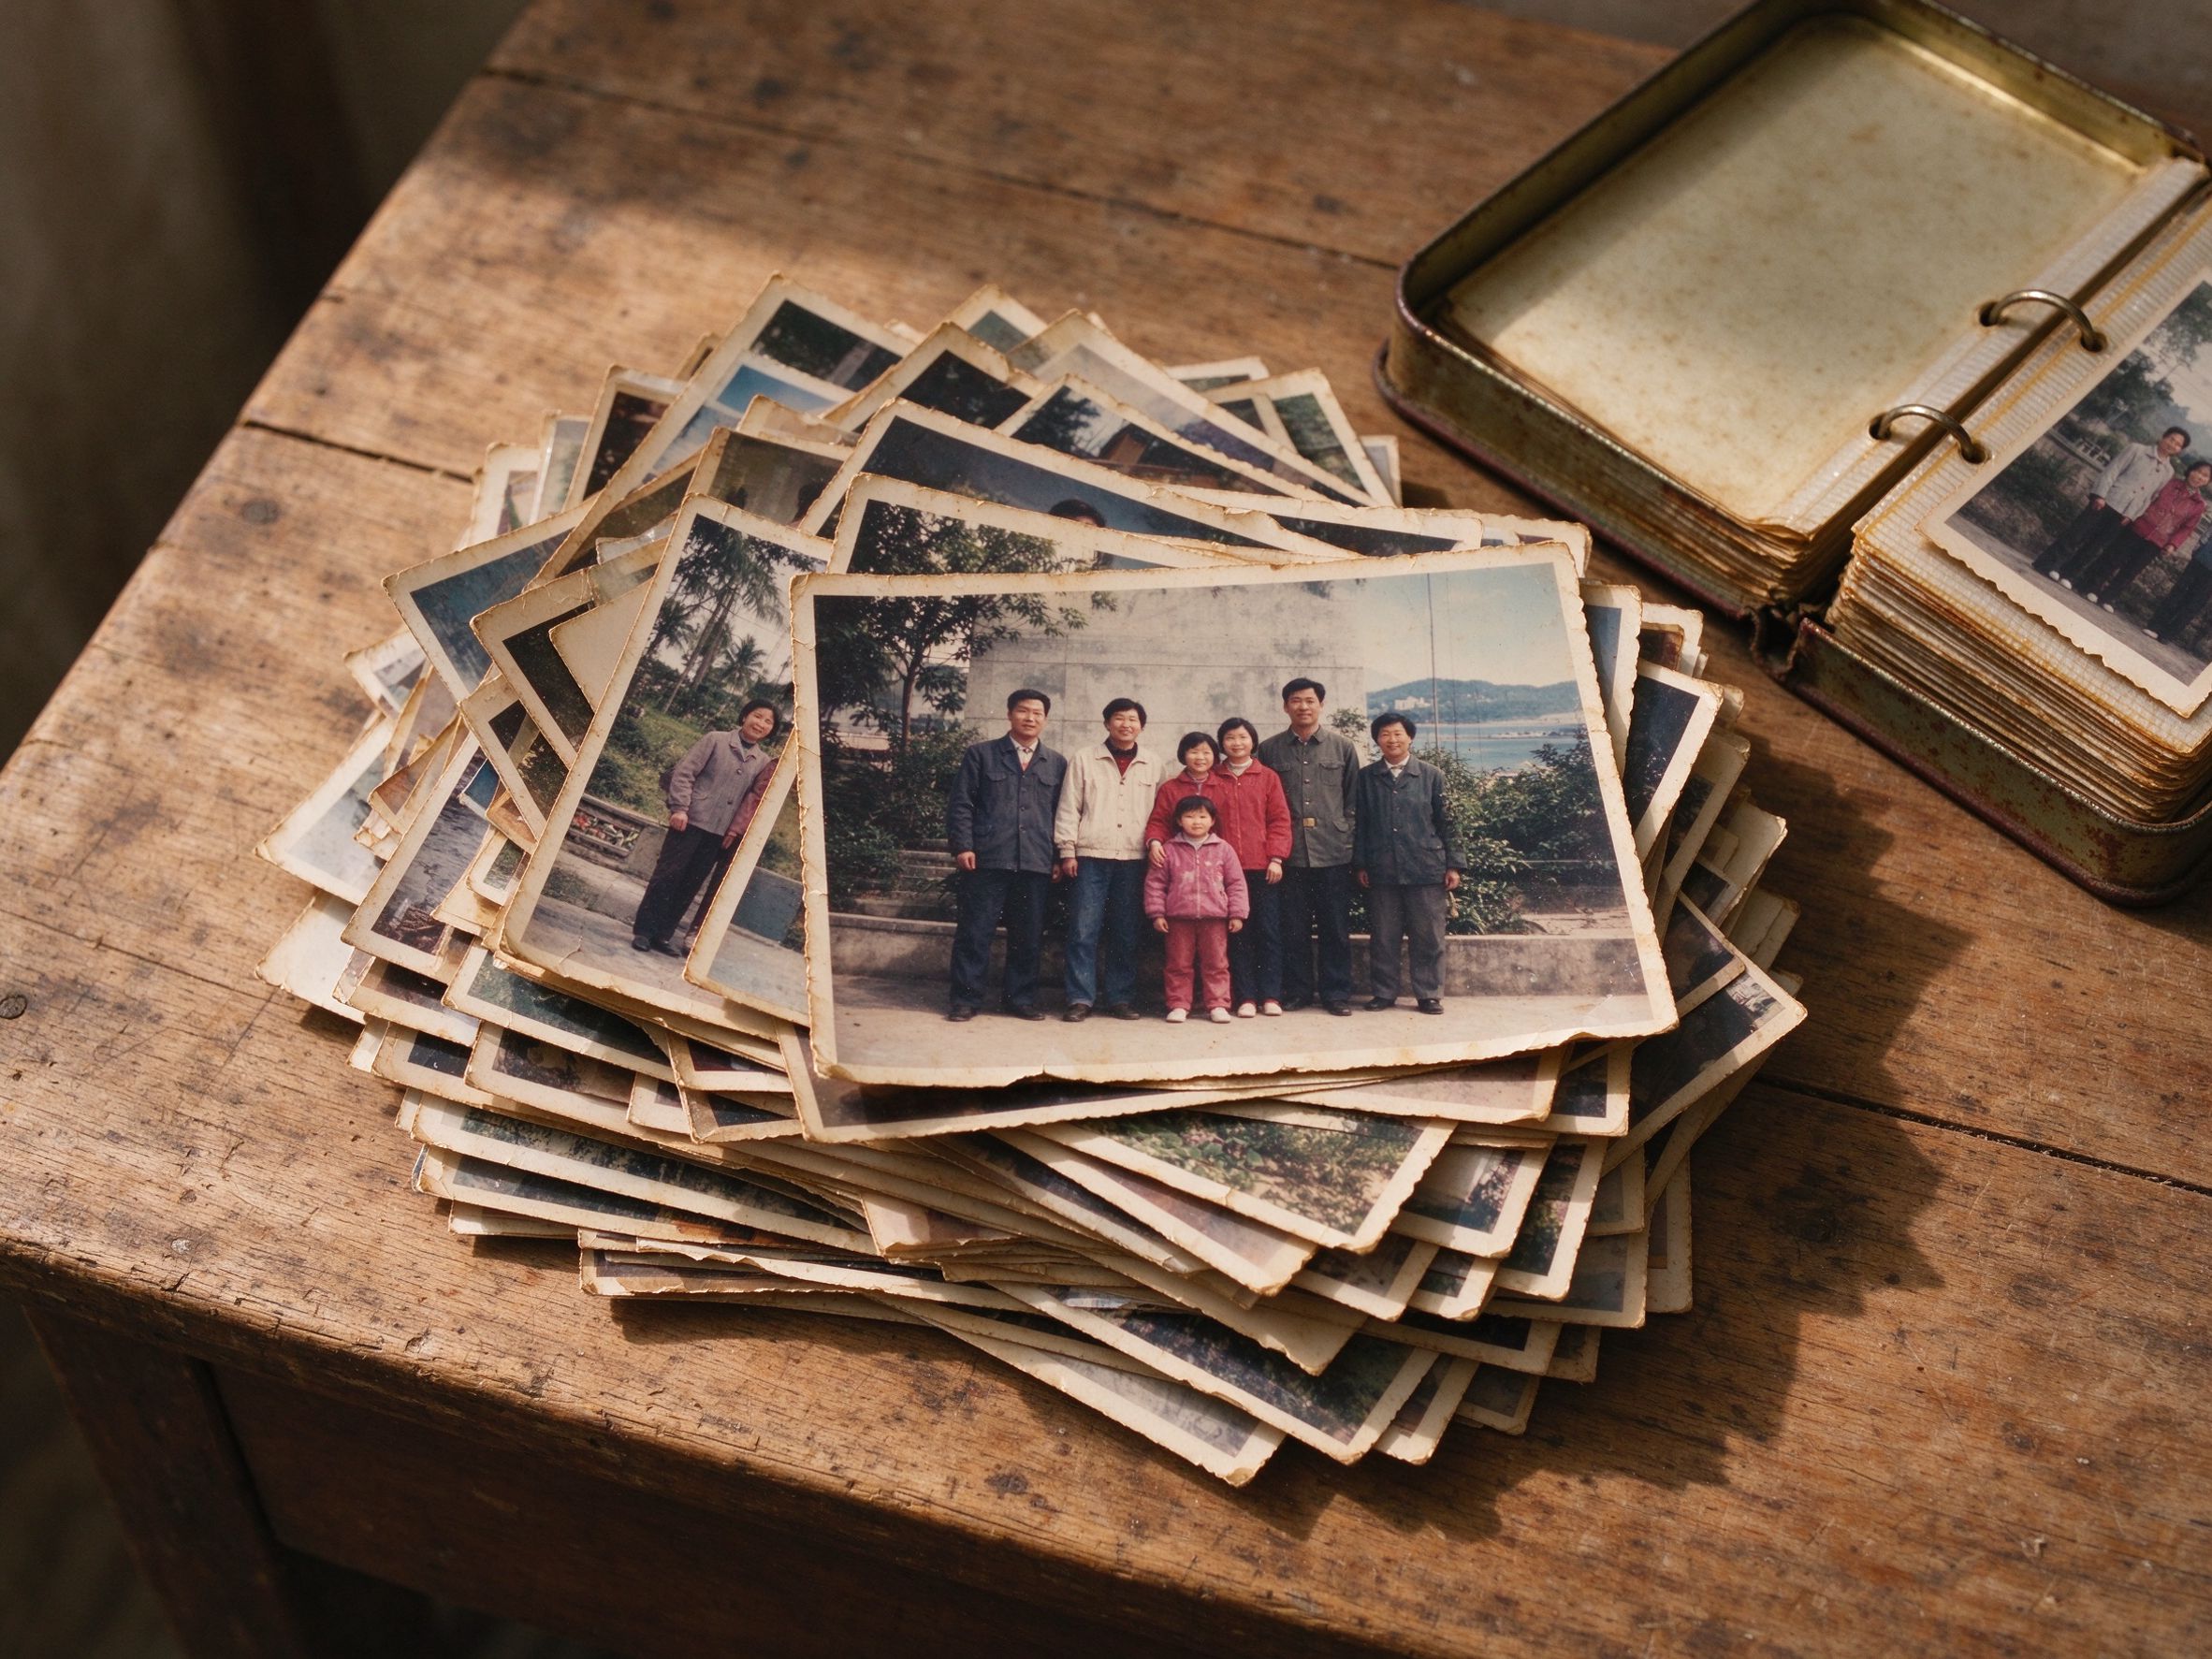
The container is doing more than holding the photo. Cheap "magnetic" albums with sticky plastic pages were popular in the 1970s and 1980s, and they are now responsible for thousands of damaged family photos: the adhesive oxidizes, the plastic becomes brittle, and prints fuse to the page. If you own these albums, do not try to peel the photos free — you will tear them. Instead, cut the page free and store it whole, or scan it in place and treat the stuck photo as a separate restoration challenge.
Good storage is simple: archival cardboard boxes, acid-free paper sleeves, and polyester (Mylar) sleeves for your most precious prints. Store boxes upright on a shelf, not on the floor, and label them on the spine with the decade and family name. This arrangement keeps flat pressure off the prints and makes the collection easy to browse. A layer of interleaving acid-free paper between stacks prevents prints from rubbing against each other and transferring emulsion.
For negatives, use punched negative pages in a loose-leaf binder. Never store negatives in the same envelope as the print: if something goes wrong with the envelope, you lose both copies at once. Separation is a basic backup strategy.
Digitize once, back up twice
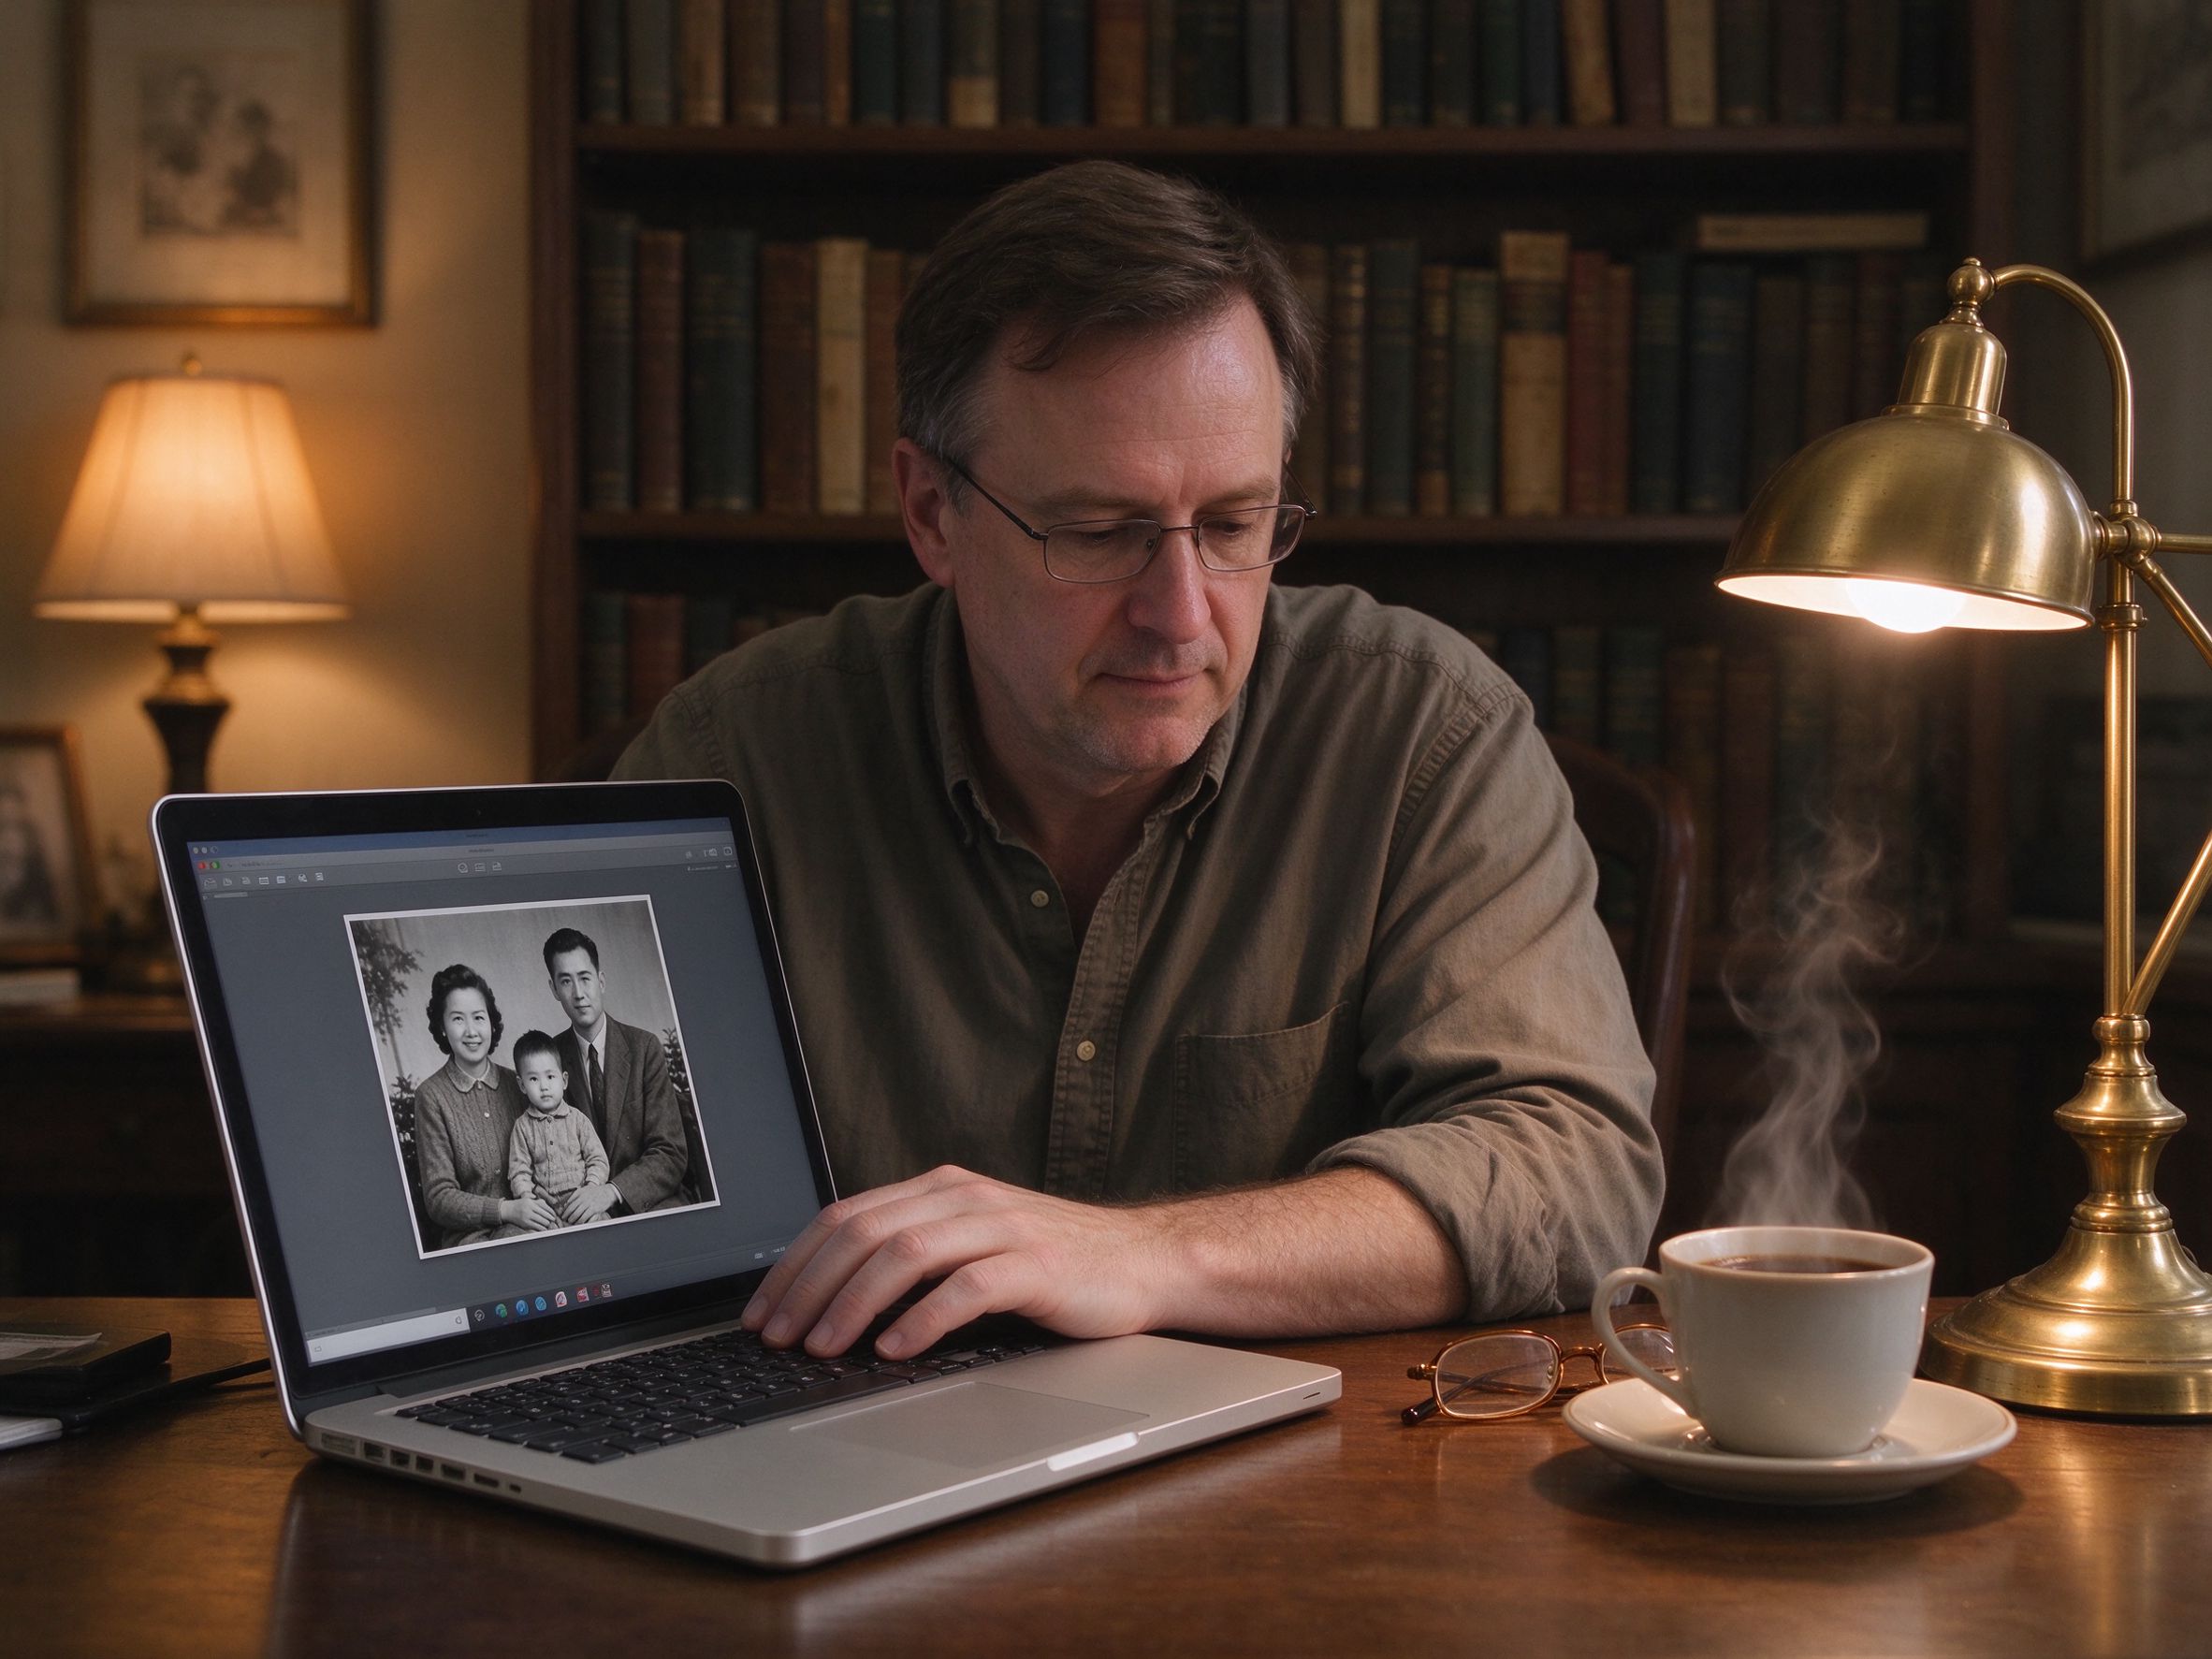
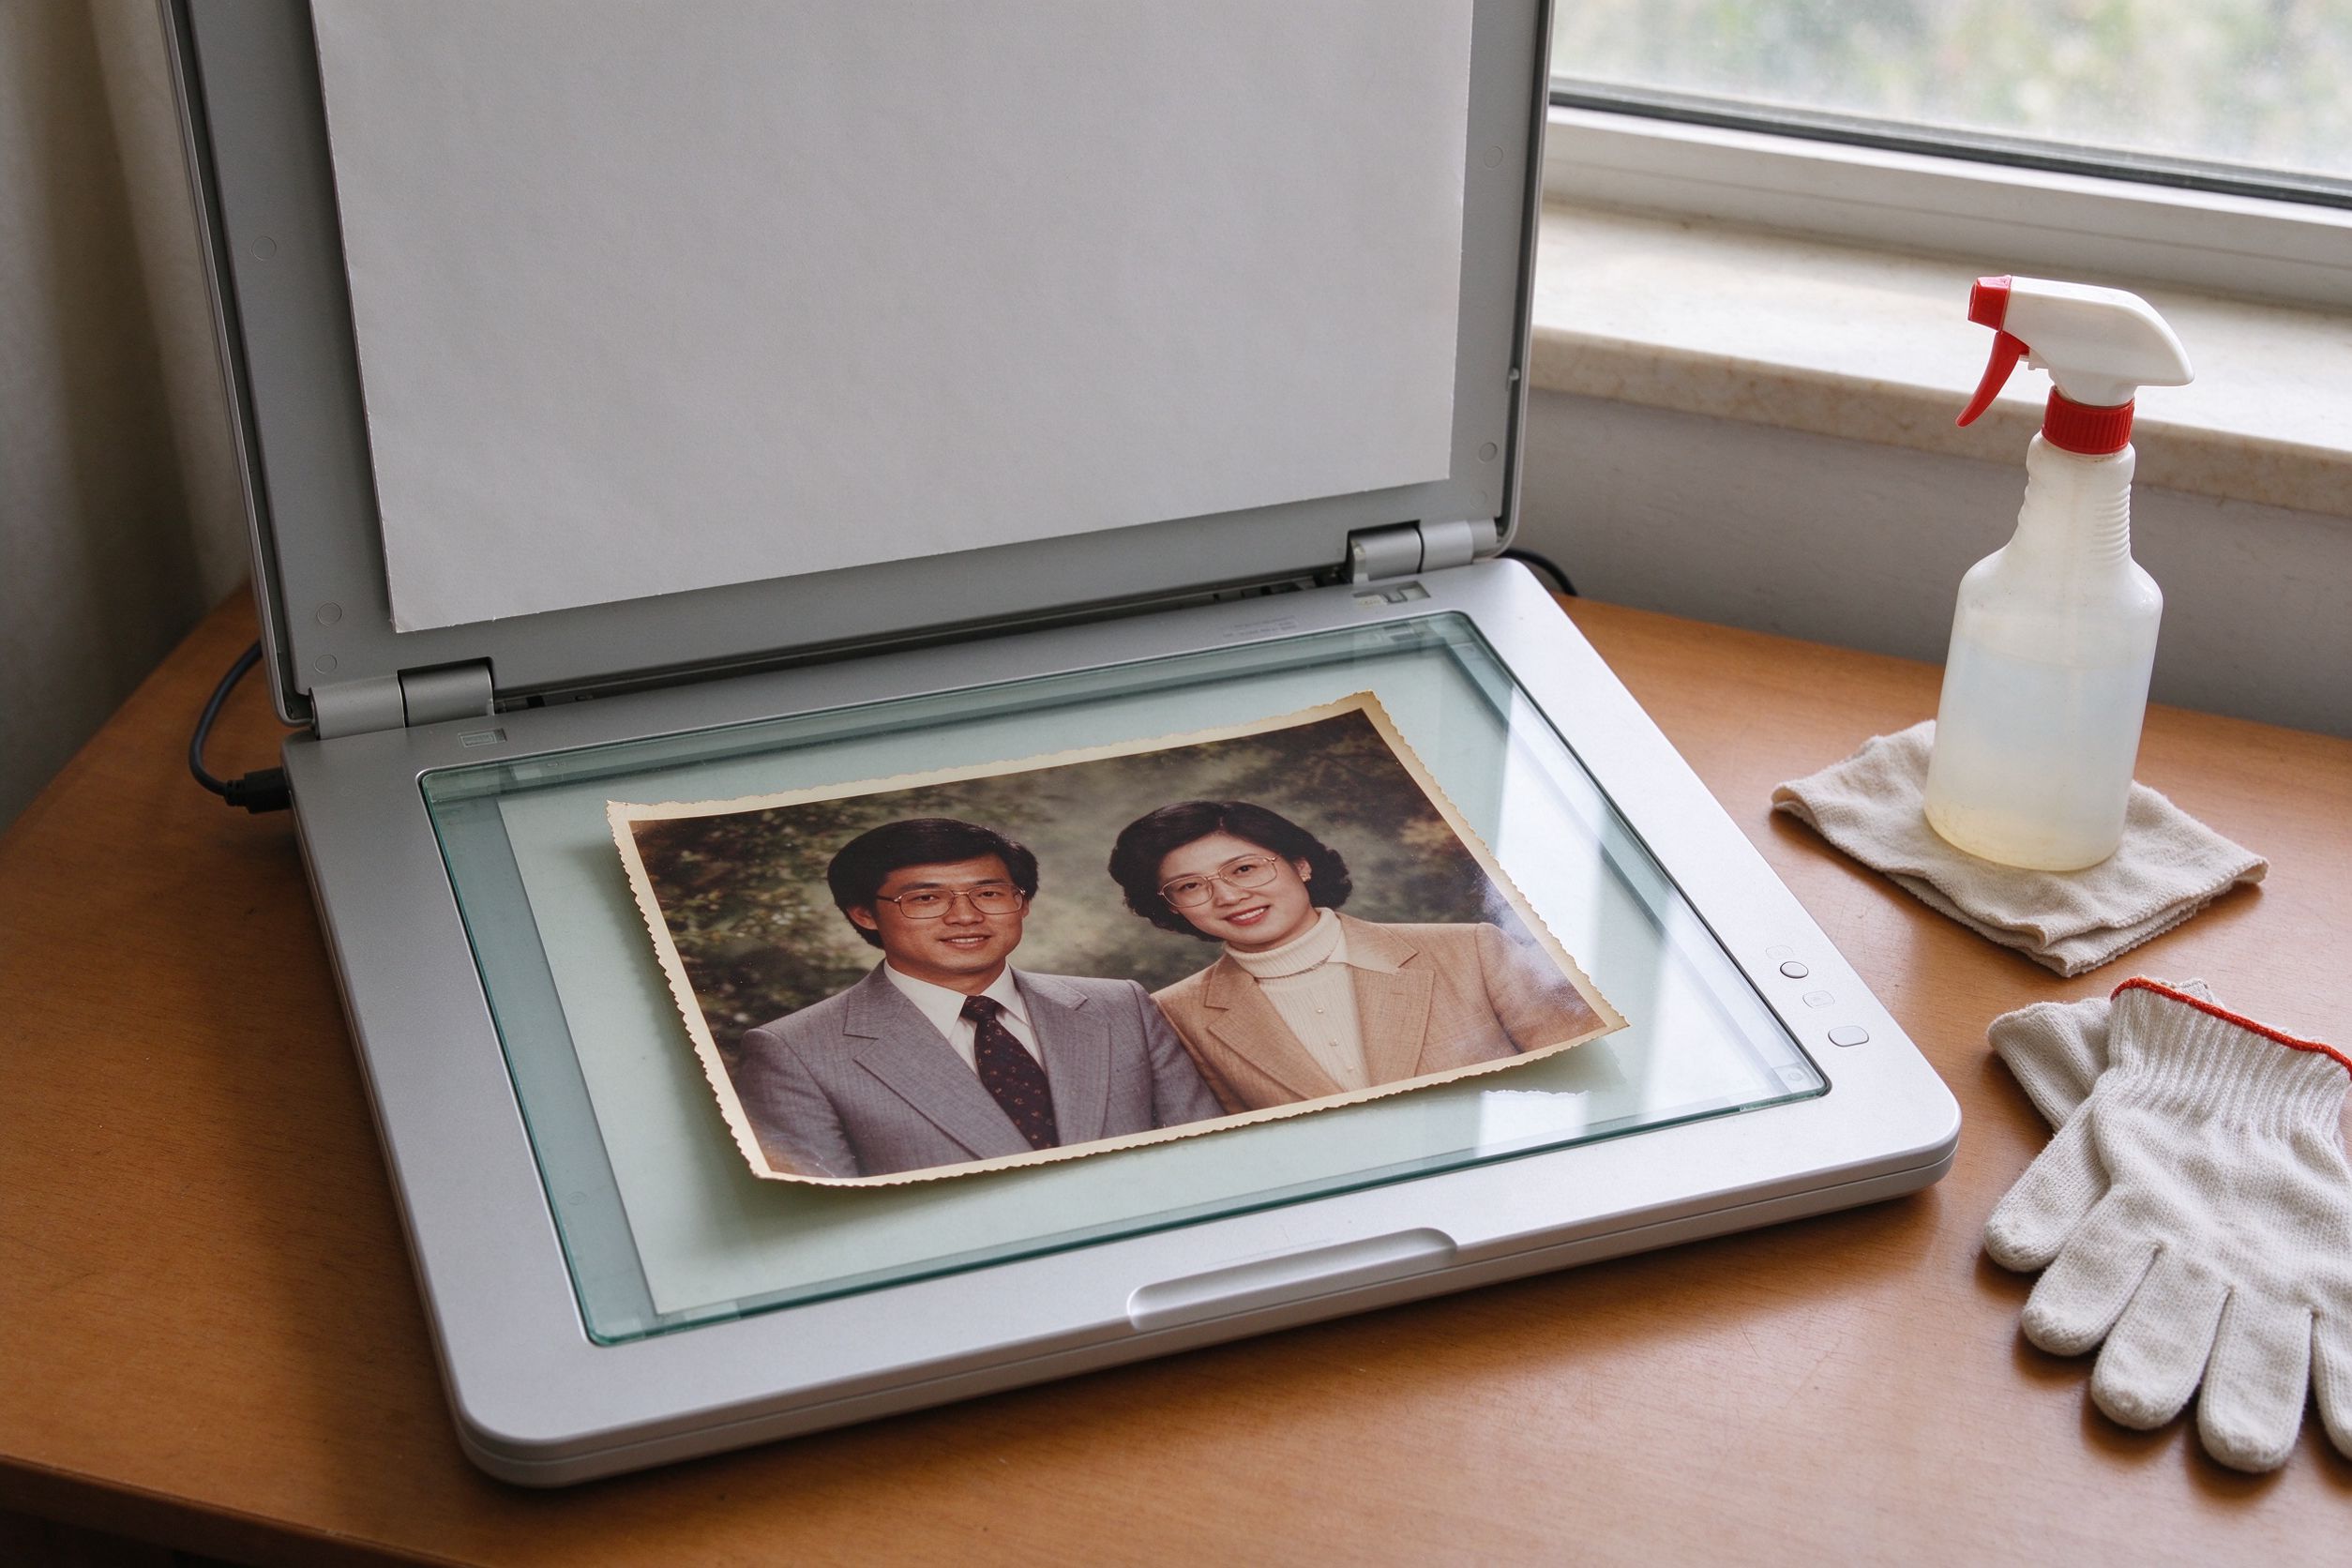
Physical care protects the original, but digital care protects the memory. A single box can be lost in a move, while a digital file can exist in three places at once. Our advice is to treat scanning as the first preservation step, not the last. Use a flatbed scanner at 300–600 DPI and save a lossless TIFF or PNG master; you can follow our scanning guide for exact settings. Do not worry about perfectly cropping or color-correcting the scan — a faithful raw scan is the master that you can restore later in PhotoRevive.
The 3-2-1 rule applies: keep three copies of your digital archive, on two different kinds of media, with one copy off-site (a cloud service or a relative's house). An external hard drive sitting next to your computer is not a backup; it shares the same fire, flood and theft risk. After archiving, you can use the Image Compressor to make small, shareable JPEGs for the family group chat while keeping the large master untouched.
Finally, name your files. A folder called "Scan 001" will mean nothing to your children. Name folders by decade and event, and individual files by year and subjects, for example 1965-family-picnic-master.png. Good naming is what turns a folder of scans into a family archive.
Photo care FAQ
Should I keep photos in the fridge or freezer? For most households, a cool closet is enough. Freezing is a professional technique for irreplaceable originals, but it requires sealed containers and careful thawing to avoid condensation damage. It is overkill unless a photo is already actively deteriorating.
My photos are already yellow and stuck — can care still help? Yes. Stop the damage first by moving them to a dry, stable environment, then digitize what you can. Yellowing and fading can be improved with our faded photo restoration guide and the Faded Photo Fixer, but the stuck physical print should be cut free rather than peeled.
Is it okay to display my best photos? Yes, but display a scan, not the original. Hang a high-quality print made from your restored digital master, and keep the original in archival storage. This way the wall gets the enjoyment and the archive gets the safety.
How often should I check on stored photos? Once or twice a year is enough. Look for signs of mold, adhesive oozing, or sleeve yellowing, and move photos out of any album that is actively failing. Regular, light attention catches problems before they spread.
大多数人以为照片保存是博物馆用恒温库房做的事。实际上,一张照片能否再活五十年,与另一张会不会变脆、发黄、粘在玻璃上,差别往往就在几个普通习惯里:相册放在哪里、你怎么拿一张照片、以及有没有做数字备份。
像我们的 AI 照片修复这样的修复工具,很擅长还原扫描件里看得见的内容,但它无法挽救一张已经粘在相框里、长了霉或碎成粉末的照片。保养比修复更便宜,也有效得多。下面是十条今天就能开始用的实用技巧,以及背后的道理。
一、为什么日常保养比修复更重要
每张老照片都是一座小小的化学工厂。银盐照片、彩色显色照片,甚至喷墨打印照片,都会被同样三个敌人侵蚀:光线辐射、加速化学反应的热量,以及助长酸性物质迁移和霉菌的湿度。你无法阻止老化,但可以通过控制这三者大大减缓它。一张放在阴凉、干燥、暗处的照片,可以比它的主人多活几代人;同一张照片放在阳光直晒的窗台上,可能不到十年就褪色了。
好消息是,你不需要档案馆。卧室里一个凉爽的抽屉、一盒无酸护套,以及碰最珍爱的照片前洗手的习惯,就已经胜过九成家庭。目标不是完美,而是避免那些造成不可逆损伤的错误。
二、十条日常照片保养技巧
- 让照片远离阳光直射。紫外线让染料和银颗粒褪色最快。装裱的照片要轮换位置,相册放在封闭书柜里,而不是日晒的架子上。原因:褪色是累积性的,编辑无法逆转。
- 存放在凉爽、干燥、稳定的地方。理想约 18–21°C(65–70°F)、相对湿度 30–40%。避开阁楼、地下室和卫生间,那里冷热干湿反复变化。原因:高温潮湿会加速让纸张变脆、色彩偏移的化学反应。
- 拿照片前洗手并擦干。护手霜、食物油和汗水会留下指印,吸引灰尘,最终污损乳剂。拿照片时捏边缘。原因:皮肤油脂偏酸,时间久了会留下永久痕迹。
- 绝不用圆珠笔或普通笔在背面写字。用软石墨铅笔或专为照片设计的档案记号笔。原因:墨水会透过薄相纸,在正面显出来。
- 使用无酸、无木质素的相册与护套。普通纸板和廉价 PVC 护套会释放酸性物质,让照片发黄、粘连。认准「档案级」或「照片安全」标识。原因:照片所住的信封会和照片一起老化。
- 远离黏胶和磁性粘贴页。那些老式黏胶相册看似方便,但黏胶会干缩、变黄,把照片不可逆地粘在纸上。原因:粘连的照片强行揭开会撕裂。
- 不要用胶带、胶水或橡皮筋固定照片。胶带会留胶渍,橡皮筋会腐蚀生锈并留下污痕。改用聚酯护套和宽松的纸信封。原因:物理固定件会恰恰损坏你之后要扫描的边缘。
- 防虫防尘。存放相册的地方不要放食物,用软布轻轻擦护套,而不是用嘴吹灰(口气和湿气会跟着过去)。原因:虫会吃纸和乳剂,湿度升高时灰尘会嵌进去。
- 底片和胶片扫描件也要小心对待。底片是母版,竖放在底片袋里、远离热源。原因:没有好底片,重印老照片只能从一张褪色的相纸开始。
- 把整批照片数字化,文件存两处。高分辨率扫描一次,母版存一块移动硬盘,再存一份云服务。原因:数字文件是洪水、火灾或箱子丢失后唯一能活下来的备份。
这十个习惯几乎不花钱。它们合起来的效果,是让你的相纸和扫描件都保持可用——这样当你终于坐下来修复一张珍贵照片时,原始素材仍然好到值得去修。
三、光线、高温与潮湿:缓慢的杀手
关于环境,只需记住一点:损伤是指数级的。纸张和胶片在室温黑暗中缓慢老化,但温度每升高 5–6°C,老化速度大约翻倍。这就是为什么一箱被遗忘在闷热阁楼里的照片,往往比放在壁橱里的同龄人看起来糟得多。
湿度是同谋。相对湿度低于约 30%,纸张会干裂变脆;高于 50%,霉菌、虫害和酸性迁移就会猖獗。理想区间恰恰是人觉得舒服的范围。在存放壁橱里放一个便宜的湿度计,就能知道自己是否在这个区间。不要把照片放在暖气片、热水器或冬天会返潮的外墙附近。如果你住在潮湿地区,一个密封塑料箱加一包每年更换的干燥剂,远比敞开的架子安全。
光线尤其值得注意,因为它是那种你往往察觉不到、等到发现时已太迟的杀手。窗边墙上的照片每天都在接受低强度紫外线照射,褪色悄悄累积。挂墙展示的照片,请用滤紫外线玻璃;并接受展示件是消耗品——原件留在暗处,墙上挂一张它的高质量扫描件。这正是为什么先数字化如此重要。
四、相册、盒子与材料:哪些有益、哪些有害
容器所做的远不止装住照片。带黏胶塑料页的廉价「磁性」相册在 1970、80 年代很流行,如今正是成千上万张家庭照片受损的元凶:黏胶氧化,塑料变脆,照片与纸页熔合。如果你家里有这种相册,不要试图把照片揭下来——会撕破。而是把整页剪下来整体保存,或者原地扫描,把粘连的照片当作单独的修复课题。
好的保存很简单:档案级纸盒、无酸纸护套,以及给最珍贵照片用的聚酯(Mylar)护套。盒子竖放在架子上,不要放在地上,书脊处用年代和姓氏标注。这样既给照片留出不受压的空间,又便于翻阅。一叠照片之间夹一层无酸纸,可以防止互相摩擦、乳剂转移。
底片请放进打孔底片页,装在活页夹里。绝不要把底片和照片装在同一个信封里:一旦信封出问题,两份拷贝同时丢掉。分开存放是最基本的备份策略。
五、扫描一次,备份两处
物理保养保护原件,数字保养保护记忆。一只箱子可能在搬家时丢失,而一个数字文件可以同时存在于三个地方。我们的建议是:把扫描当作保存的第一步,而不是最后一步。用平板扫描仪以 300–600 DPI 扫描,存一份无损 TIFF 或 PNG 母版;具体设置可参考我们的扫描指南。不必费心把扫描件裁好或校好色——忠实的原始扫描才是母版,之后再在 PhotoRevive 里修复。
适用 3-2-1 原则:数字档案保留 三份拷贝、放在 两种不同介质上、其中 一份异地存放(云服务或亲戚家)。放在电脑旁边的移动硬盘不算备份——它和电脑共享同一场火灾、洪水和失窃风险。归档后,你可以用 图片压缩 工具制作小体积、可分享的 JPEG 发到家庭群,同时保持大体积母版不动。
最后,给文件命名。一个叫「扫描 001」的文件夹,多年后对你的孩子毫无意义。文件夹按年代和事件命名,单张文件按年份和人物命名,例如 1965-family-picnic-master.png。好的命名,才能让一堆扫描件变成一部家庭档案。
六、照片保养常见问题
照片应该放进冰箱或冷冻吗?对大多数家庭来说,凉爽的壁橱就够了。冷冻是针对不可替代原件的专业技术,需要密封容器和小心解冻以防结露,除非照片已经在 actively 恶化,否则属于过度操作。
我的照片已经发黄粘连了,保养还有用吗?有。先把它们移到干燥稳定的环境止损,再尽量数字化能扫的部分。发黄和褪色可以用我们的褪色照片修复指南和 褪色照片修复器改善,但粘连的实物相纸应当整页剪下,而不是硬揭。
把最好的照片展示出来可以吗?可以,但展示的是扫描件。用修复后的数字母版做一张高质量打印挂墙,原件收入档案。这样墙上享受生活,档案负责安全。
存放的照片多久检查一次?一年一到两次即可。留意霉菌、黏胶渗出或护套发黄的迹象,把照片从任何正在失效的相册中移出。定期、轻量的关注能在问题扩散前发现它们。