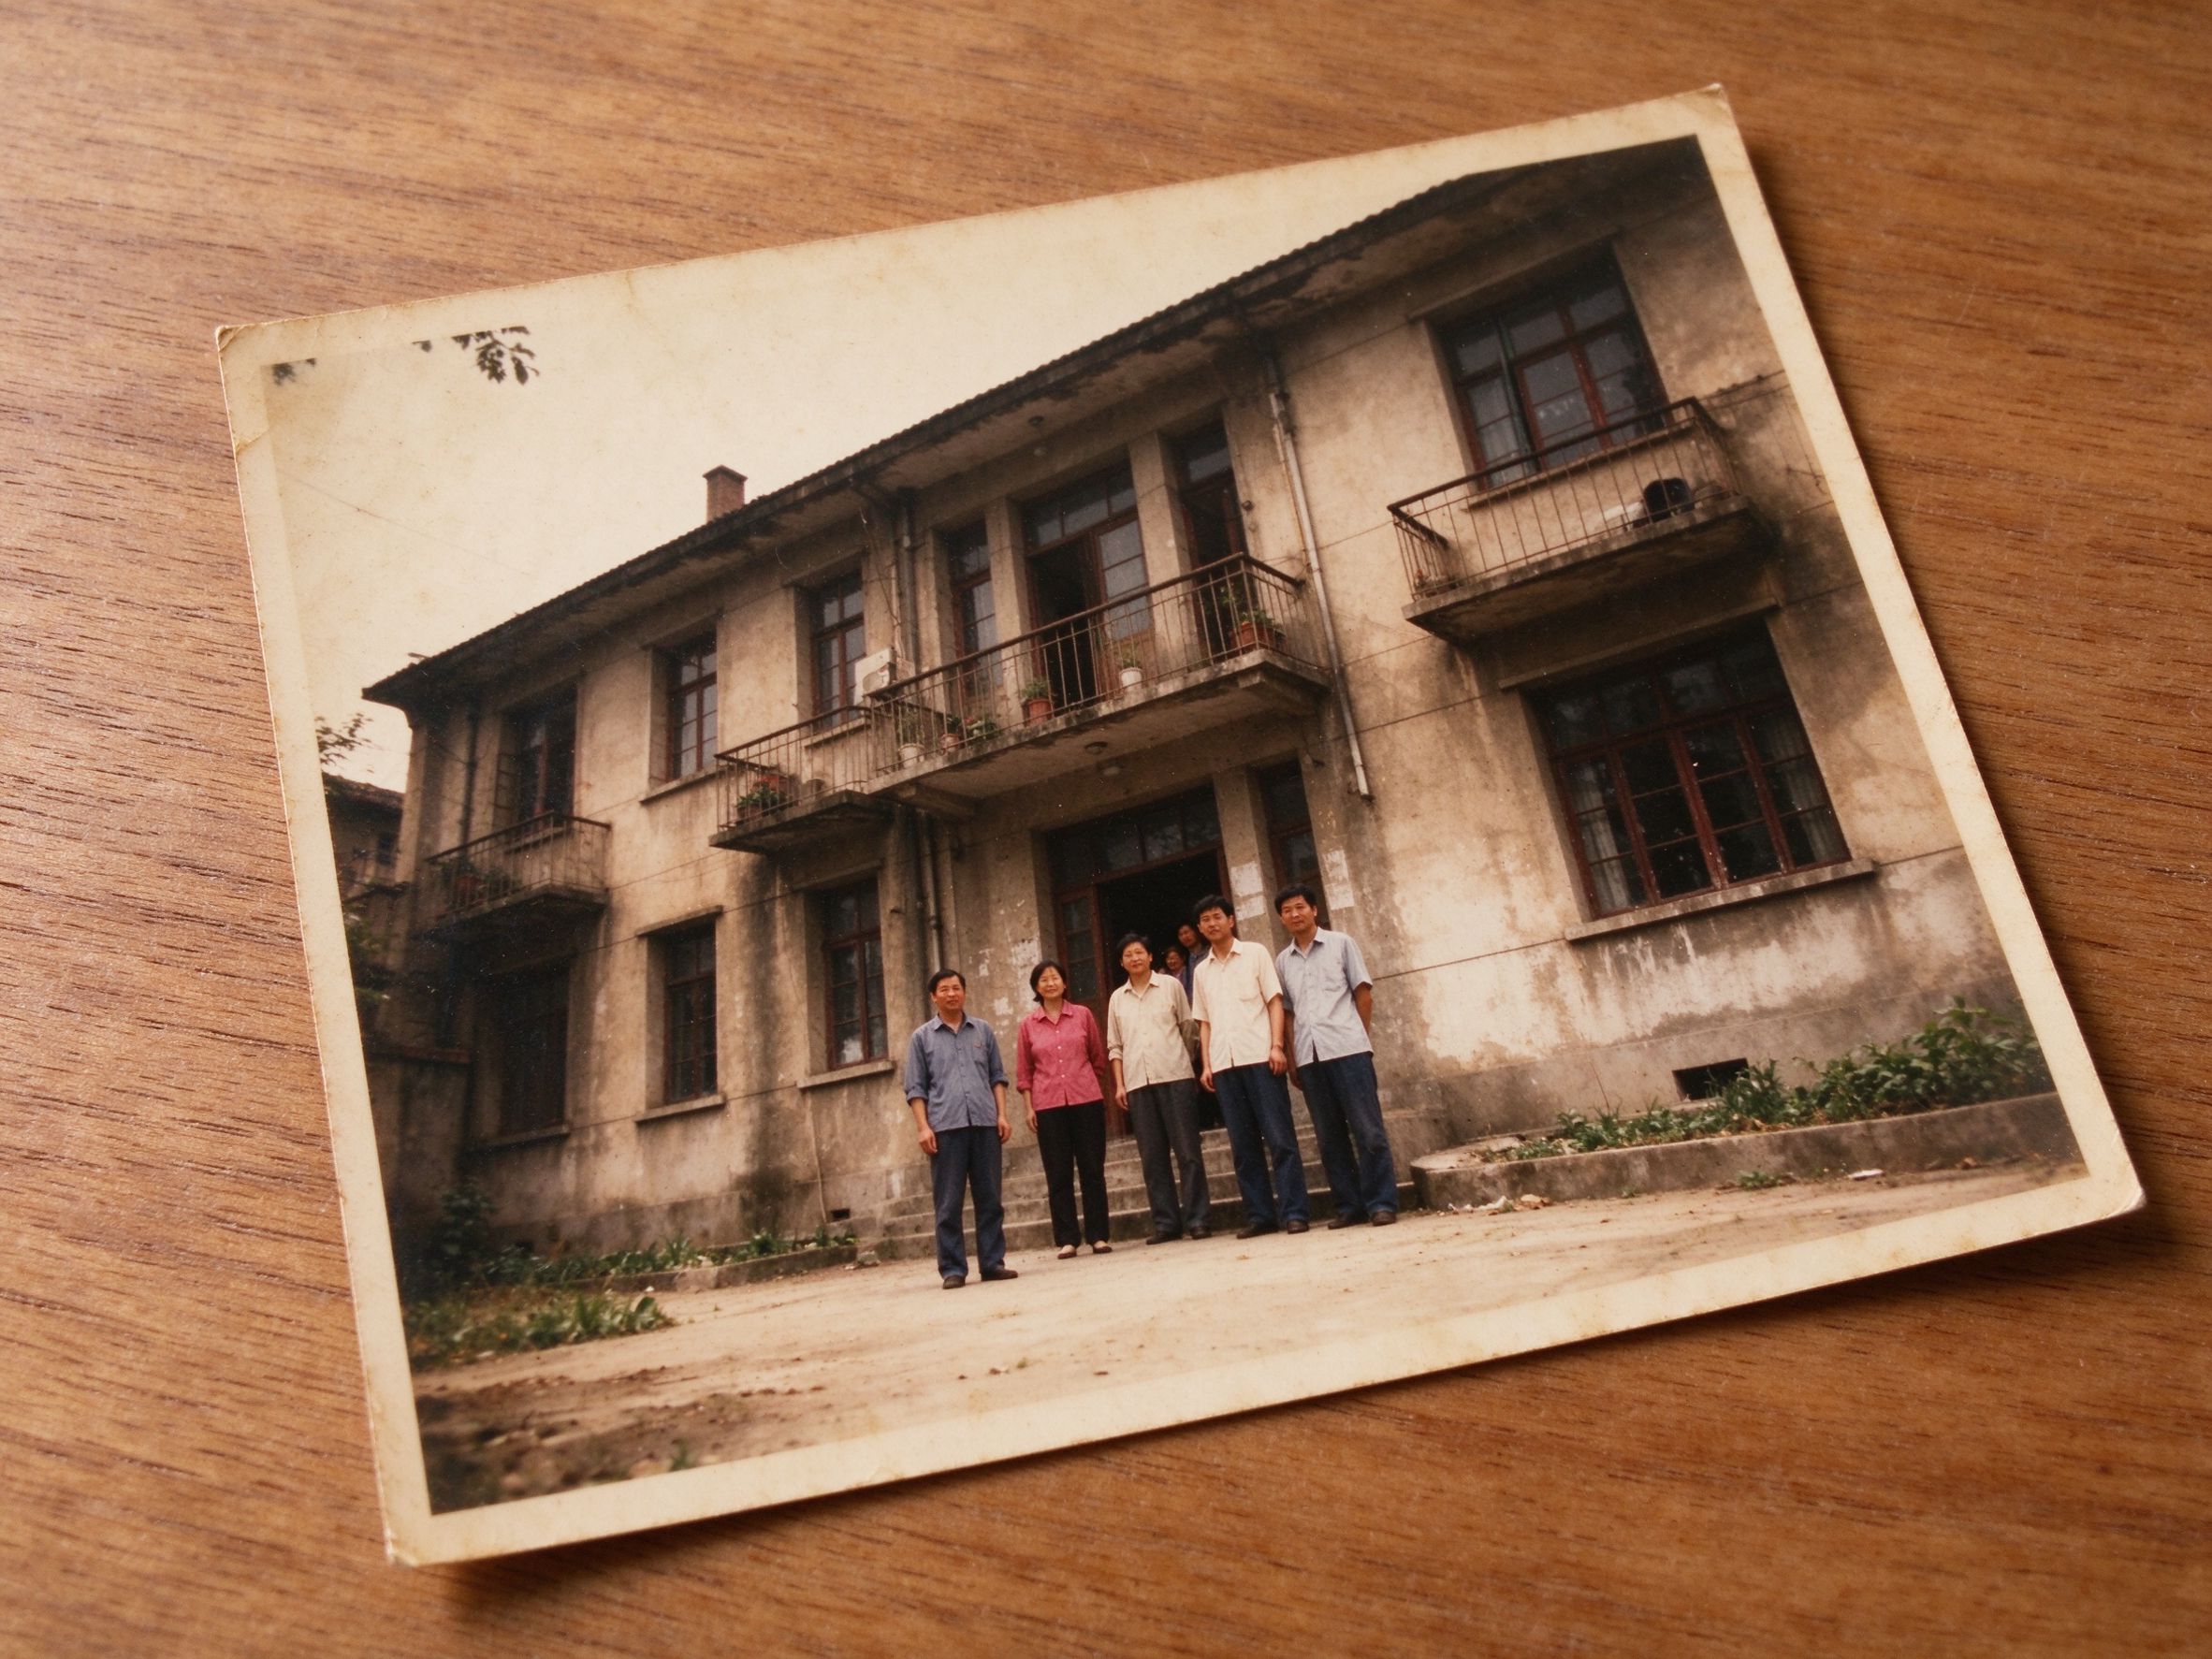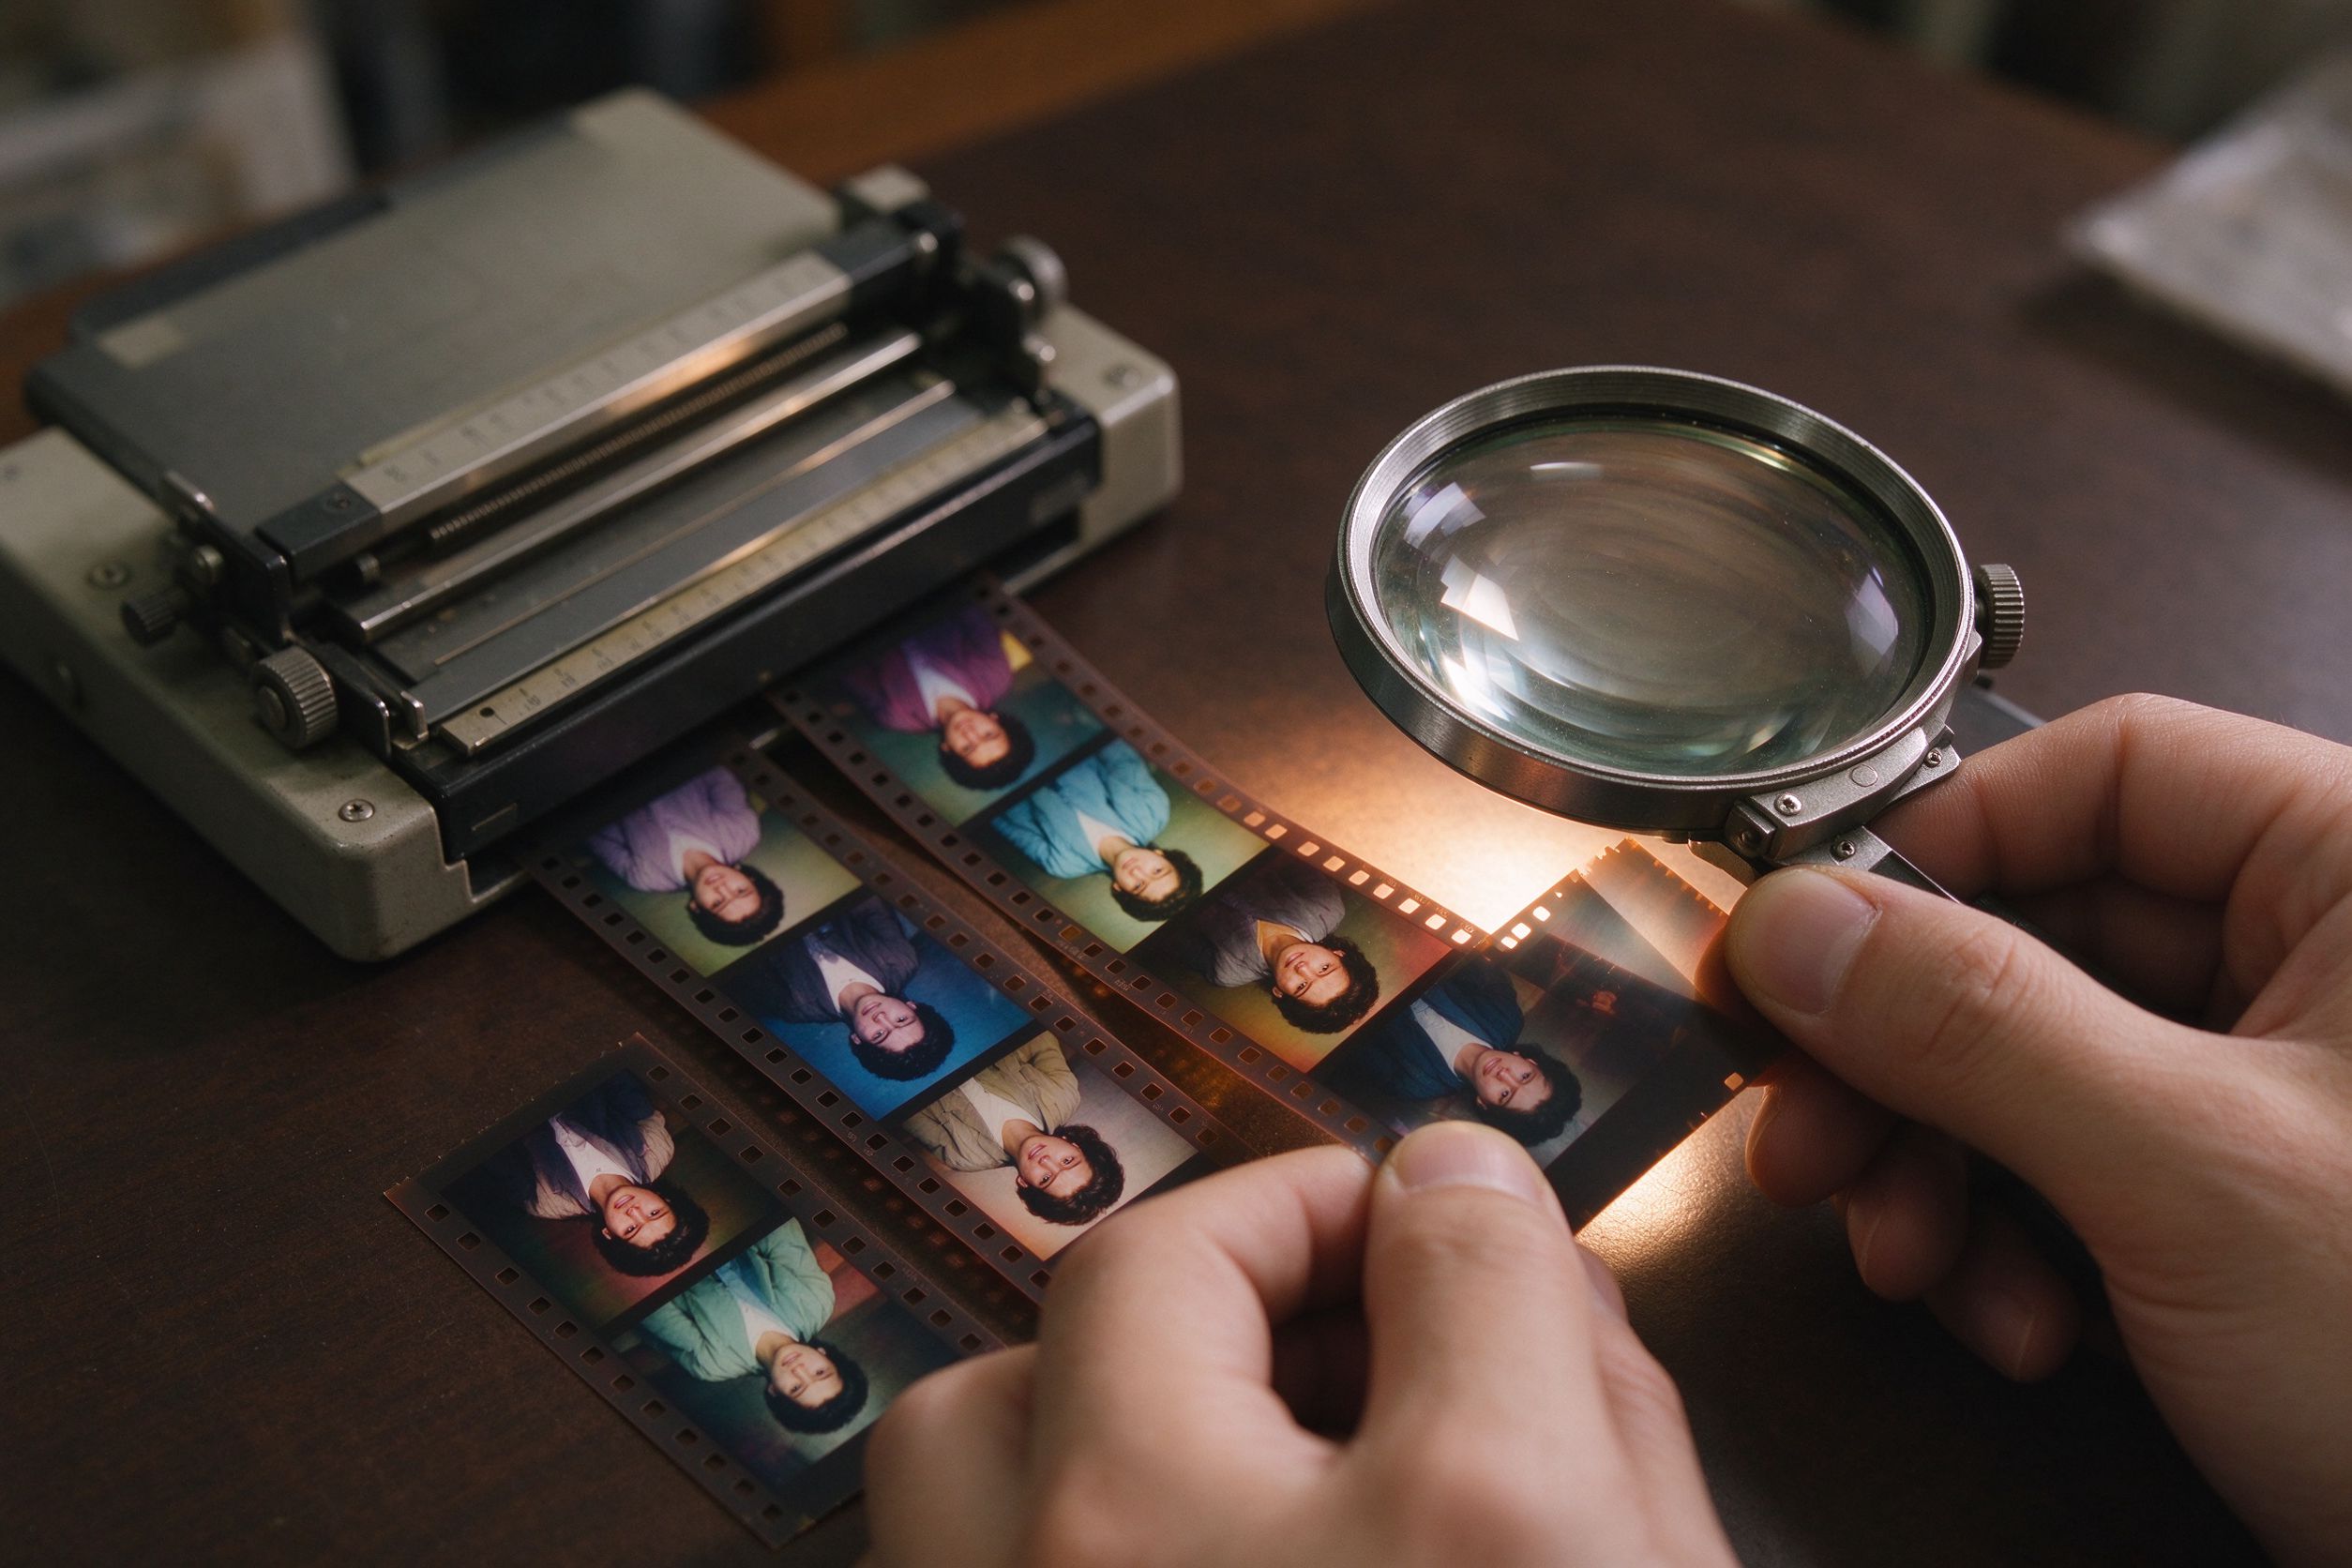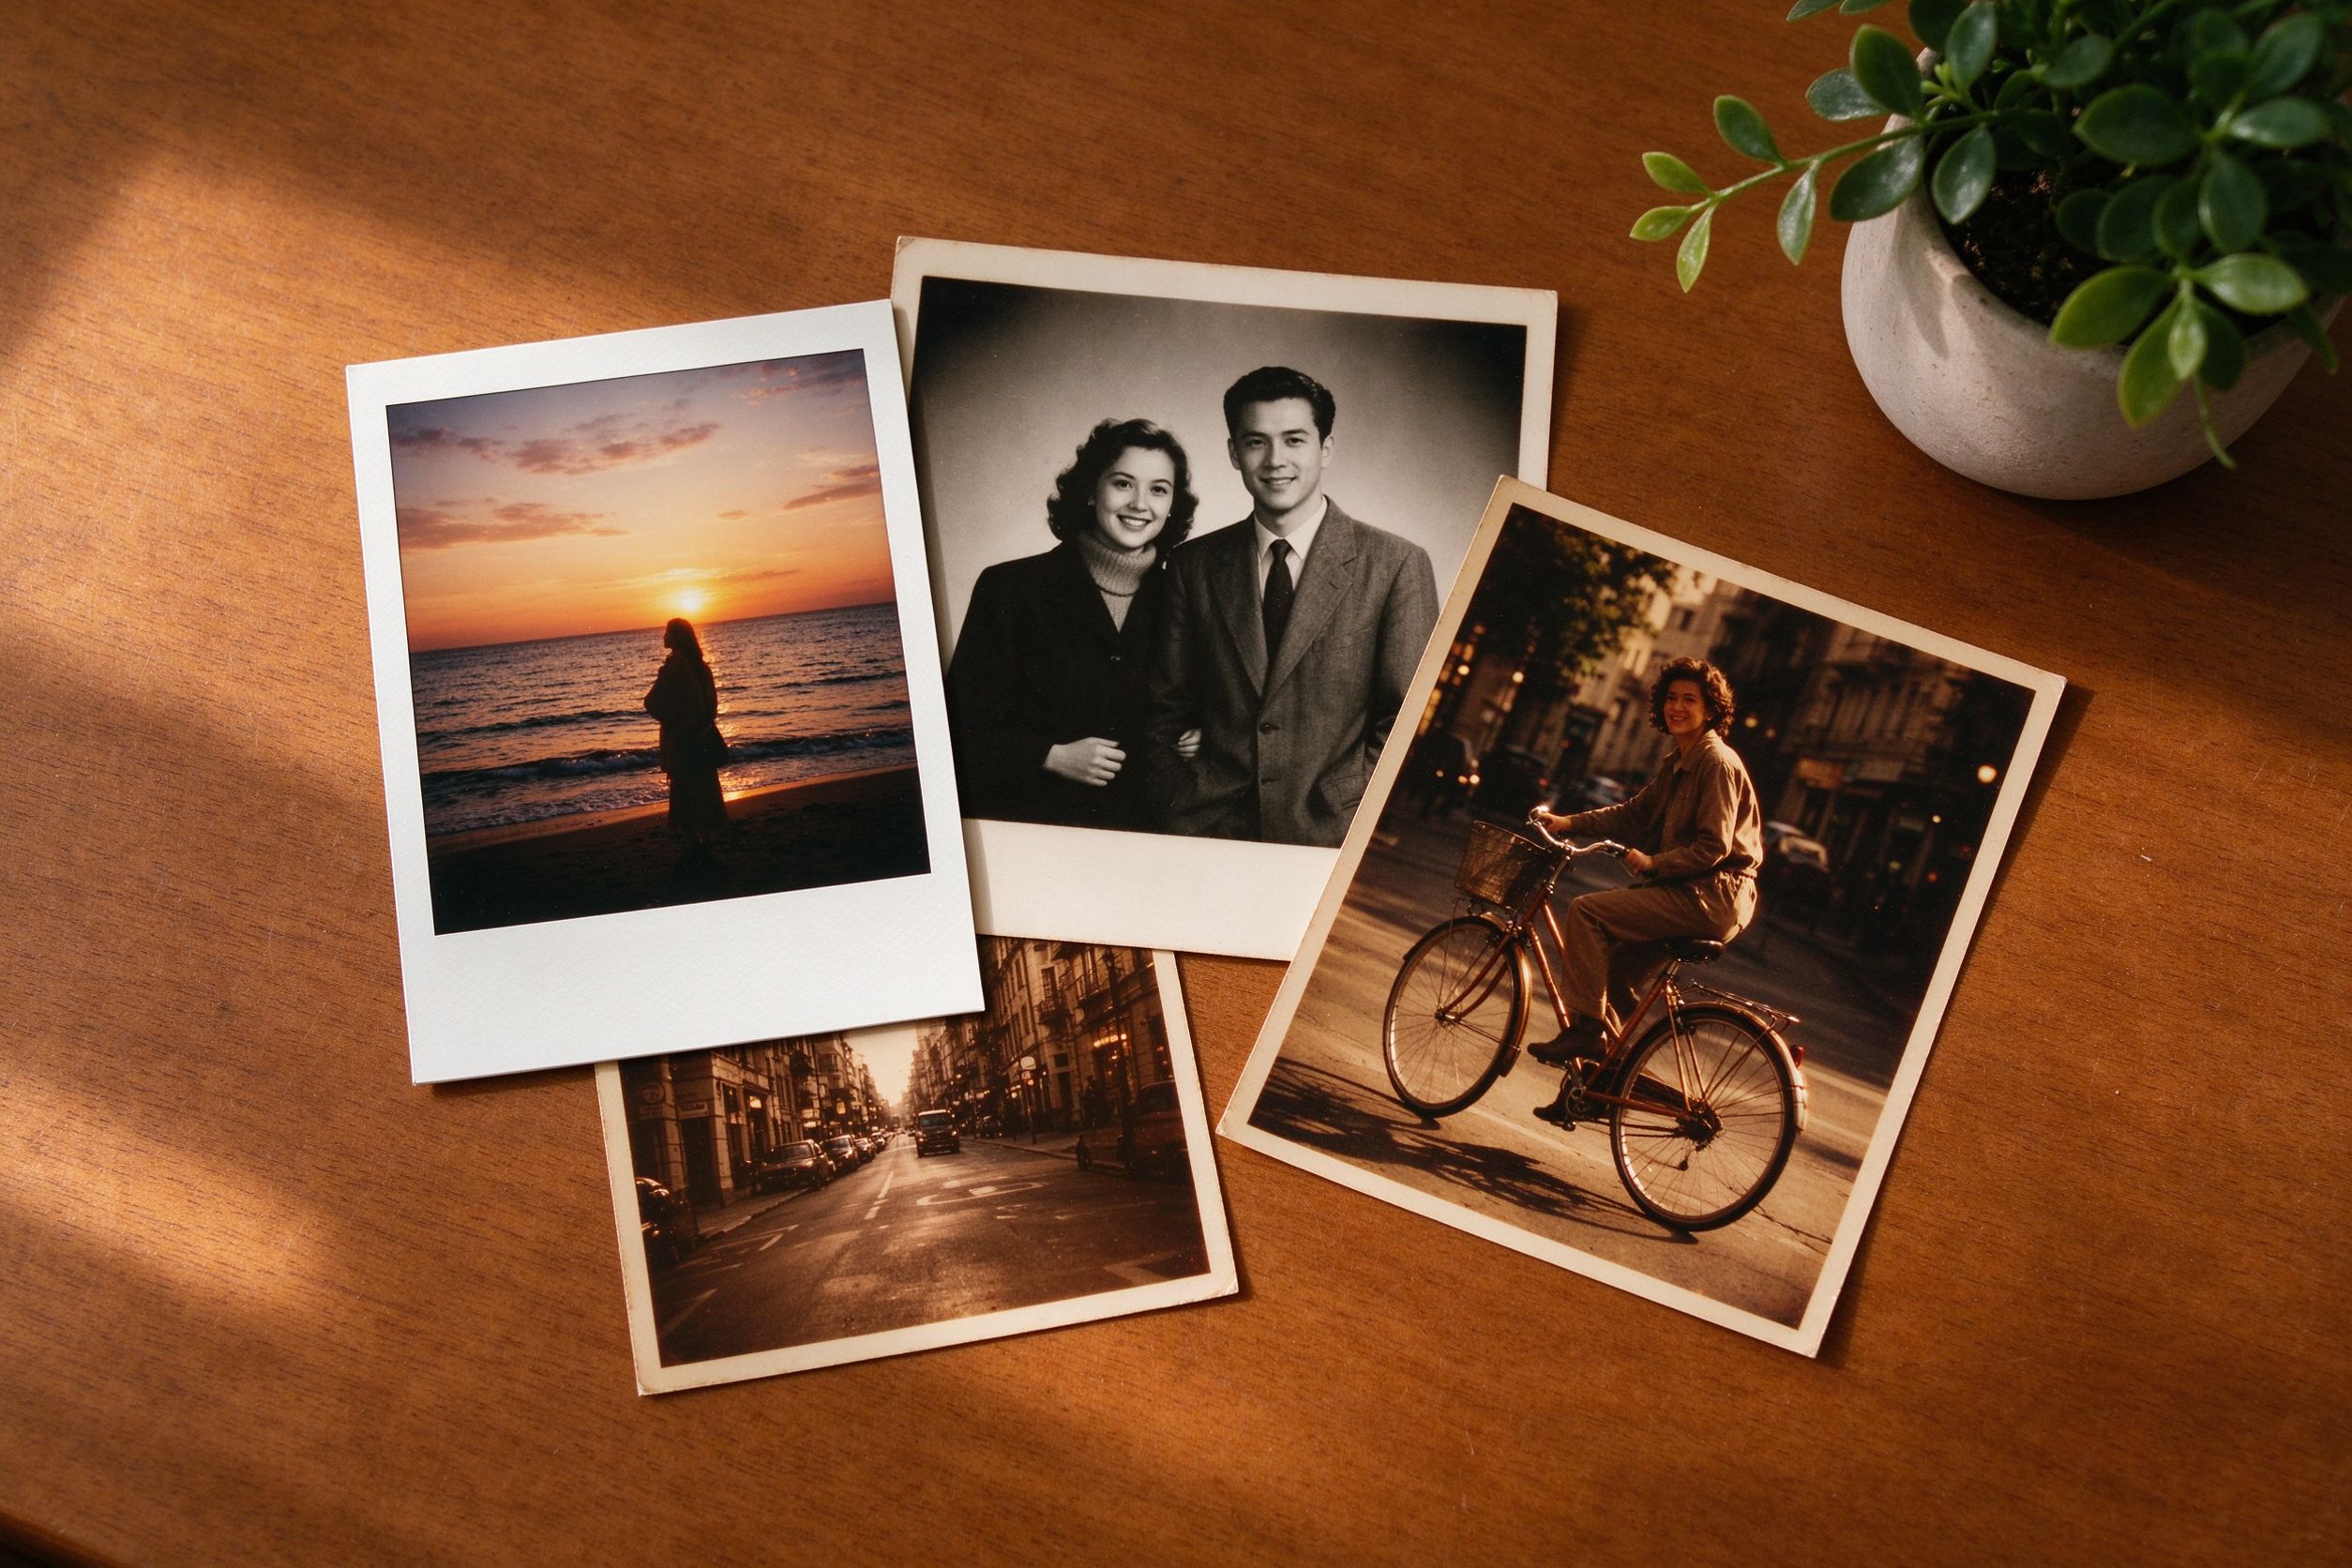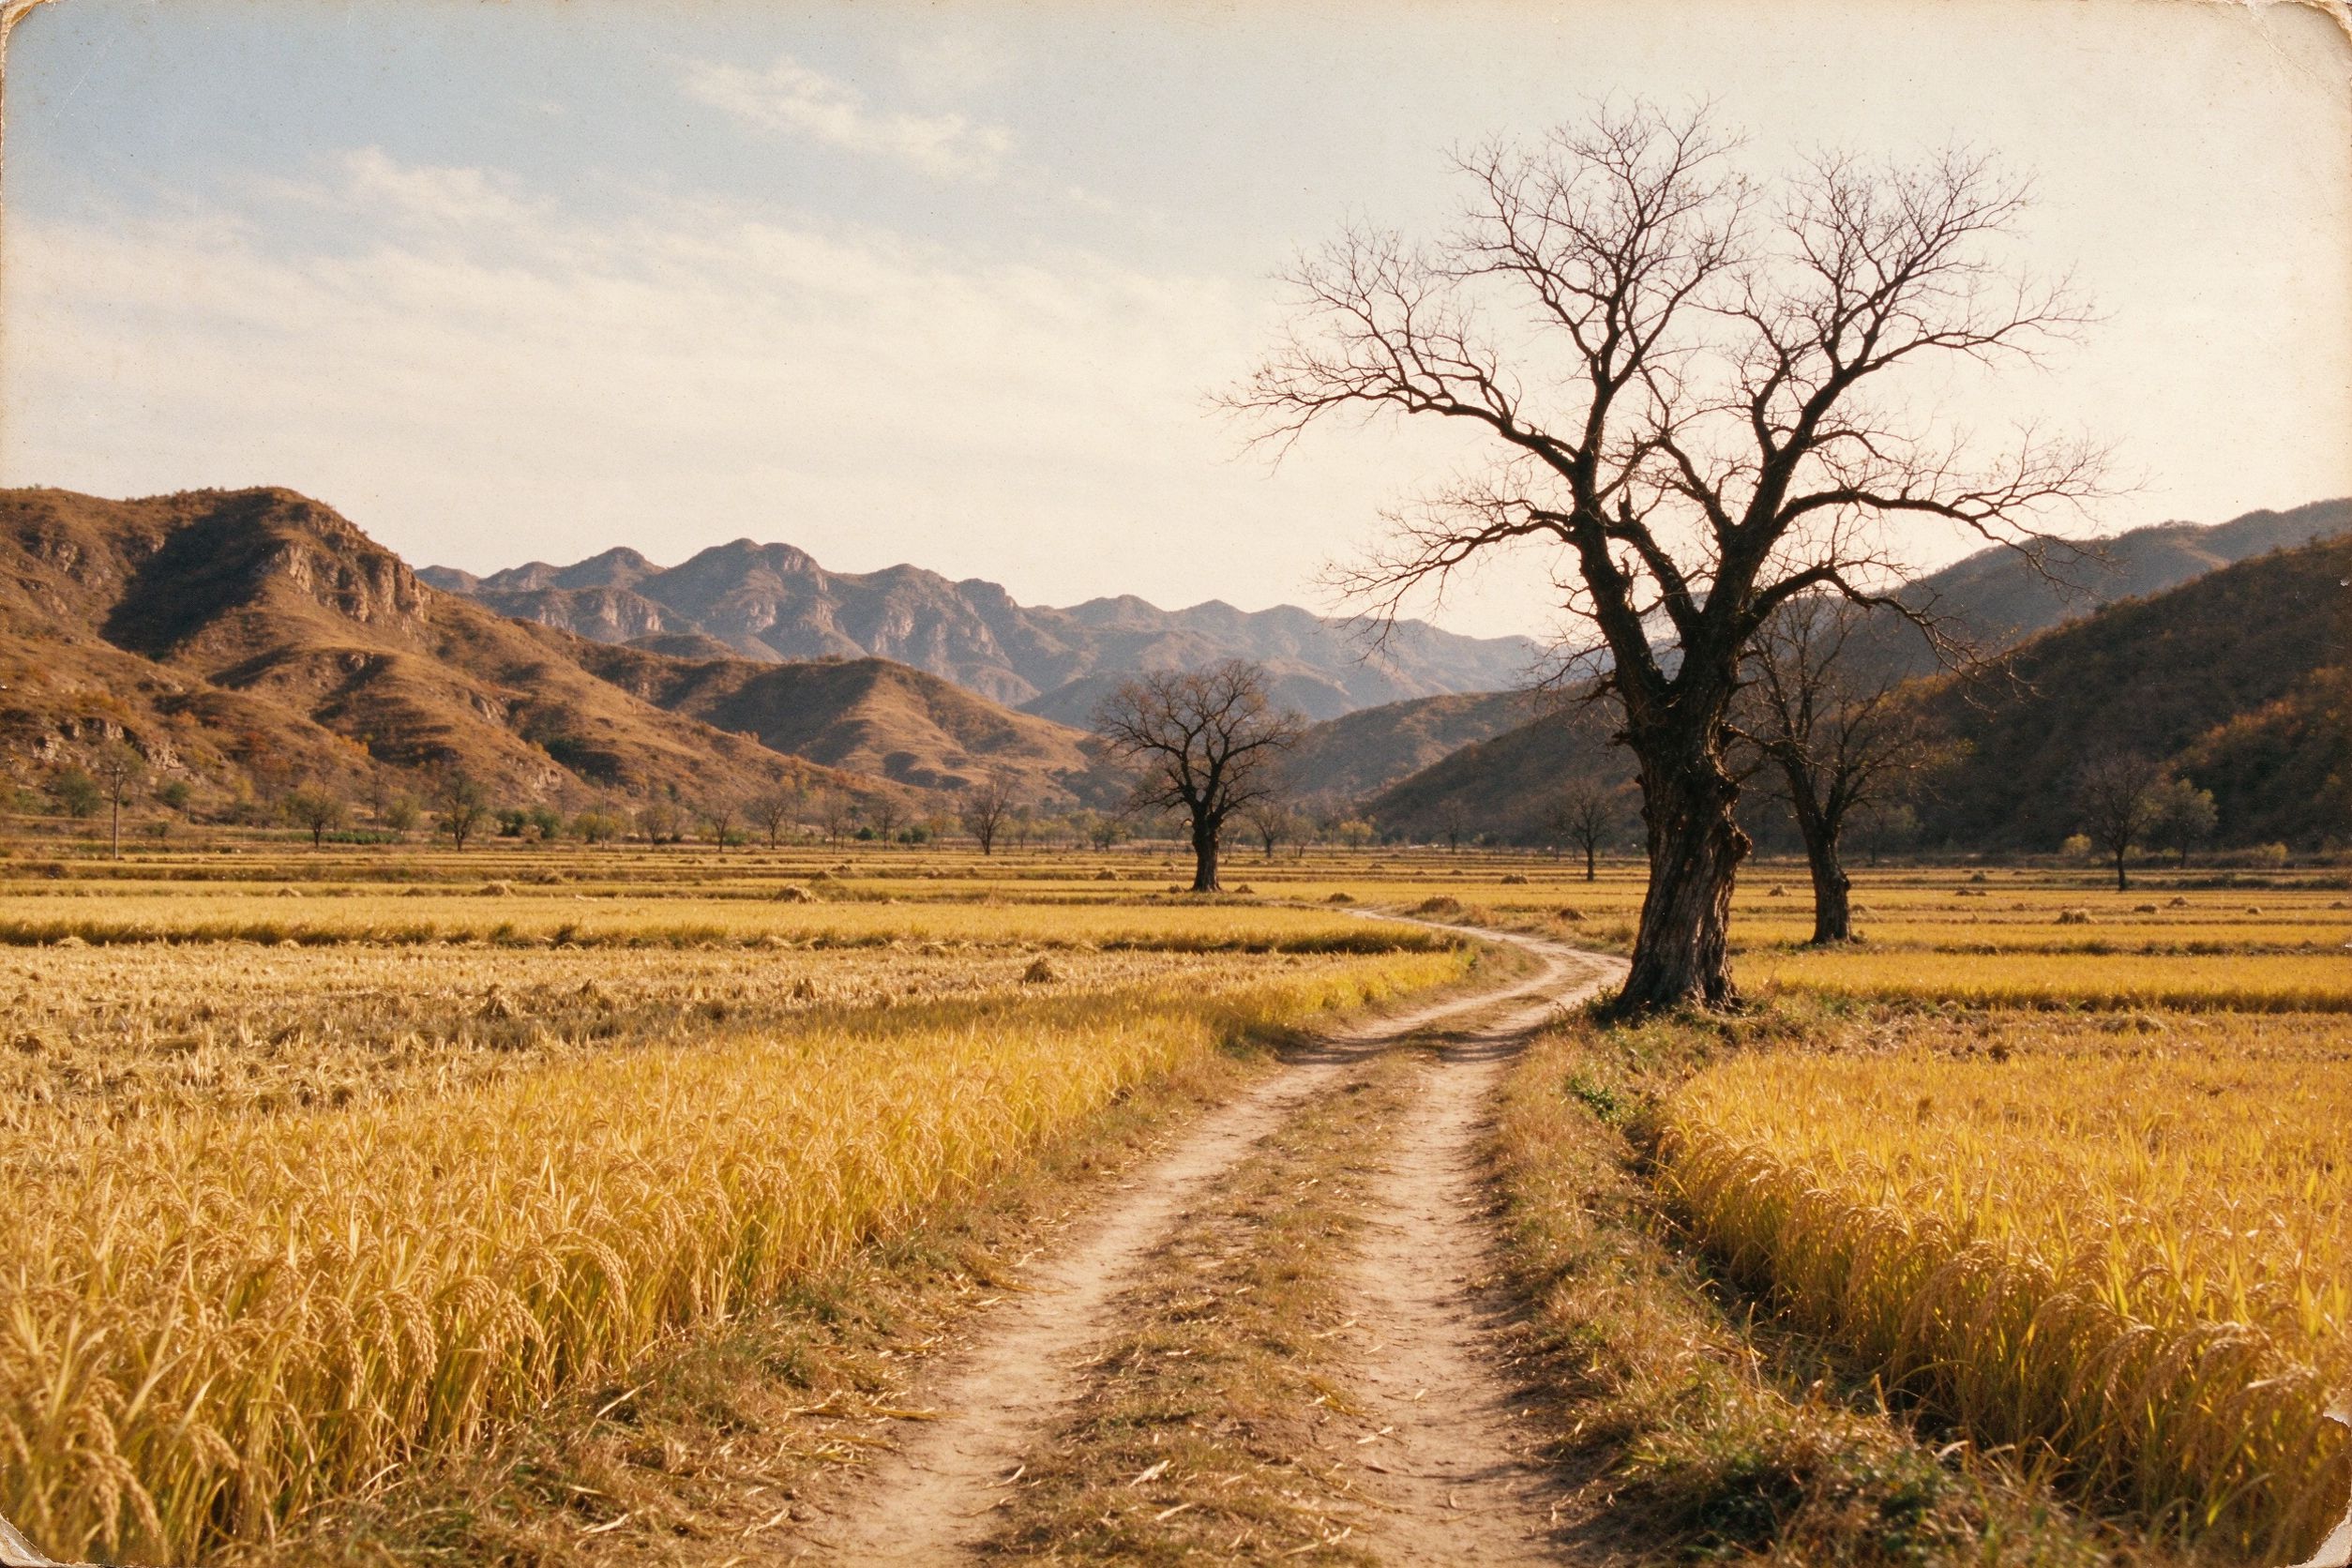
An old landscape — a valley your family once lived above, a beach resort from a 1970s holiday, a city skyline before the towers went up — captures a place that no longer exists in that form. But scenery ages in ways portraits do not. The sky washes to white, the green foliage fades to a sickly yellow, distant mountains turn into a vague gray smudge, and the whole image loses the sense of depth that made the scene feel like somewhere you could step into.
Restoring a landscape is therefore less about touching faces and more about recovering tonal structure: separating sky from land, pulling detail back into shadows and highlights, and correcting the geometry of a horizon that was photographed at a slight tilt. This guide walks through that process with free, browser-based tools that keep your scans private on your own device.
How scenery photos age differently
Portraits usually degrade in concentrated ways — a scratch on a face, a faded skin tone. Landscapes degrade across broad areas, and the damage follows the colors that fade fastest. On old color film and prints, the blue layer — which carries the sky — is often the first to fail, which is why vintage landscapes so often have a white or gray sky where there should have been blue. Green foliage fades toward yellow because the green dye also weakens. Meanwhile the far distance, which depended on subtle atmospheric contrast, collapses into flat gray.
The implication is practical: a good landscape restoration targets three zones separately — the sky, the near foliage and ground, and the distant middle ground — rather than applying one global adjustment to the whole frame. A single contrast slider will not fix a washed sky and a muddy foreground at the same time.
Scan for dynamic range
Landscapes contain the widest range of brightness in any family photo, from bright sky to dark forest, so the scan matters even more than usual.
- Scan at 600 DPI. Landscapes often contain distant detail — a farmhouse, a tree line — that you will want to crop into later. Extra resolution pays off.
- Avoid auto-exposure tricks that clip the sky. Some scanners brighten shadows and blow out clouds. Choose a flat, neutral scan; you can lift shadows and recover sky in the tools afterward far more safely than a scanner's automatic mode can.
- Include the whole frame. Do not crop the edges during scanning. A slightly crooked horizon or a tilted building can be corrected later, but only if the whole print is on the scan.
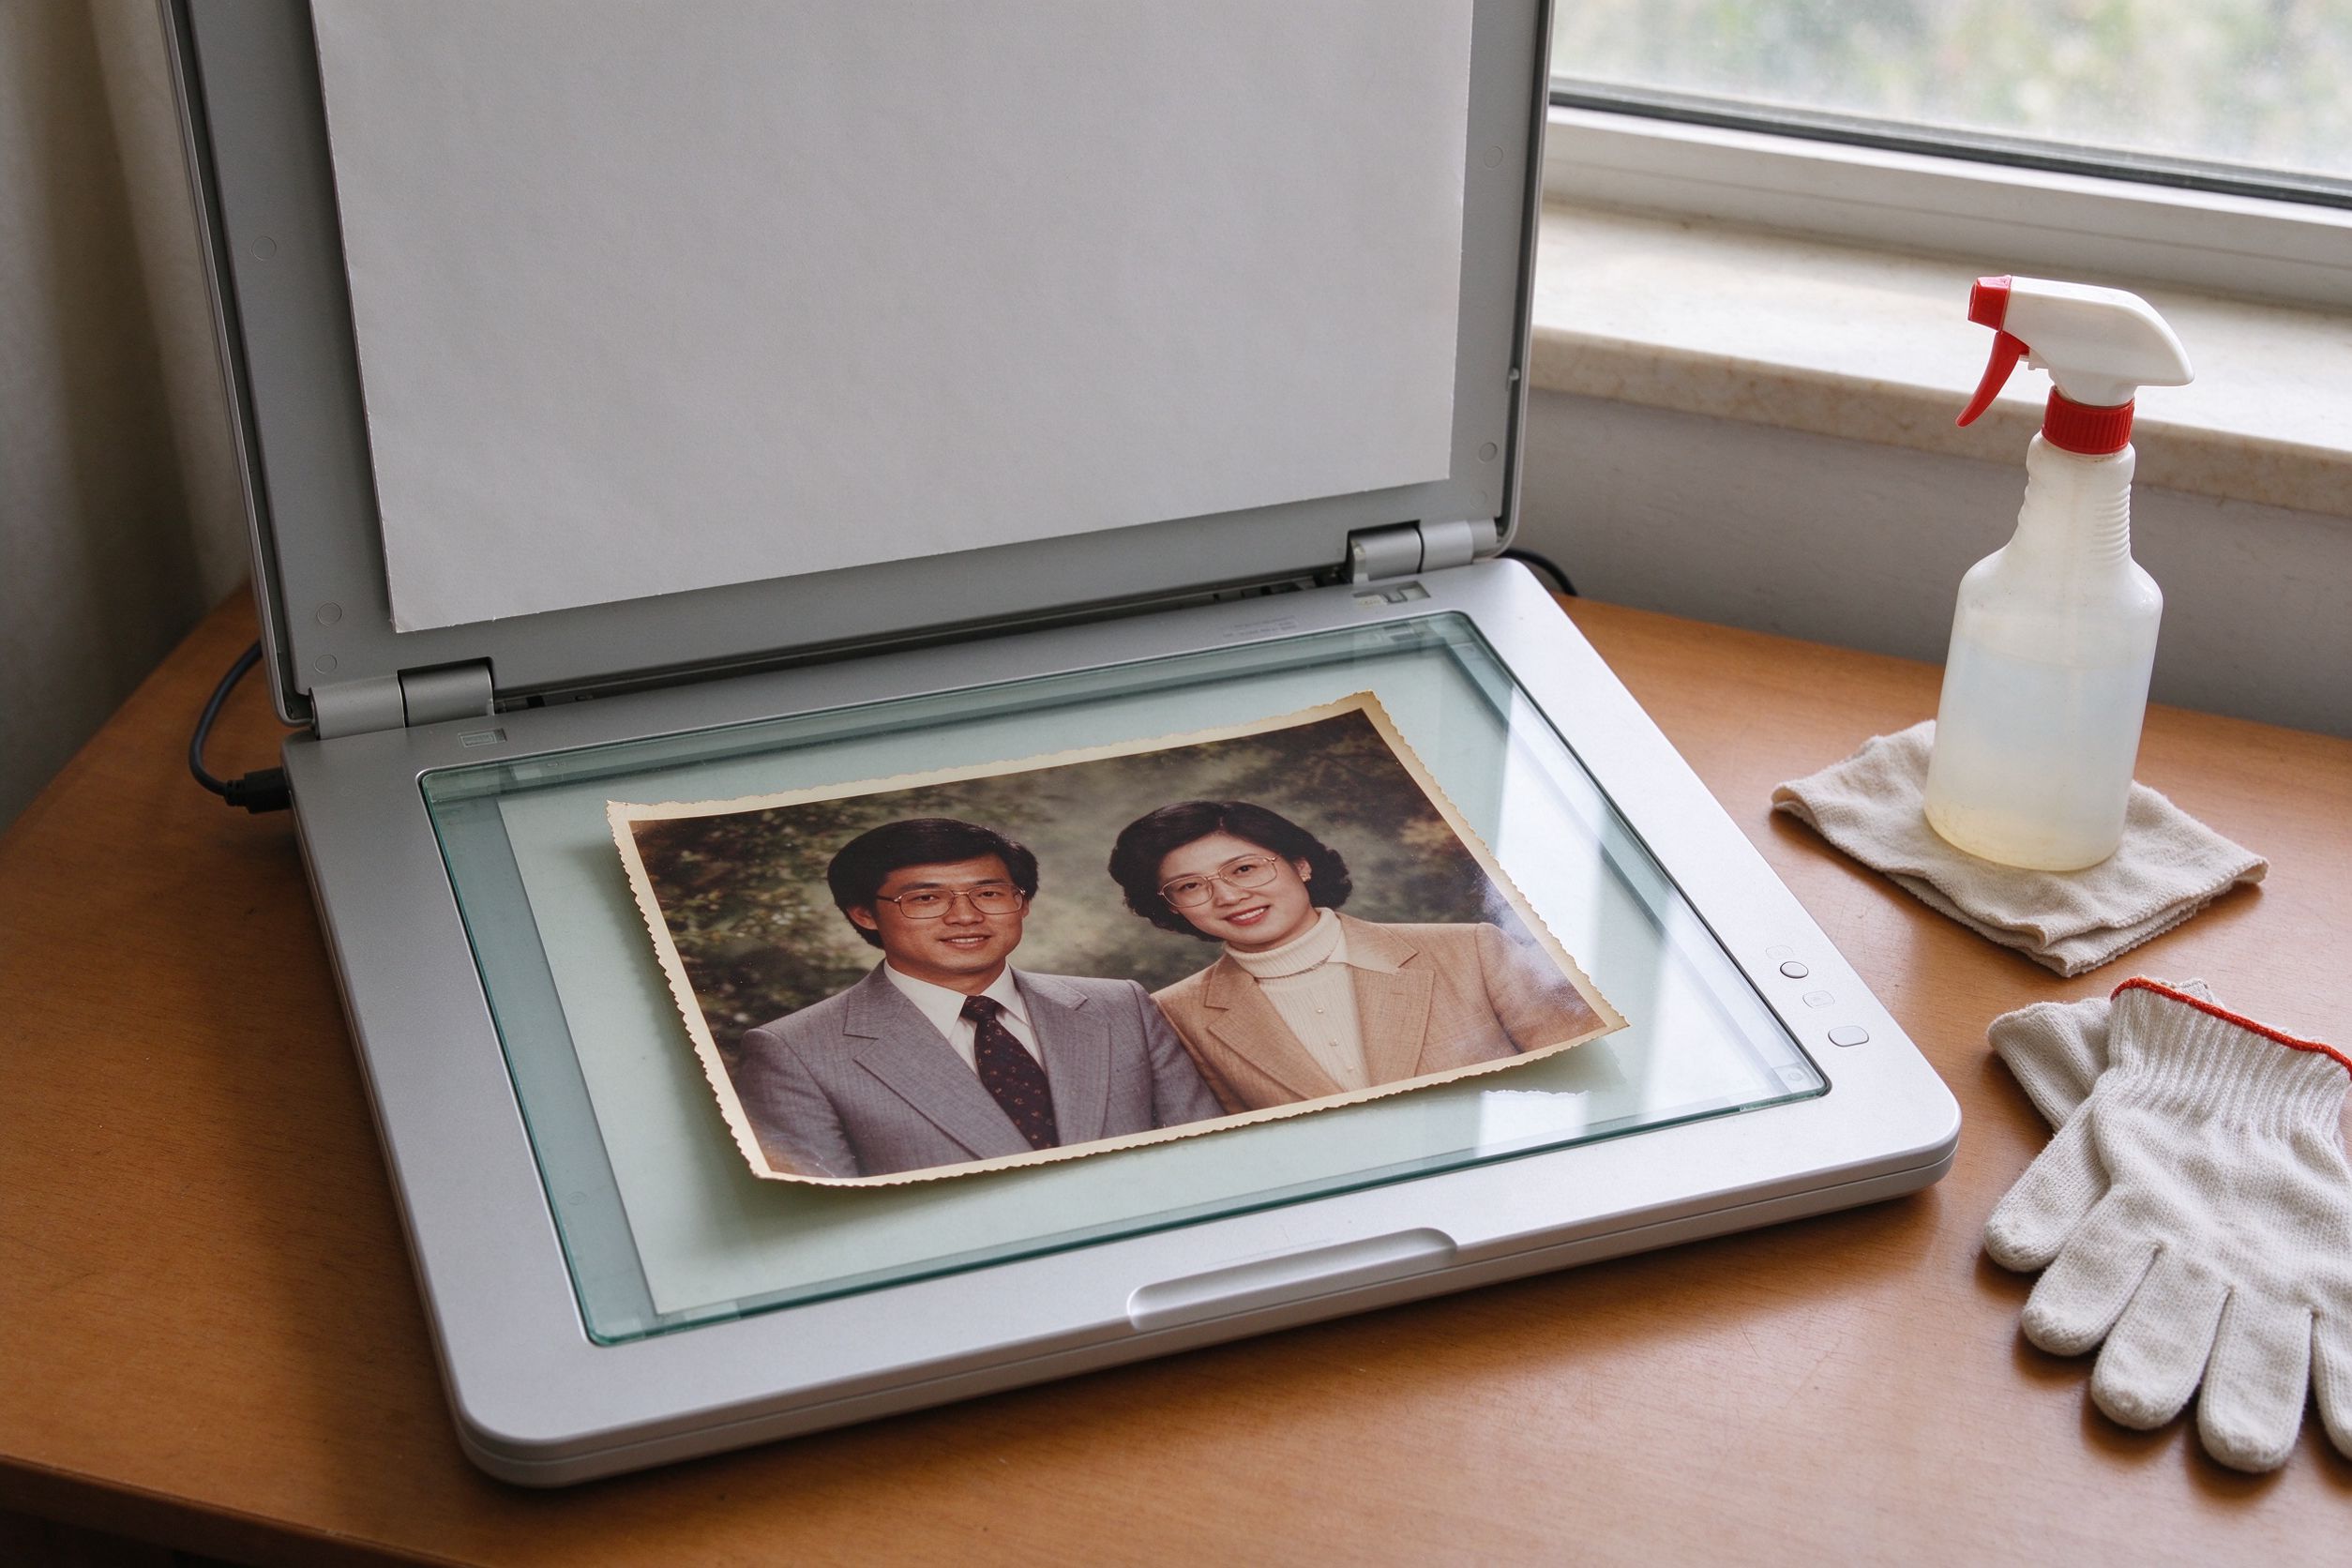
- Clean dust carefully. On a sky, a single dust scratch becomes a white line across otherwise empty space — extremely obvious. Dust the print and scanner bed first.
Revive sky and foliage
Open the scan in the AI Photo Restorer for a first pass, then refine by zone. The sky and the greenery usually need opposite color-temperature moves.
- Cool the sky back. A faded, warm-tinged sky can be pushed gently cooler to bring back blue. If the whole print is yellowed, a light white-balance correction helps both sky and foliage at once.
- Bring foliage toward green, not cartoon green. Faded leaves look yellowish; restoring them means nudging the color back toward natural green, then easing saturation just enough. The trap is over-saturating trees into a neon postcard — old film greens were soft, and the result should match that.
- Watch skin if people are in the scene. Warmth and temperature moves affect faces too. If you cool the sky, check that skin did not turn blue.
For heavily yellowed prints, start with the faded photo restoration guide to neutralize the global cast before you zone into sky and foliage.
Straighten horizons and fix perspective
Because old landscapes were often handheld or shot from uneven ground, a tilted horizon is common and instantly makes the scene feel wrong. A level horizon is the single most noticeable fix you can make.
- Rotate by eye. Line the horizon, a roofline, or a row of trees up with the frame's horizontal edge. Even one or two degrees of correction is usually enough.
- Correct converging buildings. If old architecture leans inward (shot from below), the Perspective Corrector lets you pull the corners back so buildings stand straight. Accept that a little of the edge will be cropped in — that is normal.
- Then crop cleanly. After straightening, trim the tiny triangular gaps that appear in the corners. A level, tidily framed landscape looks deliberate and calm.
Rebuild contrast and depth
Depth is what separates a restored landscape from a flat postcard. You create it with contrast that works across the whole tonal range:
- Rebuild a real black and a real white. Old landscapes often live entirely in middle gray. Gently expanding contrast so the near shadows go deep and the brightest clouds stay clean instantly creates separation.
- Keep the distant air hazy on purpose. In nature, far objects are lighter and less contrasty. Do not crush the mountains to the same darkness as the forest — a little atmospheric haze in the distance actually enhances depth.
- Sharpen structures, not sky. A touch of sharpening on tree edges, rooftops and waterlines adds crispness, but avoid sharpening the sky, where it produces ugly banding.
If your landscape came from a film slide or negative scan rather than a print, you also have to deal with dust on the emulsion and color shifts that film introduces — that is the subject of our companion film scan restoration guide.
Common mistakes and FAQ
My sky is pure white and blank. Can you bring back clouds? Honestly, no — if the cloud detail burned away in the original exposure, there is nothing left to recover. Tools enhance what is in the scan; they cannot invent clouds that were never recorded. The best you can do is tone the empty sky softly so it does not look like a blown-out hole.
The whole landscape looks yellow. What order? Neutralize the global yellow cast first, then cool the sky and green the foliage, then contrast. Fixing foliage before the global cast is removed fights you.
Should I make the greens as vivid as a modern photo? No. The charm of an old landscape is its soft, muted palette. Aim for a believable vintage version of the place, not a saturated 2020s filter.
Can I remove the power lines or a road that was built later? Local tools can reduce small distracting spots, but erasing a whole modern element convincingly is beyond simple browser processing. It is usually more honest to frame the scene so later intrusions are cropped out.
An old landscape is a record of a place as it was. Restore its sky, level its horizon, and bring back its depth — and you hand the next generation a window into somewhere they can never visit, now finally visible again.
一张老风景照——你家曾俯瞰过的山谷、1970 年代度假的海滩度假村、高楼尚未拔起时的城市天际线——记录的是一个已经不再是那个样子的地方。但风景老化的方式和人像不同:天空褪成白色,绿色的枝叶褪成病态的黄,远山变成一团模糊的灰雾,整幅画面失去了那种让你仿佛能迈步走进去的纵深感。
因此修复风景,重点不在碰脸,而在恢复影调结构:把天与地分开、把亮部暗部的细节拉回来、并修正那张因轻微歪斜而拍出来的地平线。本指南用免费、浏览器内运行的工具带你走完这个过程,你的扫描件始终私密地留在自己设备上。
一、风景照为什么老化方式不同
人像的损伤通常集中——脸上一道划痕、肤色褪色。风景的损伤铺满大片区域,而且跟着褪色最快的颜色走。在老彩色胶片和相纸上,承载天空的蓝色层往往最先失效,这就是为什么老风景里本该是蓝的天空常变成白或灰。绿色枝叶则因为绿色染料减弱而褪向黄。同时,依赖细微大气对比的远景,坍缩成了平灰。
这有个很实际的含义:好的风景修复是分区处理的——天空、近处的枝叶与地面、远处的中景——而不是对整张图拉一根全局调节杆。一根对比滑杆没法同时解决发灰的天空和发闷的前景。
二、为动态范围而扫描
风景是家庭照片里亮度范围最宽的,从亮天空到暗森林,所以扫描比平时更关键。
- 用 600 DPI 扫描。风景常有远处细节——一座农舍、一条林线——你以后可能想裁剪放大。多出来的分辨率很值。
- 别用会裁掉天空的自动曝光。有些扫描仪会提亮暗部、把云朵洗爆。选一张平、中性的扫描;之后在工具里提暗部、救天空,比扫描仪自动模式安全得多。
- 整幅都扫进去。扫描时别裁边。歪斜的地平线或倾斜的建筑之后都能修,但前提是整张相纸都在扫描件里。
- 仔细除尘。在天空上,一道灰尘划痕会变成横跨空白区域的白线——极其明显。先给照片和扫描台除尘。
三、让天空与枝叶重获生机
在 AI Photo Restorer 中打开扫描件先过一遍,再分区精修。天空和绿植通常需要相反方向的色温调整。
- 把天空推回冷调。褪色、偏暖的天空可以轻轻推冷,唤回蓝色。如果整张照片发黄,一次轻度白平衡能同时帮到天空和枝叶。
- 把枝叶拉回绿色,别成卡通绿。褪色的叶子偏黄;修复就是把颜色轻轻推回自然绿,再把饱和度提到刚好。陷阱是把树过度饱和成霓虹明信片——老胶片的绿是柔的,结果也该匹配那种柔。
- 留意画面里的人。冷暖调整也会影响脸。如果你把天空推冷,检查肤色有没有变蓝。
对于严重发黄的照片,先按褪色照片修复指南中和全局色偏,再分区处理天空与枝叶。
四、扶正地平线、修正透视
老风景常是手持或在不平的地上拍的,地平线歪斜很常见,而且一眼就让人觉得不对劲。扶正地平线,是你能做的最明显的一项修复。
- 凭眼睛旋转。把地平线、屋檐线或一排树对齐画面的水平边。通常一两度的校正就够。
- 修正向内收拢的建筑。如果老建筑向内倾斜(从下往上拍),用透视校正把角点拉回,让建筑站直。边缘被裁掉一点是正常的。
- 然后干净地裁剪。扶正后,裁掉四角出现的细小三角空缺。一条水平、框得整齐的风景,看起来是从容而讲究的。
五、重建对比与纵深感
纵深感,是修好的风景和平明信片之间的区别。你用横跨整个影调范围的对比来制造它:
- 重建真正的黑与真正的白。老风景常全挤在中间灰里。轻轻扩展对比,让近处阴影变深、最亮的云朵保持干净,立刻产生分离感。
- 有意保留远处的空气雾。在自然界里,远物更亮、对比更弱。别把远山压得和森林一样黑——远处那一点大气雾,其实增强了纵深感。
- 锐化结构,别锐化天空。给树缘、屋顶、水线一点锐化能增加 crispness,但避开天空——那里锐化会产生难看的色带。
如果你的风景来自胶片幻灯片或底片扫描,而不是相纸扫描,你还要处理乳剂上的灰尘和胶片带来的色偏——这正是姊妹篇胶片扫描修复指南的主题。
六、常见错误与问答
我的天空纯白一片,能找回云吗?老实说不能——如果云的细节在原曝光里已经烧没了,就没有东西可恢复。工具增强扫描件里真实存在的内容,无法虚构从未记录过的云。你能做的只是把空天空调柔,让它不像一个过曝的洞。
整幅风景发黄,按什么顺序?先中和全局黄偏,再给天空推冷、给枝叶加绿,最后做对比。没去掉全局色偏就去调枝叶,会一直跟你较劲。
我该把绿做得像现代照片那样鲜艳吗?不。老风景的魅力在于柔和、低饱和的色调。目标是这个地方可信的复古版本,而不是 2020 年代的饱和滤镜。
能去掉后来建的电线或马路吗?本地工具可以减轻小而分散的杂点,但令人信服地抹掉一整根现代元素,超出了简单浏览器处理的能力。更诚实的做法通常是重新构图,把后来侵入的东西裁出去。
一张老风景,是某个地方当年的记录。修好它的天空、扶正它的地平线、唤回它的纵深——你就替下一代留下了一扇窗,通往一个他们永远无法再到访、却终于重新可见的地方。