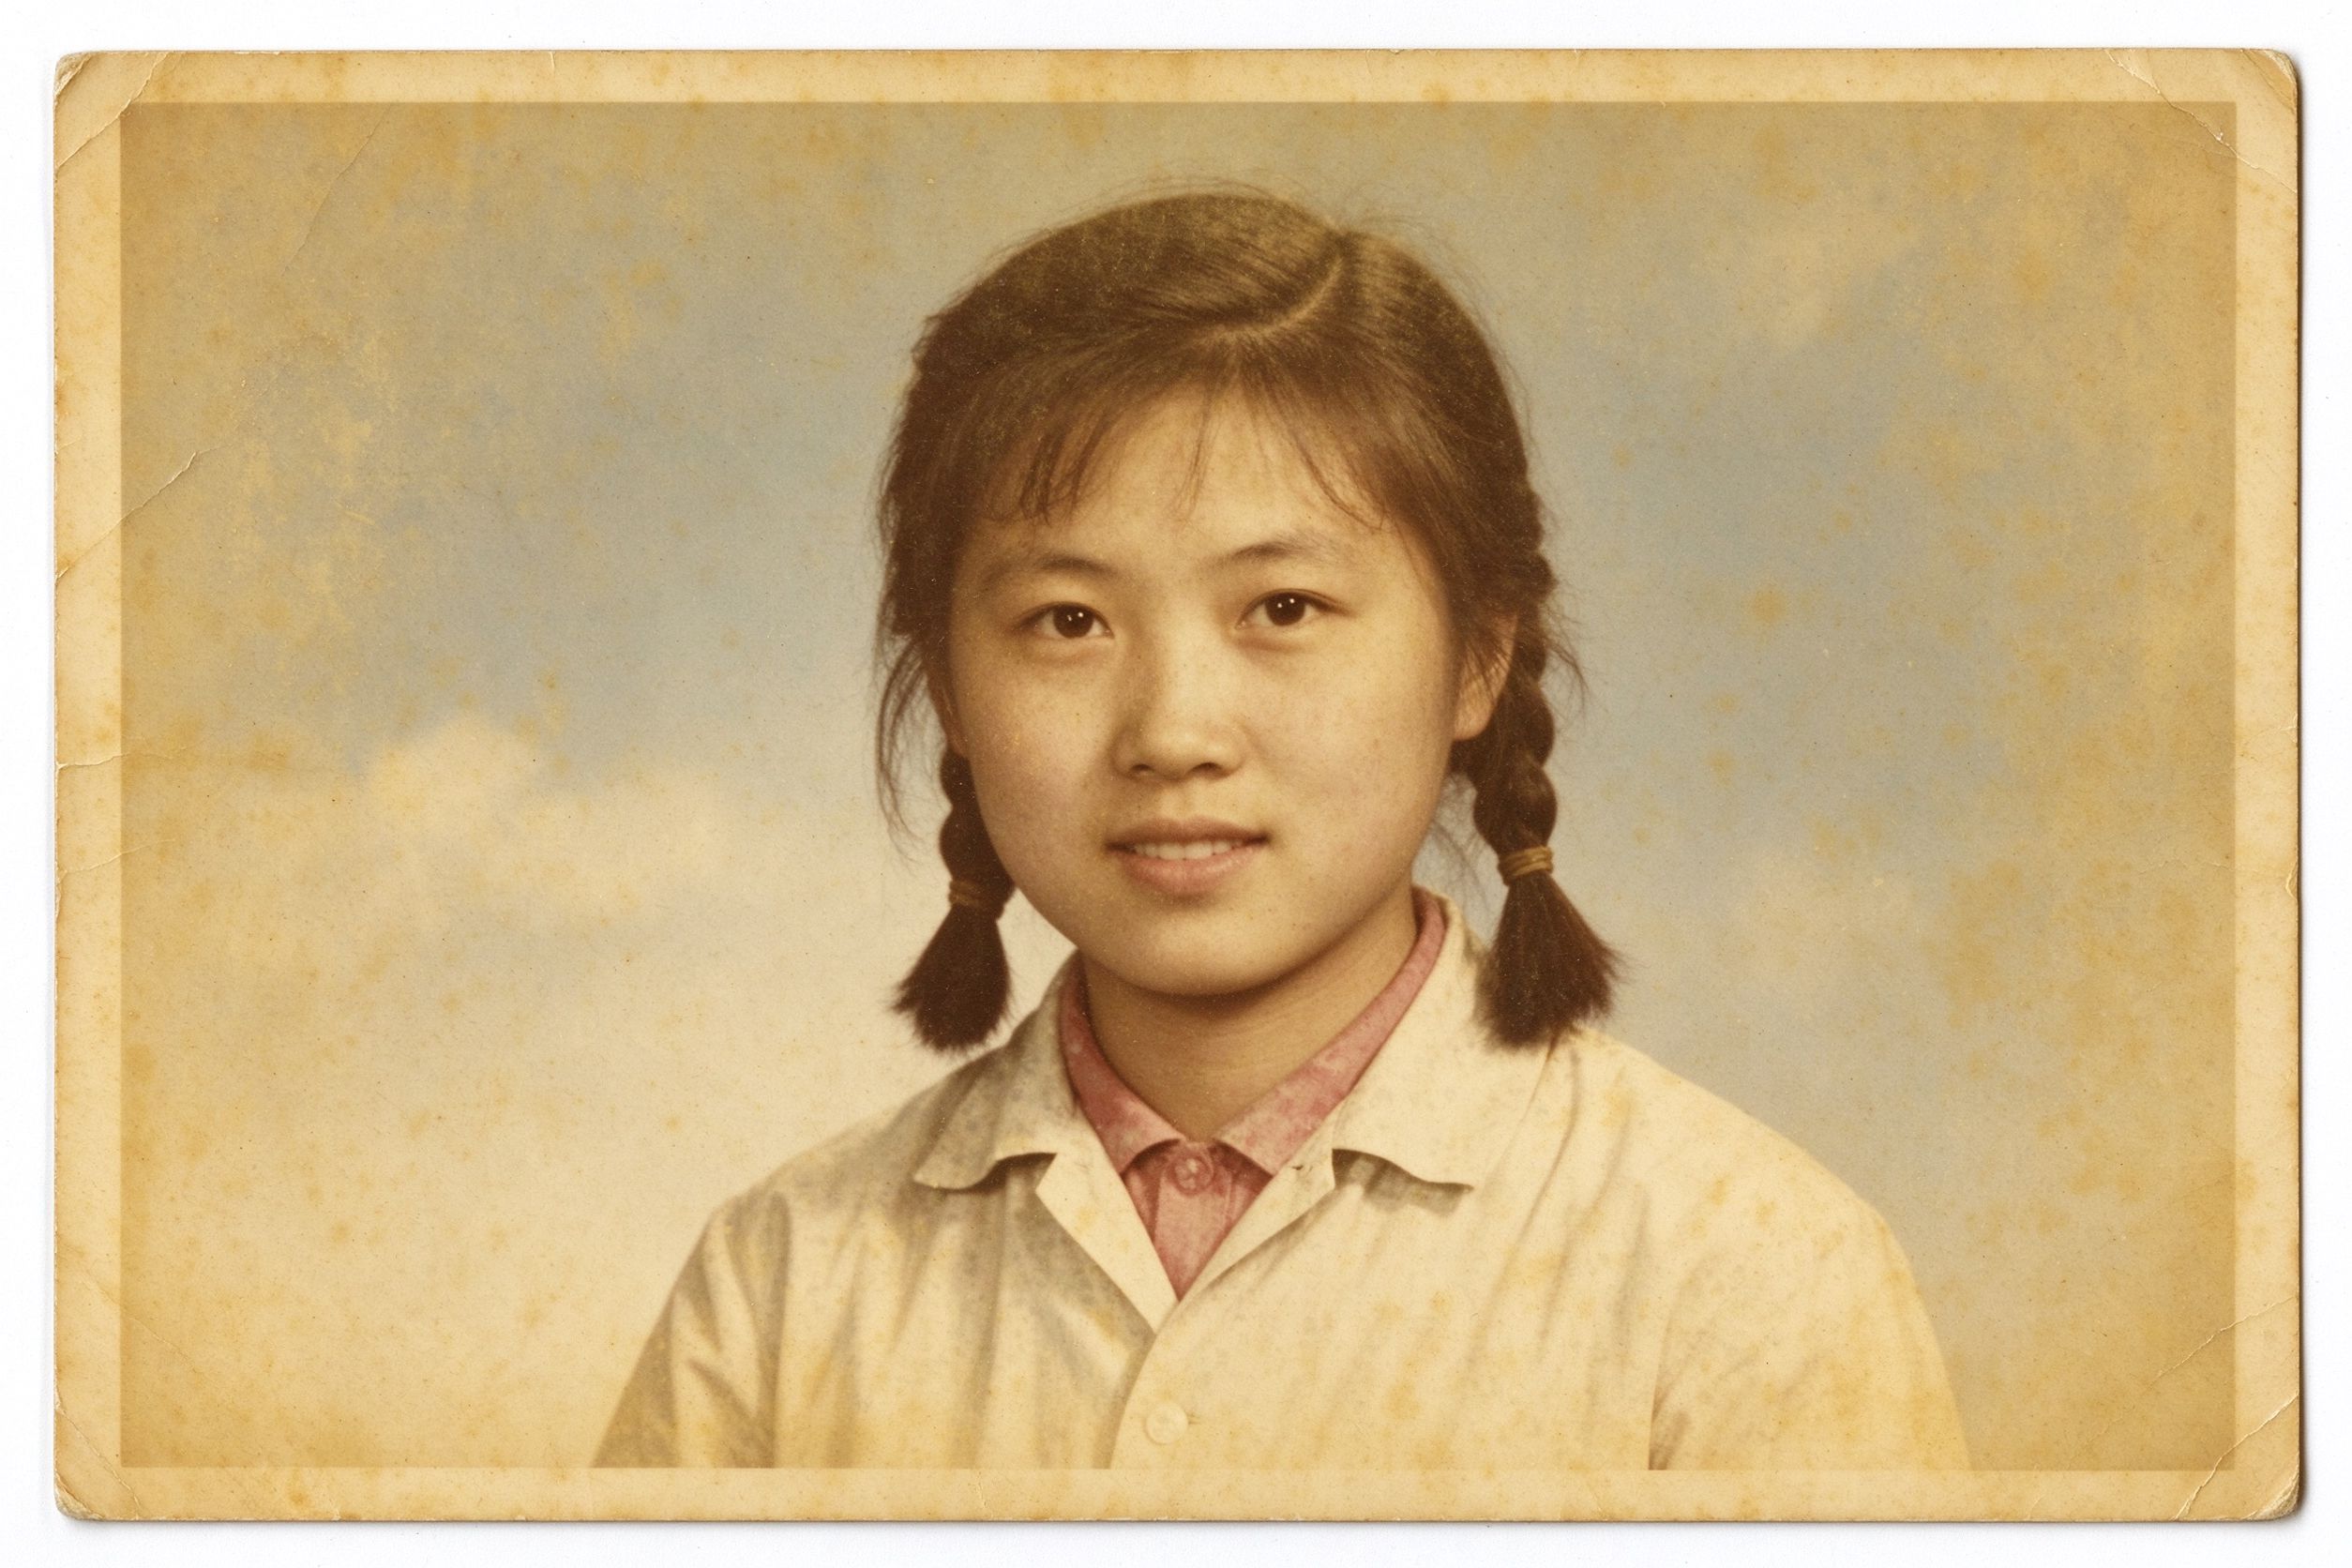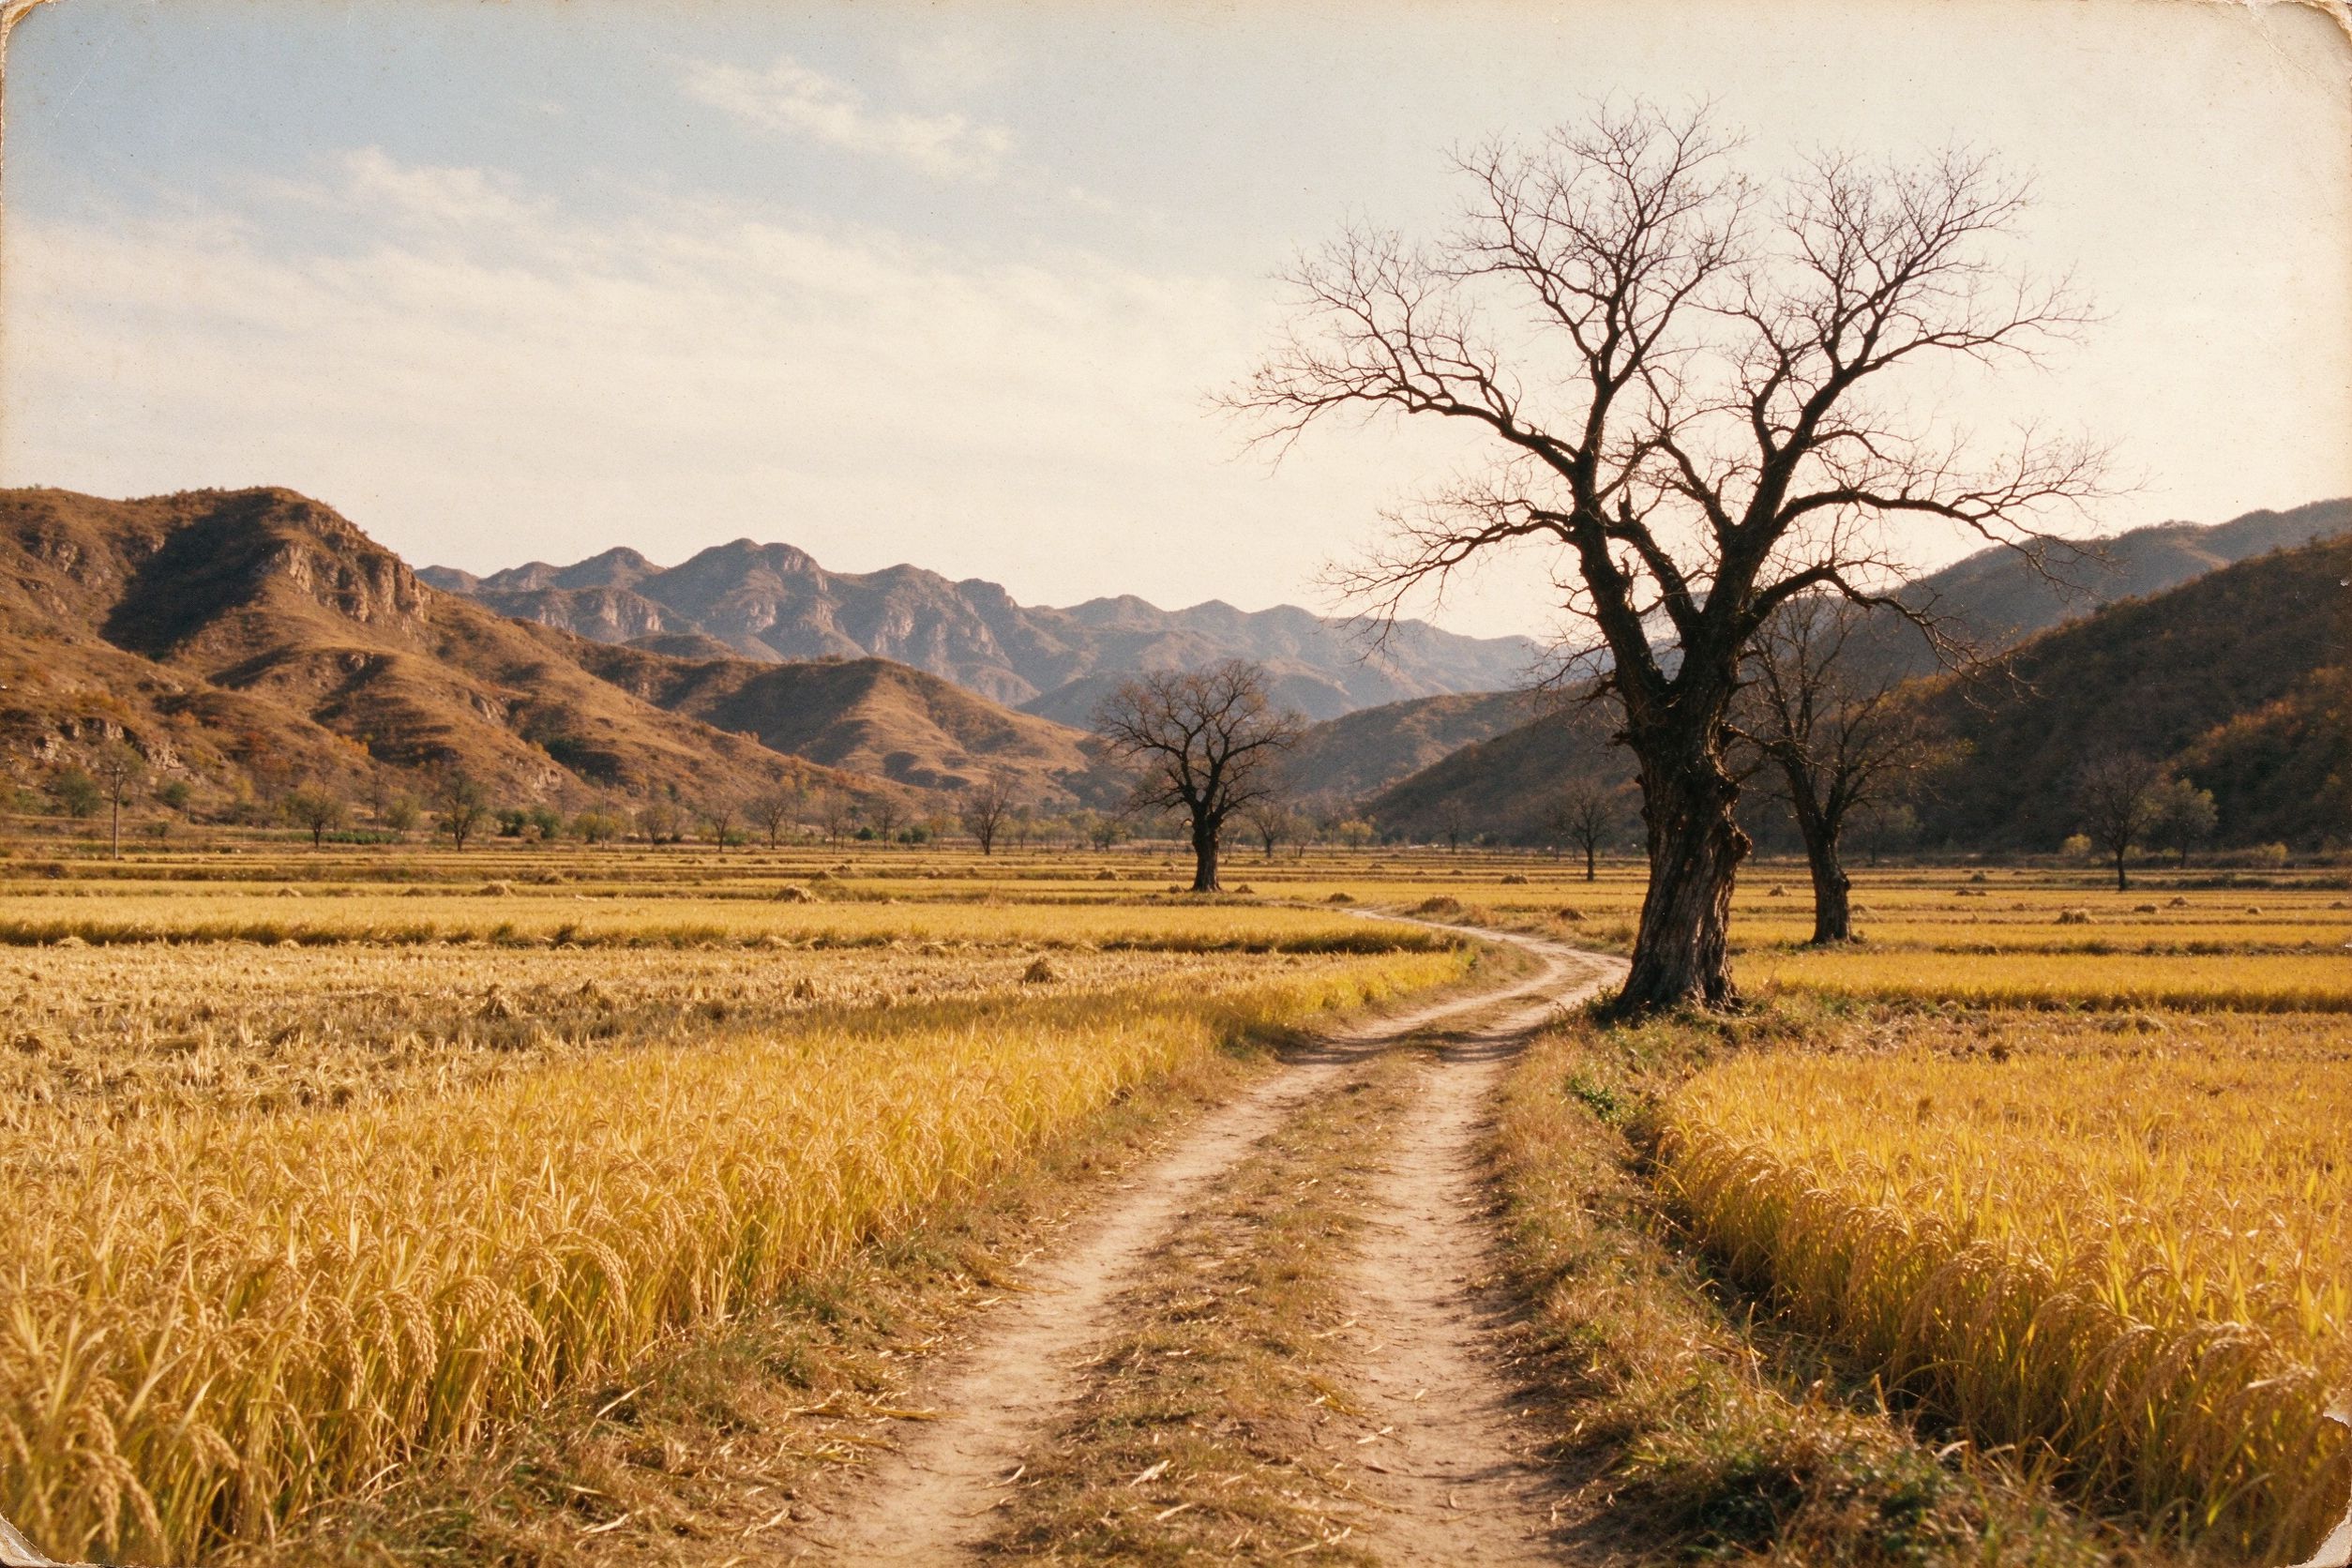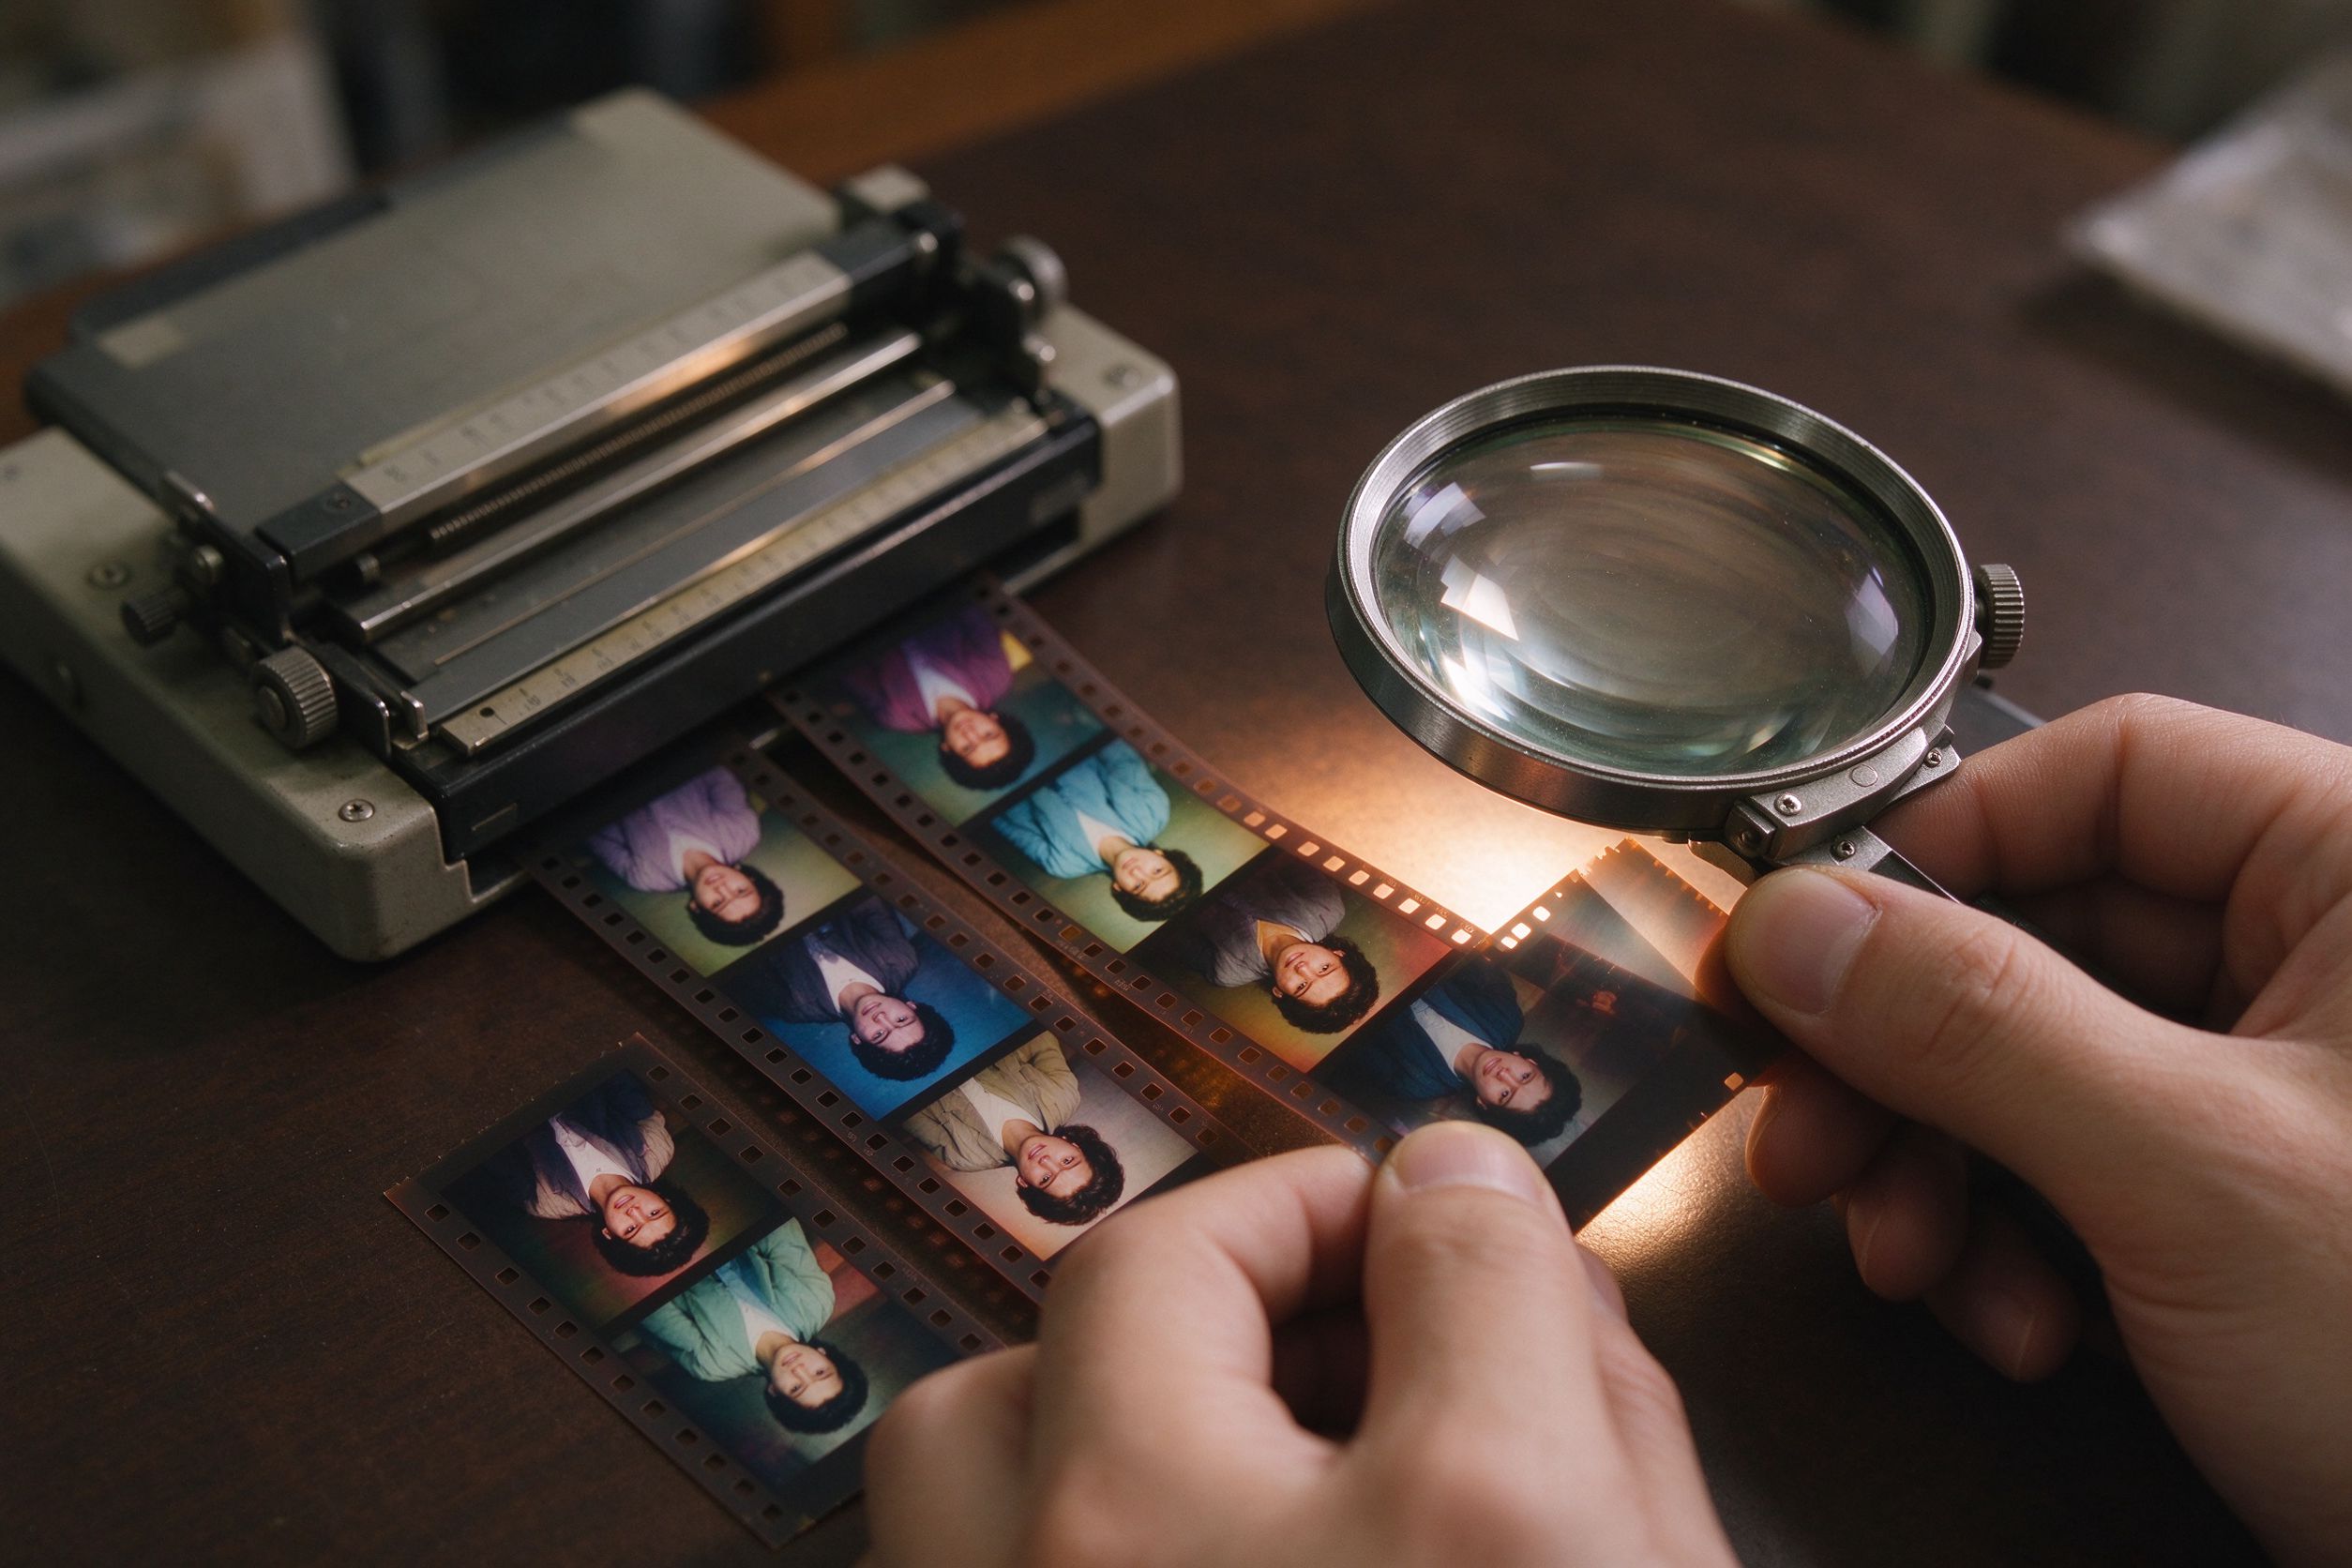
A scan from a film negative or slide is a different beast from a scan of a paper print. The image lives on transparent acetate that has sat in a box for decades, so it carries three distinct problems that printed photos do not: dust and hairs stuck to the emulsion, the film's own grain, and a characteristic color shift as the dye layers age. Get these right and a scan of a 1970s negative can look gorgeous; get them wrong and you end up with a plastic-smooth, oddly orange digital file.
This guide walks through handling all three, using free browser-based tools that process your scan locally and never upload it. The single most important idea is sequence: dust, then grain, then color — in that order, and for a reason.
What film scans add to the problem
Paper-print restoration assumes the image is on a finished print. Film scans are a step earlier. That means extra foes unique to negatives and slides:
- Dust and hairs on the emulsion. Because film is transparent and backlit during scanning, even a tiny speck blocks light and shows up as a sharp dark or white spot on the final image — far more obvious than dust on a print.
- Film grain. Every emulsion has a fine grain structure. On a high-res scan this becomes visible texture. It is part of the look, but it can also look like noise that tempts you to over-smooth it.
- Color shift from aging dyes. Old color negatives and slides fade unevenly. Reds often go first, so decades-old slides lean toward orange or magenta; negatives can develop a strong orange or green base that survives conversion.
- Low dynamic range in the scan. Consumer flatbeds capture less range than dedicated film scanners, so shadows may be noisy and highlights delicate.
If you are scanning film yourself rather than restoring an existing scan, start with our scanning guide to choose DPI and settings that give you the best starting file.
Remove dust and hairs first
Dust removal is always the first digital step — before grain reduction, before color, before sharpening. Why first? Because if you denoise or smooth the image first, the dust spot gets blurred into a soft blob that is harder to remove cleanly. If you sharpen first, the dust gets amplified.
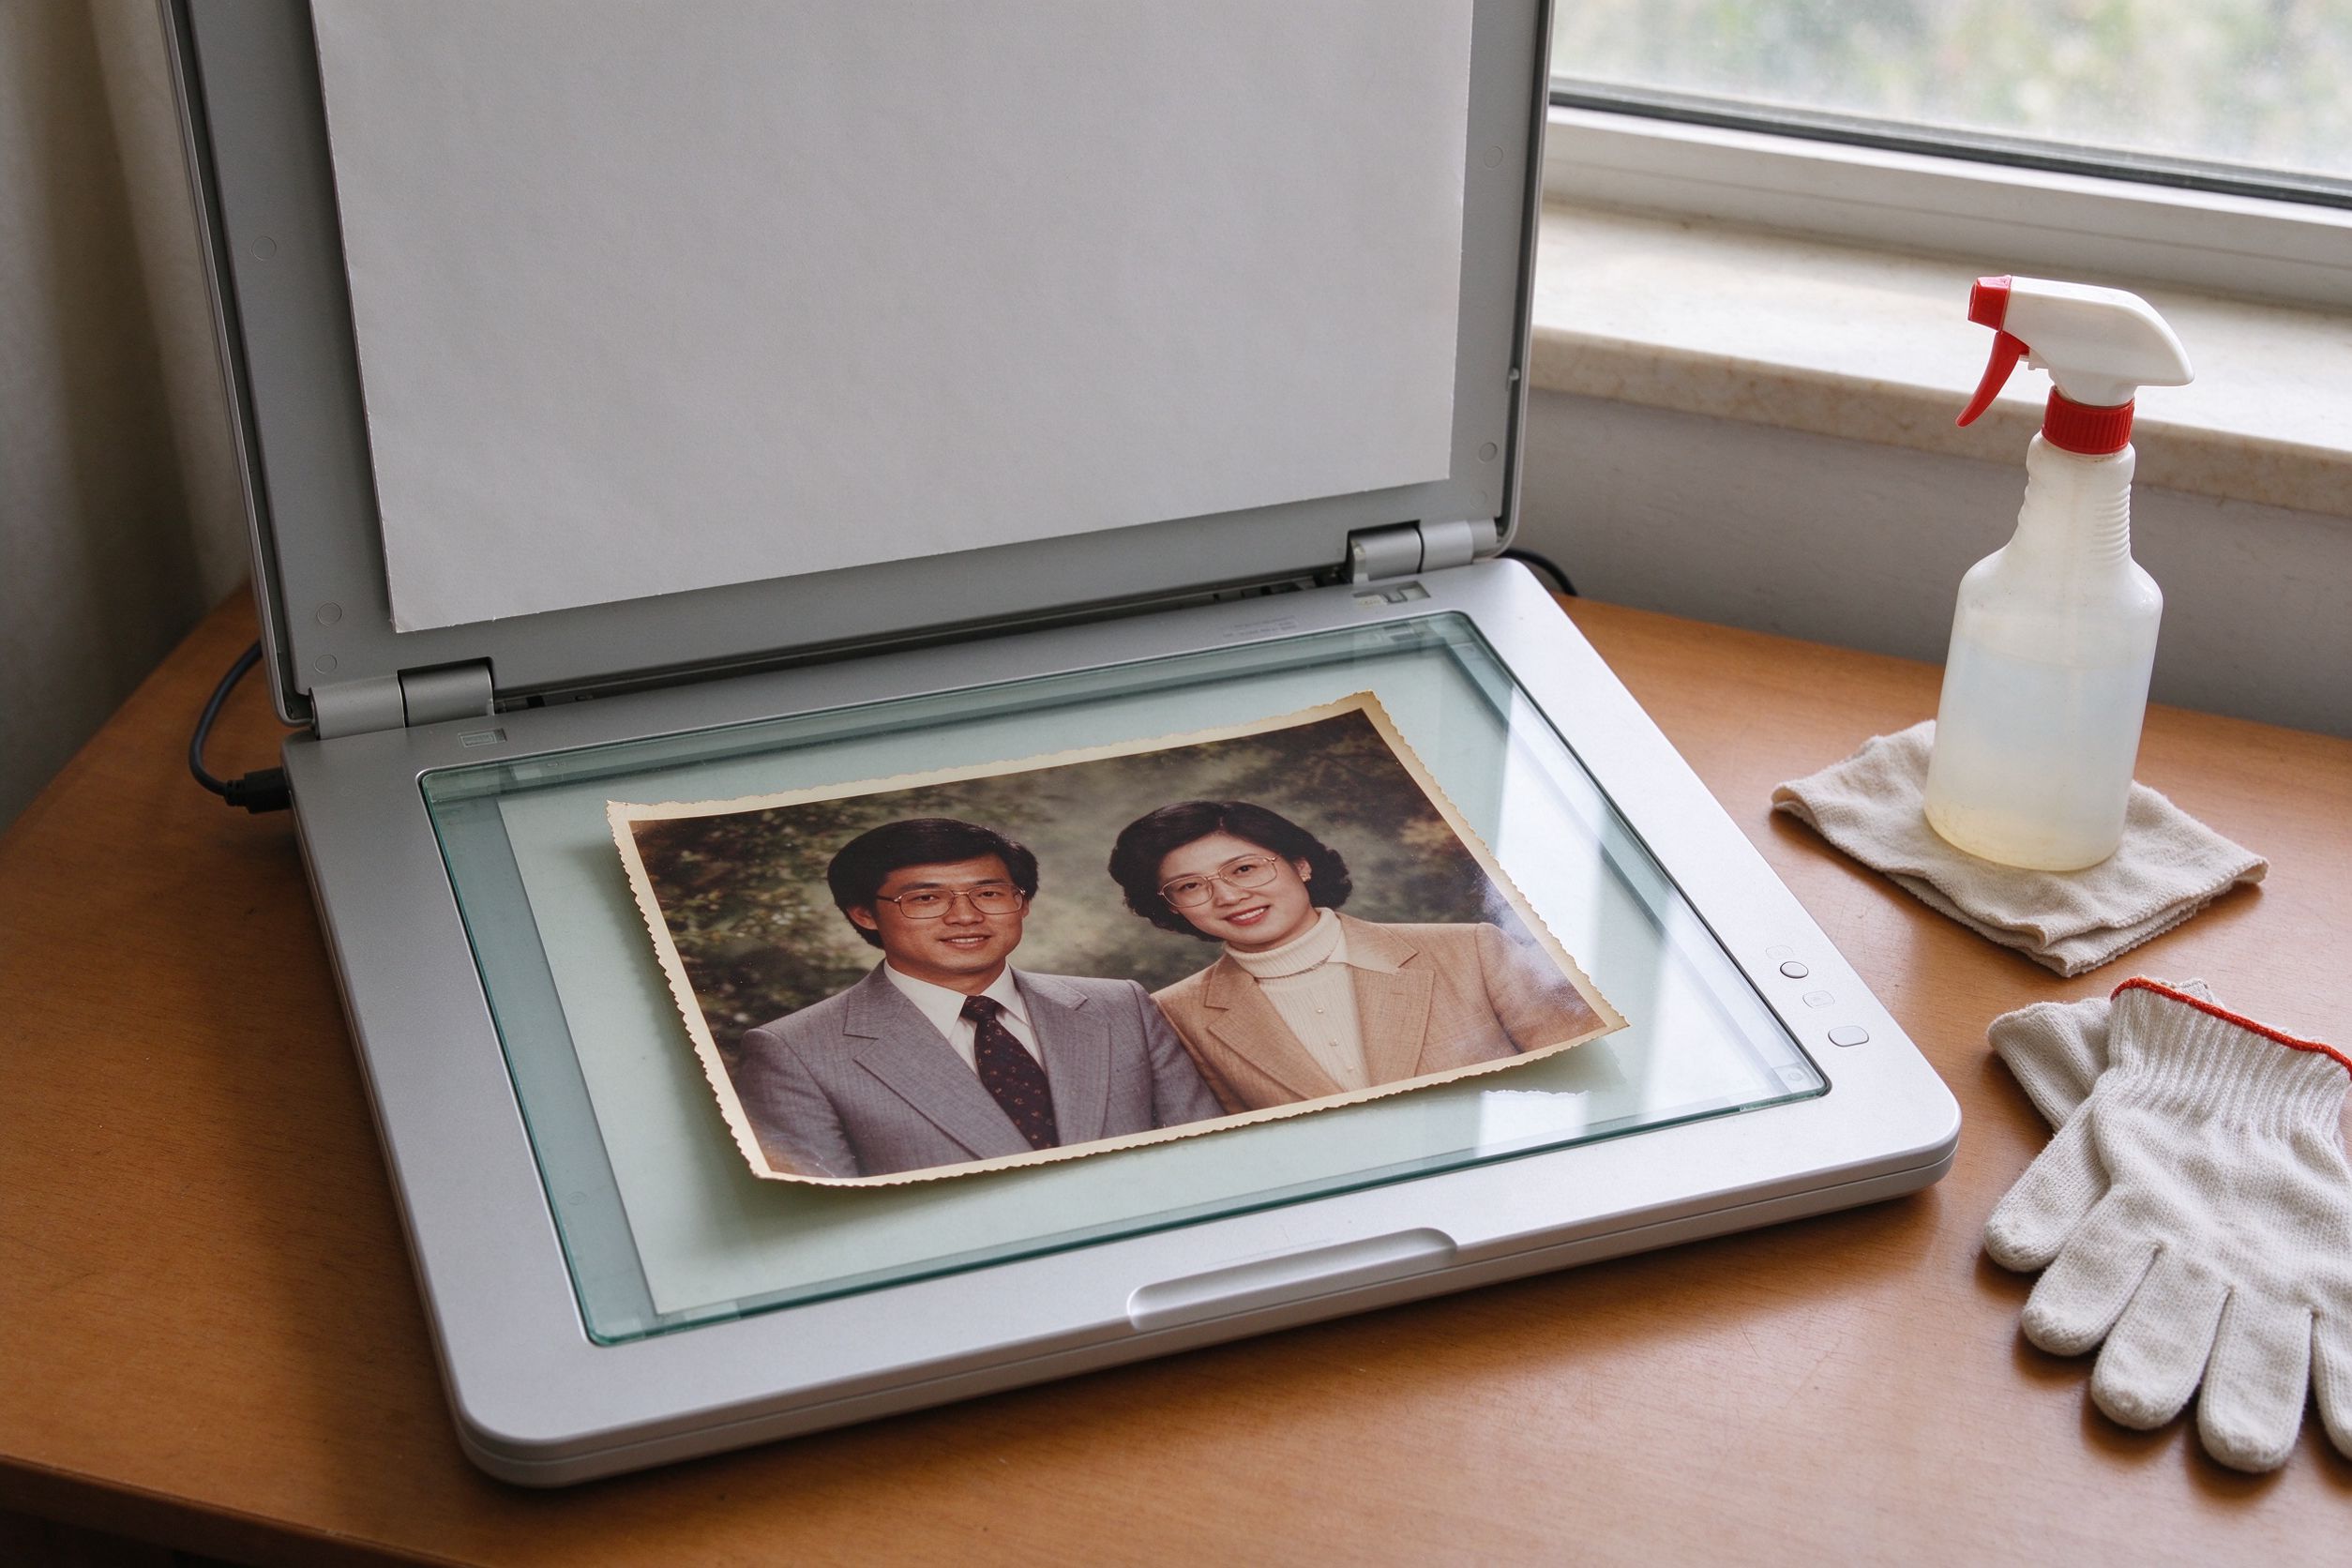
- Start physically. Before scanning, brush the film with a soft anti-static cloth or blower. The best digital dust removal is dust you never scanned in. See our scratch and spot removal guide for the full physical-and-digital routine.
- Use the Scratch & Spot Remover. Open the scan in the Scratch & Spot Remover. It compares each pixel to its neighbors and smooths out the outliers — the sharp white specks and dark hairs — while leaving real detail. Start at a moderate threshold; raise it only where a cluster of dust remains.
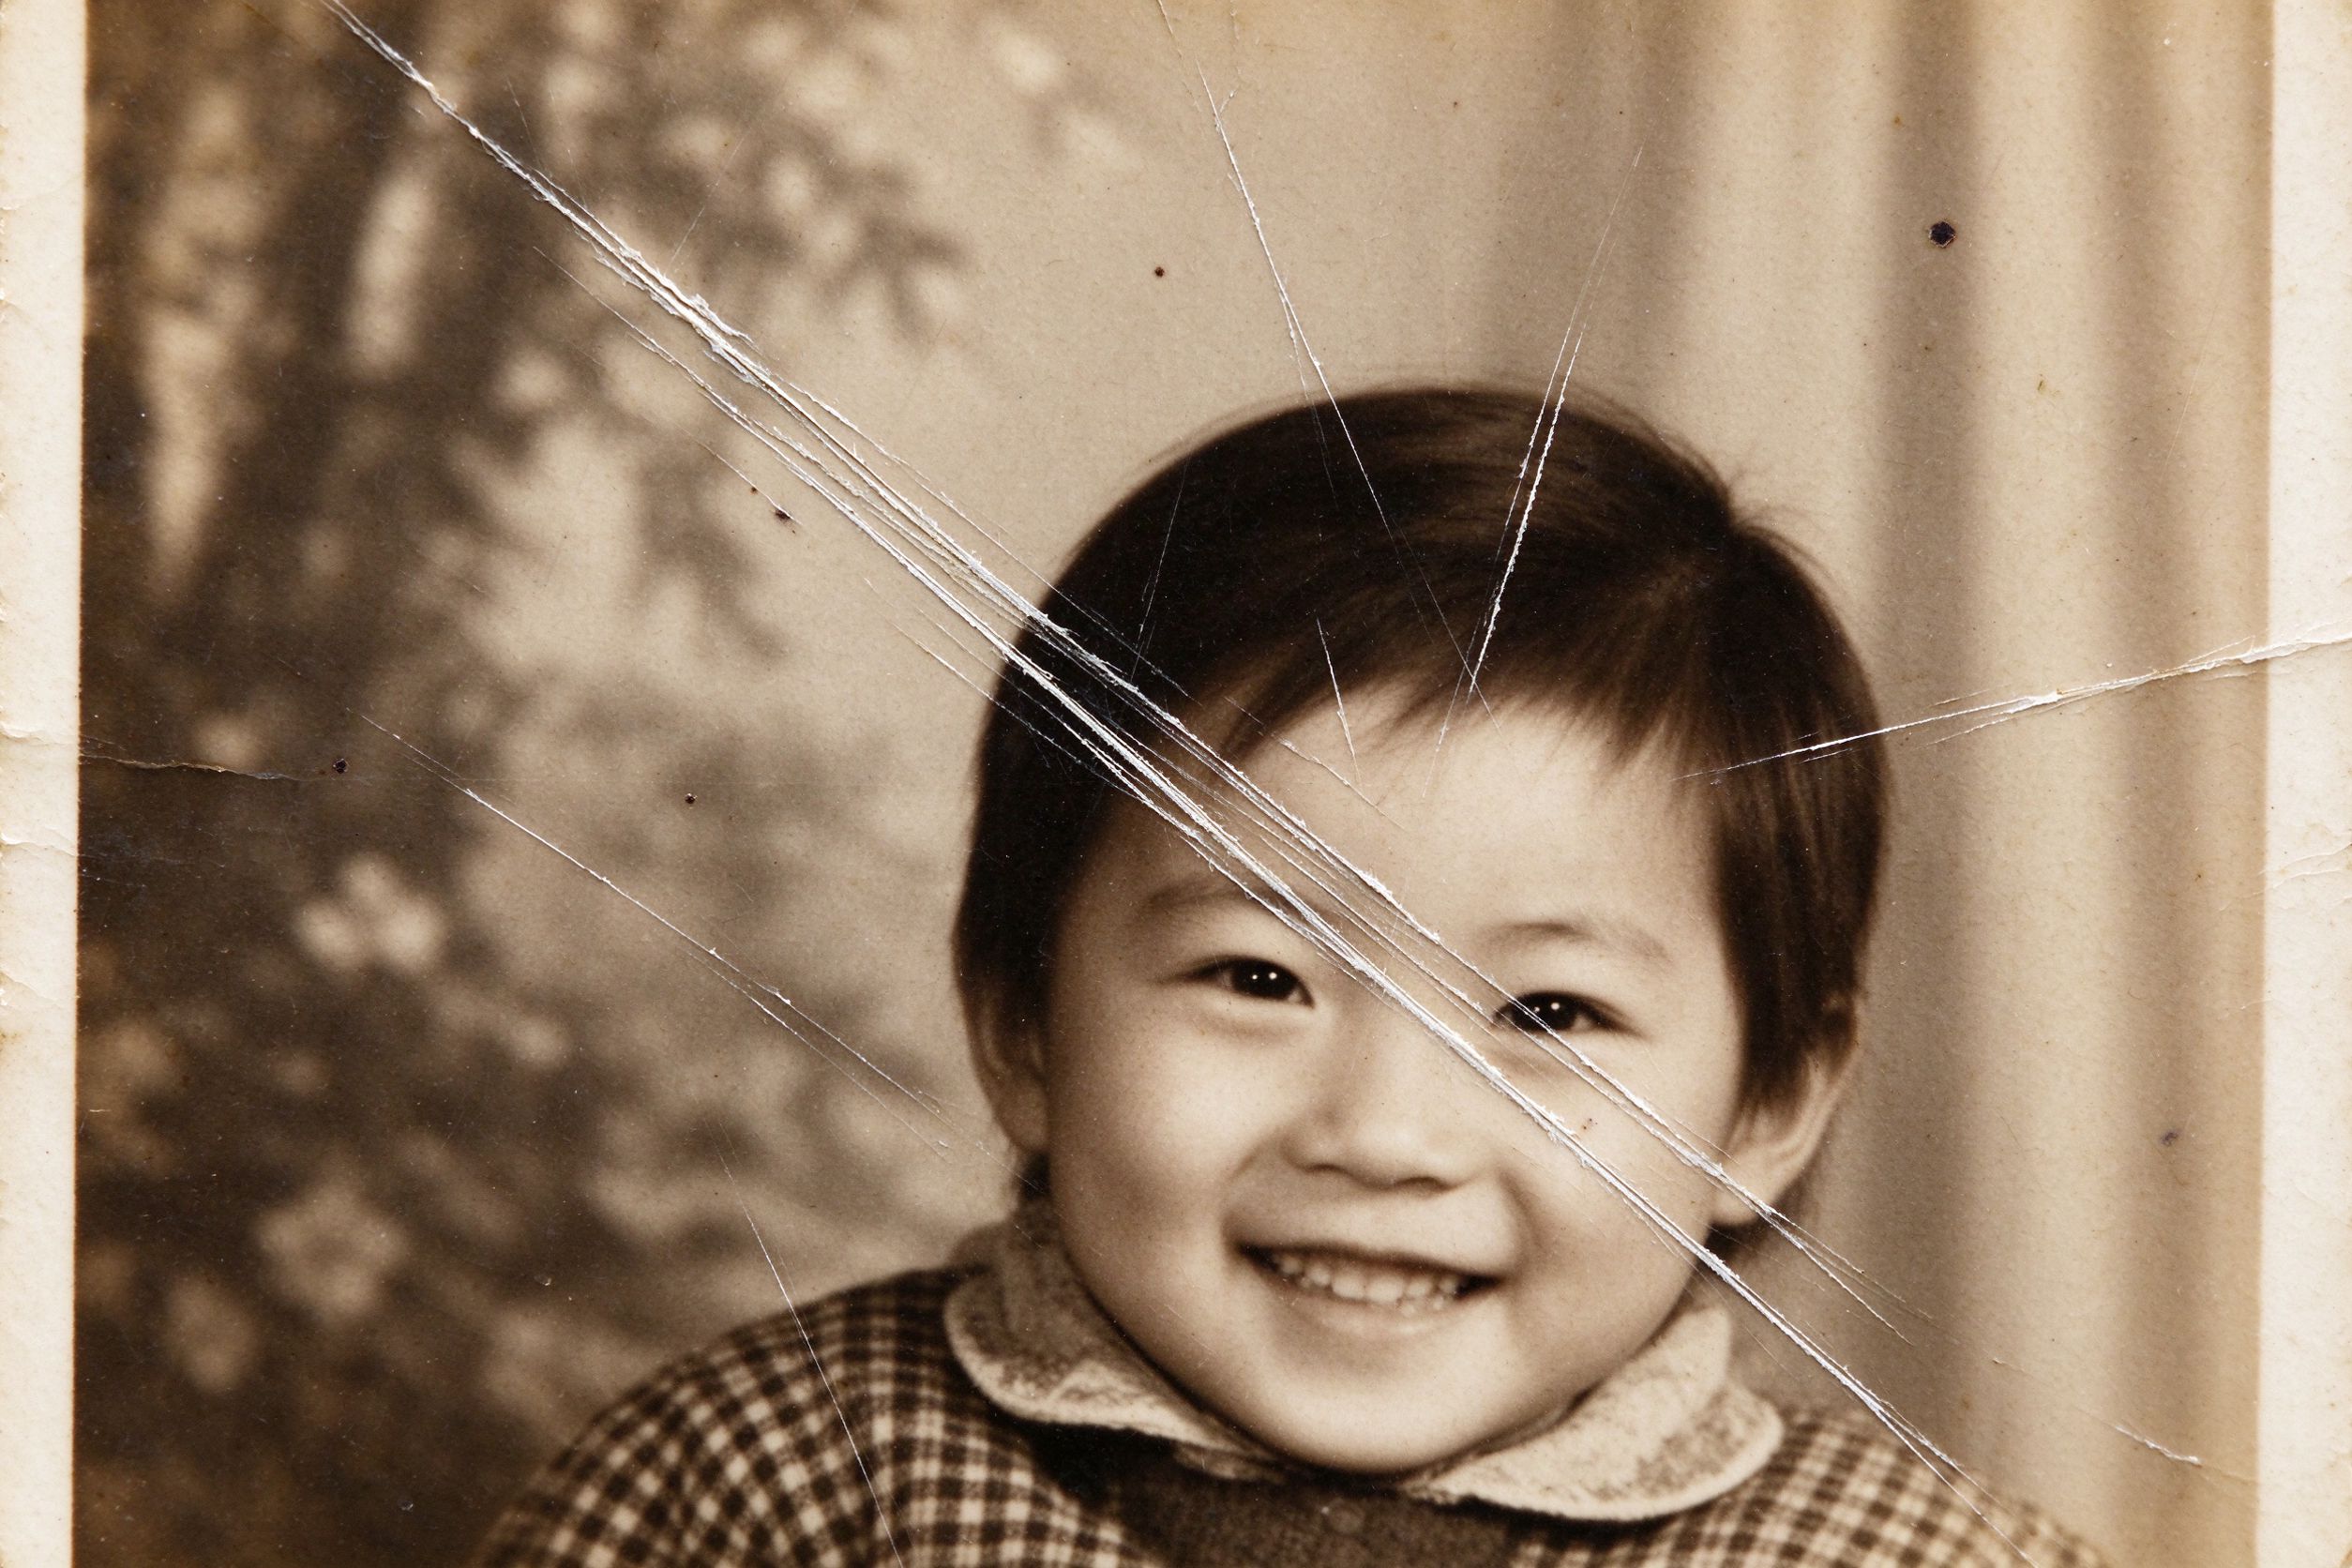
- Beware the fine white scratch. Vertical scratches on film scan as bright lines. The spot remover handles thin ones; a long gouge may need several passes or simply acceptable framing around it.
Grain: remove it or keep it
This is the most judgment-dependent step, and the one most people get wrong by being too aggressive. Film grain is not a defect — it is the texture of the medium. A little of it is what makes a film scan feel like a real photograph rather than a smooth digital render.
- Use the Photo Denoiser gently. Open the scan in the Photo Denoiser. Set the radius low (around 1) and strength to roughly 50–60 as a starting point. The denoiser averages fine noise while preserving edges, so faces and object outlines stay intact.
- Zoom into skin and foliage. If skin looks waxy or leaves lose their texture, you have gone too far. The goal is to tame the noise, not to sandpaper the image into plastic.
- Know when to keep grain. If the whole aesthetic you want is "vintage film," leave a visible but even grain. It reads as character. Only remove grain aggressively when it has become blotchy, mottled noise rather than fine texture.
A useful distinction: fine, even grain = keep. Blotchy, uneven noise from a bad scan = reduce. When in doubt, reduce less than feels comfortable.
Correct the color shift
Only now — after dust and grain — do you tackle color, because correcting color on a grainy, dusty image is frustrating. Old film scans most often lean one of three ways:
- Orange / warm slides. Faded red dyes make old slides look amber or orange. Push the color temperature gently cooler and ease saturation down until skin and foliage look natural. Over-cooling turns the whole image blue-gray.
- Magenta / pink casts. Common on aging color negatives. A slight green-and-neutral nudge rebalances this; do it in small steps and judge skin tone as your reference.
- Overall yellowing. Treat like any faded print — a white-balance pass and a contrast rebuild. The faded photo guide covers this in depth.
Use the Color Temperature tool for the warm/cool balance, and always use skin tones as your anchor: if a face looks believable, the whole image is usually close. A landscape scan that leans warm can sometimes be left gently warm on purpose — that golden glow is part of film's charm. See our landscape restoration guide for balancing sky and foliage specifically.
The right order of operations
If you remember nothing else, remember this sequence. Doing steps out of order is the most common cause of a "weird" film restoration.
- Prep and scan cleanly at high DPI with anti-static brushing.
- Remove dust and scratches (Scratch & Spot Remover).
- Tame grain gently (Photo Denoiser).
- Correct color shift (Color Temperature / faded fix), using skin as reference.
- Rebuild contrast gently so the image has depth.
- Sharpen last, lightly — and only on detail areas, never on the sky.
- Export a PNG master; keep the raw scan untouched.
The logic is that each step should not destroy what the next step needs. Dust must go before smoothing, because smoothing spreads it; color is corrected before sharpening, because sharpening amplifies noise and dust. Sharpening is last because it is the most easily overdone and least reversible step.
Common mistakes and FAQ
My scan has dozens of tiny white specks everywhere. Is this normal? Yes — dust on film emulsion is normal. Remove the worst with the spot remover rather than chasing every single one; a couple of tiny specks are barely visible at normal viewing size.
Why does my restored film look like plastic? Almost always over-denoising. Back off the denoiser strength until you can see a hint of grain — that texture is what sells it as a real film photo.
Can you recover the true original colors? You can recover a believable, natural version, not a forensic "truth." Aged dyes have degraded irreversibly, so some color reconstruction involves judgment rather than exact measurement. Aim for natural, not perfect.
Should I scan negatives as positives first? If your scanner or its software can invert negatives, let it do that before you restore. Inverting a negative correctly is a specialized curve that browser tools are not designed to redo.
Restoring a film scan is really three separate jobs — cleanliness, texture, and color — done in the right order. Treat them that way and your decades-old negatives and slides will finally look as good as you remember them.
从胶片底片或幻灯片扫出来的图,和扫相纸照片完全是两回事。影像存在于一张几十年来一直放在盒子里的透明醋酸片基上,因此它带着纸质照片没有的三个独有问题:粘在乳剂上的灰尘和毛发、胶片自身的颗粒,以及染料层老化带来的特征性色偏。处理对了,1970 年代底片扫出来的图可以非常漂亮;处理错了,你只会得到一张塑料般平滑、颜色莫名发橙的数字文件。
本指南教你用免费、浏览器内运行的工具处理这三者,扫描件全程在本地处理、从不上传。最重要的一个观念是顺序:先灰尘,再颗粒,最后颜色——按此顺序,而且是有原因的。
一、胶片扫描多出了哪些问题
相纸修复假设影像已经在成品照片上。胶片扫描更早一步,因此多了底片和幻灯片才有的敌人:
- 乳剂上的灰尘和毛发。因为胶片是透明的、扫描时被背光打亮,哪怕一粒微尘都会挡住光线,在最终图上变成一个锐利的黑点或白点——比相纸上的灰尘明显得多。
- 胶片颗粒。每种乳剂都有细密的颗粒结构。高分辨率扫描下它变成可见的纹理。它是质感的一部分,但也可能看着像噪点,诱使你过度平滑。
- 染料老化的色偏。老彩色底片和幻灯片褪色不均匀。红色常常最先掉,所以几十年前的幻灯片偏橙或品红;底片则可能残留强烈的橙或绿色底色,一直延续到转换之后。
- 扫描动态范围低。消费级平板扫出的范围不如专用胶片扫描仪,因此暗部可能发噪、亮部很娇嫩。
如果你是自己扫胶片、而不是修复已有的扫描件,先看我们的扫描指南,选好 DPI 和设置,拿到最好的起点文件。
二、先去灰尘与毛发
除尘永远是数字处理的第一步——在降噪之前、调色之前、锐化之前。为什么最先?因为如果你先降噪或平滑,灰尘点会被糊成一个软块,反而更难干净地去掉。如果先锐化,灰尘又被放大。
- 从物理做起。扫描前,用柔软的防静电布或气吹清理胶片。最好的数字除尘,是你根本没扫进去的灰尘。完整的物理加数字流程见我们的划痕与污点去除指南。
- 用划痕与污点修复。在 划痕与污点修复中打开扫描件。它会把每个像素与邻域比较,平滑掉异常值——那些锐利的白点和暗色毛发——同时保留真实细节。从中等阈值开始,只在灰尘聚集处再提高。
- 小心细细的白划痕。胶片上的竖划痕扫出来是亮线。细的污点修复能处理;一道长长的刮痕可能要反复几遍,或干脆靠构图绕开它。
三、颗粒:去掉还是保留
这是最依赖判断、也最常被做过头的一步。胶片颗粒不是缺陷——它是媒介本身的质感。保留一点点,正是胶片扫描像真照片、而不像光滑数字渲染的原因。
- 温和地用照片降噪。在 照片降噪中打开扫描件。半径设低(约 1),强度从约 50–60 起步。降噪器在保留边缘的同时平均掉细噪,所以脸和物体轮廓保持完整。
- 放大皮肤和枝叶检查。如果皮肤看起来发蜡、叶子失去纹理,就过了。目标是驯服噪点,而不是把画面砂磨成塑料。
- 知道什么时候该留颗粒。如果你想要的整体美学就是「复古胶片」,那就保留一层可见但均匀的颗粒,它读起来是性格。只有当颗粒已经变成一块块斑驳噪点、而非细腻纹理时,才强力去除。
一个有用的区分:细密均匀的颗粒=保留;糟糕扫描带来的斑驳不均噪点=减弱。拿不准时,少减一点,别减到舒服为止。
四、校正色偏
直到现在——灰尘和颗粒都处理完——你才去碰颜色,因为在满是颗粒和灰尘的图上校色会很折磨人。老胶片扫描最常见偏三个方向:
- 橙 / 暖幻灯片。红色染料褪色让老幻灯片显得琥珀或橙。把色温轻轻推冷,再把饱和度略微降下来,直到皮肤和枝叶自然。推过头会让整幅泛蓝灰。
- 品红 / 粉偏。老彩色底片常见。轻轻往绿、往中性调一点重新平衡;小步做,以肤色为参照。
- 整体发黄。当任何褪色照片处理——一次白平衡加对比重建。褪色照片指南有深入讲解。
用 色温调节工具做冷暖平衡,并始终以肤色为锚:一张脸看着可信,整幅图通常就八九不离十。偏暖的风景扫描有时可以有意保留那点暖——那一抹金色光晕正是胶片的魅力。专门平衡天空与枝叶的做法,见我们的风景修复指南。
五、正确的操作顺序
如果什么都记不住,就记住这个顺序。步骤顺序颠倒,是导致胶片修复「看着怪」的最常见原因。
- 准备与扫描干净、高 DPI,并做防静电刷尘。
- 去灰尘和划痕(划痕与污点修复)。
- 温和驯服颗粒(照片降噪)。
- 校正色偏(色温 / 褪色修复),以肤色为参照。
- 轻轻重建对比,让画面有纵深。
- 最后轻锐化——只在细节区域,绝不碰天空。
- 导出 PNG 母版,原始扫描保持不动。
背后的逻辑是:每一步都不该破坏下一步所需的东西。平滑之前必须先除尘,因为平滑会把灰尘摊开;调色要在锐化之前,因为锐化会放大噪点和灰尘。锐化放最后,因为它最容易做过头、也最不可逆。
六、常见错误与问答
我的扫描上到处都是小白点,正常吗?正常——胶片乳剂上的灰尘很正常。用污点修复去掉最明显的,别去追每一个;正常观看尺寸下,几粒小点几乎看不见。
为什么修好的胶片像塑料?几乎总是降噪过头。把降噪强度退回去,直到能看到一丝颗粒——那层纹理才让它像真的胶片照片。
能恢复真正的原始颜色吗?你能恢复一个可信、自然的版本,而不是法医式的「真相」。老化的染料已不可逆地降解,所以某些色彩重建靠的是判断,而非精确测量。目标是自然,不是完美。
底片要先转成正片吗?如果你的扫描仪或其软件能反转底片,让它先转好再修复。正确反转底片是一条专门的曲线,浏览器工具并不打算重做这件事。
修复胶片扫描,其实是按正确顺序做三件分开的事——干净、质感、颜色。照这个思路来,你那些几十年前的底片和幻灯片,终于能像你记忆里那样好看了。