Photo Denoiser
Clean grainy film scans, dust speckles and digital noise off your old photos — smoothly, free, and entirely in your browser.
抚平胶片扫描的颗粒、灰尘微粒与数码噪点——顺滑自然、完全免费,且全程在浏览器中完成。
Private by design — your photo is processed locally and never uploaded.Drop a photo here, or click to browse
Supported formats: JPG, PNG, WebP, GIF, BMP
Drag to compare
Tip: upload the largest scan you have — bigger input gives better results.
How It Works
Old photos carry two kinds of unwanted texture: fine film grain baked into the emulsion, and isolated white or black specks left by dust, scanner noise or hot pixels. Blurring the whole photo removes both — but it also melts away eyelashes, hair strands and fabric texture. The Photo Denoiser uses a smarter two-stage local pipeline that runs entirely on your device, so your photo never leaves your computer.
The pipeline:
Median filter first
Each pixel is replaced by the median value of its small neighborhood. Isolated dust dots and hot pixels (a single bright or dark pixel surrounded by normal pixels) are voted out, while real edges stay sharp — this is why median filters are classic for film dust removal.
Gentle box blur second
A small, one-pass box blur smooths the remaining fine grain across flat areas like skies and walls. One pass keeps the result soft but not smeared.
Blend by strength
The cleaned result is mixed back with the original pixel-by-pixel. At low strength you keep almost all detail; at high strength the photo goes noticeably cleaner. Use the before/after slider to find the balance.
Local, private processing
All math runs through the HTML5 Canvas API in your own browser. There is no upload, no queue and no server — load the page, process, download, done.
An honest note: this tool suppresses noise; it does not invent detail. If the photo was already out of focus or scanned at low resolution, denoising will not make it sharper — it will only remove grain. Push strength too high and skin and fabric turn waxy. For genuinely soft scans, denoise lightly and finish with the Photo Sharpener.
老照片上有两种不受欢迎的纹理:一是乳剂中固有的细腻胶片颗粒,二是灰尘、扫描仪噪点或坏点留下的孤立白点/黑点。整张模糊能同时去掉两者——但也会融化睫毛、发丝与织物纹理。Photo Denoiser 用一套更聪明的两阶段本地管线,全程在你的设备上运行,照片从不离开电脑。
处理管线:
先做中值滤波
每个像素被其小邻域的中值替代。孤立的灰尘点与坏点(单个异常亮/暗像素被正常像素包围)会被「投票淘汰」,而真实边缘保持锐利——这正是中值滤波成为胶片除尘经典方法的原因。
再做轻度盒式模糊
一遍小幅盒式模糊抚平天空、墙面等平坦区域剩余的细腻颗粒。只做一遍,画面柔和但不糊成一片。
按强度混合
清洗后的结果与原图逐像素混合。强度低时几乎保留全部细节,强度高时画面明显更干净。用前后对比滑块找到平衡点。
本地私有处理
所有计算都在你自己的浏览器里通过 HTML5 Canvas API 完成。没有上传、没有排队、没有服务器——加载页面、处理、下载,一气呵成。
诚实说明:本工具抑制噪点,但不会凭空生成细节。如果照片本身失焦或扫描分辨率很低,降噪不会让它变清晰——只是去掉颗粒。强度推得太高,皮肤与织物会变得像蜡一样。对于确实发虚的扫描件,建议轻度降噪后再用 Photo Sharpener 收尾。
How to Use
- Upload the noisy scanDrag your grainy photo into the dropzone. A high-resolution scan gives the filter more real signal to work with.
- Click "Auto Denoise"The default radius 1 and strength 60 clean typical film grain and dust while keeping most detail.
- Tune the two slidersRaise "Filter radius" to 2 only when you have many large dust spots; raise "Denoise strength" for heavy grain, but stop before skin looks plastic.
- Download the cleaned photoExport PNG for archiving, JPG for sharing, WebP for the smallest size.
- 上传噪点较多的扫描件把颗粒明显的照片拖入上传区。更高分辨率的扫描能给滤波更多真实信号。
- 点击「自动降噪」默认半径 1、强度 60,可清除典型胶片颗粒与灰尘,同时保留大部分细节。
- 调节两个滑杆只有当大灰尘点很多时才把「滤波半径」调到 2;颗粒很重就提高「降噪强度」,但在皮肤看起来像塑料之前停下。
- 下载清洗结果存档导出 PNG,分享用 JPG,追求最小体积用 WebP。
FAQ
Is my photo uploaded to a server?
What is the difference between film grain and digital noise?
Why does my photo look waxy after strong denoising?
Can denoising fix a blurry photo?
Is it free?
我的照片会被上传到服务器吗?
胶片颗粒和数码噪点有什么区别?
降噪后照片为什么像塑料一样?
降噪能让模糊的照片变清晰吗?
是免费的吗?
Related Tools

AI Photo Restorer
One-click full restore combining denoise, color and sharpening.
一键完整修复,集降噪、色彩与锐化于一体。
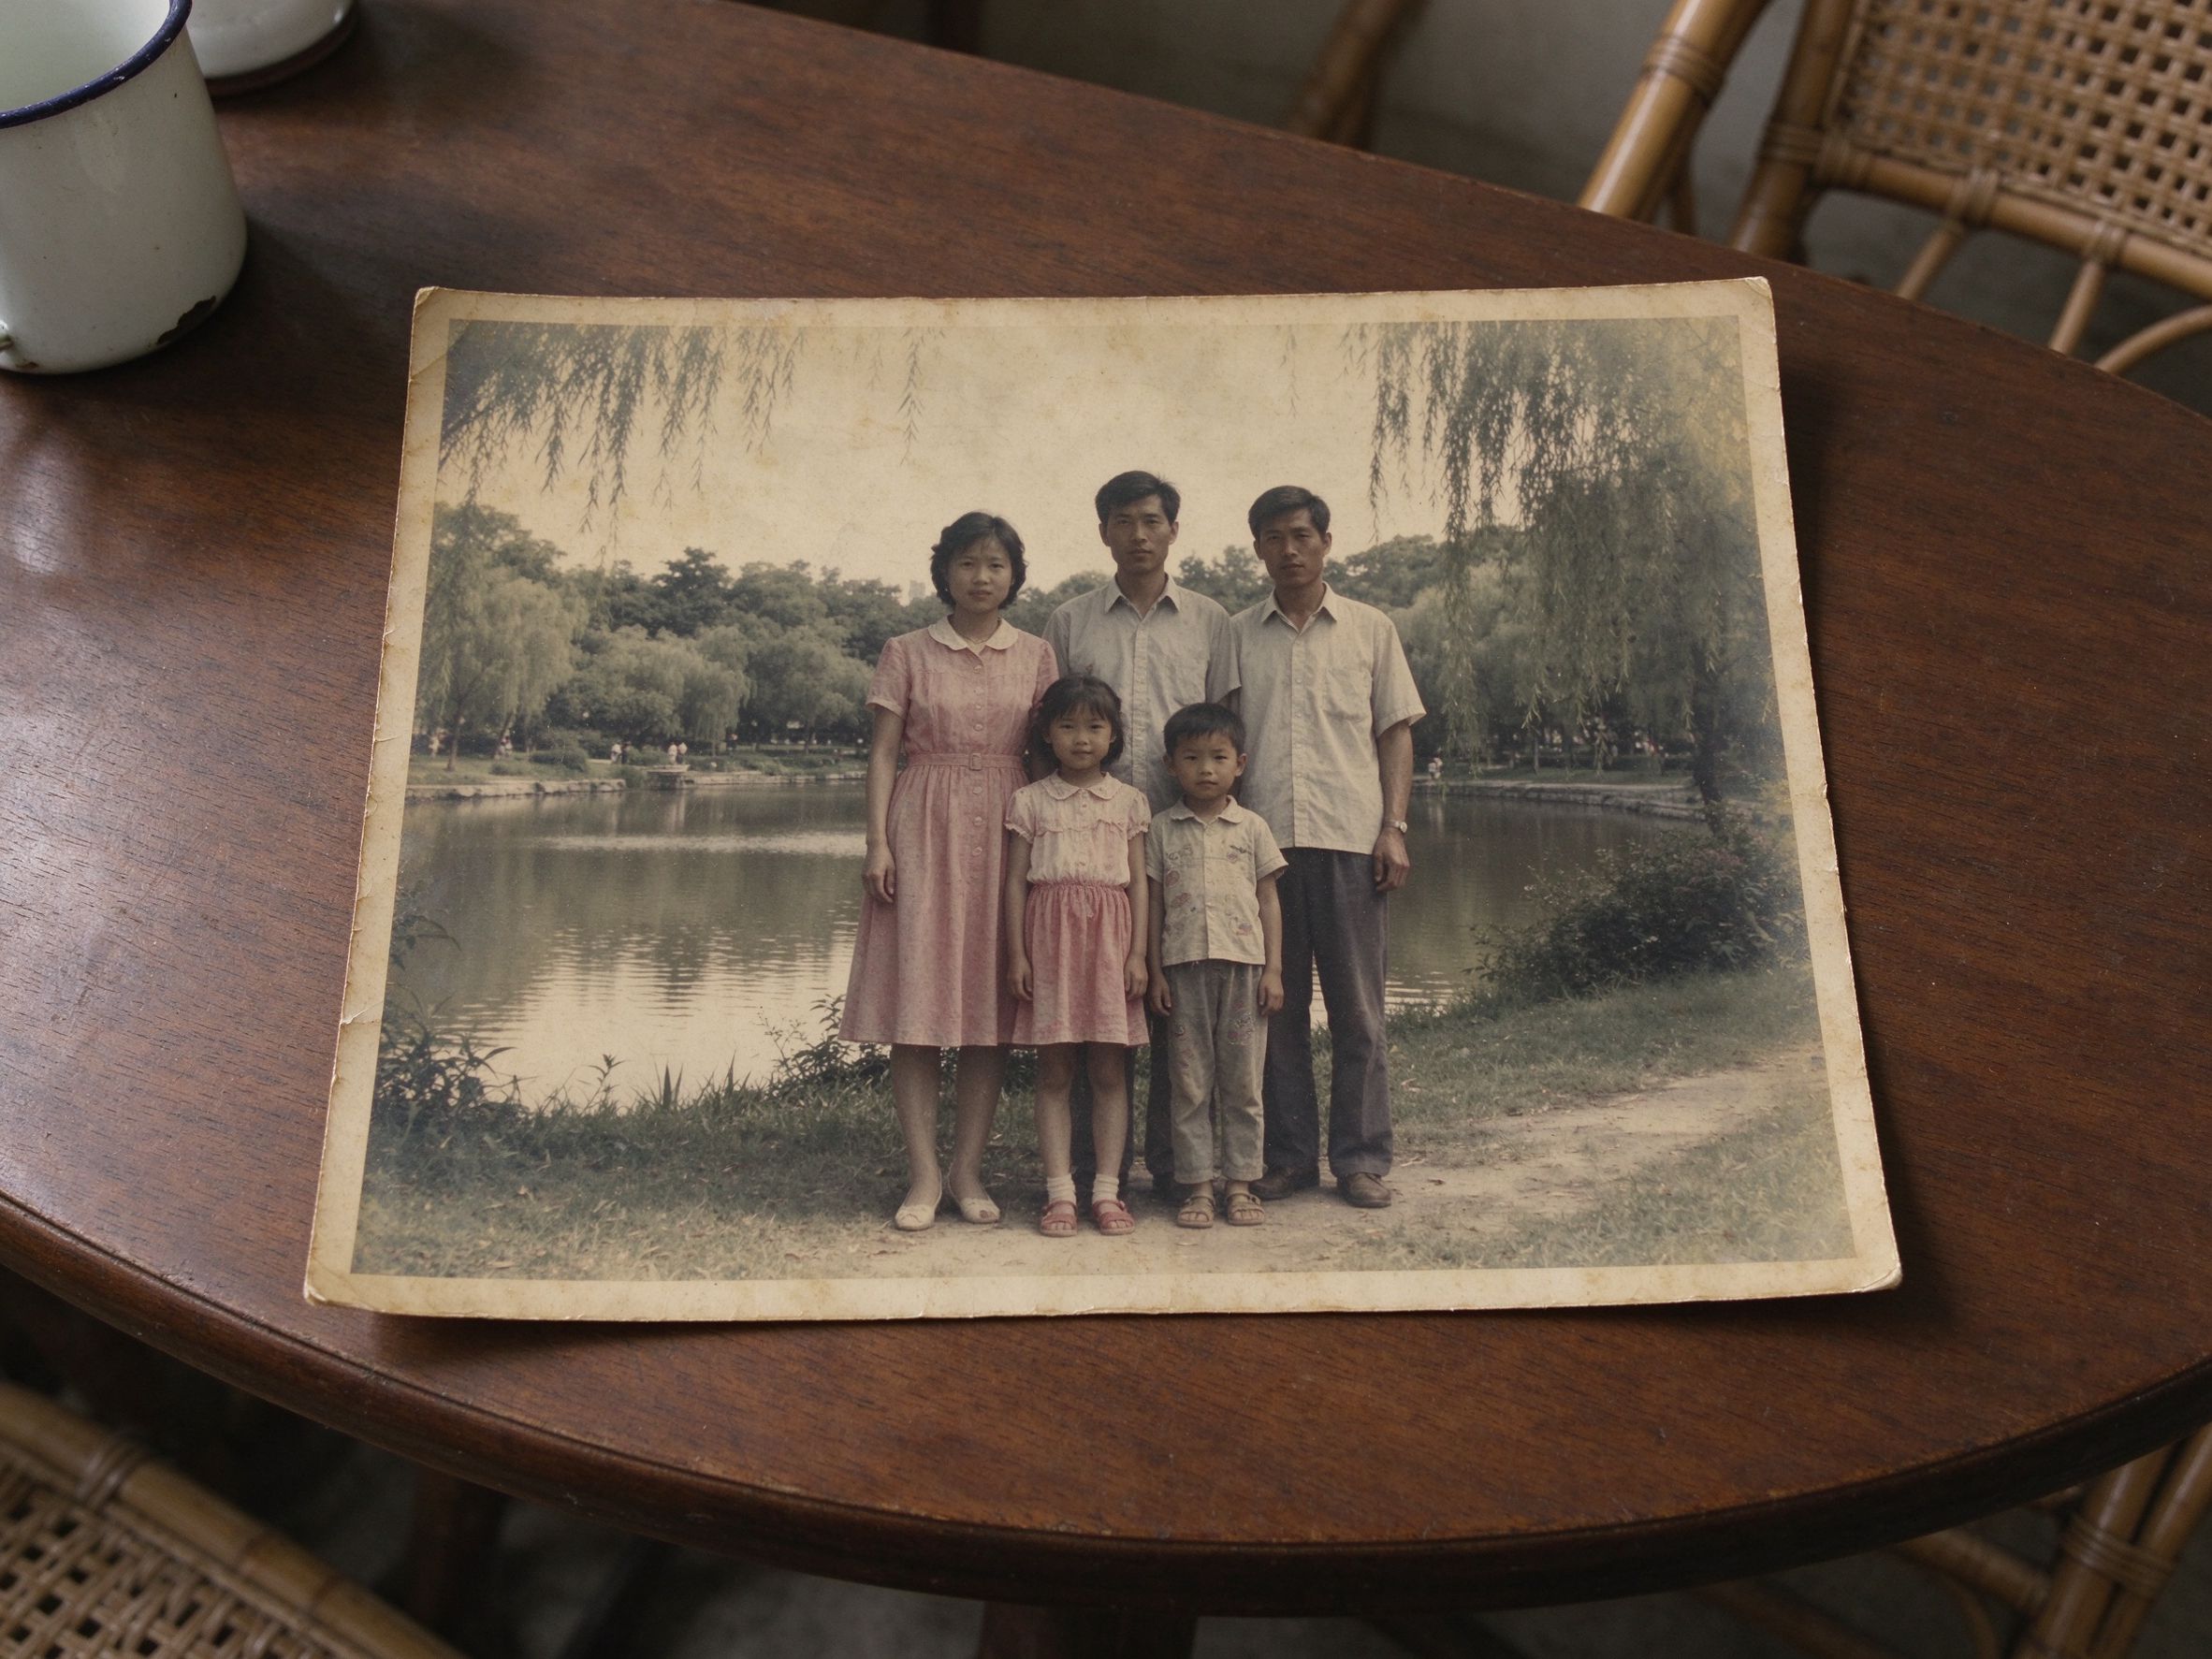
Faded Photo Fixer
Restore washed-out colors and flat contrast in old prints.
恢复老照片中褪去的色彩与平淡的对比度。

Photo Sharpener
Recover crisp edge detail after denoising a soft scan.
降噪后恢复发虚扫描件的清晰边缘细节。
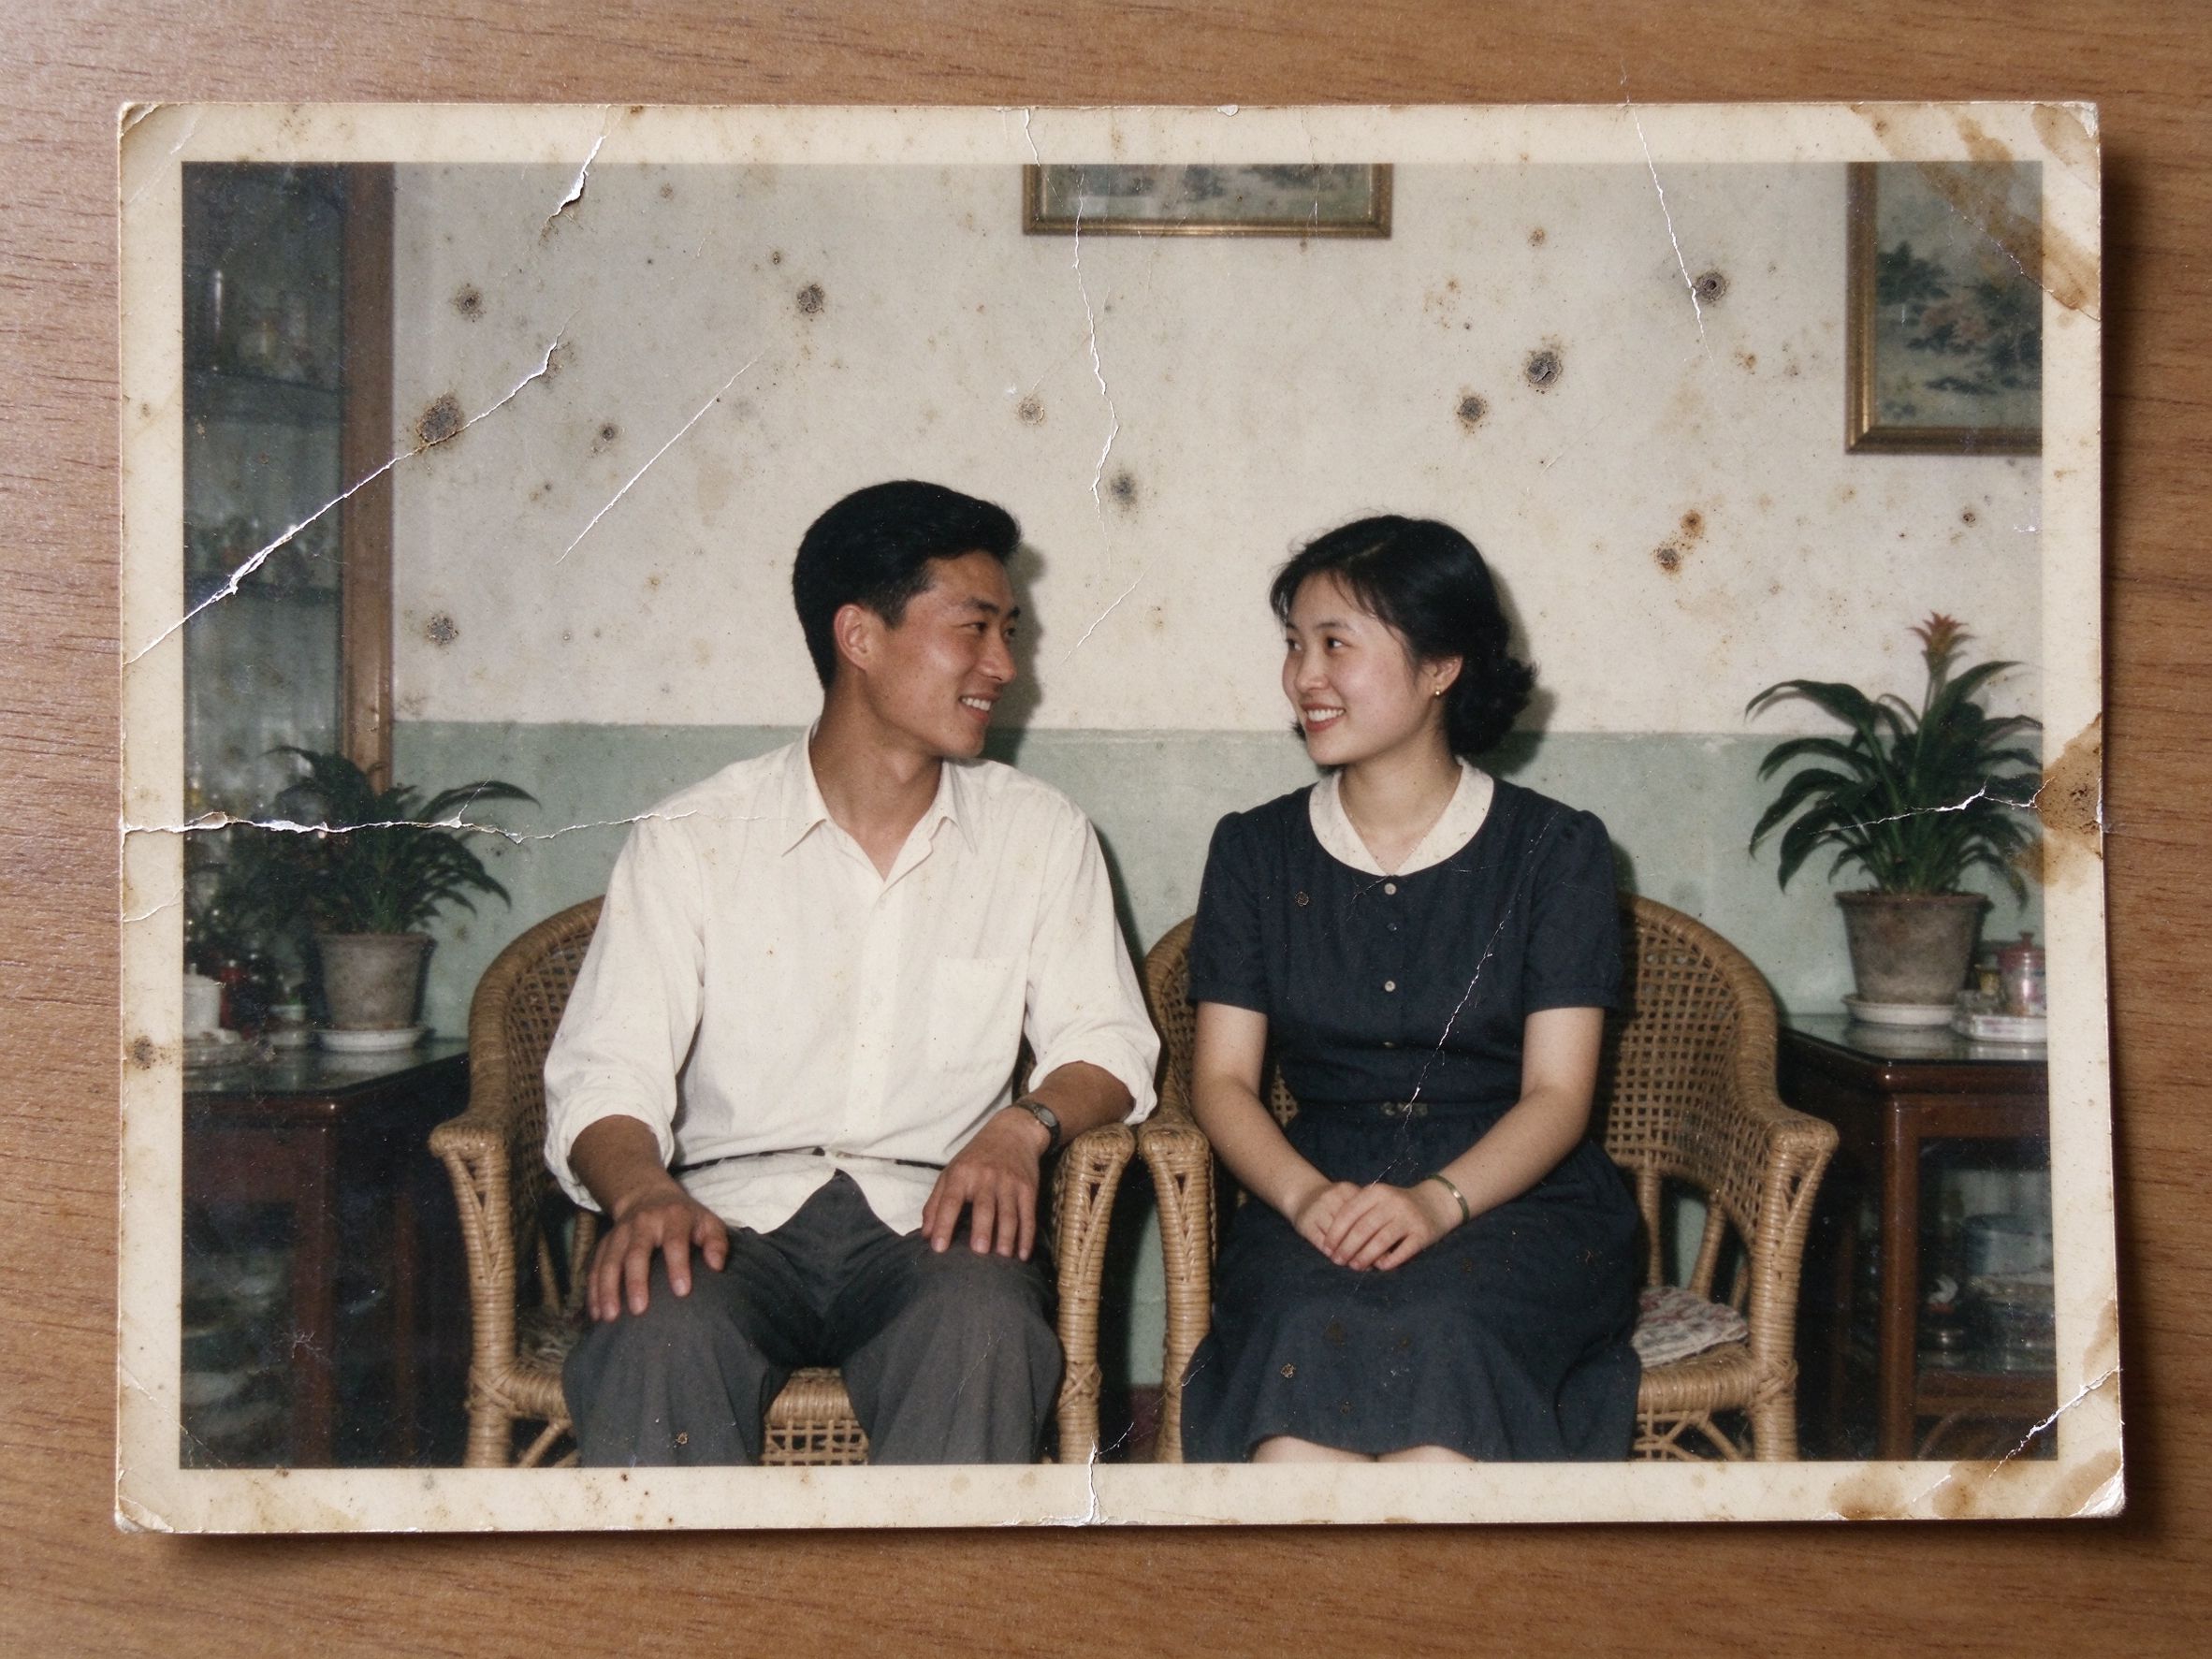
Scratch & Spot Remover
Target long scratches and stains that the denoiser leaves behind.
针对降噪无法处理的长条划痕与污渍。
Image Compressor
Shrink your restored photos for web and email sharing.
把修复后的照片压缩到适合网页与邮件分享的大小。

Black & White Converter
A clean denoise plus monochrome gives grainy shots timeless contrast.
干净降噪后转黑白,让颗粒感照片更有岁月质感。
Related Guides
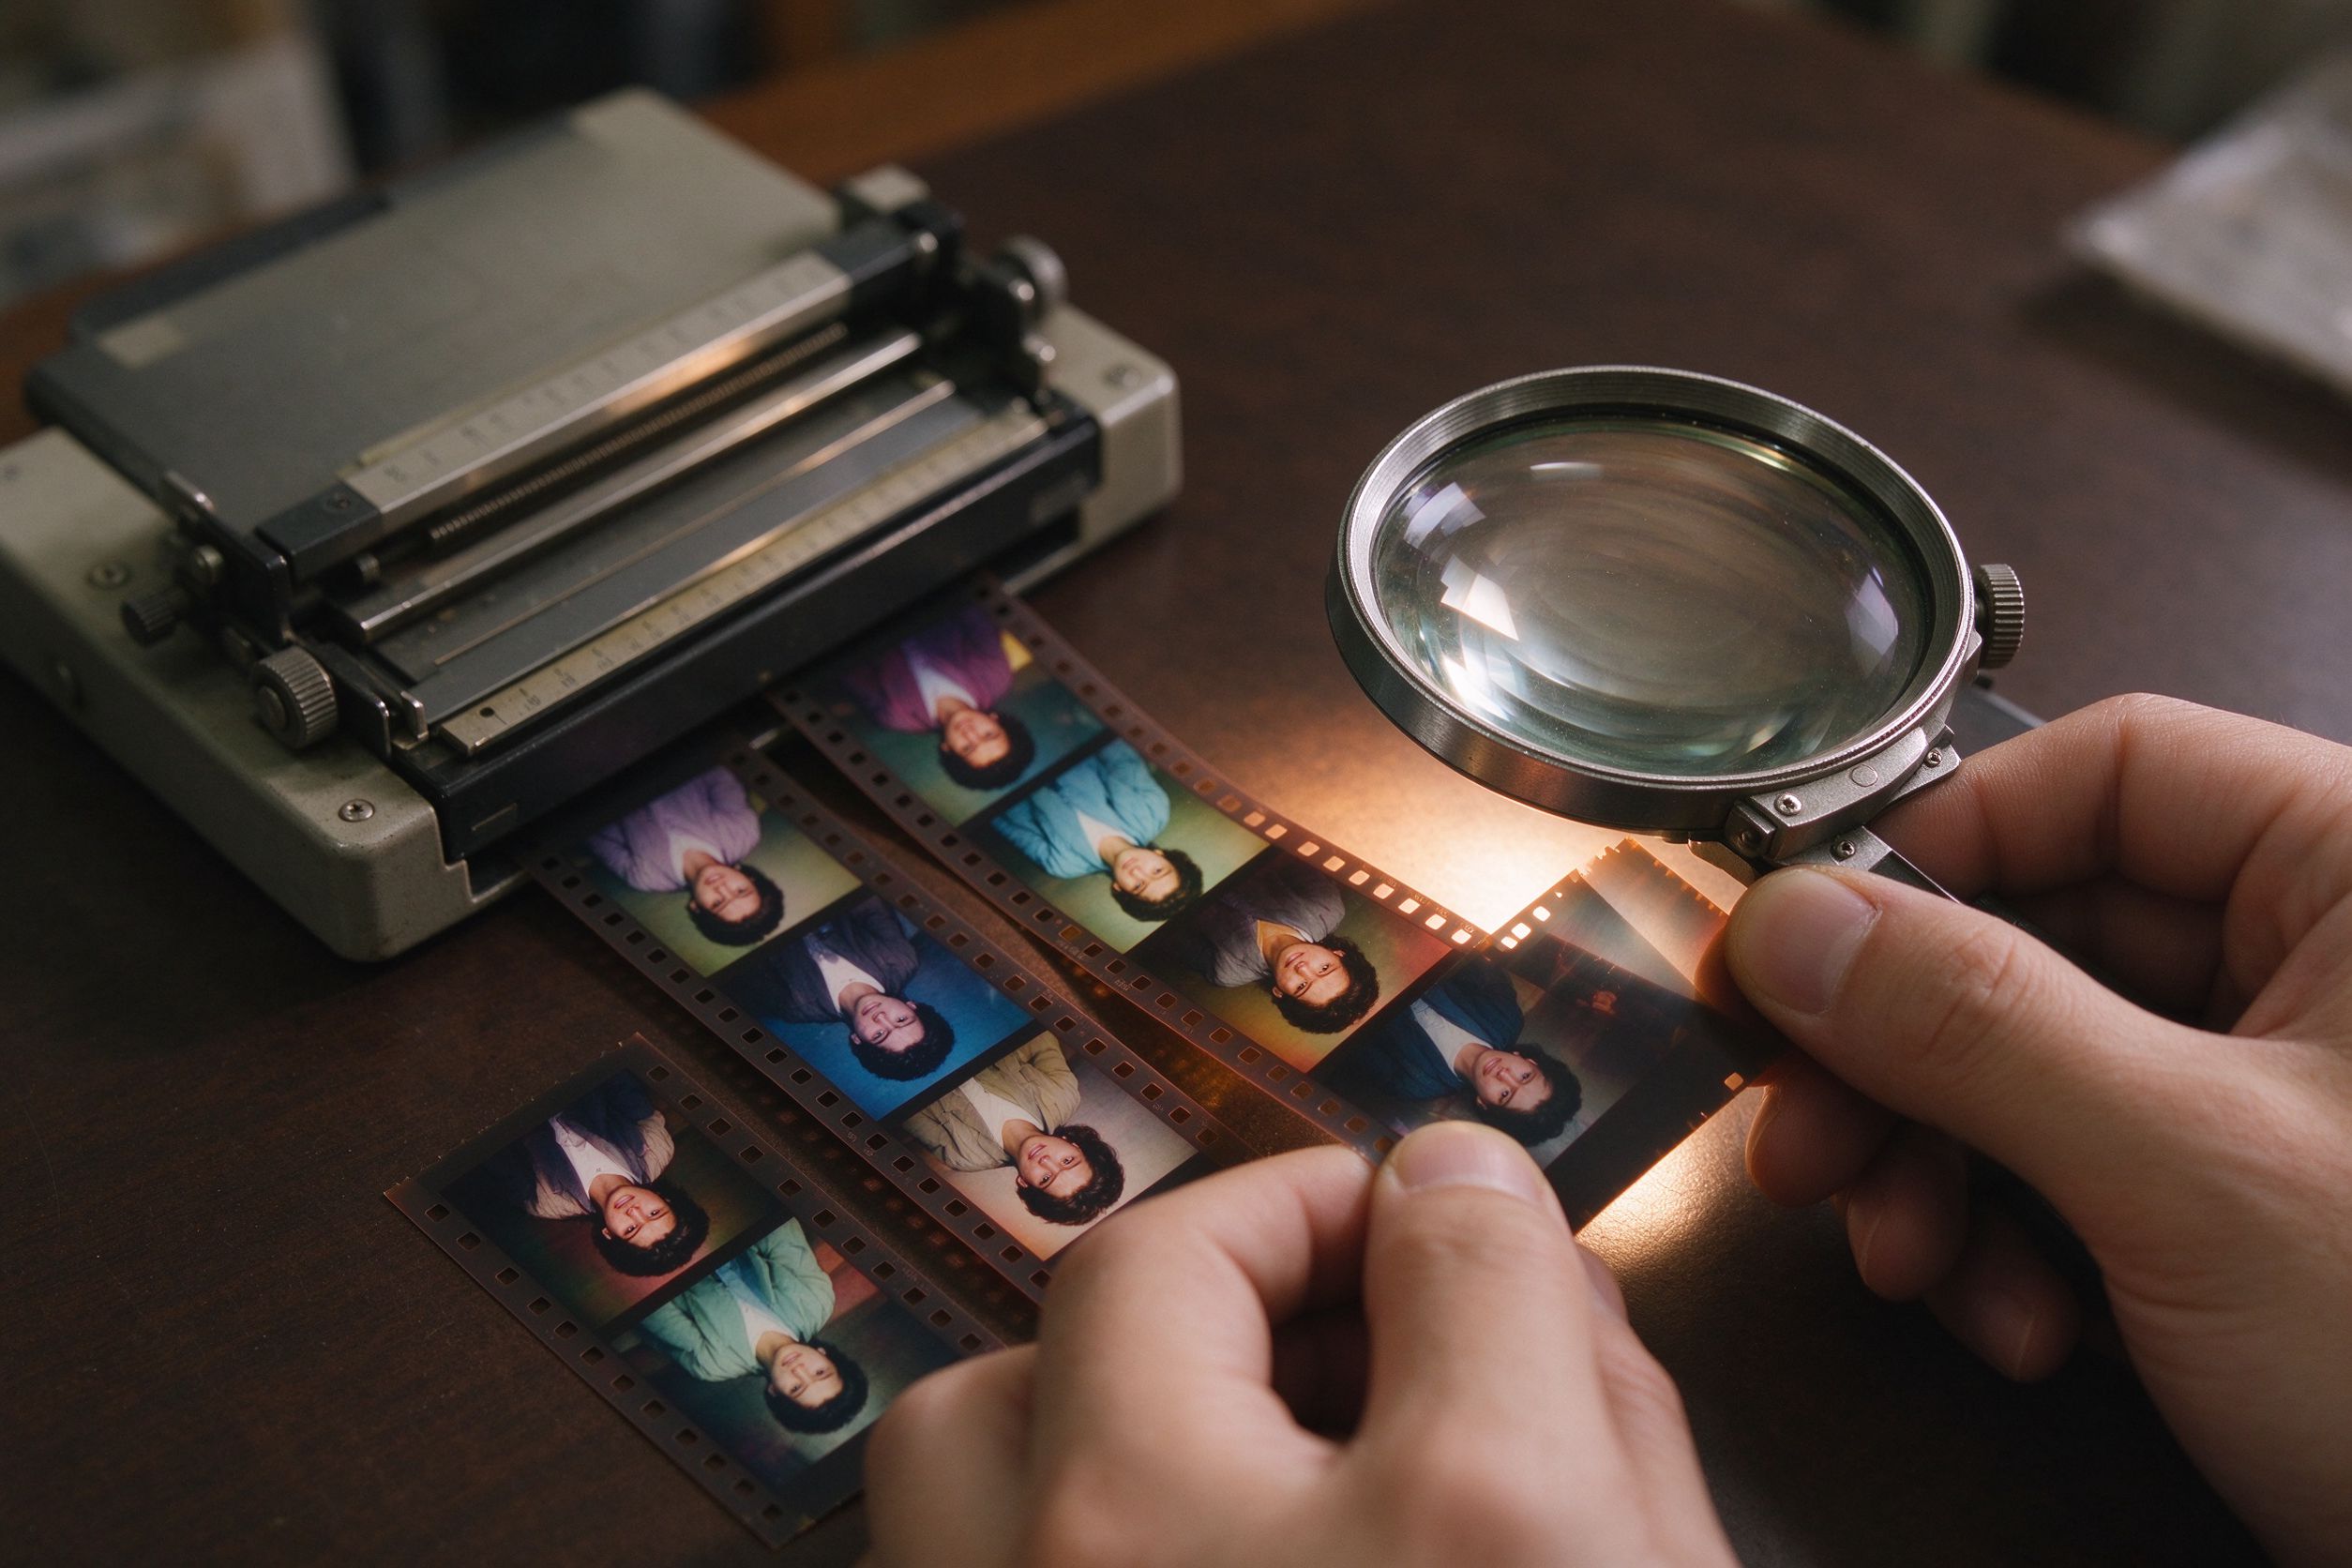
Film Scan Restoration: Dust, Grain & Color Shifts
A field guide to cleaning up scanned film without over-processing.
不过度处理地清洗胶片扫描件的实战指南。
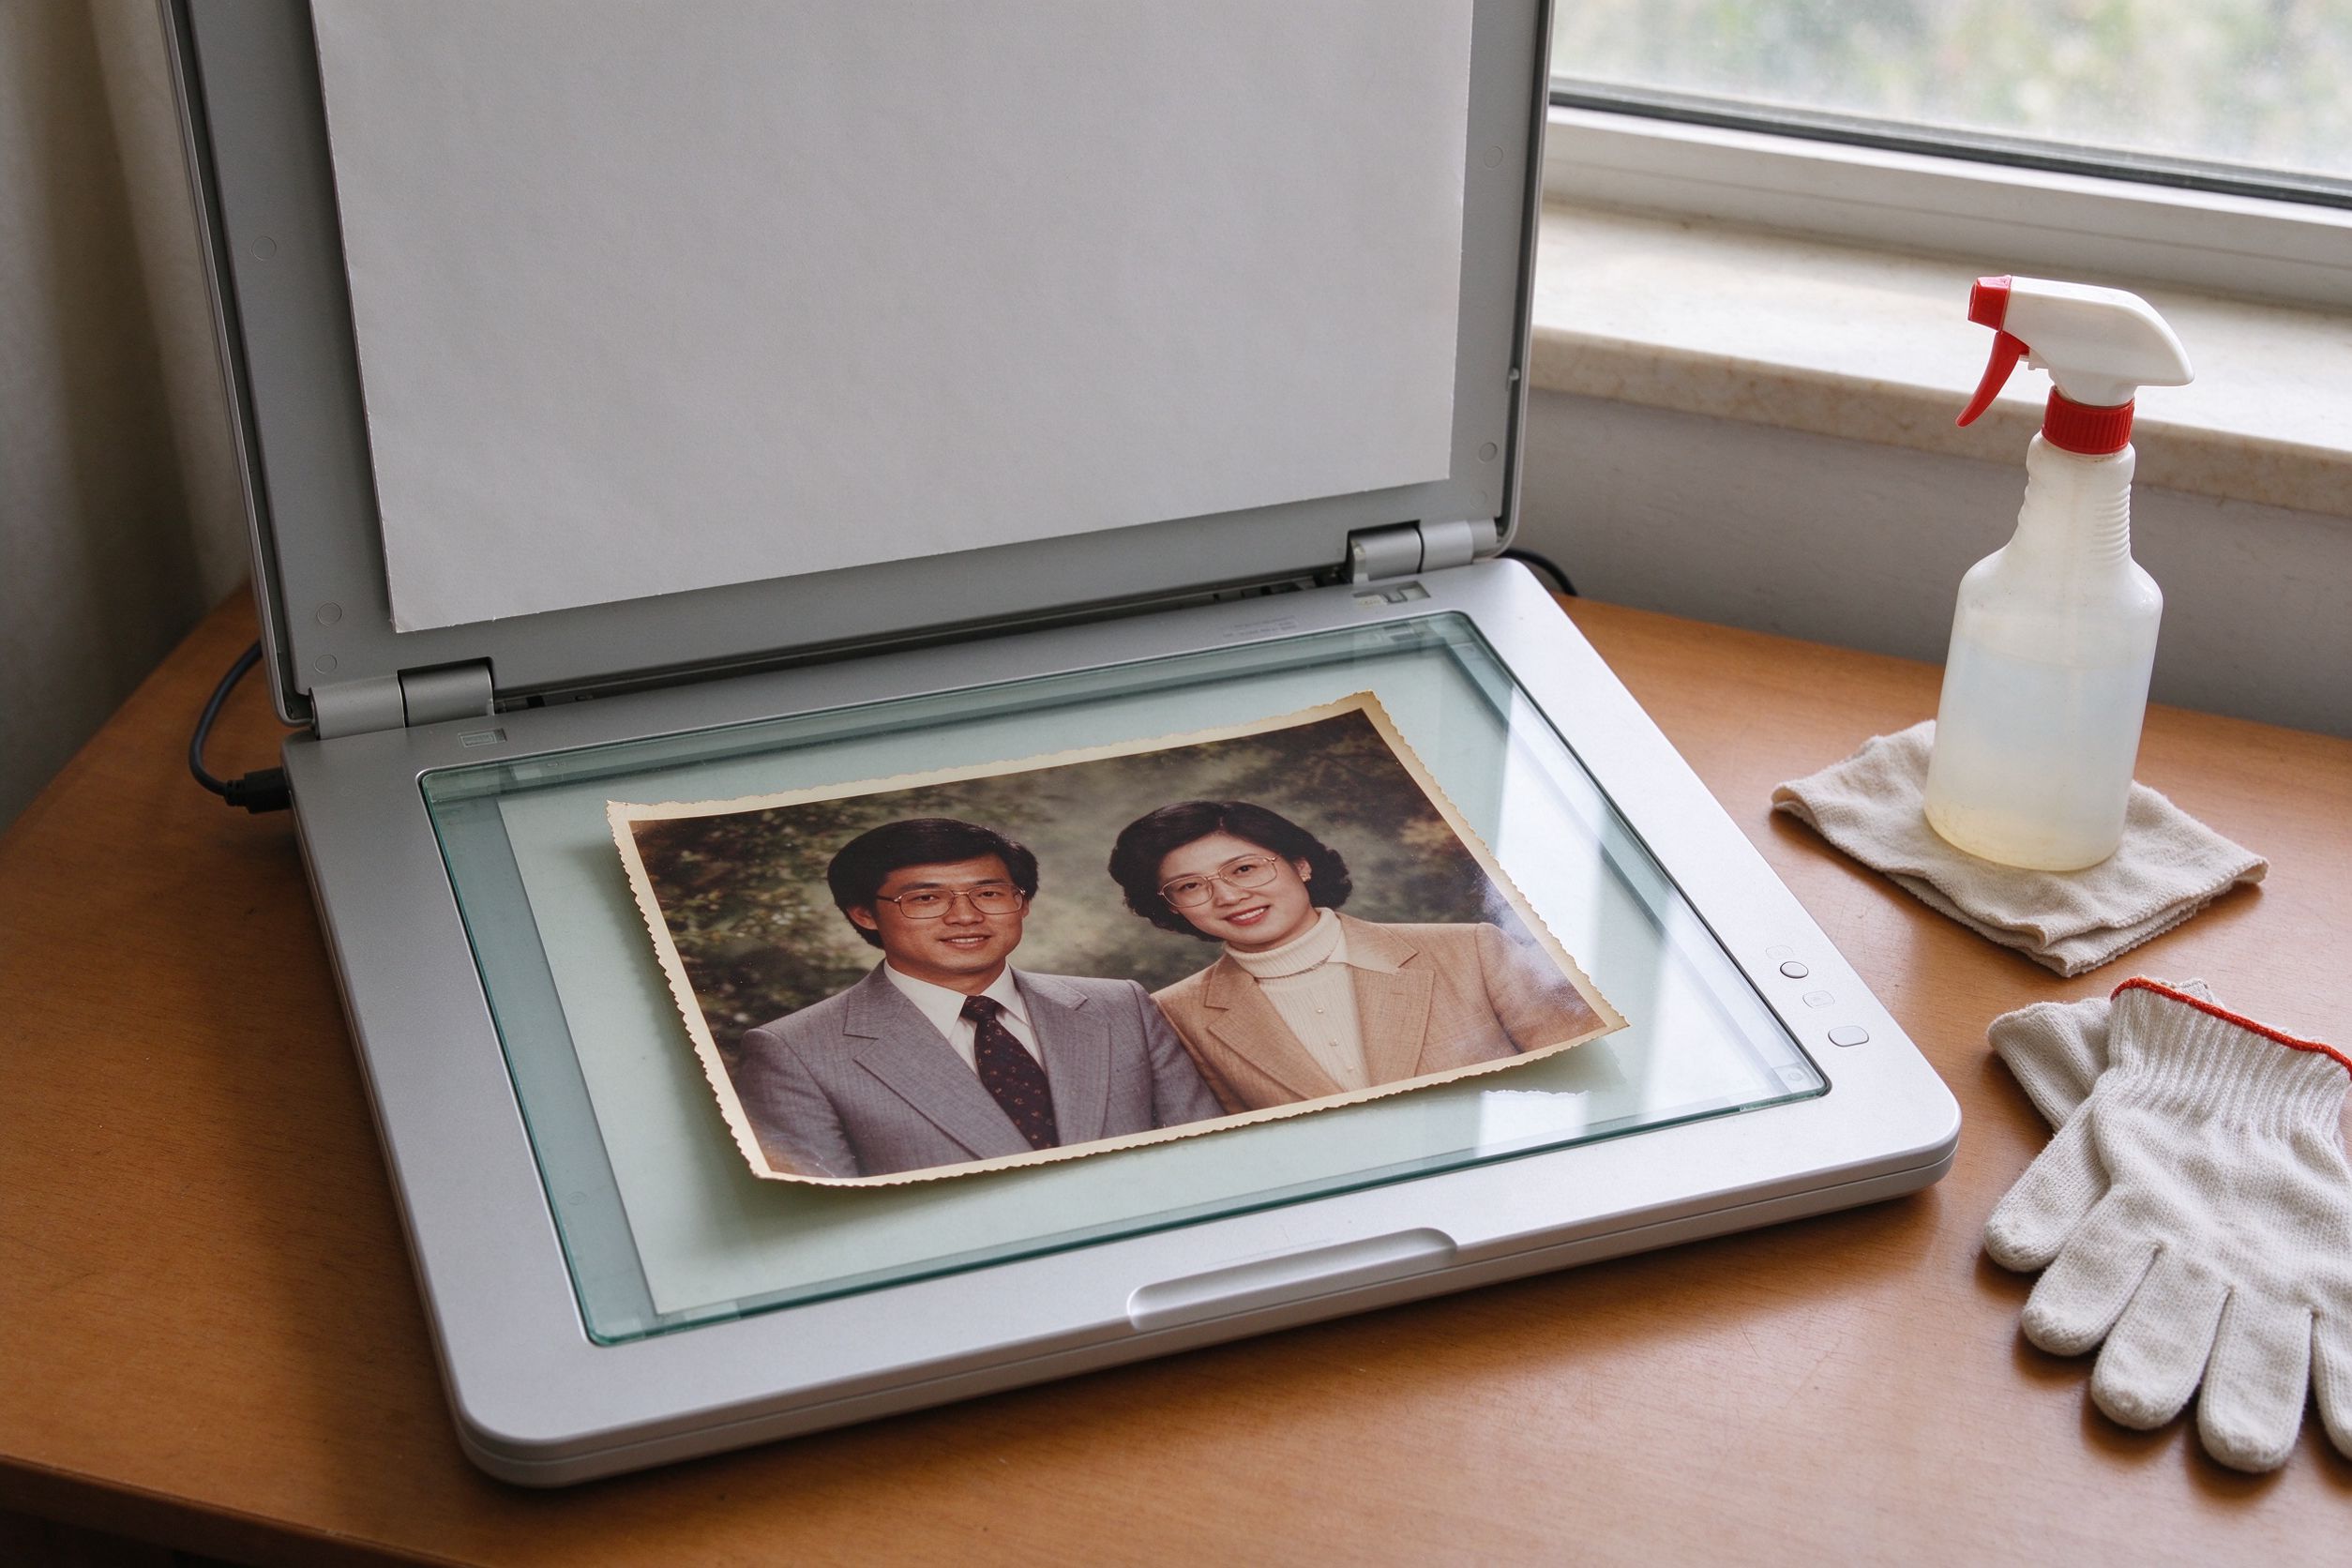
Scanning Old Photos: Best Settings & Prep
Clean glass and the right DPI cut the noise you have to remove later.
干净的玻璃与合适的 DPI 能减少后期需要去除的噪点。
How to Restore Old Photos of Your Grandparents
The full workflow: scan, denoise, color, touch-up.
完整流程:扫描、降噪、校色、精修。
10 Photo Care Tips to Preserve Memories
Store prints properly so the next scan needs less denoising.
妥善保存相纸,下次扫描就不必过度降噪。