Photo Sharpener
Recover crisp edge detail from soft, blurry old photos with a gentle unsharp mask — free, fast, and processed entirely in your browser.
用温和的反锐化掩模,从发虚模糊的老照片中恢复清晰锐利的边缘——免费、快速,全程在浏览器中完成。
Private by design — your photo is processed locally and never uploaded.Drop a photo here, or click to browse
Supported formats: JPG, PNG, WebP, GIF, BMP
Drag to compare
Tip: upload the largest scan you have — bigger input gives better results.
How It Works
Scanning, small-format prints and age all soften an image: fine edges get a few pixels wide halo instead of a crisp transition. The Photo Sharpener applies an unsharp mask — the same technique professional editors use — but runs it entirely on your device through the HTML5 Canvas API. Nothing is uploaded; the page works even after you go offline.
The two knobs explained:
Sharpening amount
Controls how strongly edges are amplified. Low values (30–60) give a natural "scanned" crispness; higher values (100+) visibly darken and lighten edges and start to look crunchy.
Detail radius
Controls the size of the edges being enhanced. A small radius (0.5–1) brings out fine texture like eyelashes and fabric weave; a larger radius (2–3) strengthens broader outlines such as facial contours and buildings.
How an unsharp mask works
The tool blurs a copy of your photo, then adds the difference between the original and the blur back onto the original. That difference is the edge information — amplifying it makes edges pop without a simple brightness boost.
Noise-aware workflow
Sharpening amplifies grain too, so we recommend denoising grainy scans first with the Photo Denoiser, then sharpening lightly for the best result.
An honest note: sharpening is contrast on edges, not magic focus. If a face is genuinely out of focus, no amount of sharpening will recover an eye that was never resolved — it will only emphasize the blur and add halos. This tool is for photos that are slightly soft from scanning or age, not badly misfocused shots.
扫描、小幅照片与岁月都会让画面变软:原本锐利的边缘变成了几个像素宽的过渡。Photo Sharpener 使用专业编辑器同款的反锐化掩模——但全程通过 HTML5 Canvas API 在你的设备上运行。照片不会被上传;页面加载后断网也能用。
两个参数的含义:
锐化强度
控制边缘被放大的力度。低数值(30–60)带来自然的「扫描级」清晰感;高数值(100 以上)会明显加重边缘的明暗对比,开始显得生硬。
细节半径
控制被增强的边缘尺度。小半径(0.5–1)突出睫毛、织物纹理等细腻细节;大半径(2–3)强化脸部轮廓、建筑等更宽的线条。
反锐化掩模的原理
工具先对照片副本做模糊,再把原图与模糊图的差值加回原图。这个差值就是边缘信息——放大它能让边缘「跳」出来,而不是简单提升亮度。
兼顾噪点的工作流
锐化会连颗粒一起放大,因此建议先用 Photo Denoiser 处理颗粒重的扫描件,再轻度锐化,效果最佳。
诚实说明:锐化是边缘对比度增强,不是魔法对焦。如果一张脸确实失焦了,再怎么锐化也无法恢复从未被解析清楚的眼睛——只会放大模糊并产生光晕。本工具适用于因扫描或年代而轻微发柔的照片,而不是严重脱焦的拍摄。
How to Use
- Upload the soft photoDrag your scan in. Sharpening works best on a reasonably high-resolution file; start from the best scan you have.
- Click "Auto Sharpen"The default amount 60 and radius 1.2 add a natural amount of edge definition to most family portraits.
- Fine-tune around the eyesZoom mentally into the preview: if lashes and hair look crisp but the sky gets grainy, lower the amount. For group portraits, raise radius slightly to strengthen broader facial features.
- Stop before halos appearIf you see white ringing around hair, glasses or buildings, dial back the amount — that halo is the classic over-sharpening artifact.
- Download the resultSave as PNG for archiving, JPG for printing, WebP for web use.
- 上传发柔的照片拖入扫描件。锐化在较高分辨率的文件上效果最好——从你手上最好的扫描件开始。
- 点击「自动锐化」默认强度 60、半径 1.2,给大多数家庭肖像加一层自然的边缘清晰度。
- 围绕眼睛微调在预览中聚焦观察:睫毛和头发清晰了但天空变脏,就降低强度;群体合照则略微提高半径,强化更宽的面部轮廓。
- 在光晕出现前停下如果头发、眼镜、建筑边缘出现白色描边,请往回降低强度——那就是典型的过锐化光晕。
- 下载结果存档保存 PNG,打印用 JPG,网页使用 WebP。
FAQ
Is my photo uploaded to a server?
Can sharpening fix a truly out-of-focus photo?
Why do I see a white glow around hair or glasses?
Should I sharpen before or after denoising?
Is it free?
我的照片会被上传到服务器吗?
锐化能修复真正脱焦的照片吗?
为什么头发或眼镜周围出现白色光晕?
应该先锐化还是先降噪?
是免费的吗?
Related Tools
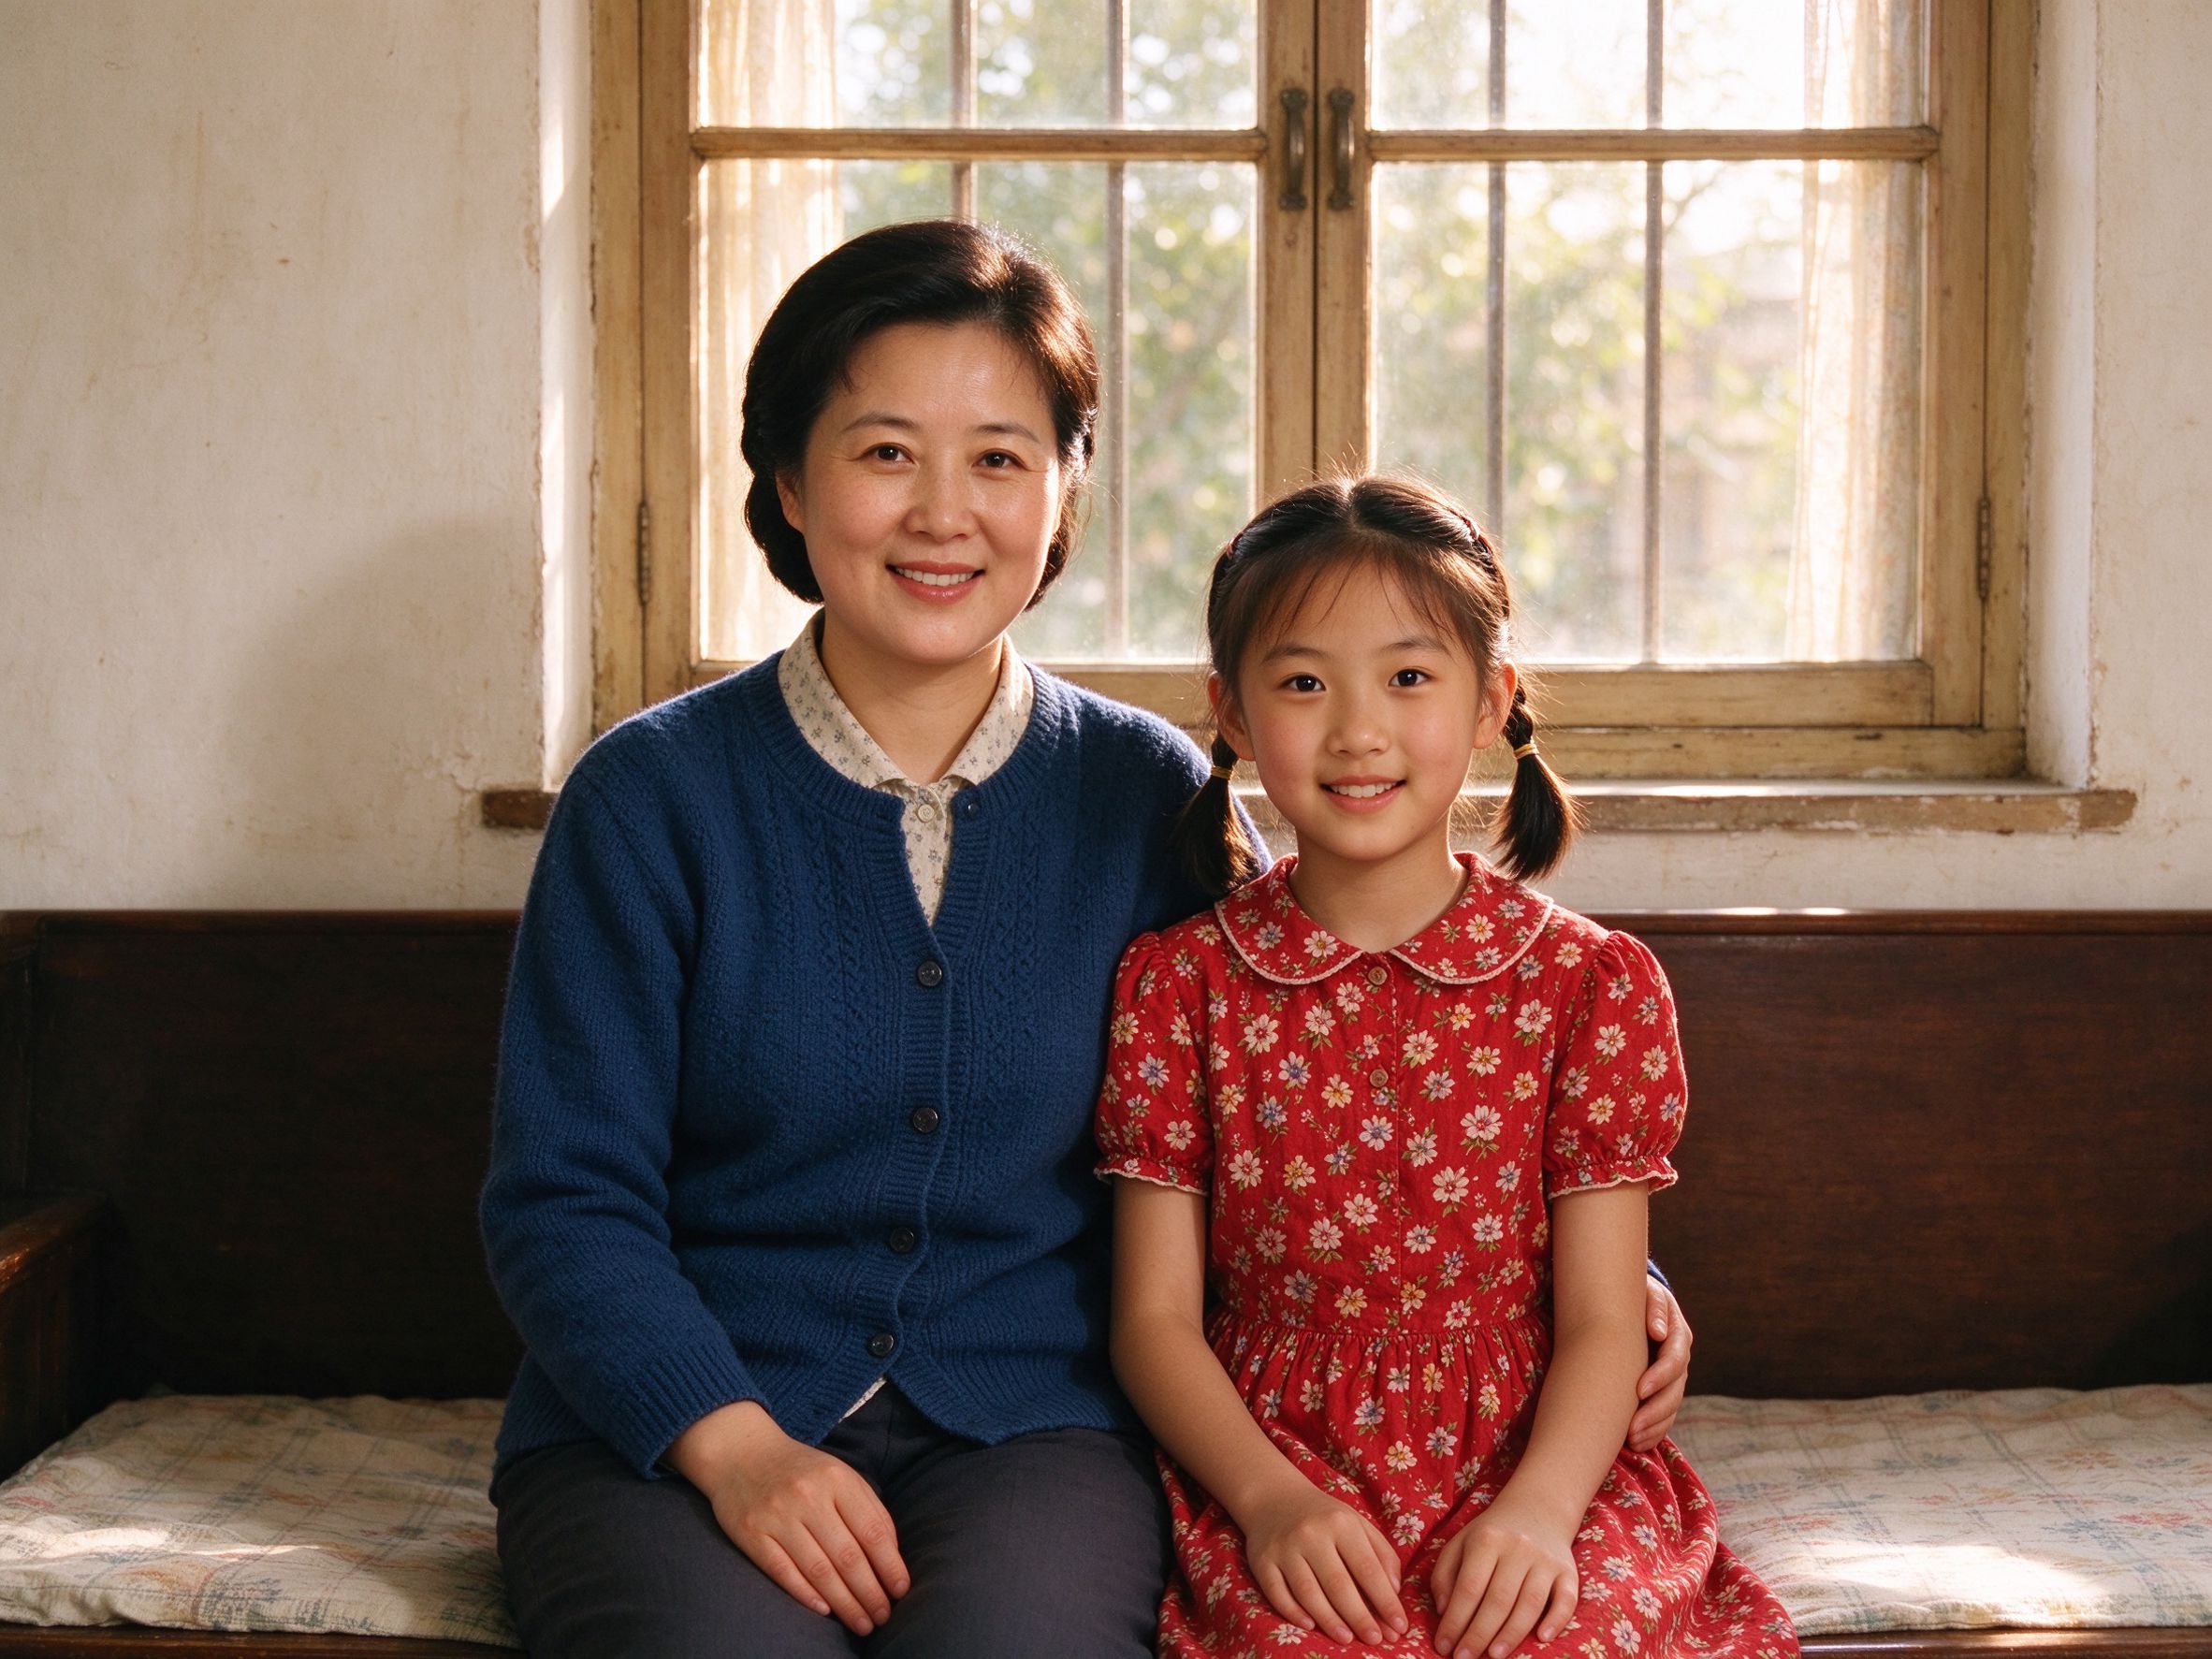
AI Photo Restorer
One-click restore that includes its own gentle sharpening step.
一键修复,内置温和锐化步骤。
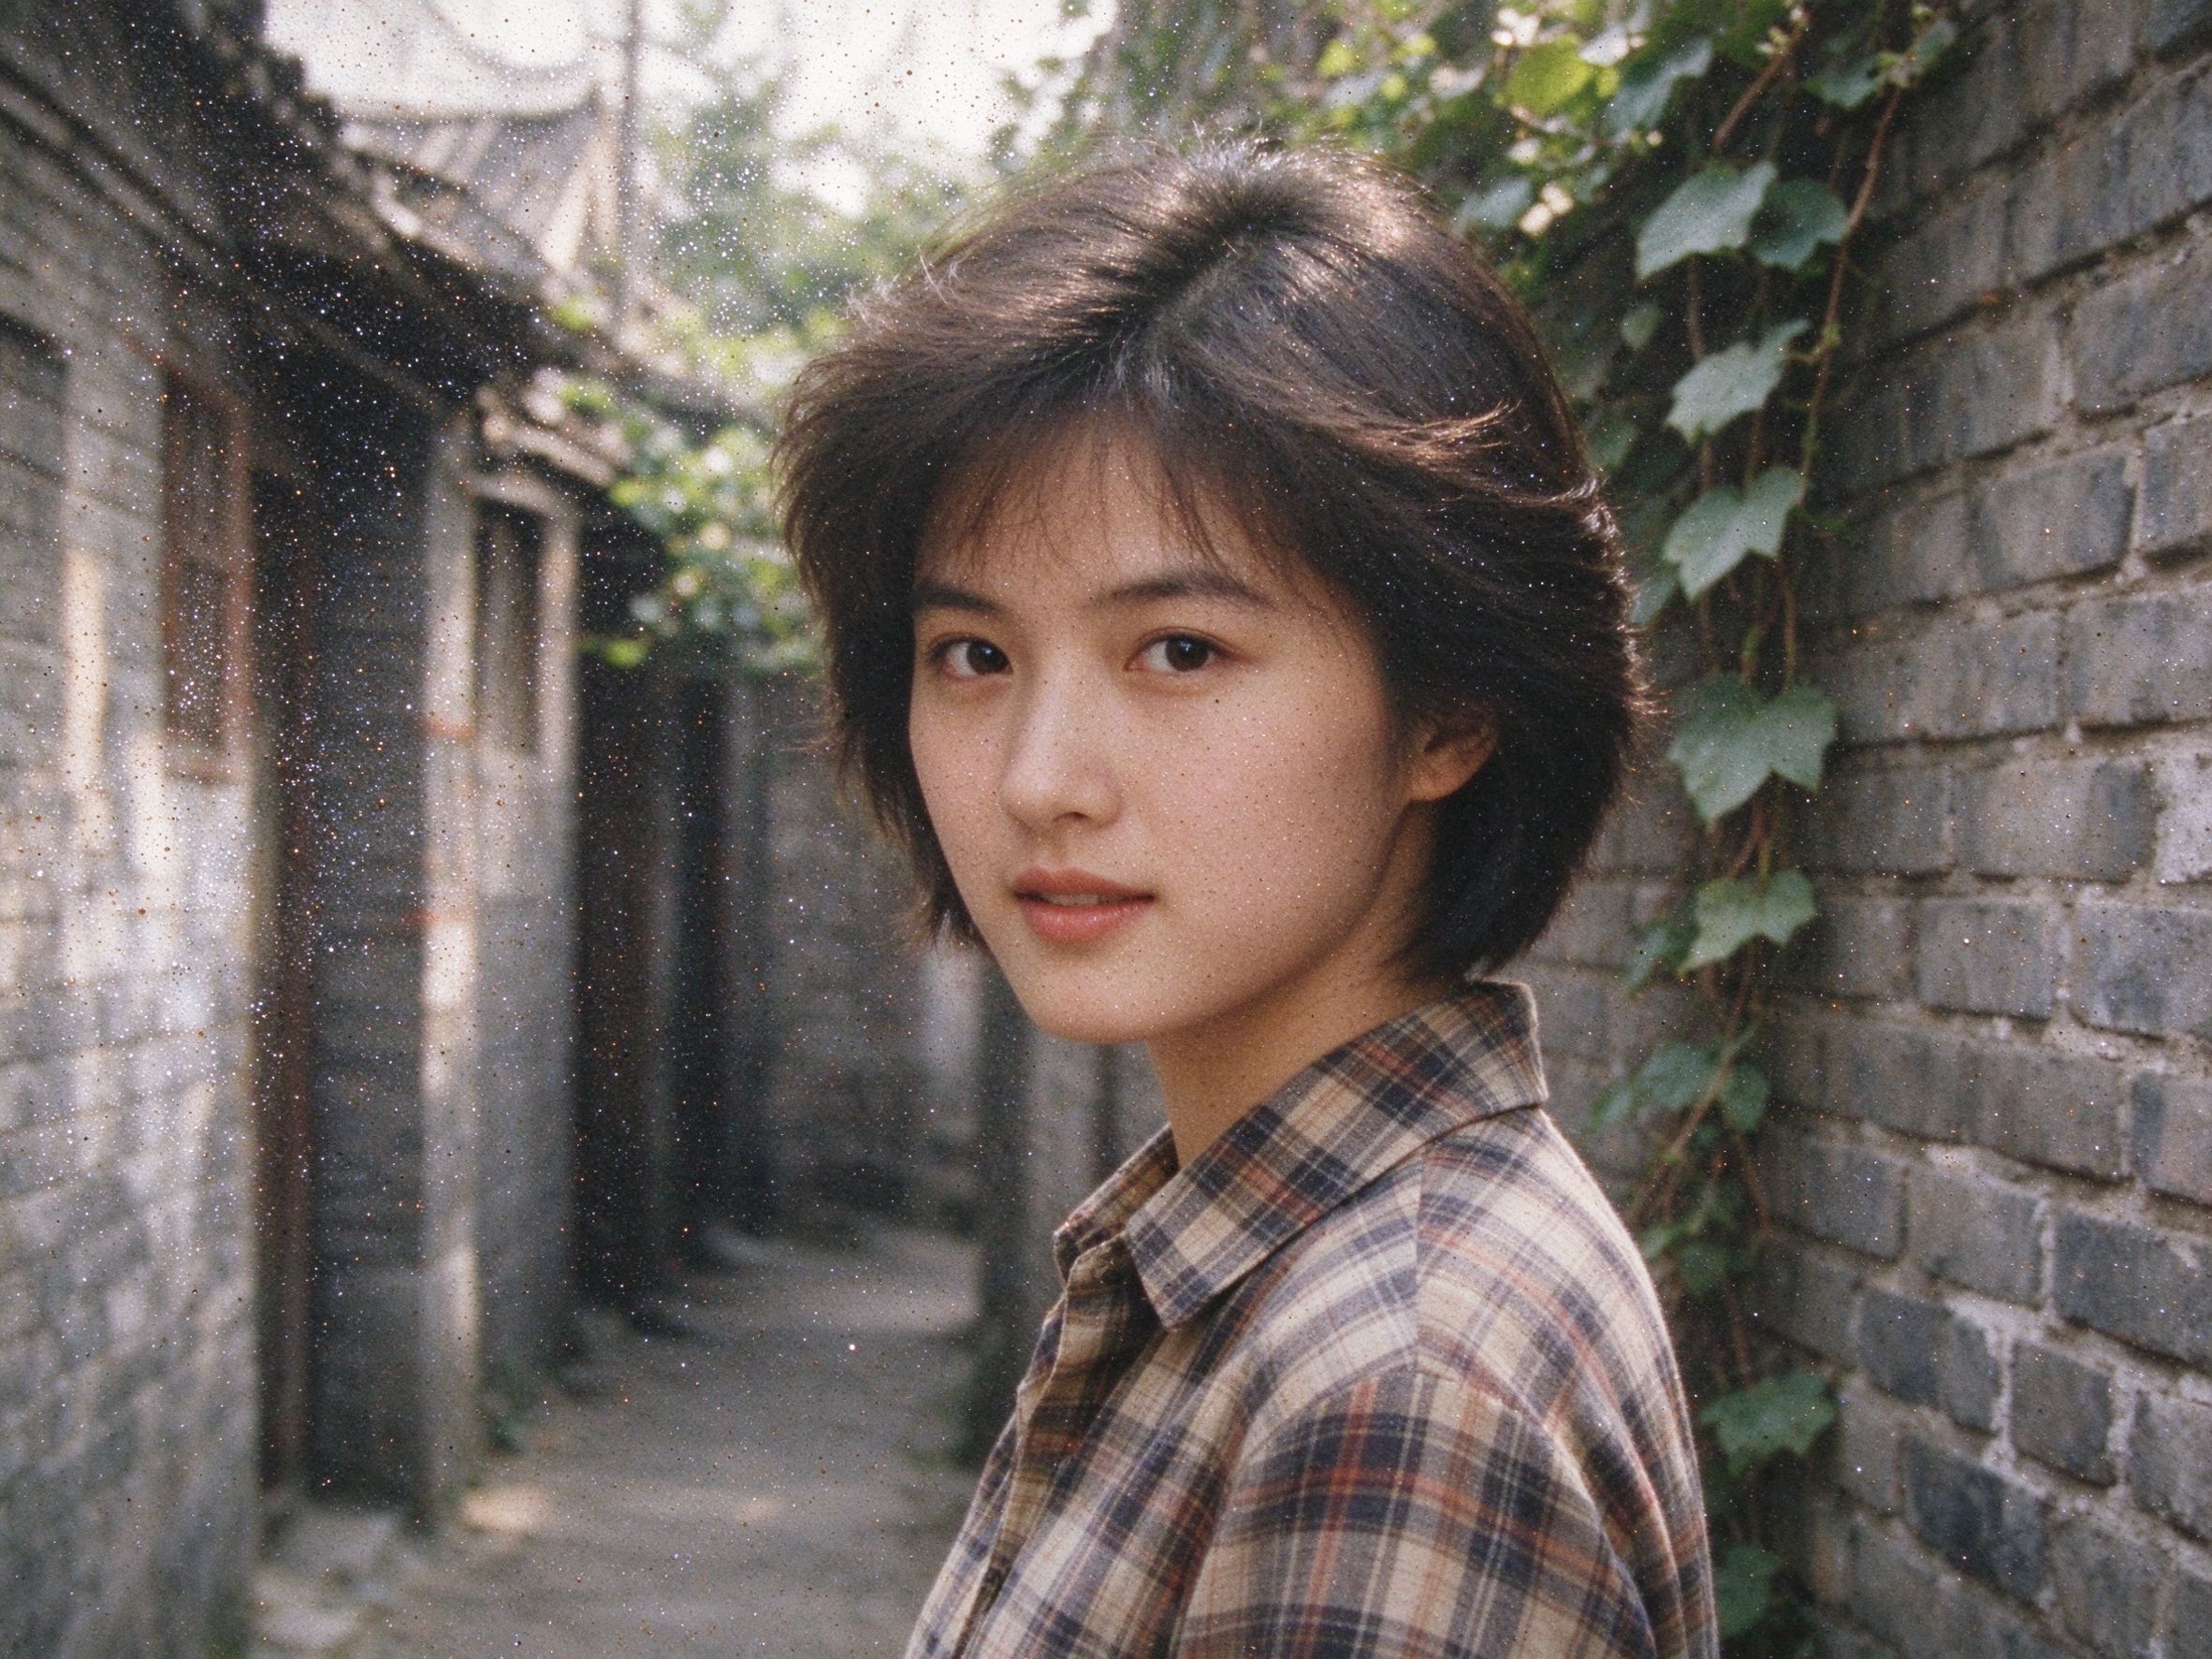
Photo Denoiser
Clean grain before you sharpen, so edges — not noise — get emphasized.
锐化前先去颗粒,这样被强调的是边缘而不是噪点。
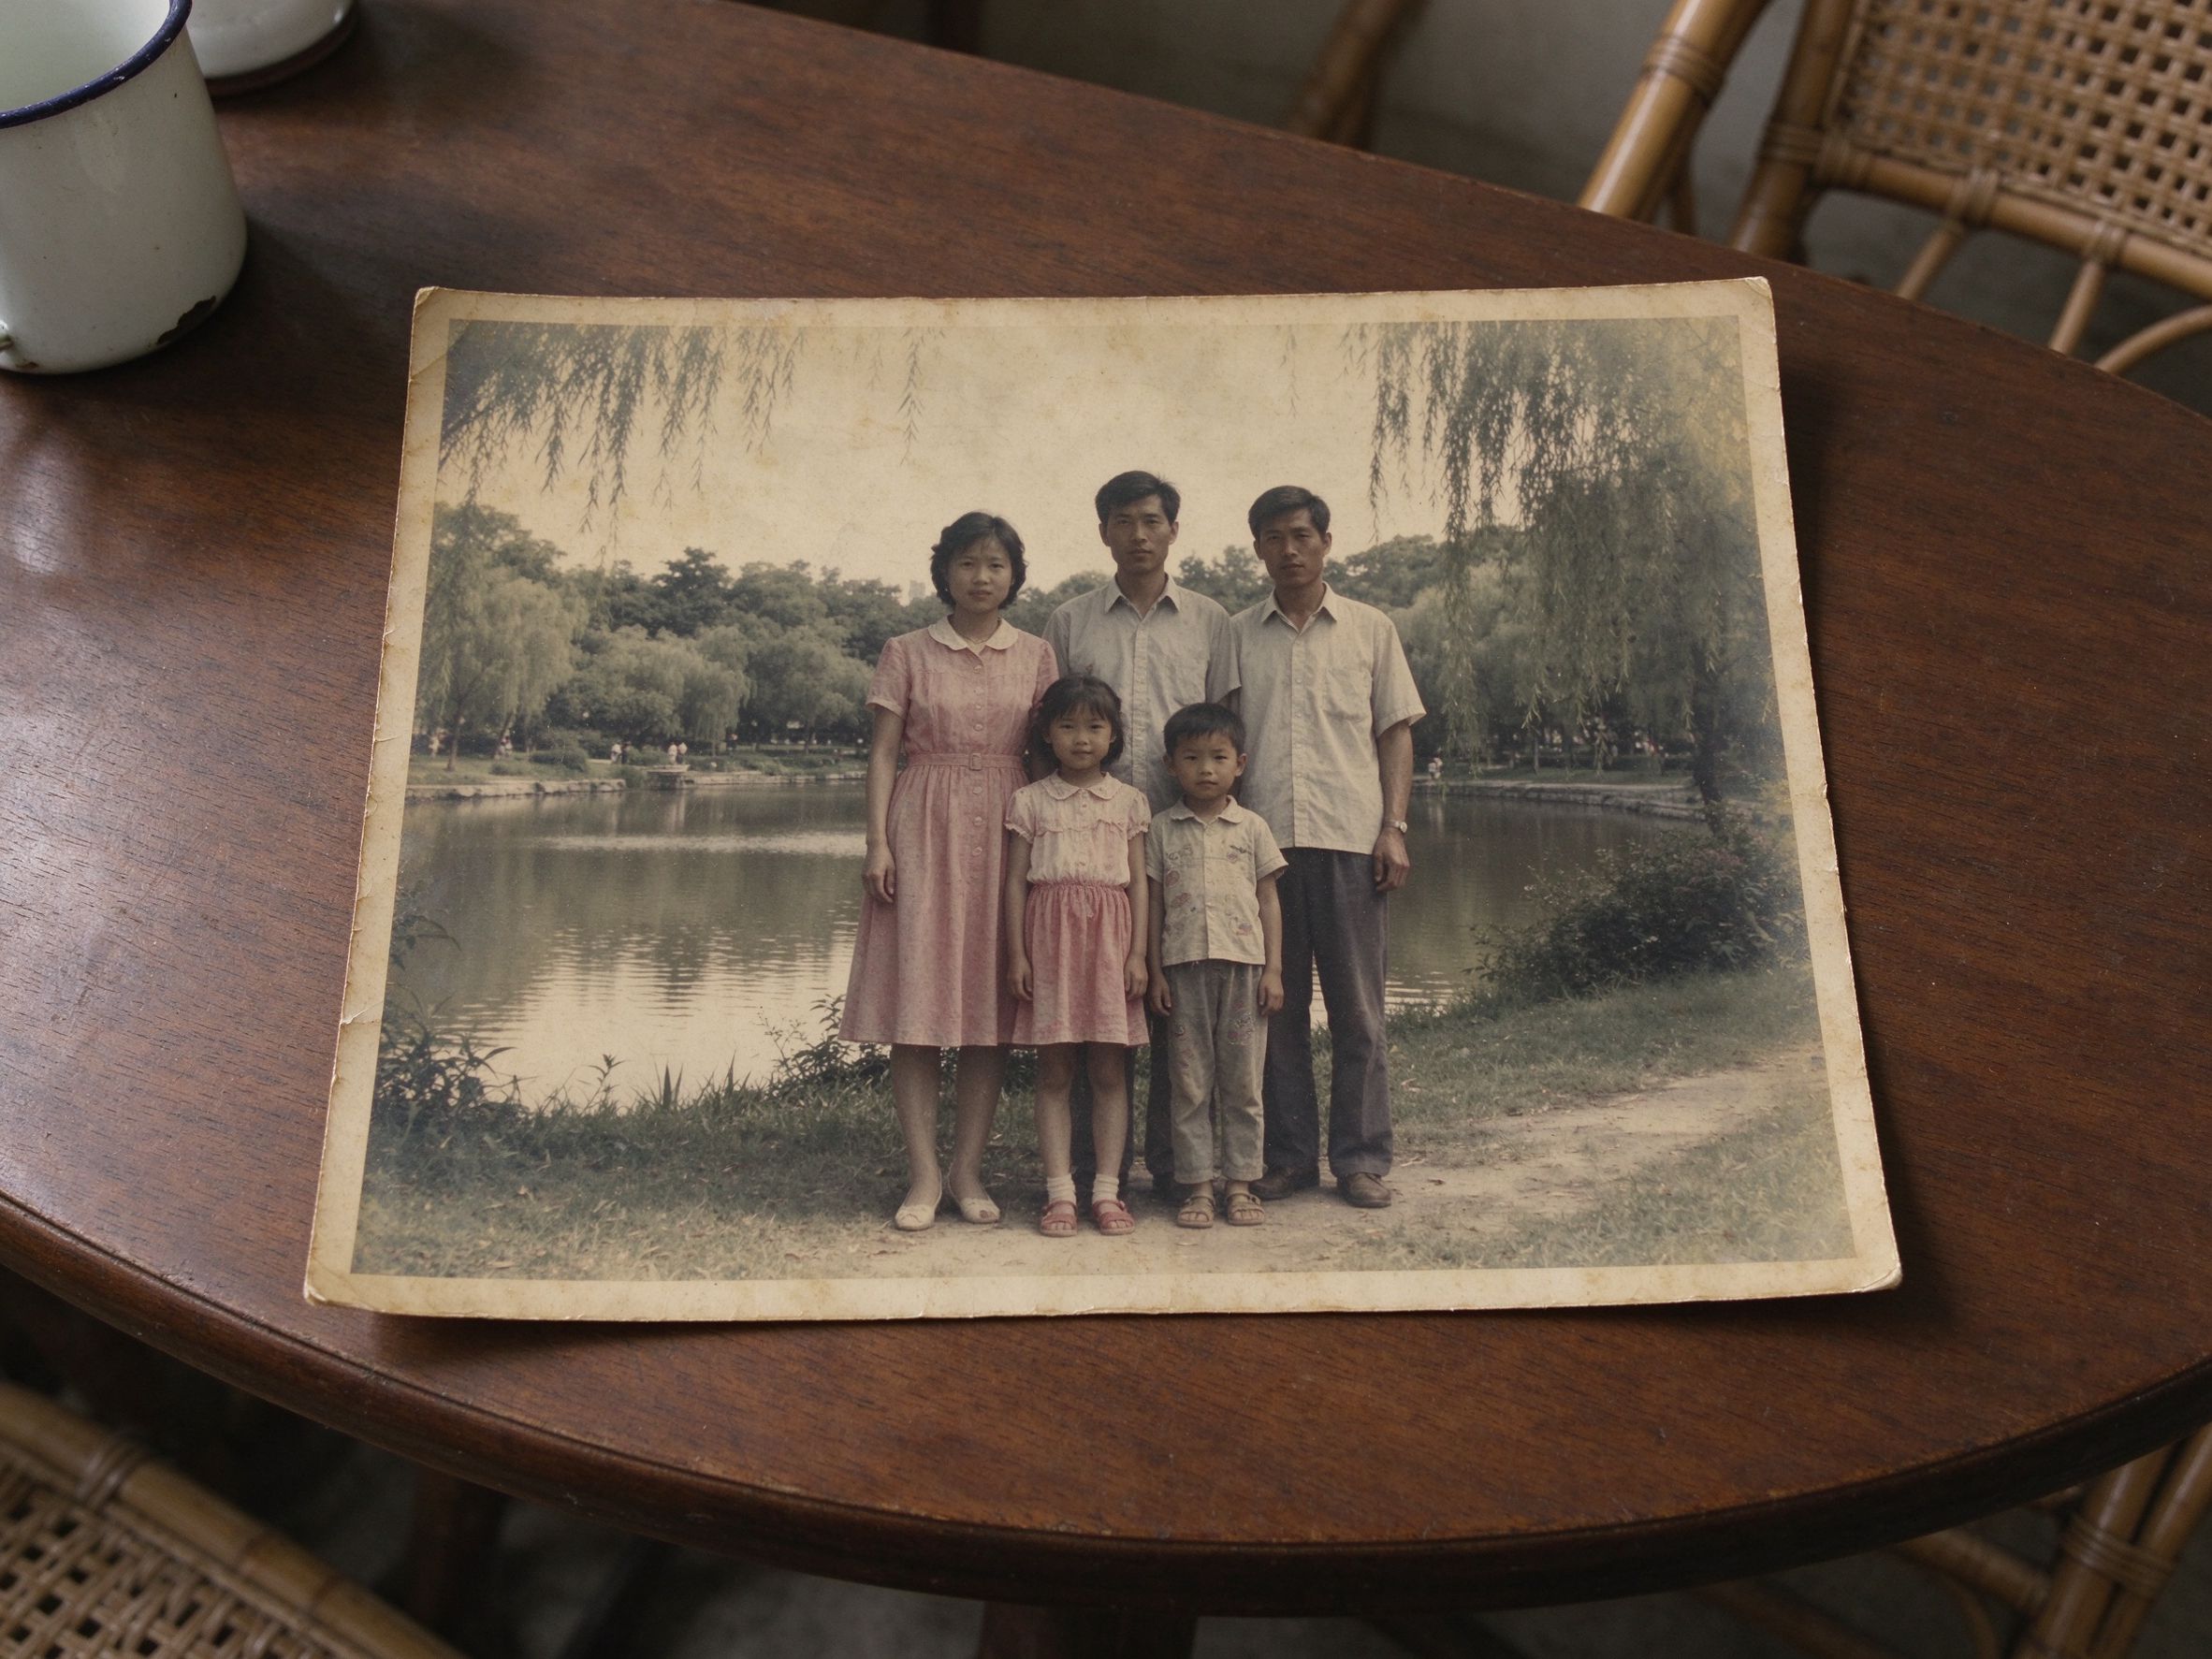
Faded Photo Fixer
Restore contrast and color first; a faded photo always needs a bit of sharpening after.
先恢复对比度与色彩;褪色照片之后通常都需要轻度锐化。
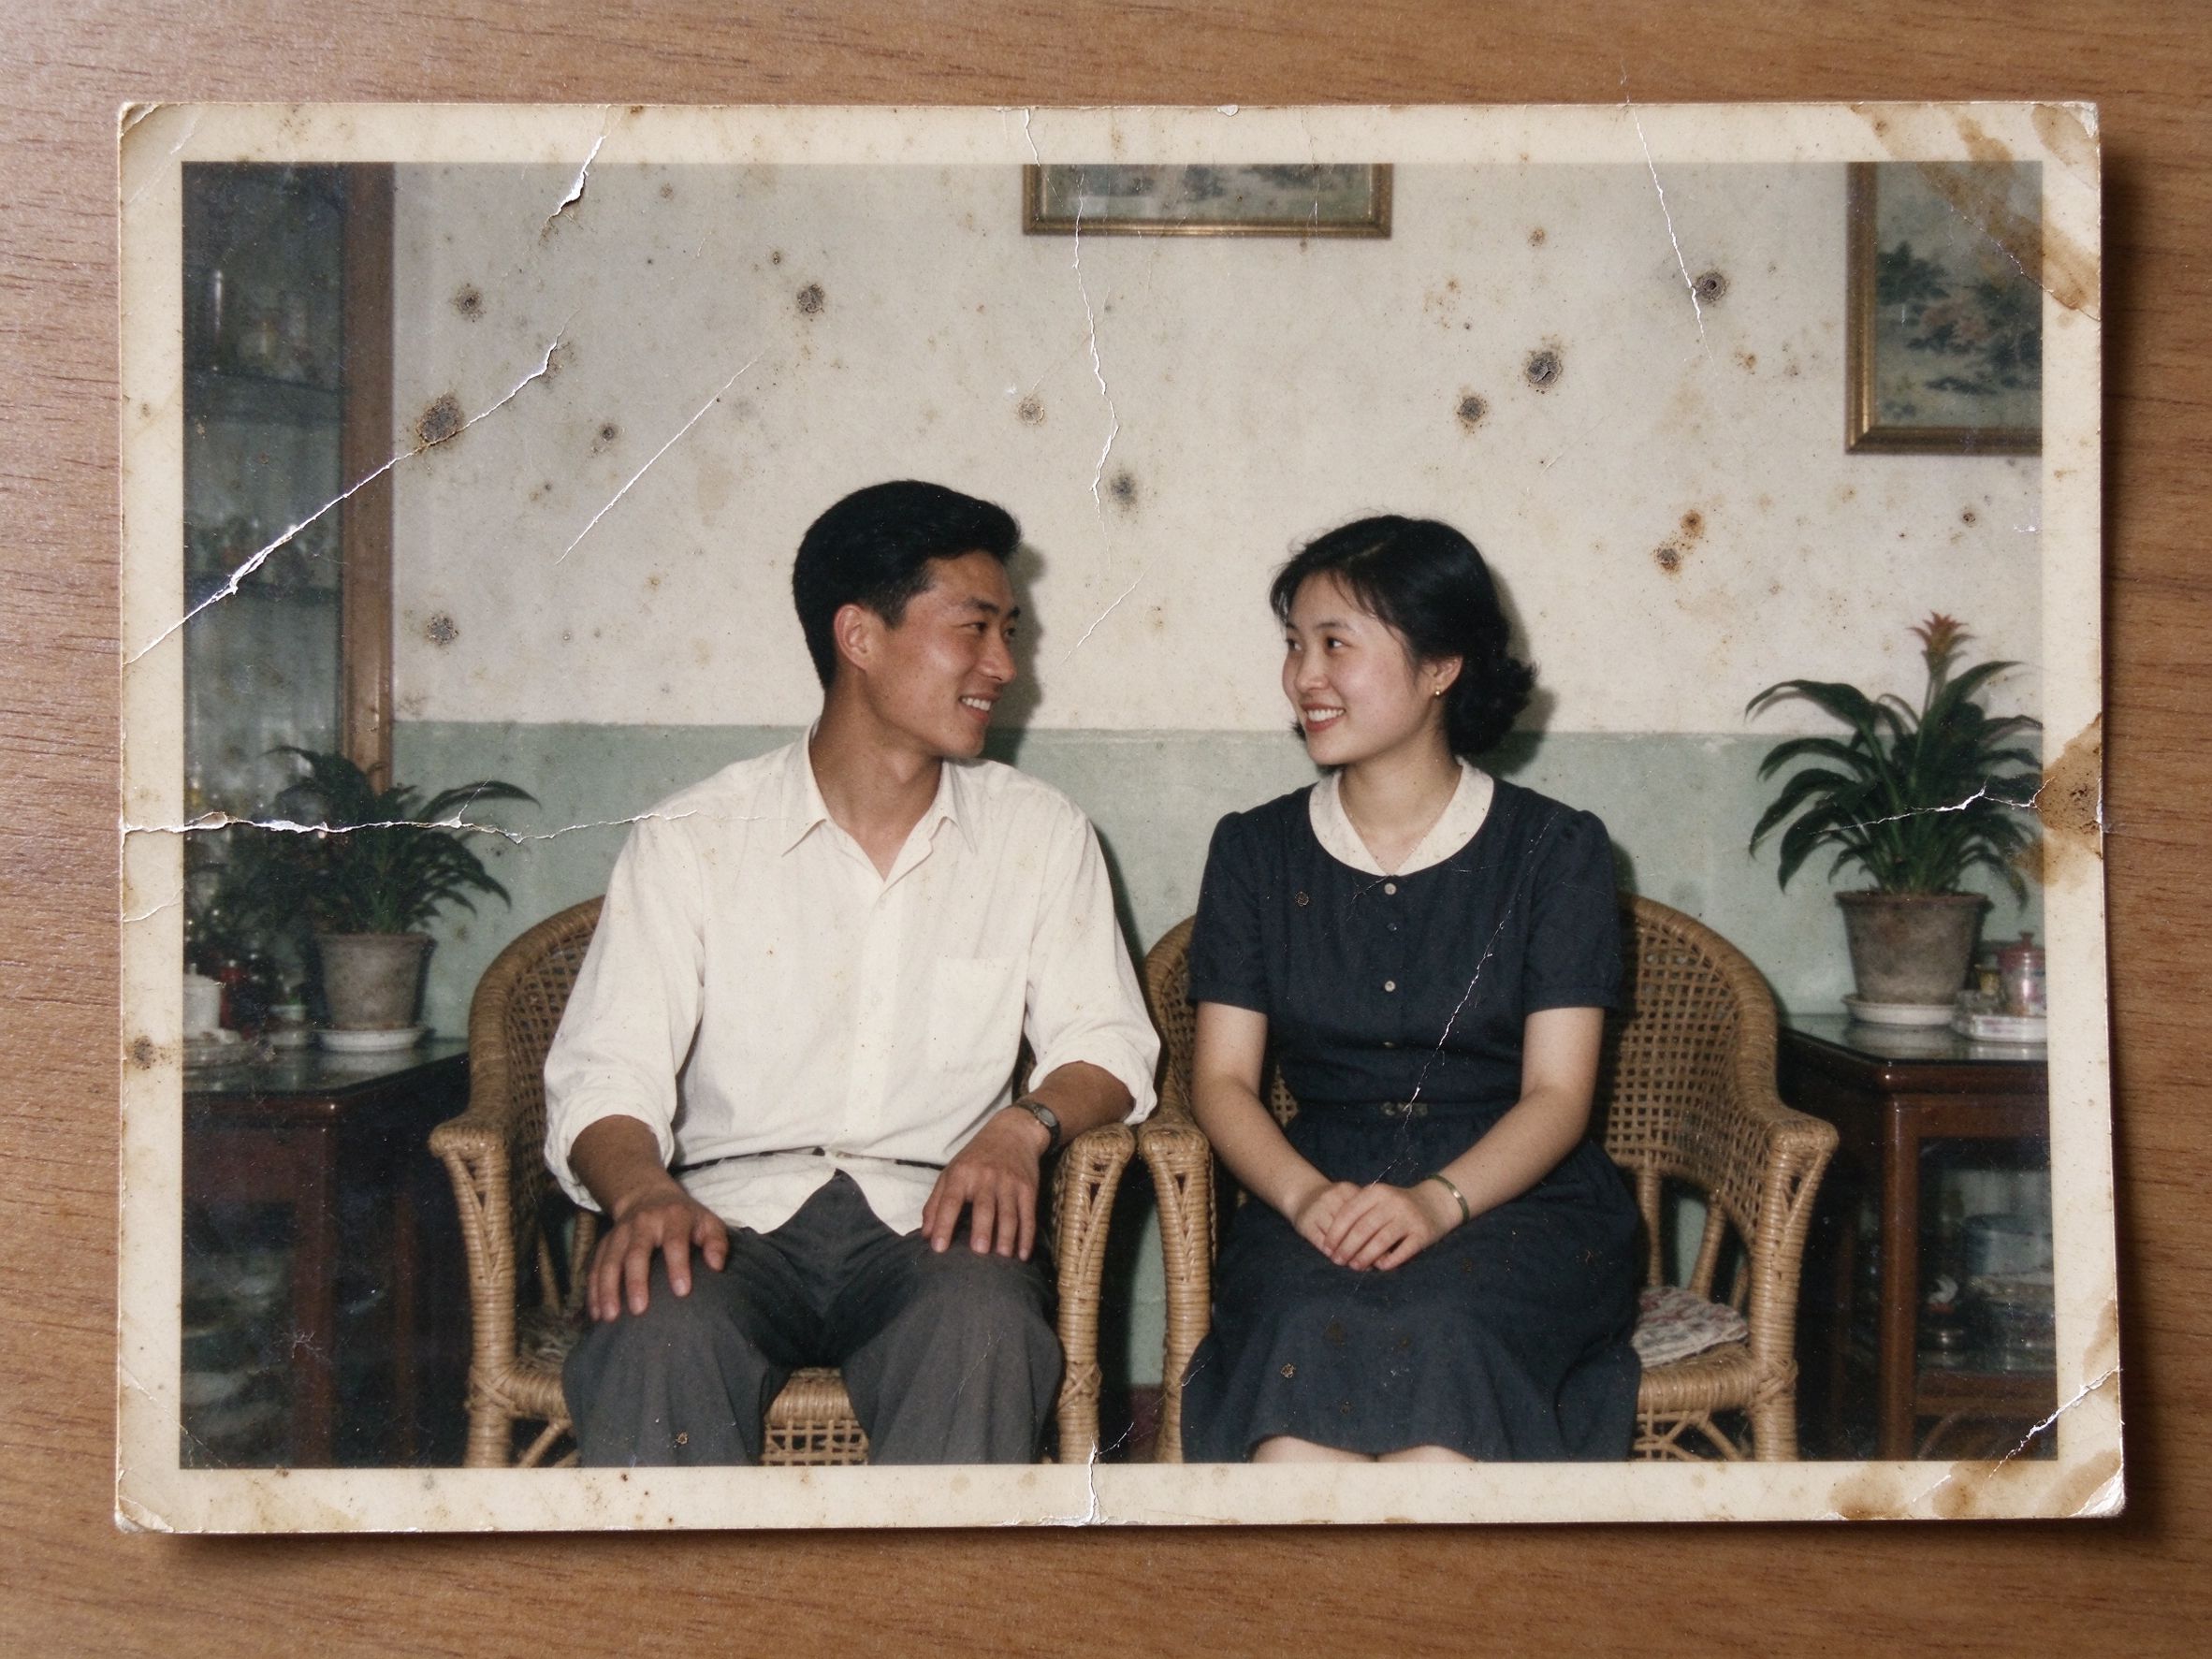
Scratch & Spot Remover
Remove scratches before sharpening — otherwise you sharpen the dust too.
锐化前先除划痕——否则连灰尘一起锐化。
Vignette Effect
After sharpening, draw the eye to the subject with a soft vignette.
锐化后用柔和暗角把视线引向主体。
Black & White Converter
Sharpening plus good monochrome conversion gives portraits real presence.
锐化加上得当的黑白转换,让肖像更有存在感。
Related Guides
How to Sharpen Old Photos Without Ruining Them
Amount and radius settings that keep detail natural, not crunchy.
让细节自然而生硬不过度的强度与半径设置。
Film Scan Restoration: Dust, Grain & Color Shifts
When to sharpen, when to smooth — the order matters.
何时锐化、何时平滑——顺序很重要。
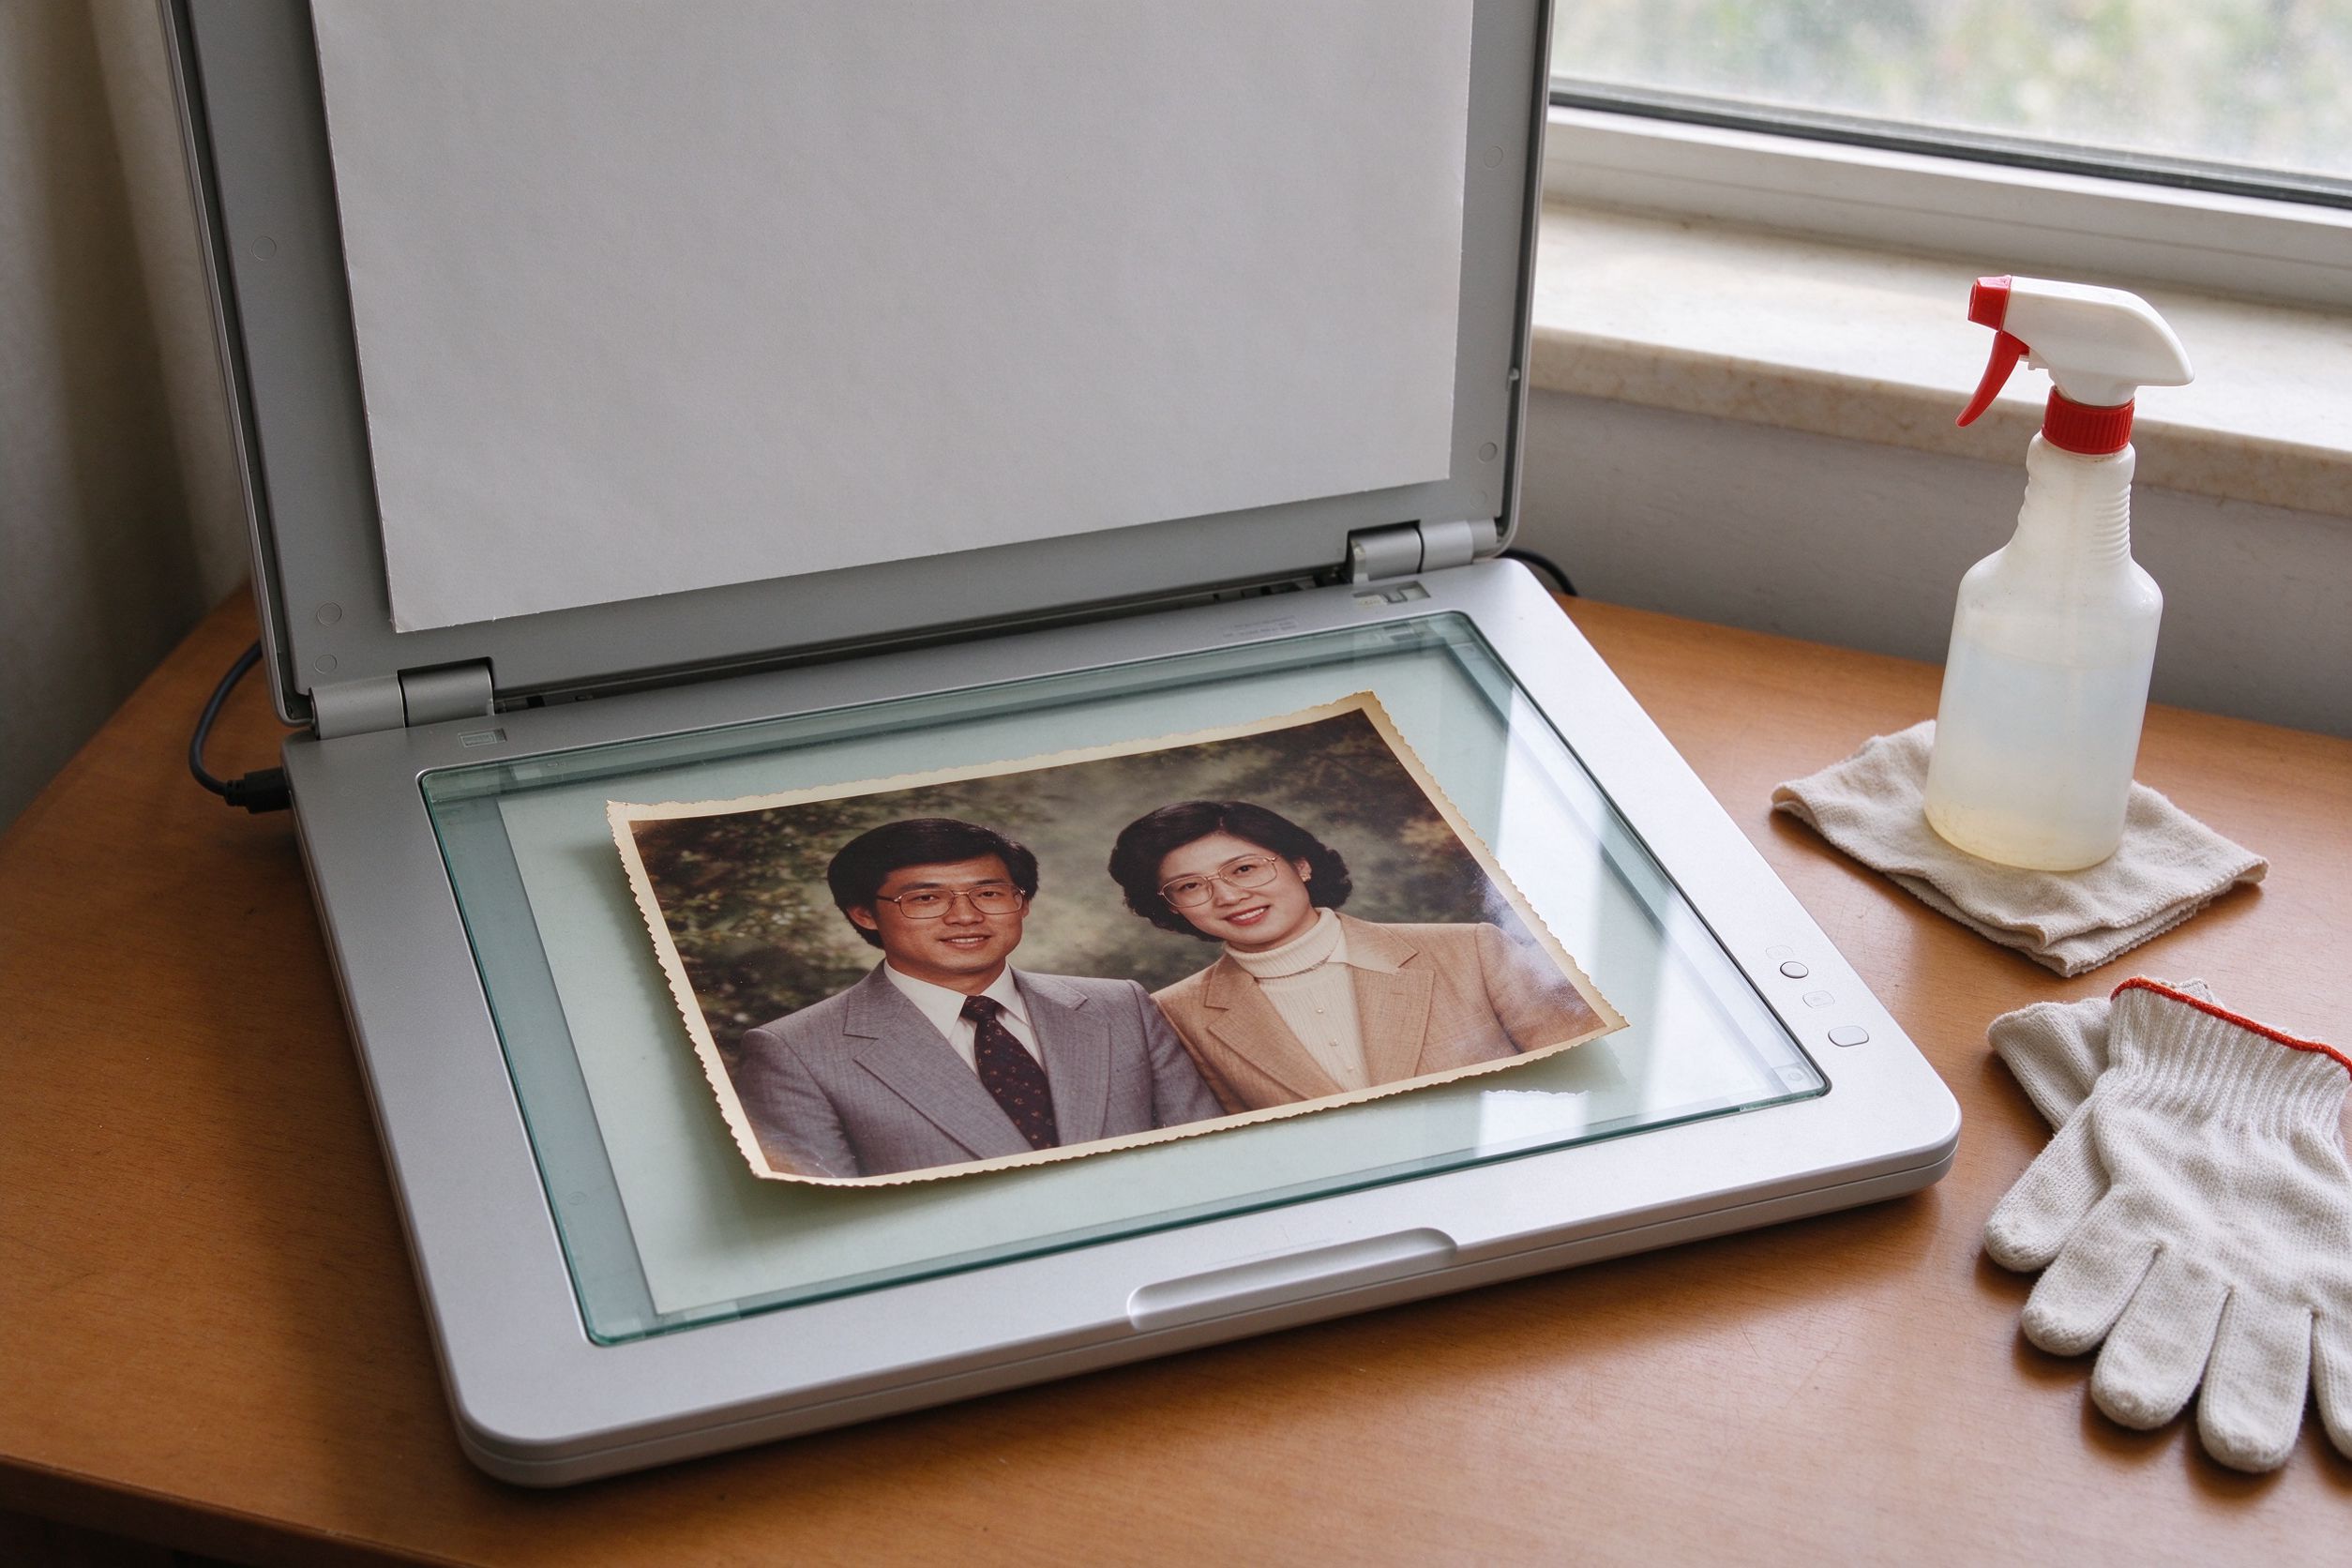
Scanning Old Photos: Best Settings & Prep
A sharper scan gives the sharpen tool much more to work with.
更清晰的扫描能给锐化工具更多发挥空间。
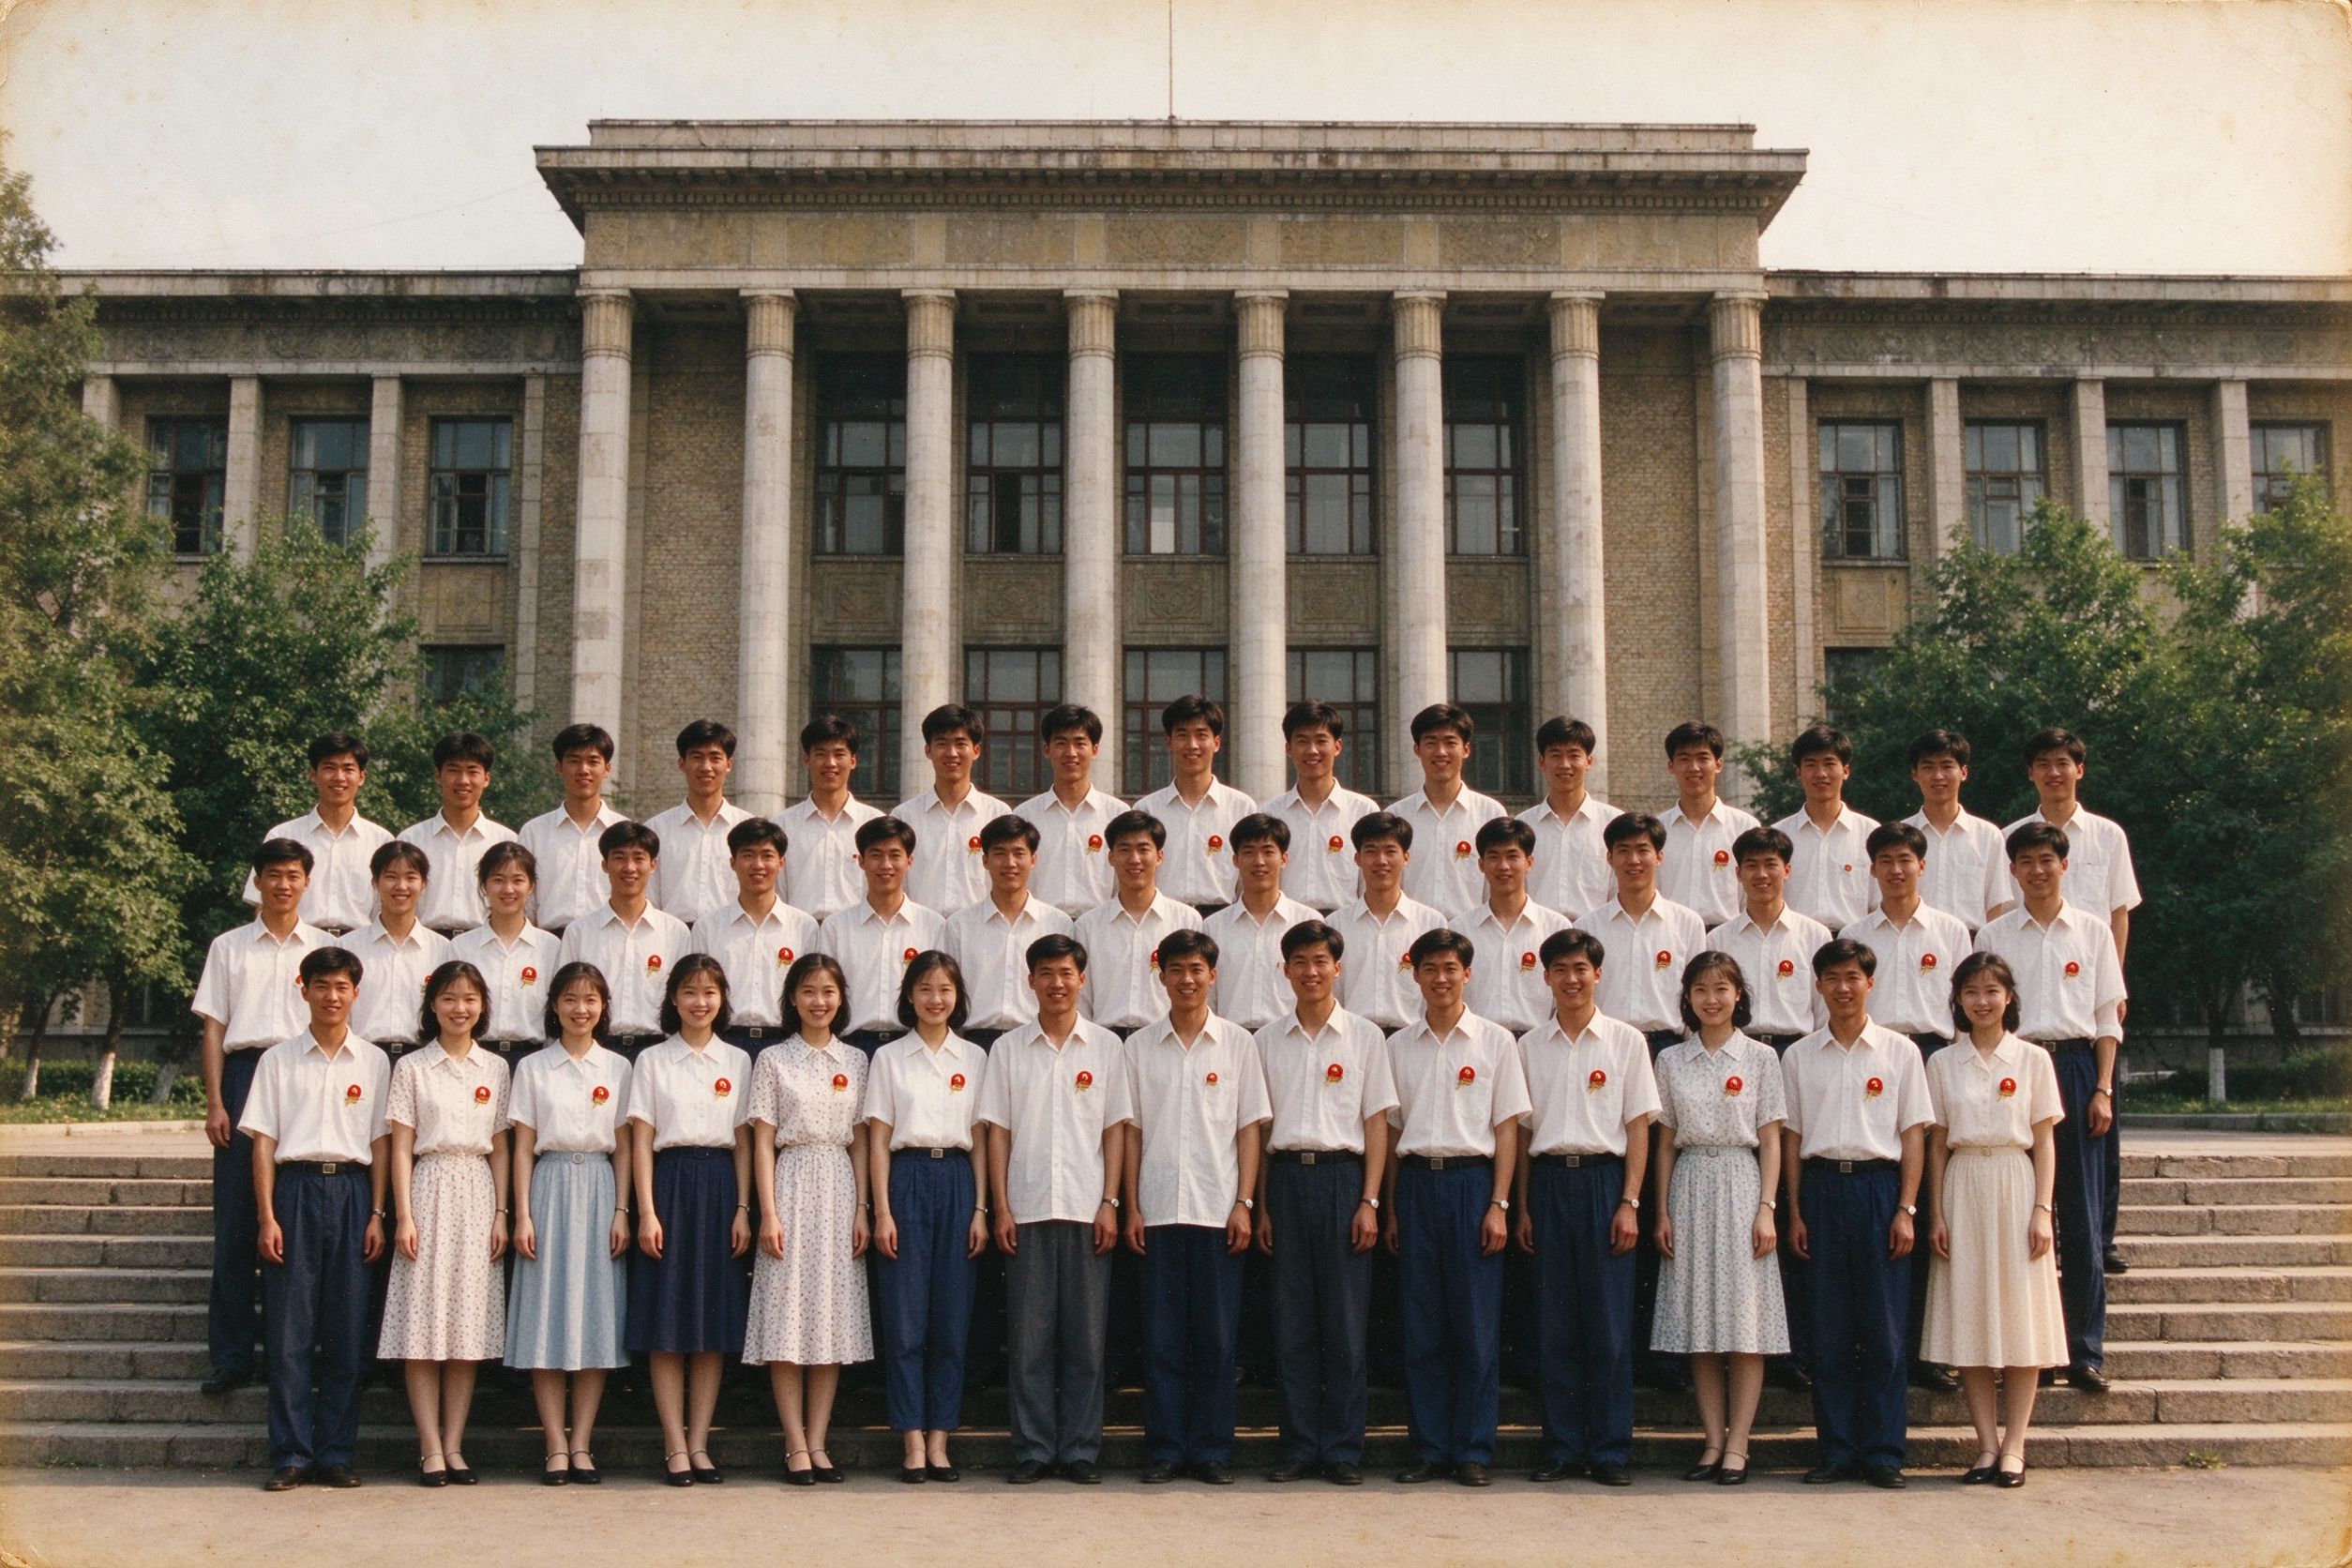
Restoring Graduation Photos: Clearer Faces
Bring back diplomas, faces and fabric detail from small yearbook scans.
从小型年鉴扫描中恢复人脸与织物细节。