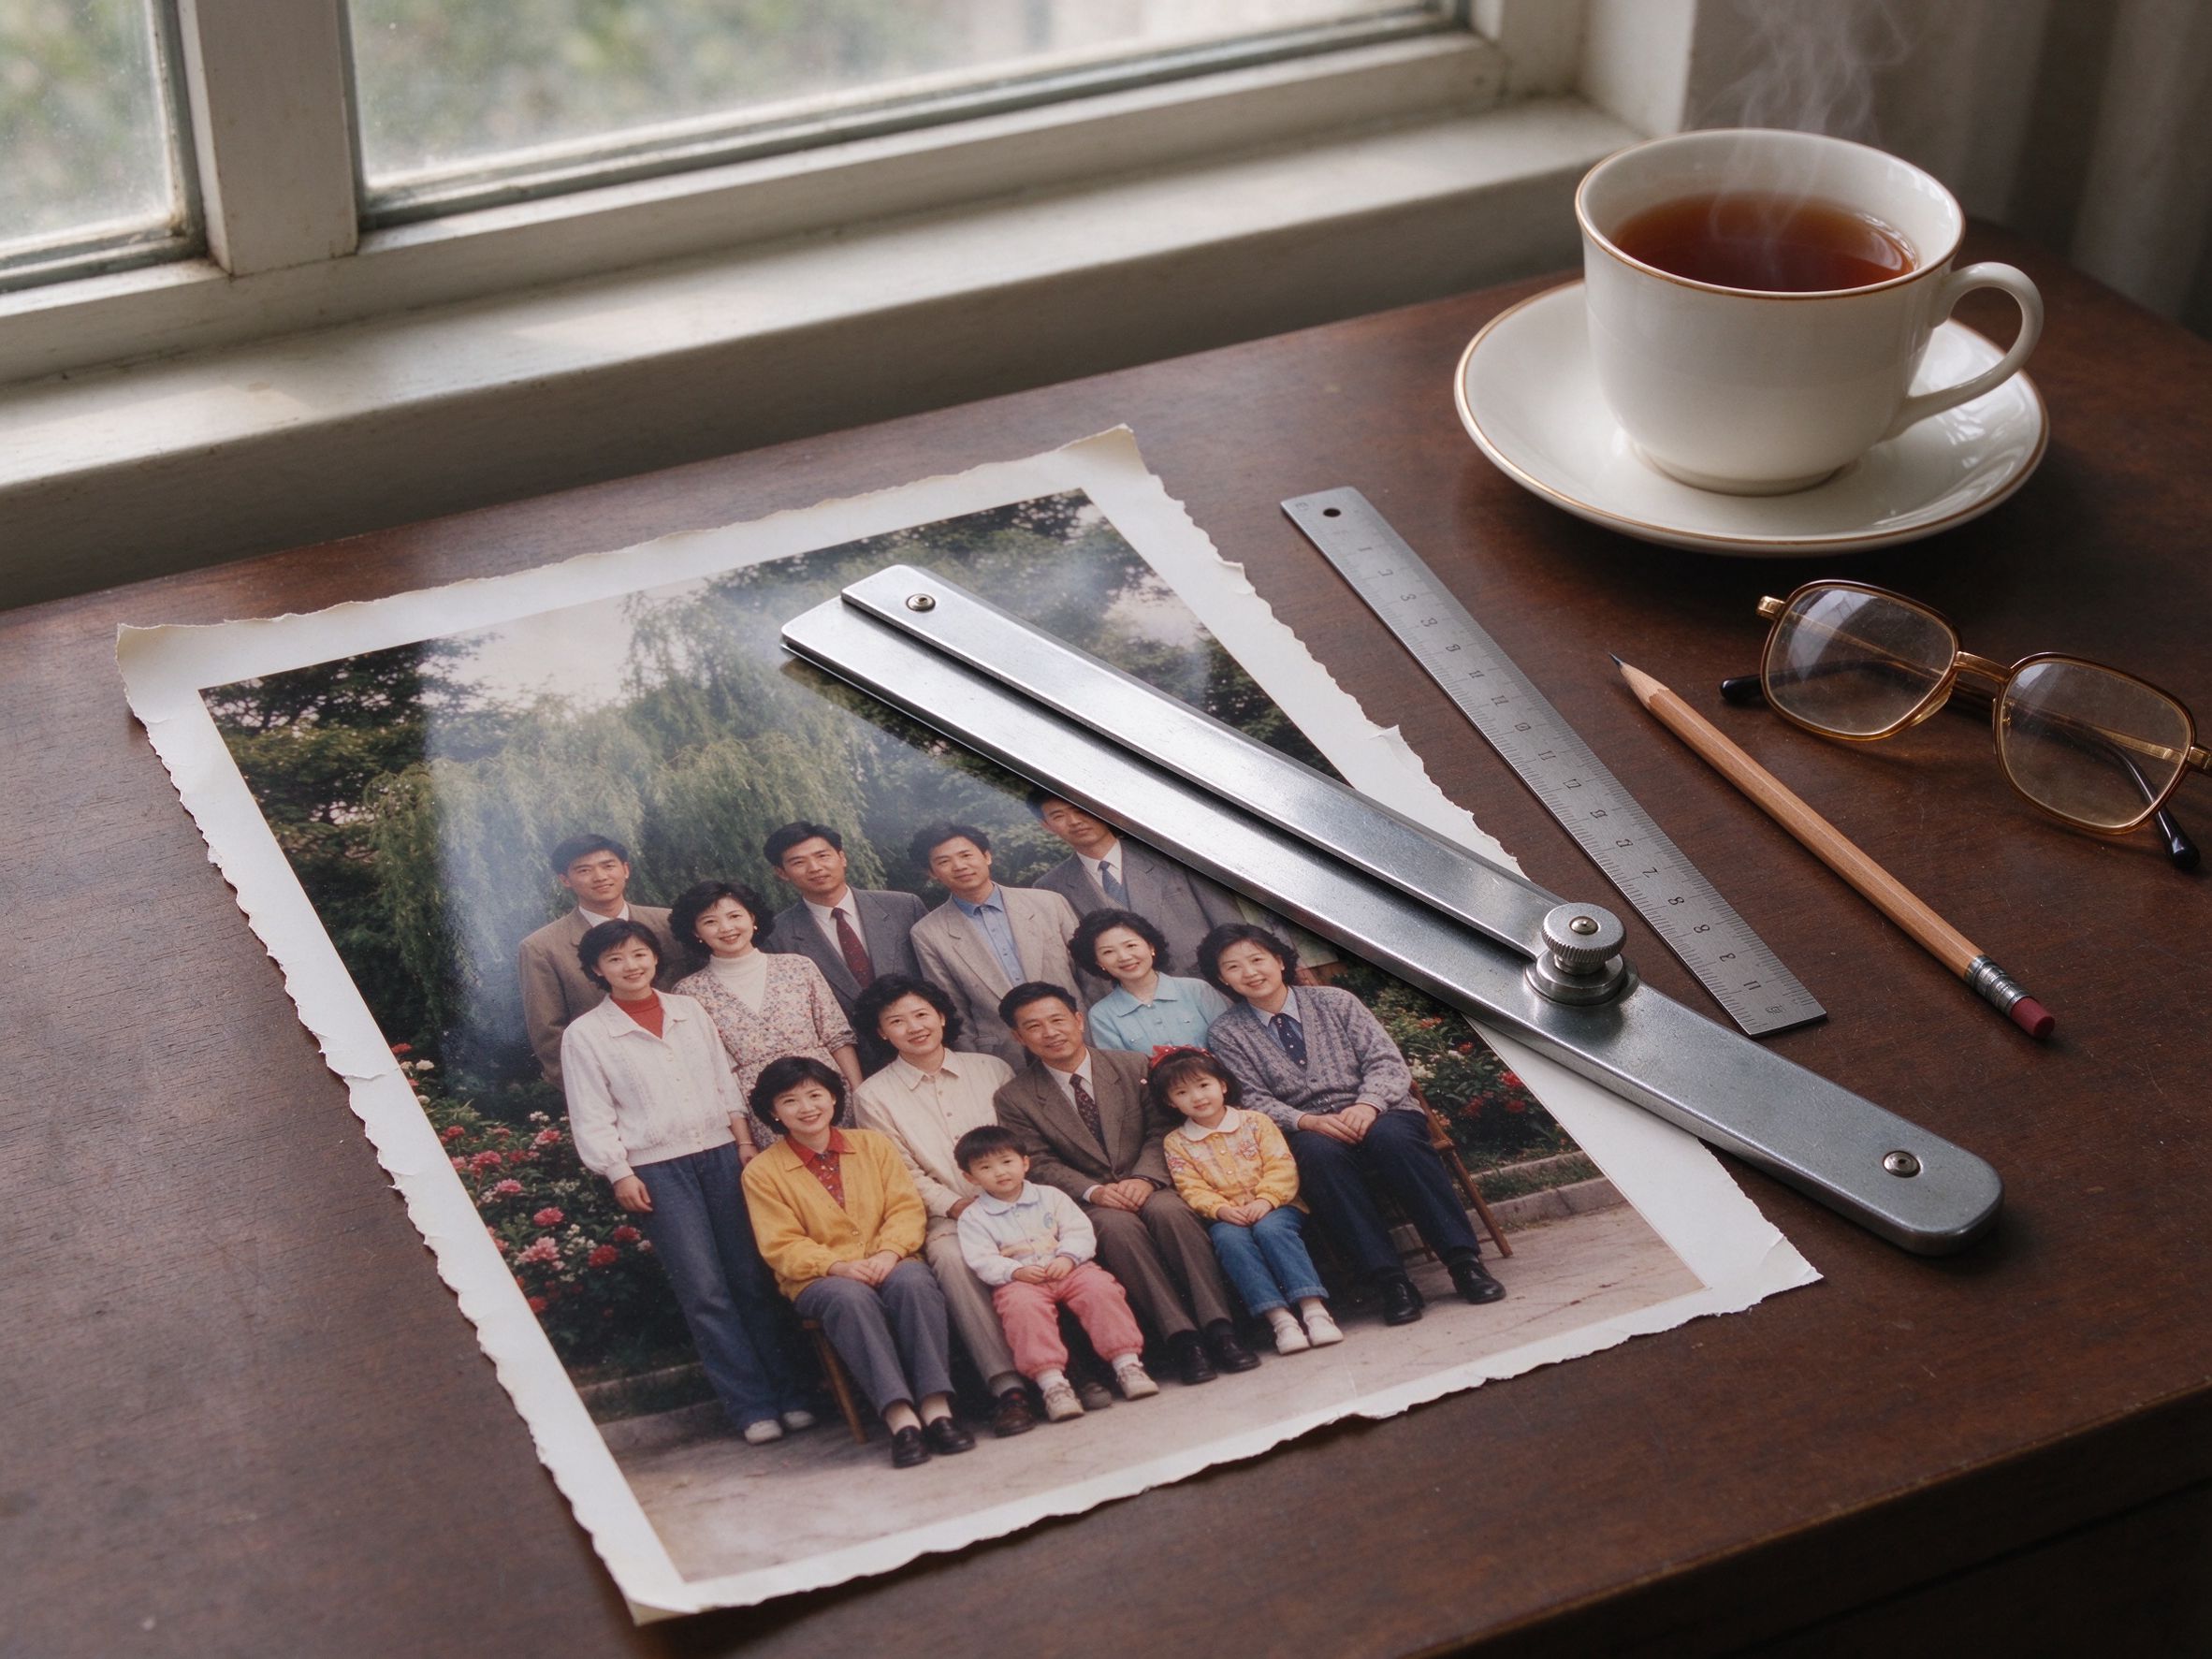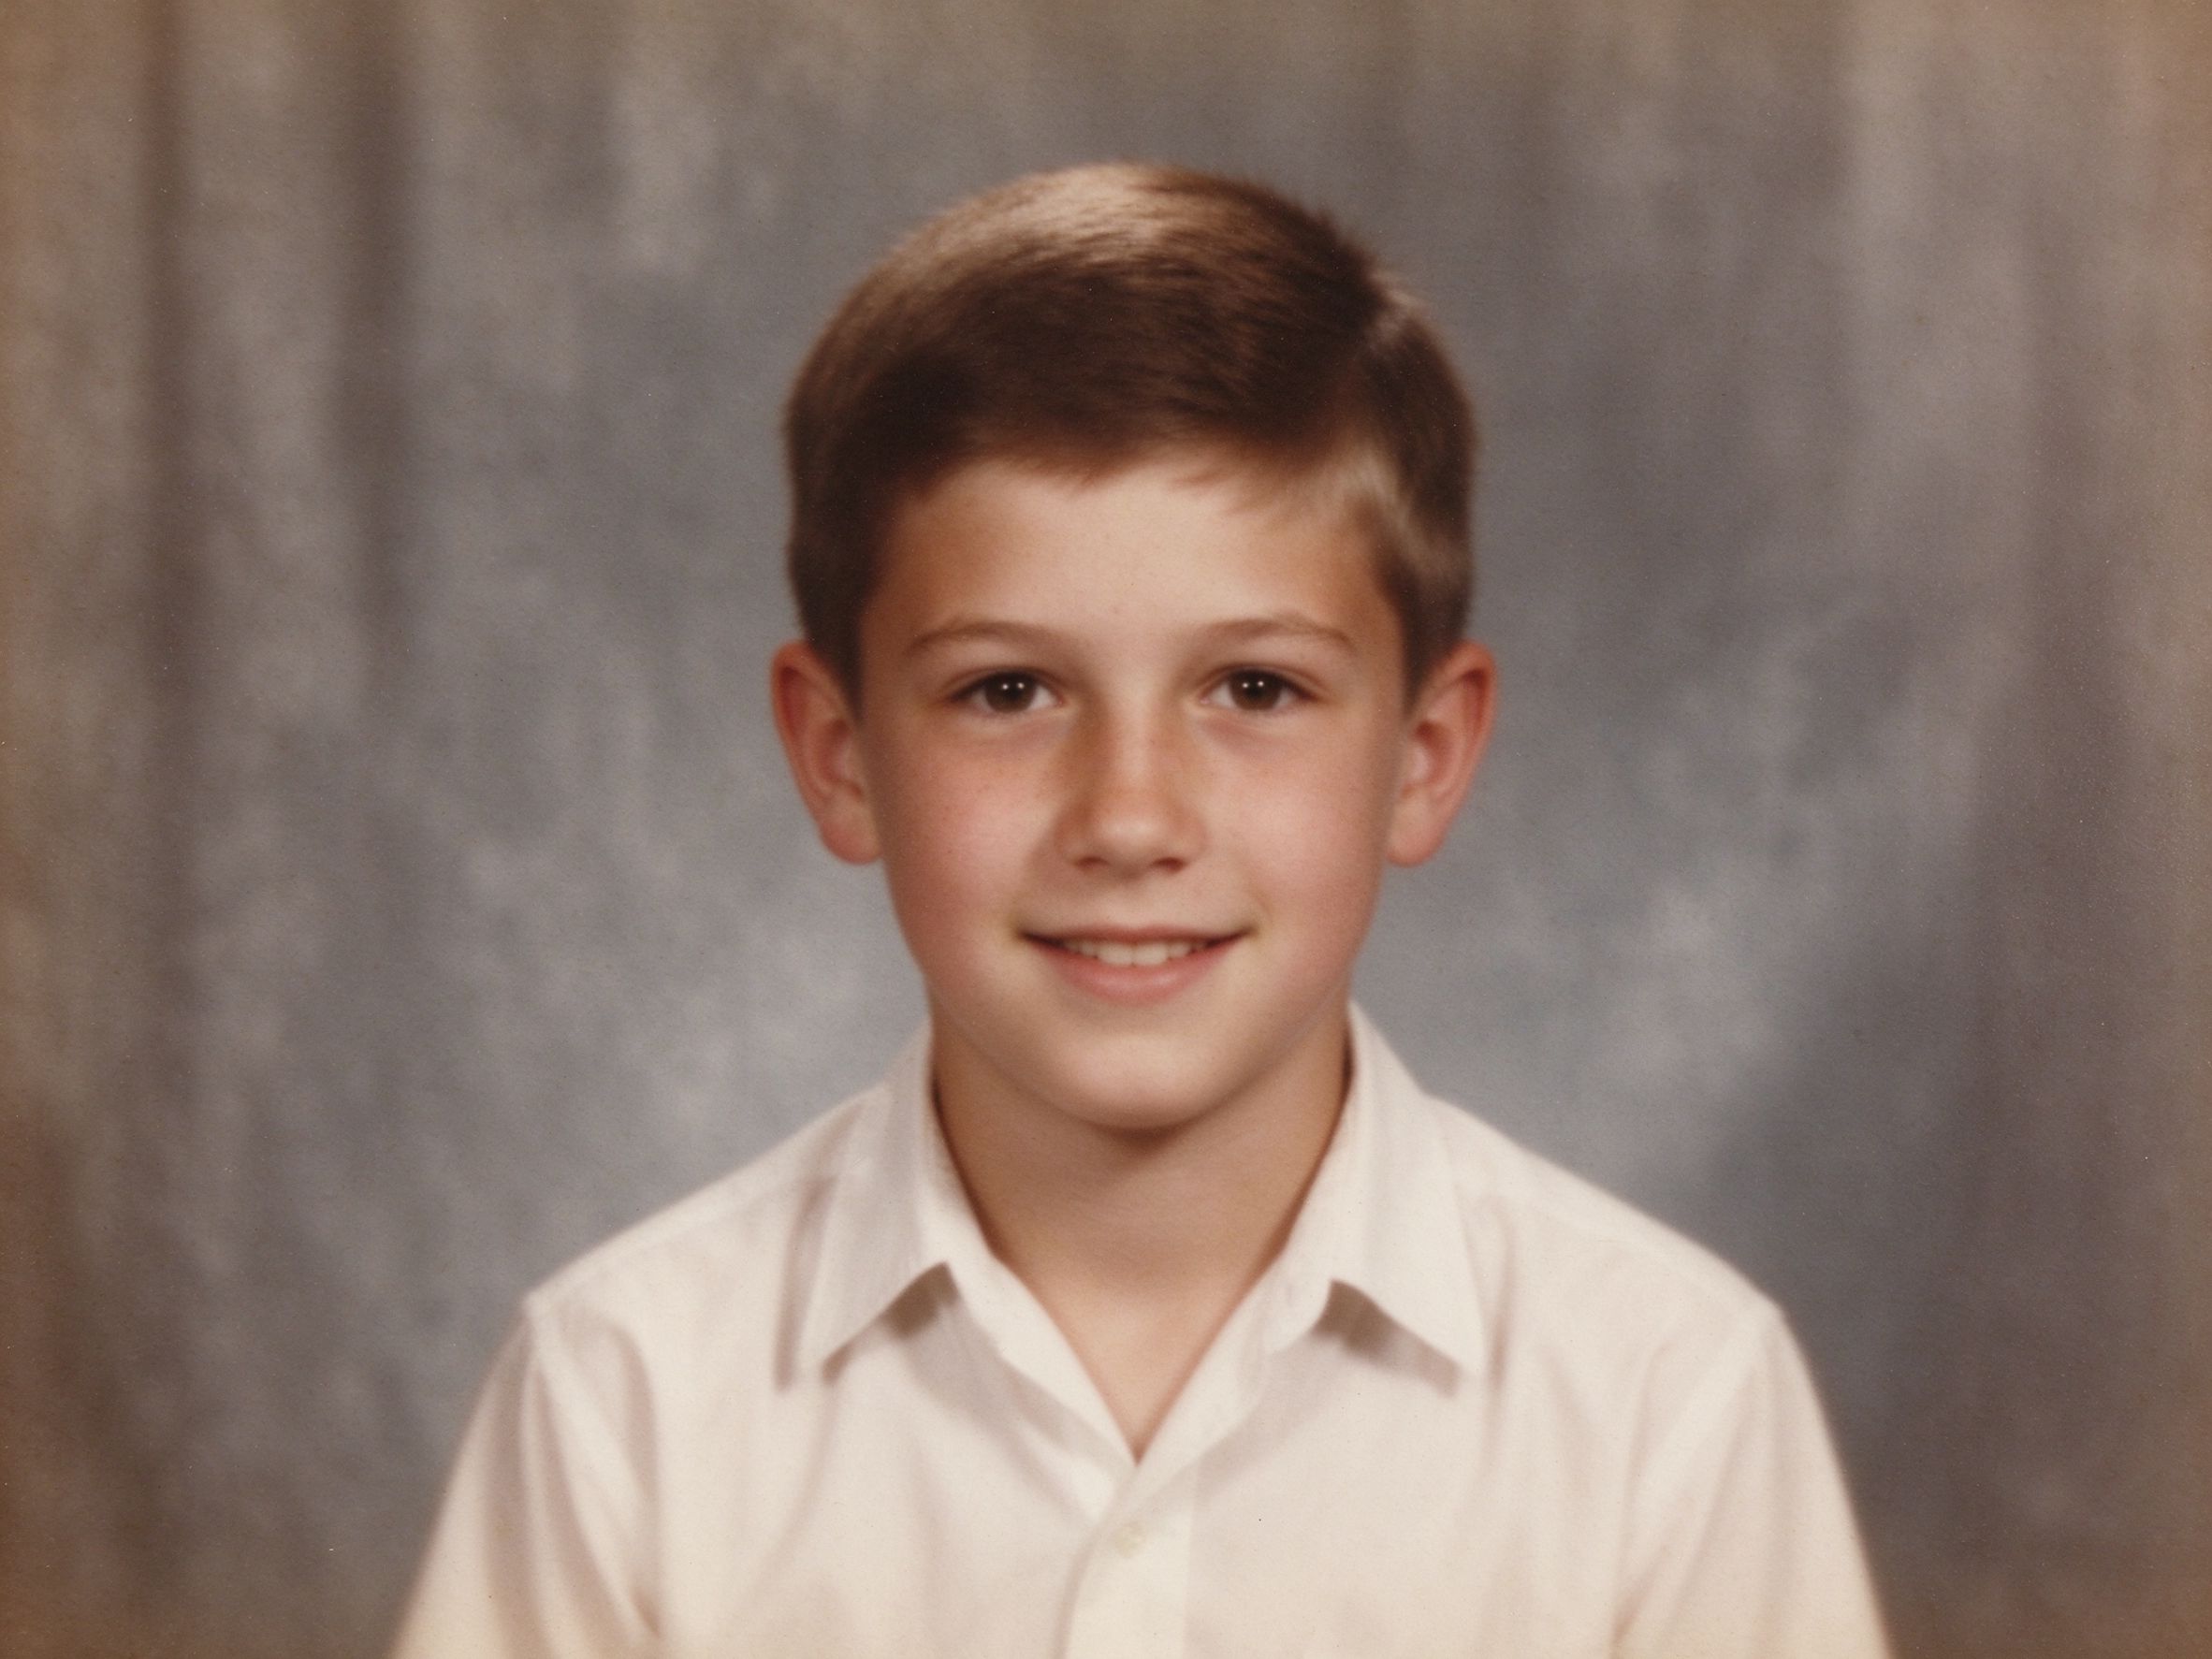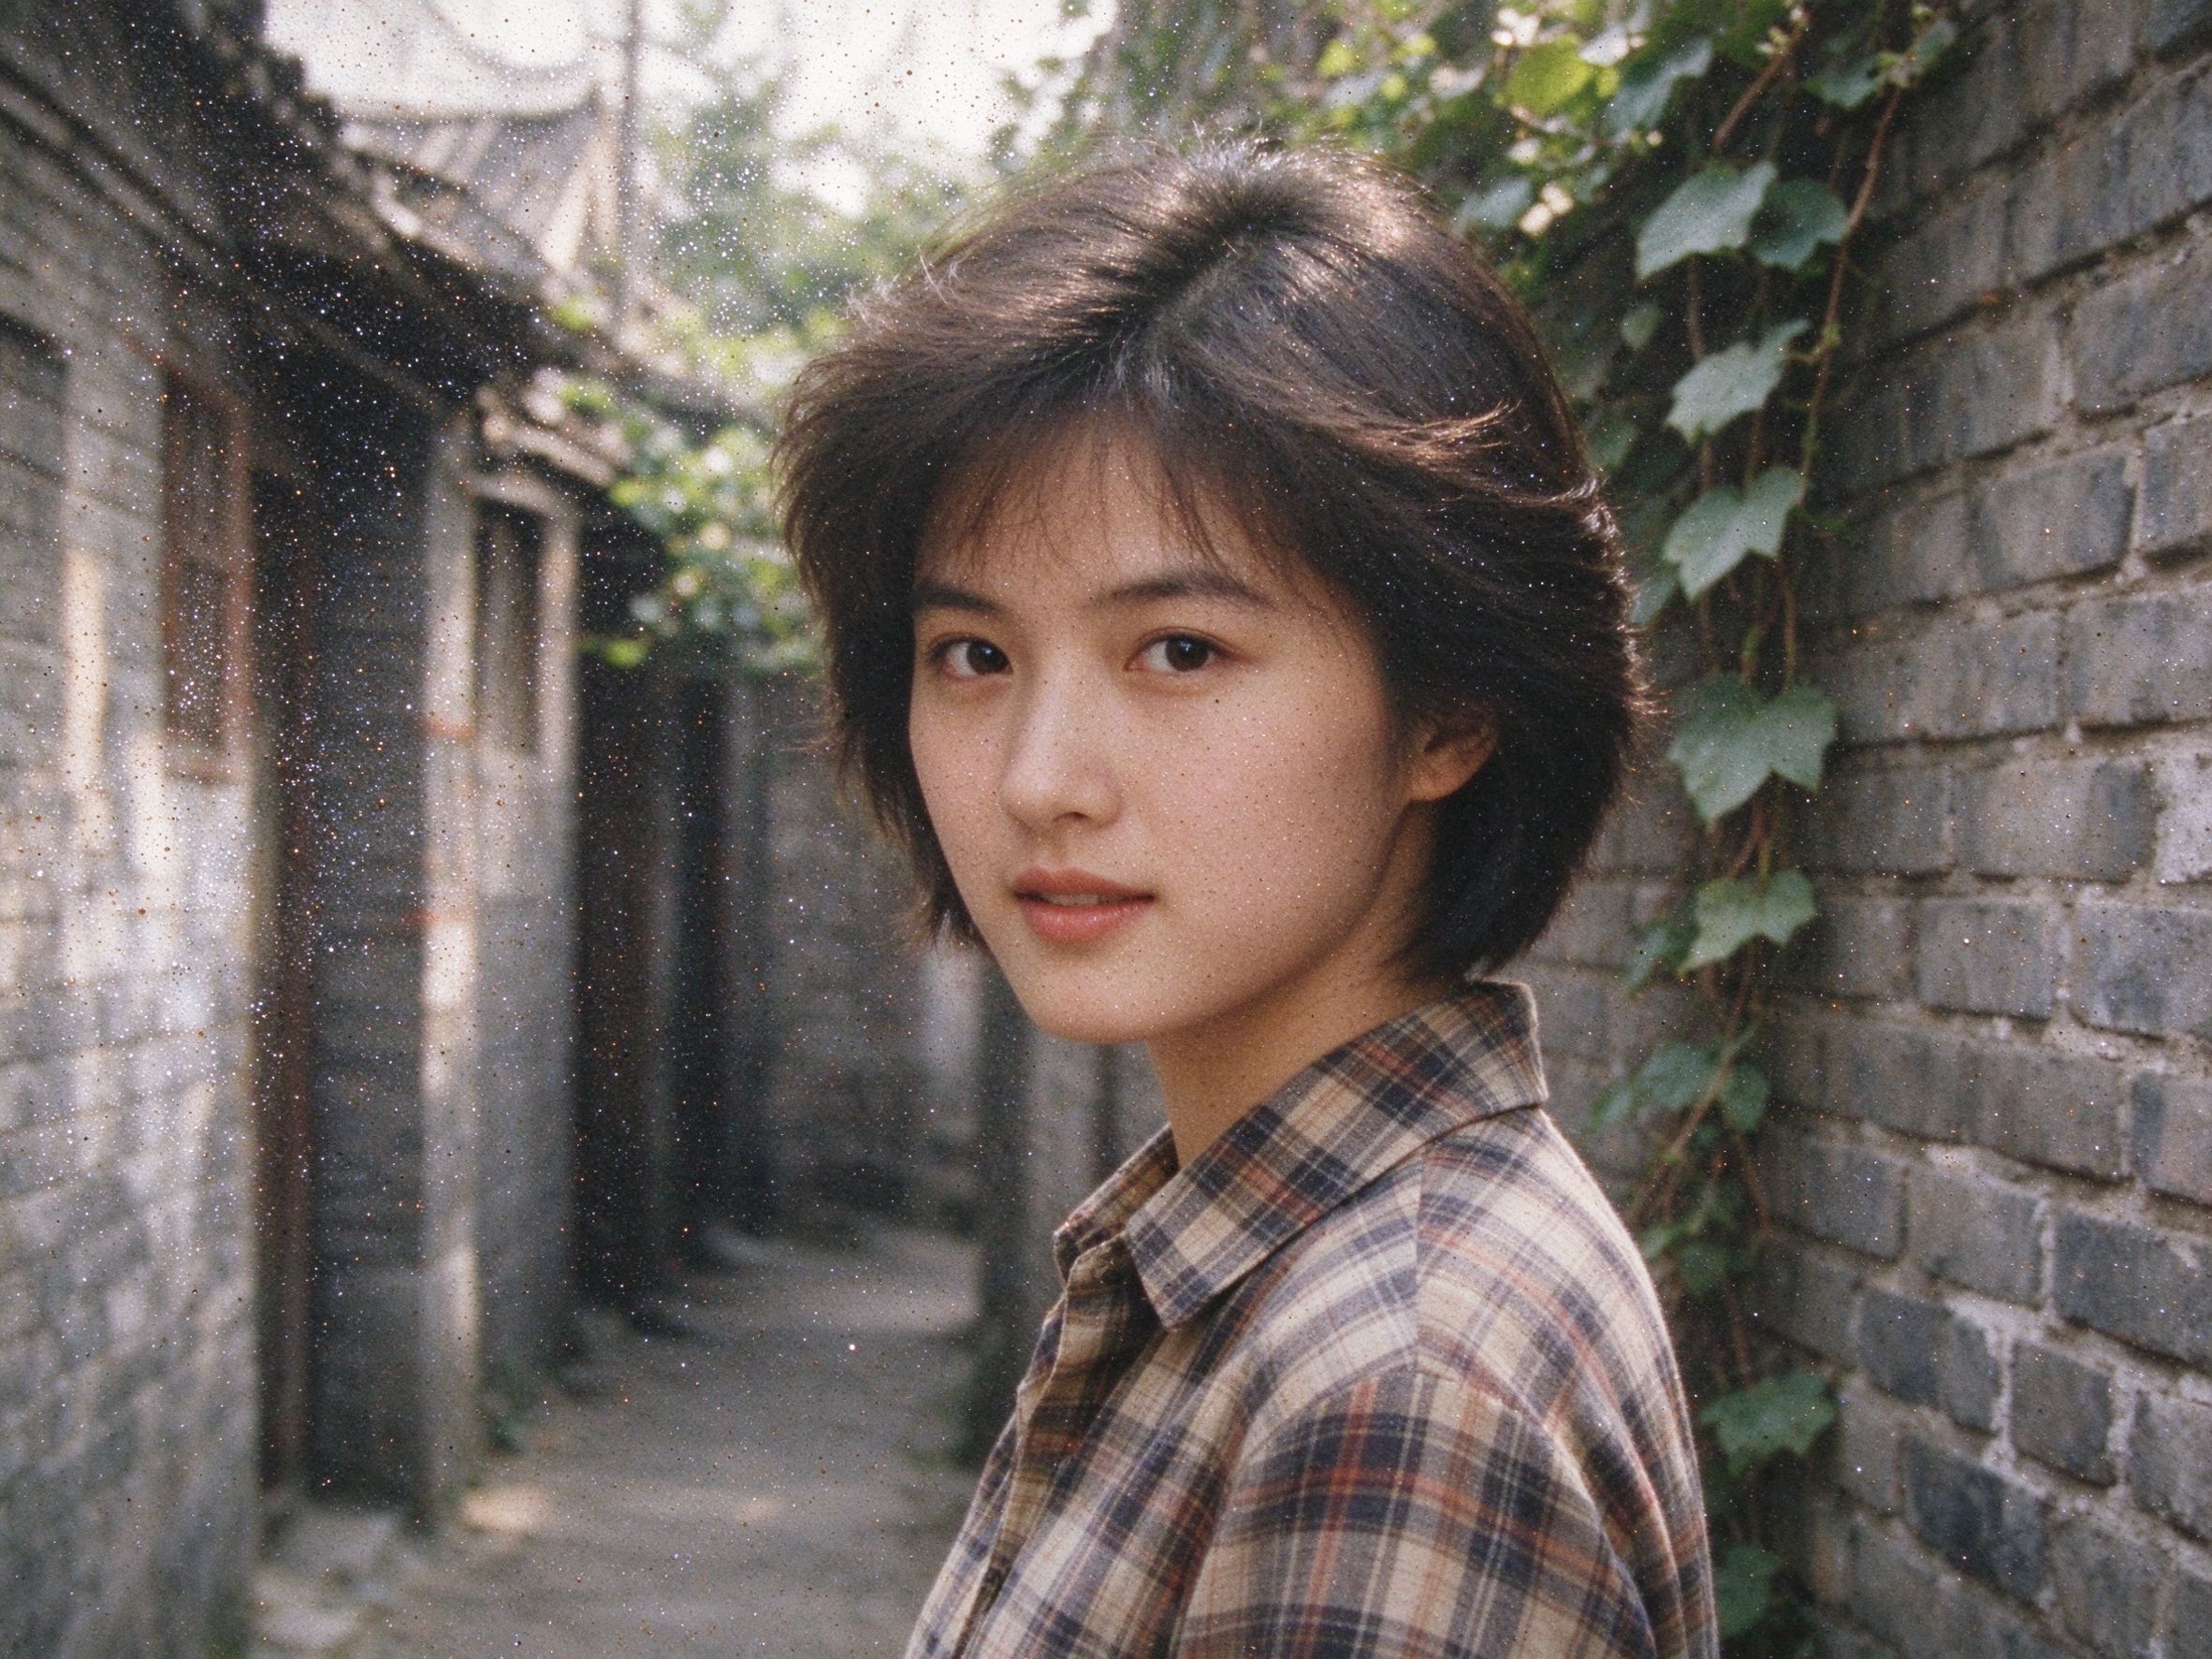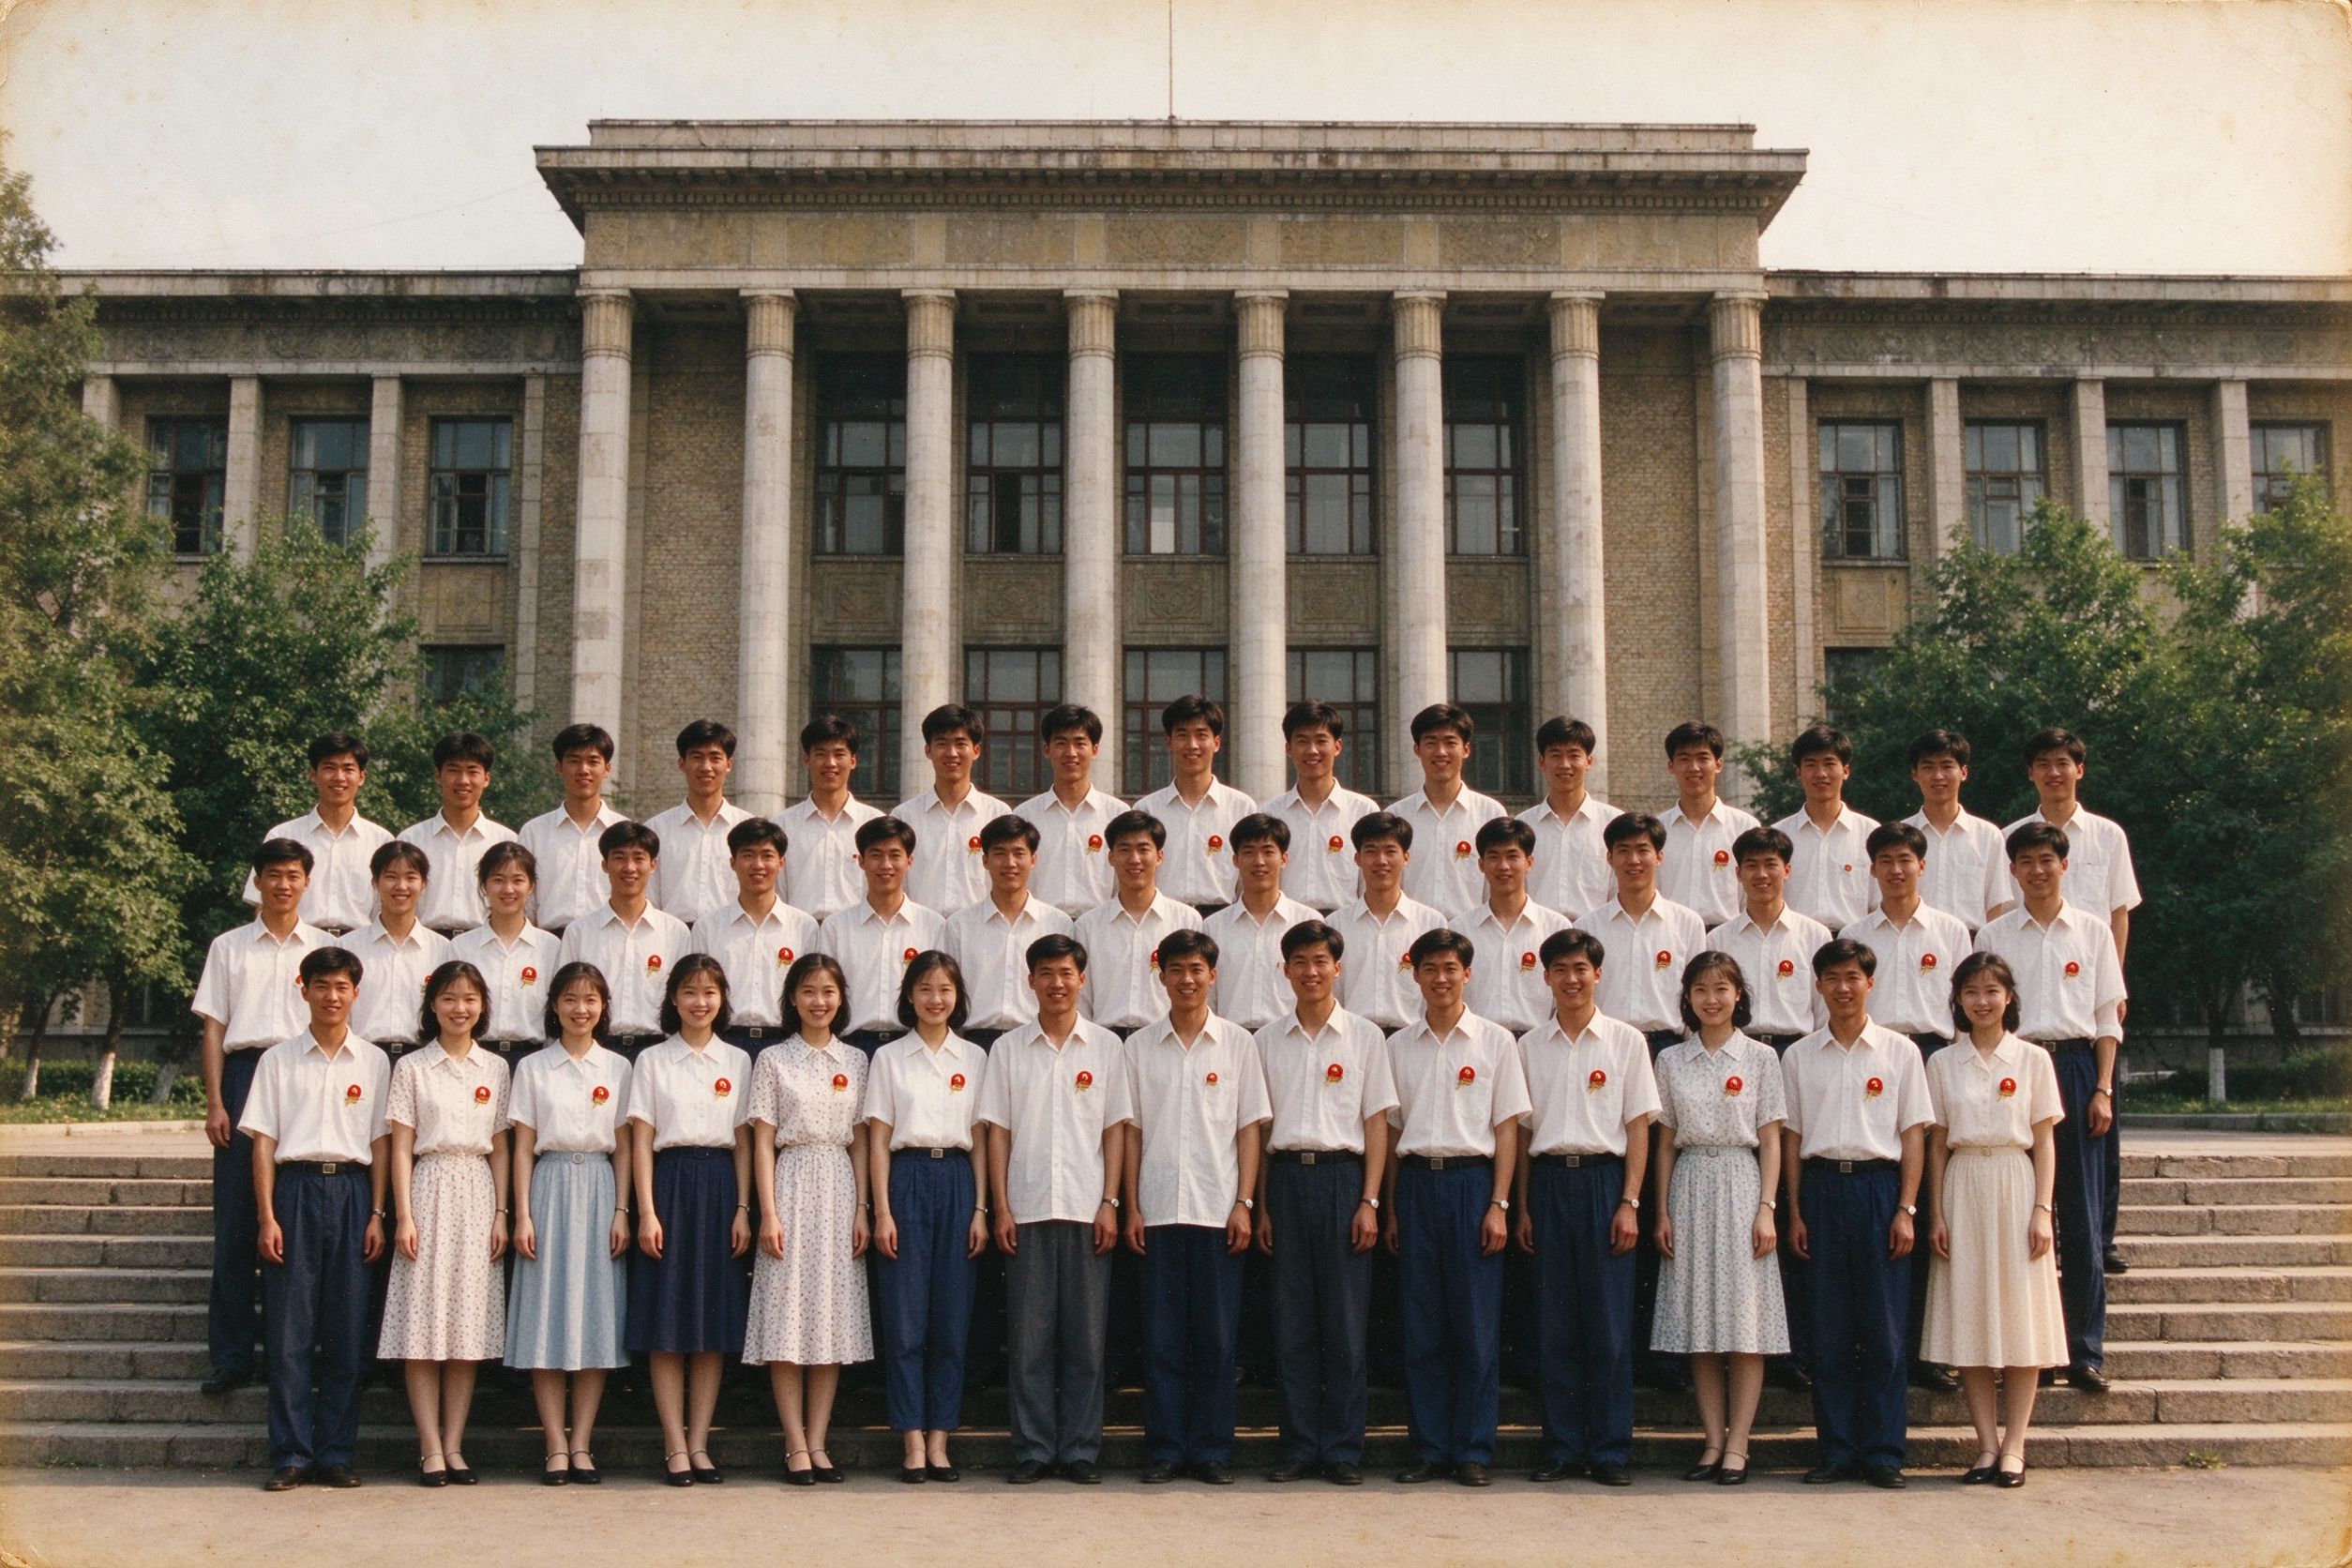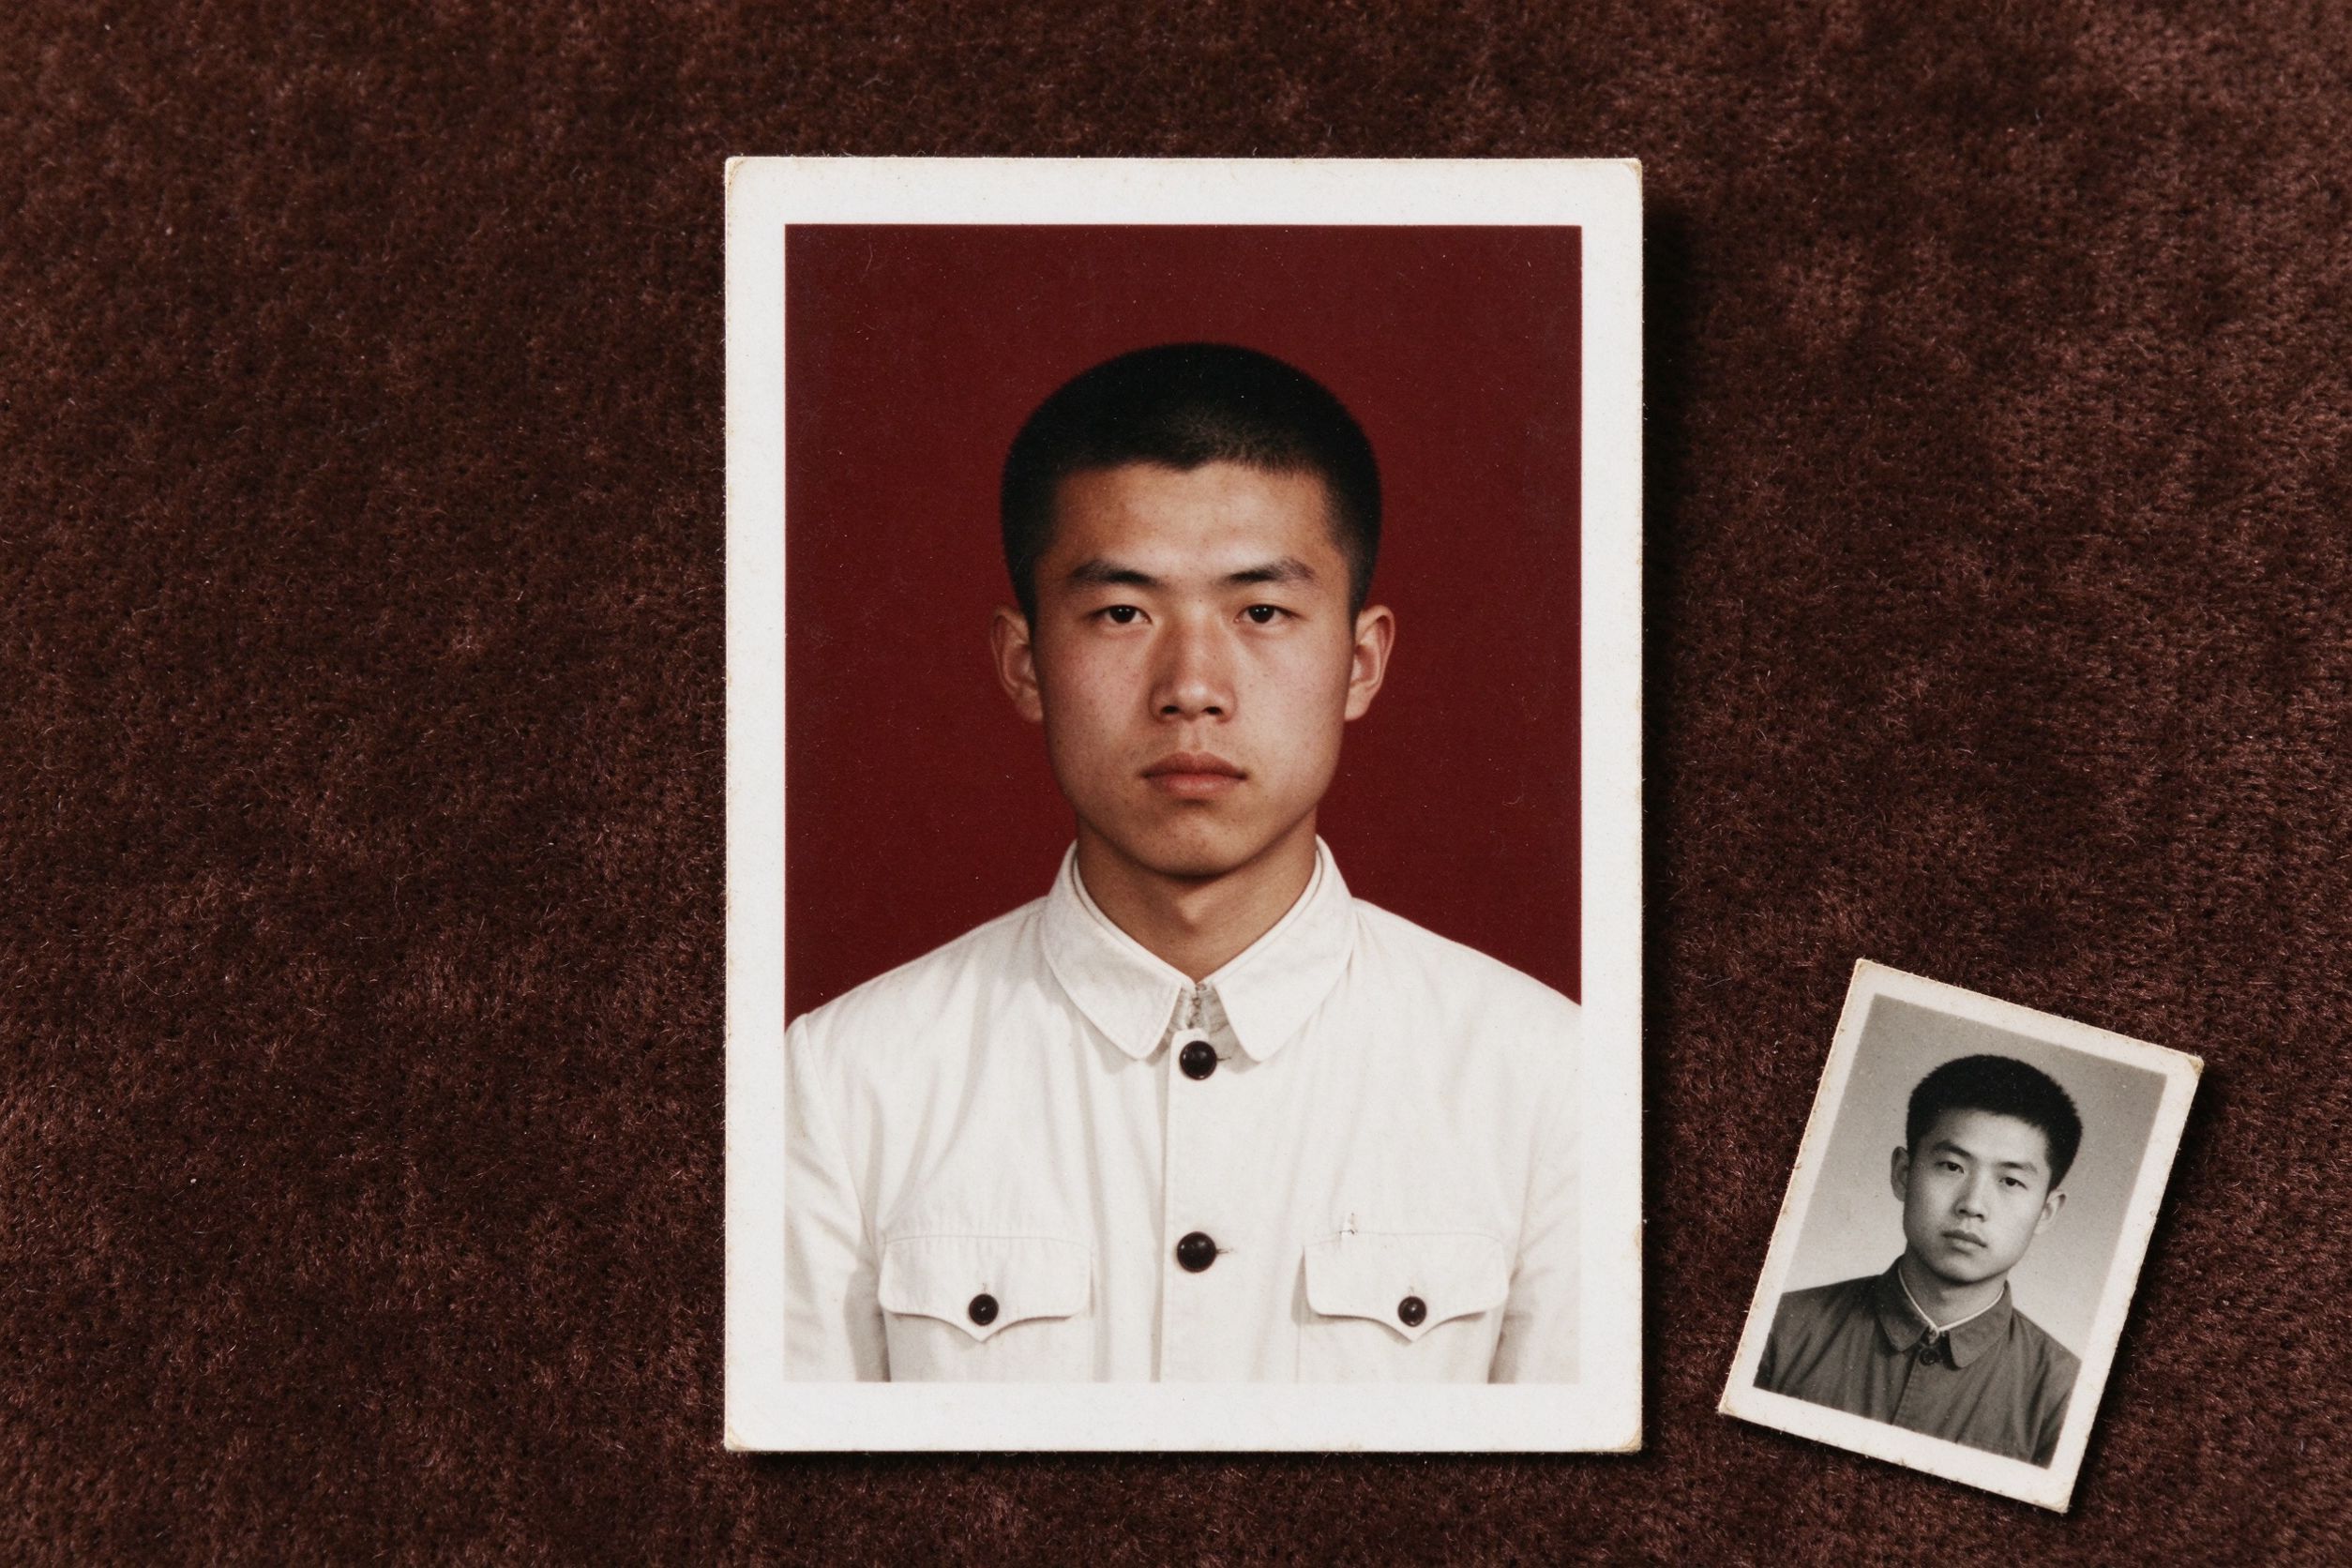
An old passport, a faded driver's license, a tattered student ID — these tiny portraits are often the only surviving close-up of a family member at a specific age. They are also among the hardest photos to restore well, because the face occupies a few millimeters of physical print. Blow that up and every flaw becomes obvious: a speck of dust on the forehead, a scratch across an eyebrow, flat lighting, and grain that refuses to sharpen cleanly.
This guide shows how to bring those small portraits back to a clean, recognizable state at home, using free browser-based tools that never upload your image anywhere. One important note up front: we are restoring keepsakes and digitizing old portraits — not fabricating a photo that passes as a brand-new official biometric. The last section explains exactly where that line is.
Why ID photos are a special challenge
Three things make ID portraits harder than ordinary family snapshots. First, they are tiny: a 3×4 cm photo scanned at a normal DPI yields very few pixels across the face, so you need more resolution from the start. Second, they are lit flat and frontal — studio flash against a gray backdrop — so there is little shadow to hide imperfections, and any spot on skin jumps out. Third, the whole point of the photo is the face, so over-processing is both more tempting and more damaging; you are trying to reveal the person, not beautify them into someone else.
The good news is that ID photos are usually compositionally simple: one centered face, plain background, no complex scene to reconstruct. That means the work is mostly about resolution, cleanliness and gentle contrast rather than heavy repair.
Scan small faces at high DPI
Because the face is so small, scanning at a higher DPI than usual is the single biggest improvement you can make.
- Scan at 600 DPI, not 300. A normal 300 DPI scan of a 3×4 cm ID photo gives roughly 700×950 pixels total — barely enough. At 600 DPI you double the pixels across the face, which is what makes later sharpening possible. See our scanning guide for full recommended settings.
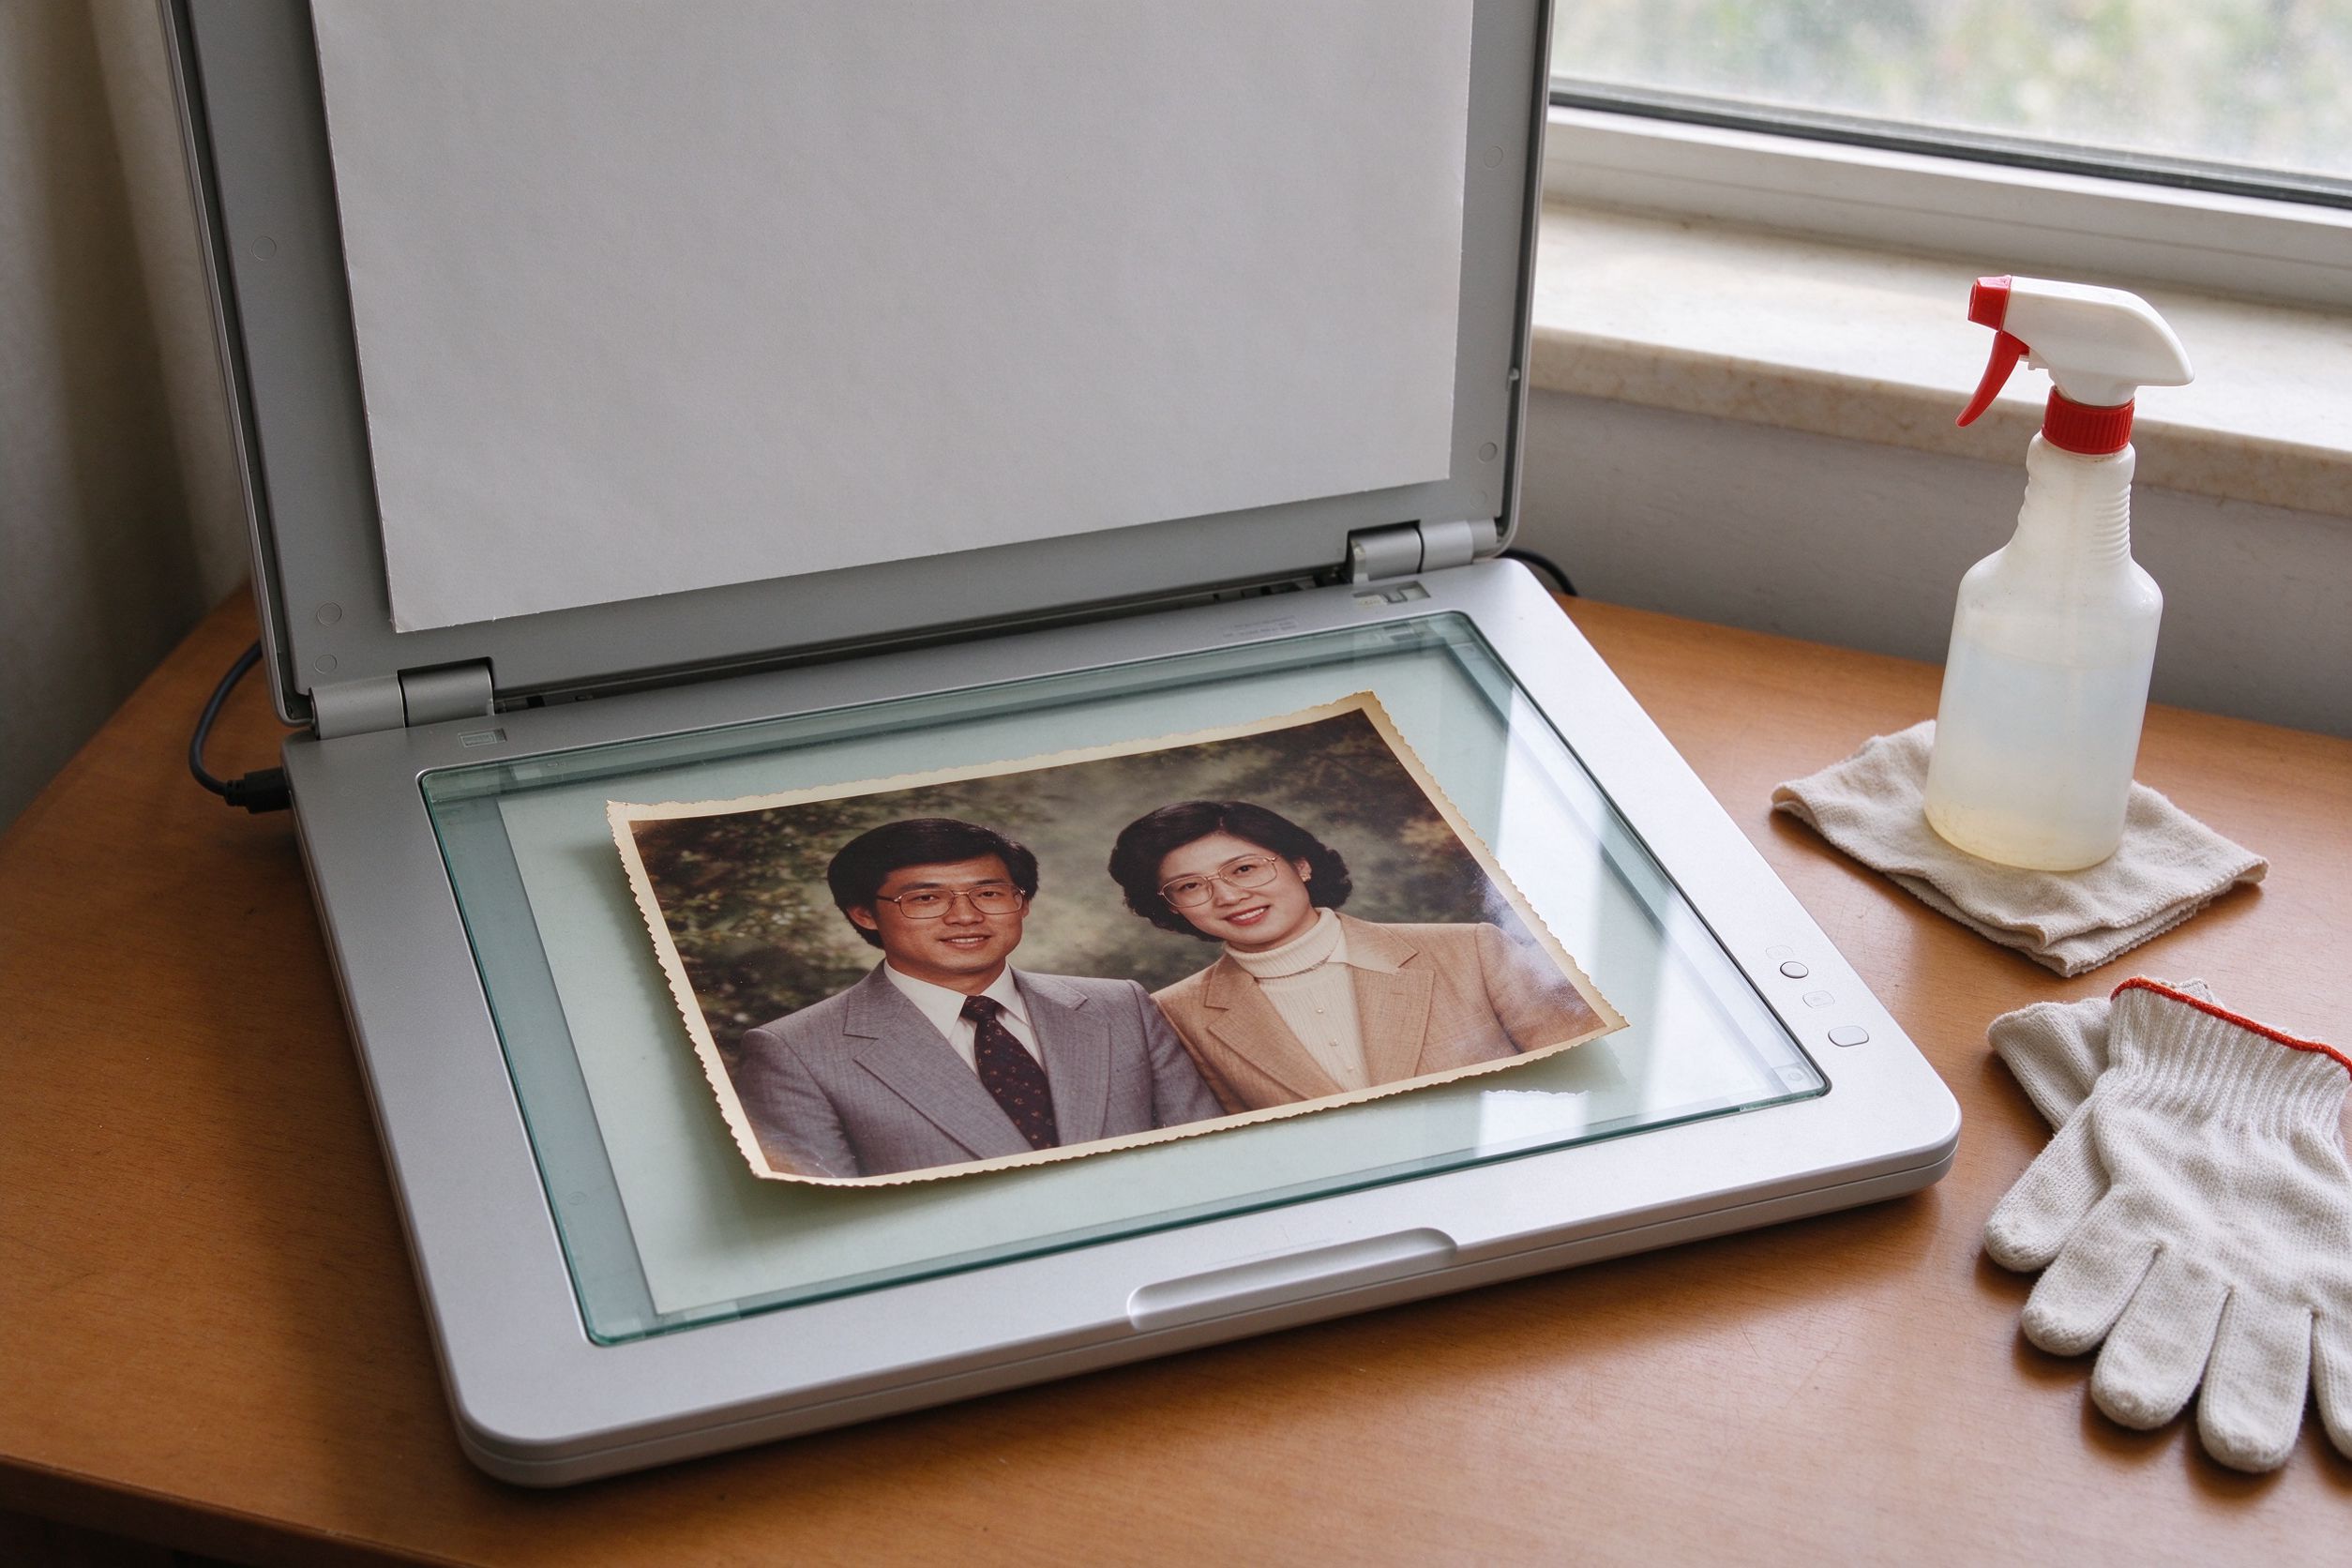
- Clean the print and the scanner glass. Dust on the bed becomes permanent black or white dots on an otherwise clean studio background — extremely noticeable. Use a soft cloth before every scan.
- Scan straight and flat. A slightly skewed ID photo means the face is tilted; correct the rotation before you begin, not after.
- Scan the whole card edge to edge. Do not crop tight to the face in the scanner — you want the option to straighten and crop later. Keep the number or stamp area if it is part of the keepsake.
Clean the face without erasing identity
Once you have a high-resolution scan, open it in the AI Photo Restorer and let the one-click restore balance the faded colors and contrast. Then move to localized cleaning.
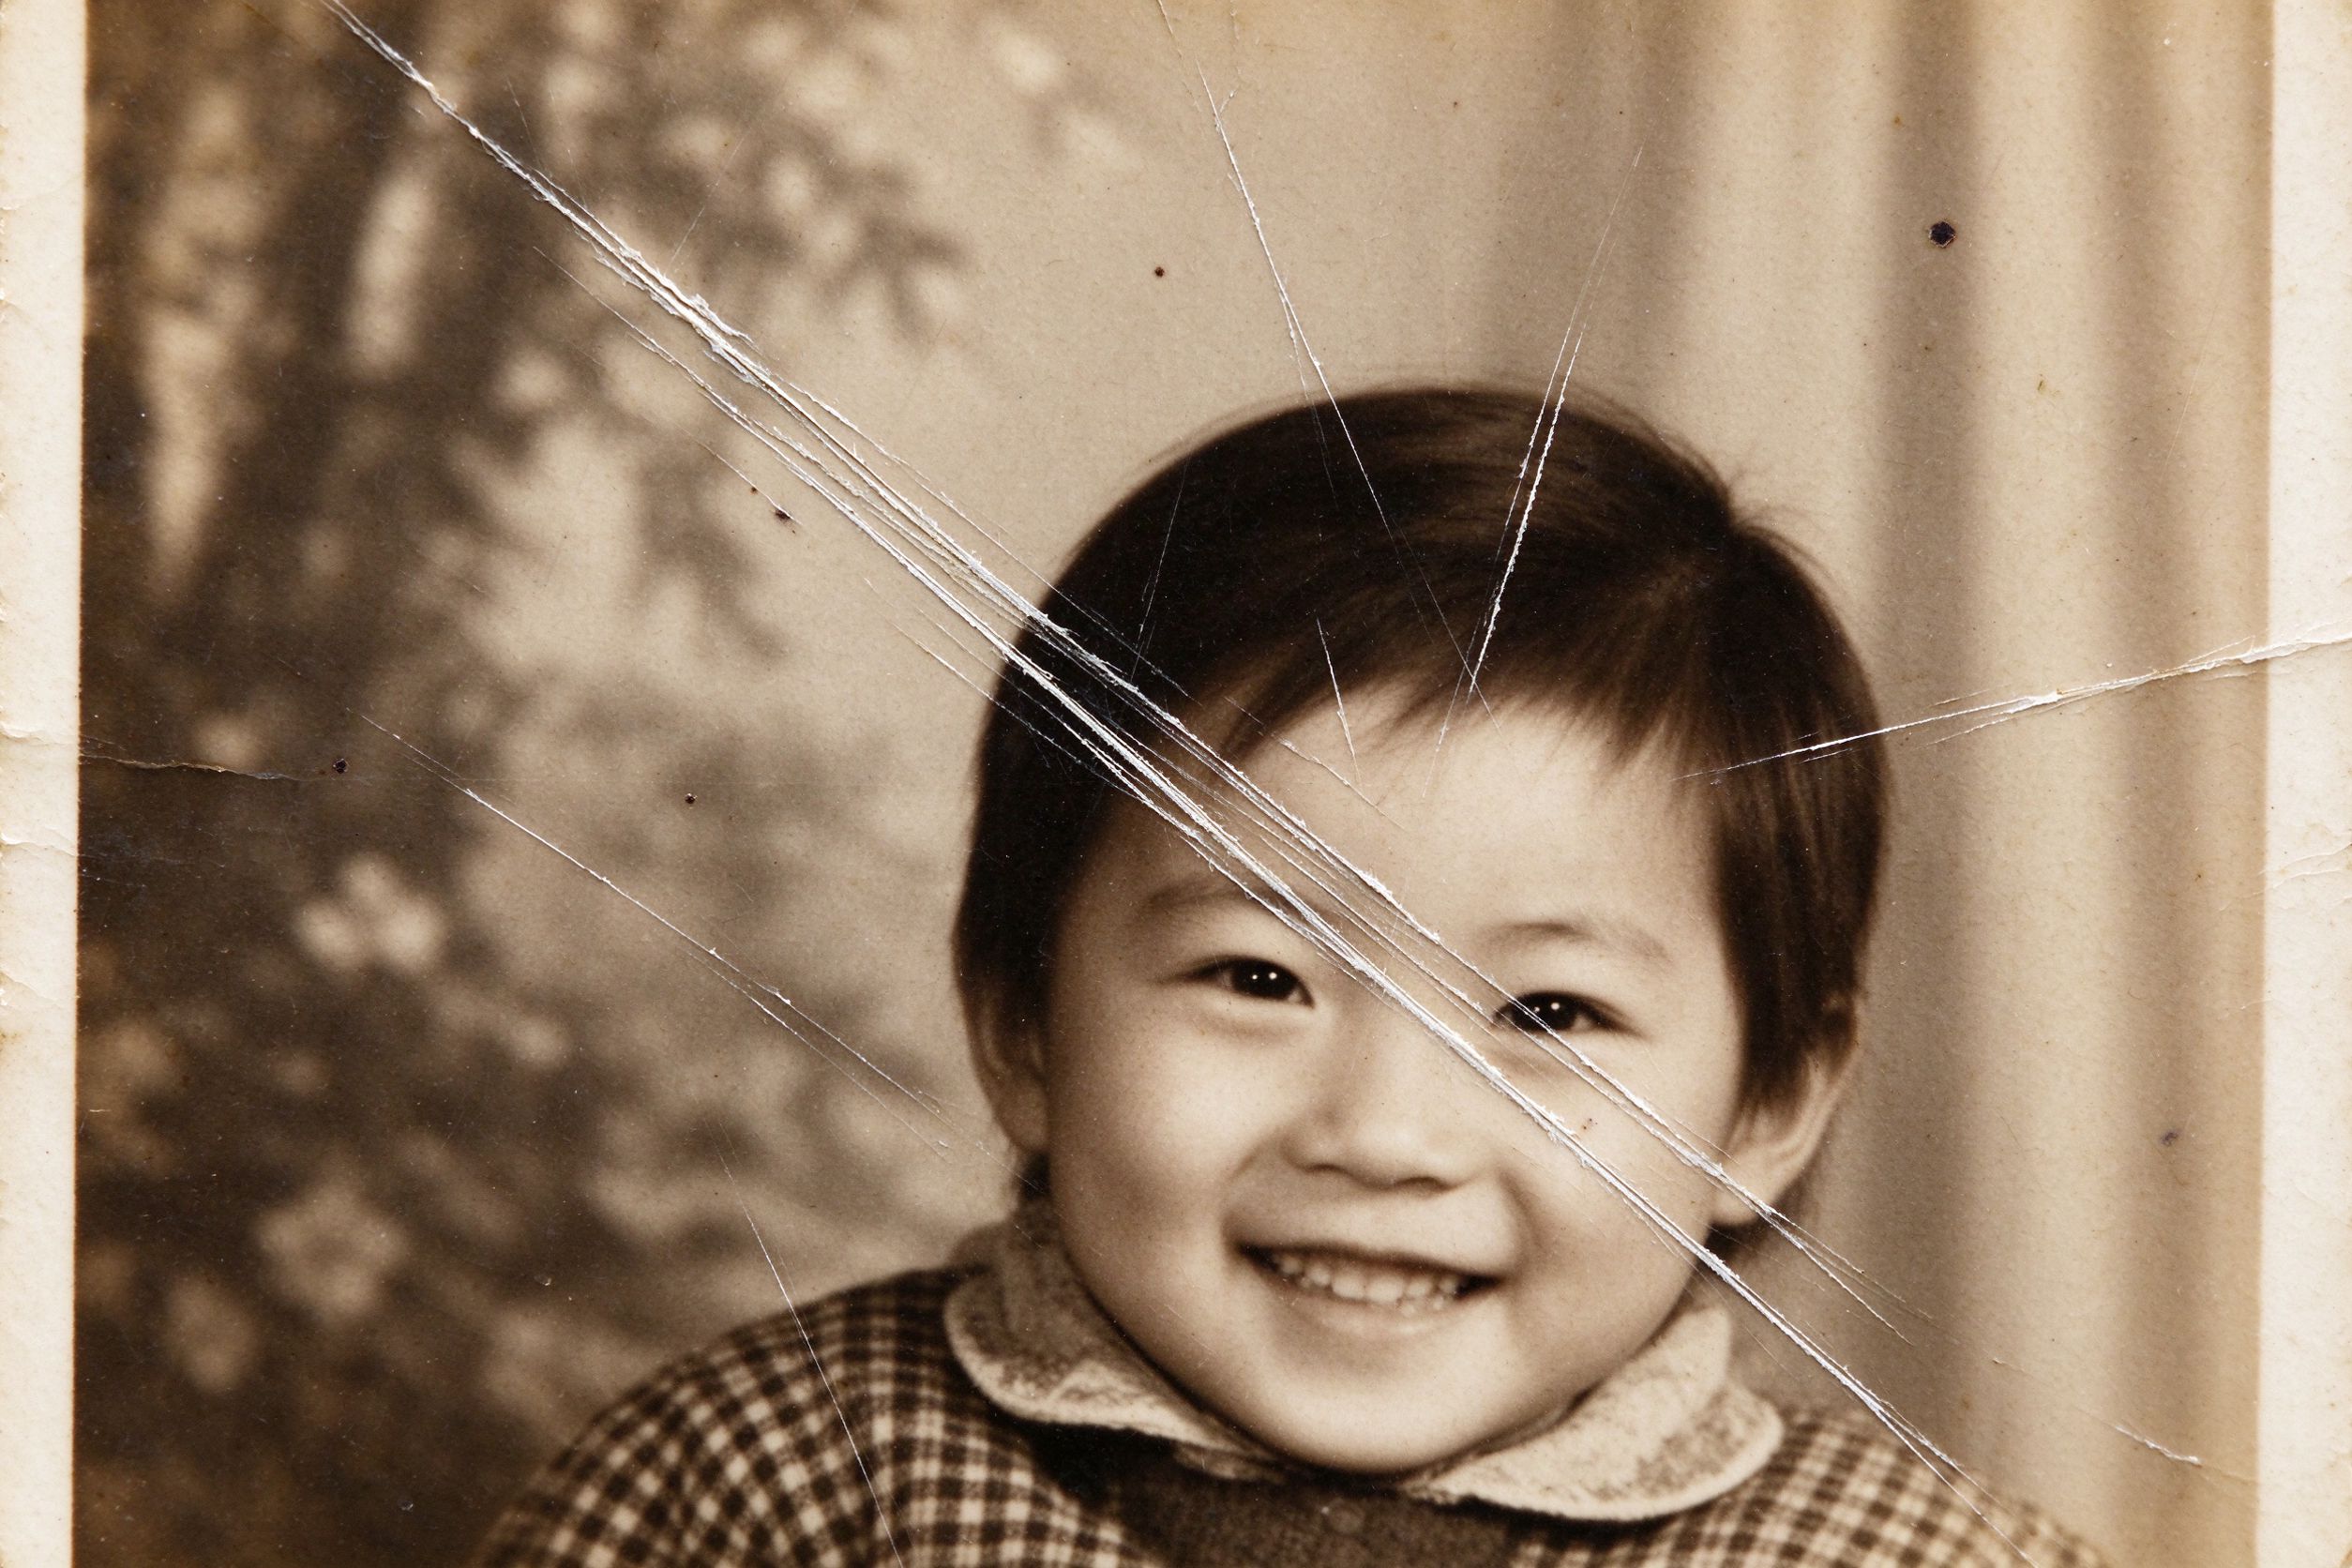
- Remove dust specks and small stains with the Scratch & Spot Remover. Because the background is a uniform gray, stray dots stand out dramatically. Use a moderate threshold so you remove the dust but not natural skin texture, pores, freckles or wrinkles — those are part of who the person was.
- Watch the eyebrows and hairline. These are thin, high-contrast edges where over-zealous smoothing can erase an eyebrow or blur the hairline. If cleaning starts to eat the brow, lower the strength and touch only the worst spots.
- Fix red eye if present. Old flash portraits sometimes show red pupils. Correct only the pupils, not the whole eye.
- Do not smooth skin into plastic. A restored ID photo should look like a clean, well-lit version of the real person — not an airbrushed model. Stop while skin still has texture.
Sharpen eyes and edges carefully
Small scanned faces often look soft, and a little sharpening helps a lot — but this is exactly where ID photos can go wrong fast. Use the Photo Sharpener with restraint:
- Start with a low amount. Because you are working on a tiny face enlarged on screen, even a modest amount looks strong. Increase in small steps and zoom into the eyes to judge.
- Look for halos. Over-sharpening draws bright white outlines around the nose, glasses frames and hair. If you see glowing edges, dial back — halos are especially obvious on the flat gray background of an ID photo.
- Sharpen once, at the end. Do all cleaning and contrast work first, sharpen last. Sharpening before cleaning amplifies the specks you are about to remove.
Crop and resize to standard ratios
Once the face is clean and sharp, you may want a tidy final portrait. Use the Photo Cropper to trim the card edges and distractions, keeping head-and-shoulders framing. Standard ID-style ratios like 3:4 or the preset 1:1 work well for a clean keepsake portrait. Center the eyes at roughly the upper third of the frame, and leave a little space above the head rather than chopping the hair.
Then resize for its purpose. A file to print at small size or to archive can stay at full scan resolution; a photo to email or post can be brought down to a sensible size with the Photo Resizer without quality loss. Always keep the full-resolution restored master untouched — resize only a copy.
Honest limits: what officials still require
We want to be straight with you. Restoring an old ID photo for family memory is completely fine and a lovely thing to do. But an enhanced, cleaned, sharpened photo of an old ID is not a valid passport or ID photograph, and you should not treat it as one. Real official documents require a recent photo meeting strict rules: exact dimensions, head size, background color, neutral expression, no glare on glasses, specific lighting, and a fresh likeness that matches how you look today.
A browser tool cannot verify any of this, and using a heavily restored decades-old image as a current biometric would be rejected — and could cause real legal trouble. So the right way to think about this guide is: recover the portrait as a treasured keepsake, print it for a frame or an album, digitize it for your family archive. When you need a photo for an actual new passport or ID, take a fresh one according to the official specification. This same careful, face-first approach also applies to related small formal portraits — see our graduation photo restoration guide.
Done with care, restoring an old ID gives you a crisp, respectful keepsake of a loved one at a moment you might otherwise lose forever. High DPI, gentle cleaning, restrained sharpening, and honest expectations — that is the whole recipe.
一张旧护照、一张褪色的驾照、一张破损的学生证——这些小小的头像照,往往是某位家人在某个年纪唯一留存的近照。它们也是最难修好的一类照片,因为整张脸在相纸上只占几毫米。放大之后,每个瑕疵都无所遁形:额头上的一粒灰尘、划过眉毛的一道划痕、平光照明、以及怎么锐都不干脆的颗粒。
本指南教你用免费、浏览器内运行的工具,把这些小肖像在家里恢复到干净、可辨认的状态——全程不上传任何图片。先说明一点:我们修复的是纪念物、是把旧肖像数字化,而不是伪造一张能冒充全新官方证件照的图片。最后一节会讲清楚这条界线在哪。
一、证件照为什么特别难修
证件肖像比普通家庭快照难,原因有三。第一,它很小:一张 3×4 厘米的照片按常规 DPI 扫描,脸上的像素极少,所以从一开始就需要更高分辨率。第二,它是平光正面布光——影棚闪光灯打在灰色背景上——几乎没有阴影来遮掩瑕疵,皮肤上任何一个点都很扎眼。第三,照片的全部意义就在那张脸上,所以过度处理既最诱人、也最伤人:你要做的是还原这个人,而不是把他美化成另一个人。
好消息是证件照构图通常很简单:一张居中的脸、素净背景、没有复杂场景需要重建。这意味着工作主要围绕分辨率、干净度和温和对比,而不是重度修复。
二、小脸蛋要用高 DPI 扫描
正因为脸太小,比平时用更高的 DPI 扫描,是你能做的最大提升。
- 用 600 DPI 而不是 300。一张 3×4 厘米证件照按 300 DPI 扫出来总共只有约 700×950 像素——刚刚够用。600 DPI 让脸上的像素翻倍,这正是后续能锐化的前提。完整推荐设置见我们的扫描指南。
- 擦净照片和扫描玻璃。扫描台上的灰尘会变成干净影棚背景上永久的黑点或白点——极其显眼。每次扫描前都用软布擦一遍。
- 扫正、扫平。扫歪的证件照意味着脸是斜的;在开始之前就把方向转正,而不是事后。
- 整张卡边缘到边缘都扫进去。扫描时别贴着脸紧裁——你要留着之后转正、裁剪的余地。如果编号或印章也是纪念的一部分,一并保留。
三、清洁面部但别磨掉身份
拿到高分辨率扫描件后,在 AI Photo Restorer 中打开,让一键修复平衡褪色的颜色和对比。然后再做局部清理。
- 用划痕与污点修复去掉灰尘小点和小污渍。因为背景是均匀的灰色,杂点会格外刺眼。用中等阈值,去掉灰尘但保留自然的皮肤纹理、毛孔、雀斑或皱纹——这些都是那个人本来的样子。
- 留意眉毛和发际线。它们是细而高对比的边缘,过度平滑会吃掉眉毛、糊掉发际线。一旦清理开始啃眉毛,就降低强度,只点最糟的几处。
- 如有红眼就修掉。老闪光灯照片有时瞳孔发红。只修瞳孔,别整只眼睛都动。
- 别把皮肤磨成塑料。修好的证件照应当像真实的人被干净、明亮地呈现——而不是磨皮过度的模特。在皮肤还有纹理时就停手。
四、小心锐化眼睛与边缘
小扫描的脸常常发柔,一点锐化帮助很大——但证件照恰恰最容易在这里翻车。用 照片锐化,务必克制:
- 从低强度开始。因为你是在屏幕上放大一张小脸,连中等强度看着都很强。小步提高,放大眼睛部位判断。
- 留意光晕。过度锐化会在鼻子、眼镜框和头发周围勾出白边。一旦看到发光的边缘,就回调——光晕在证件照平整的灰背景上特别明显。
- 只在最后锐化一次。先做所有清理和对比,最后再锐化。清理之前锐化,会把你正要去掉的杂点放大。
五、按标准比例裁剪与缩放
脸干净、清晰之后,你可能想要一张整齐的最终肖像。用 照片裁剪 裁掉卡片边缘和干扰物,保留头肩构图。证件照常见的 3:4 或预设 1:1 都很适合做干净的纪念肖像。把眼睛放在画面上三分之一附近,头顶上方留点空间,别把头发切了。
然后按用途缩放。要小尺寸冲印或归档的文件,可以保持全扫描分辨率;要发邮件或发帖的图,可以用 照片缩放 在不损画质的前提下降到合理尺寸。永远保留全分辨率的修复母版不动——只在副本上缩放。
六、诚实的边界:官方仍要求什么
我们想对你说实话。把旧证件照作为家庭记忆修复下来,完全没问题,也是件很有意义的事。但是,一张被增强、清洁、锐化过的旧证件照不是一张有效的护照或证件照片,你也不该把它当成一张用。真正的官方证件需要近期照片,遵守严格规则:精确尺寸、头部大小、背景颜色、中性表情、眼镜不能反光、特定布光,以及与你当下长相相符的近期样貌。
浏览器工具无法核验这些任何一项,把一张修复过的几十年前的旧照当作当前生物特征照使用会被拒收——还可能带来真正的法律麻烦。所以正确的心态是:把这张肖像当作珍贵的纪念物恢复出来,冲印装框或放进相册,为家庭档案数字化。当你真需要一张新护照或证件照片时,按官方规范现拍一张。这种「先顾好脸」的细致思路,也适用于其他正式小肖像——见我们的毕业照修复指南。
用心去做,修复一张旧证件照,就是为你爱的人在某个也许会永远失去的时刻,留下一张清晰而有尊严的纪念。高 DPI、温和清理、克制锐化、诚实预期——诀窍全在这里。