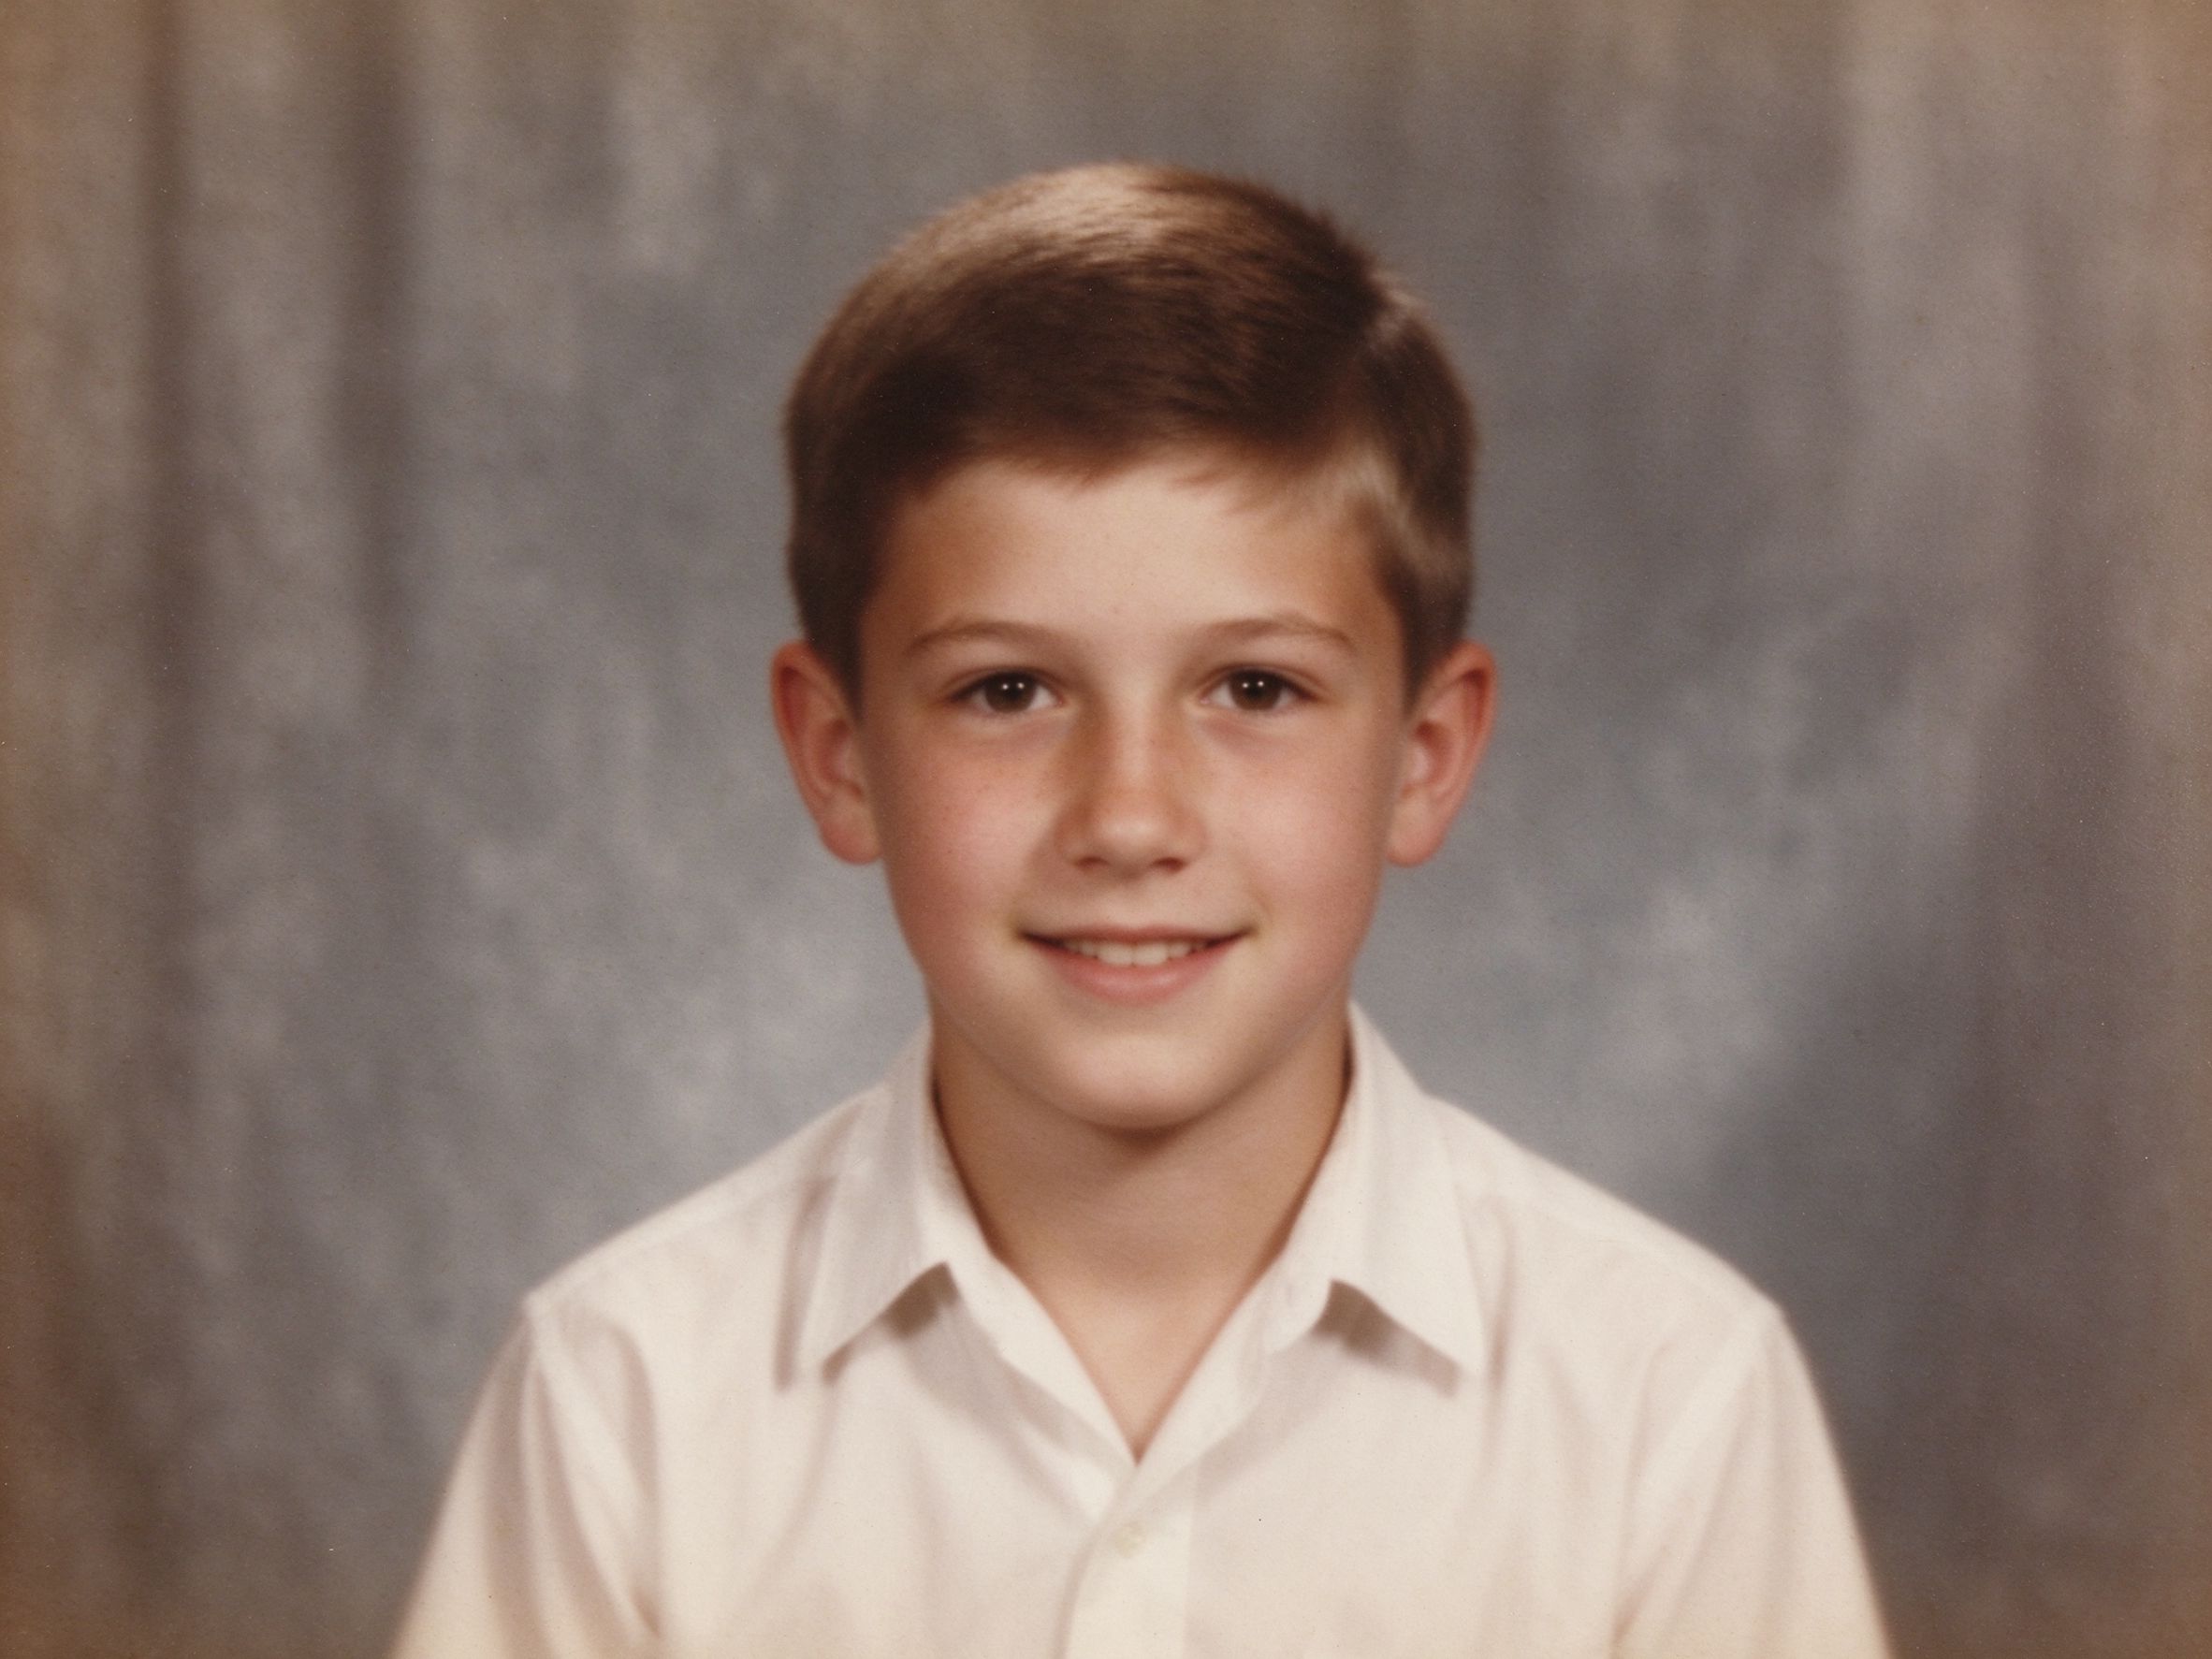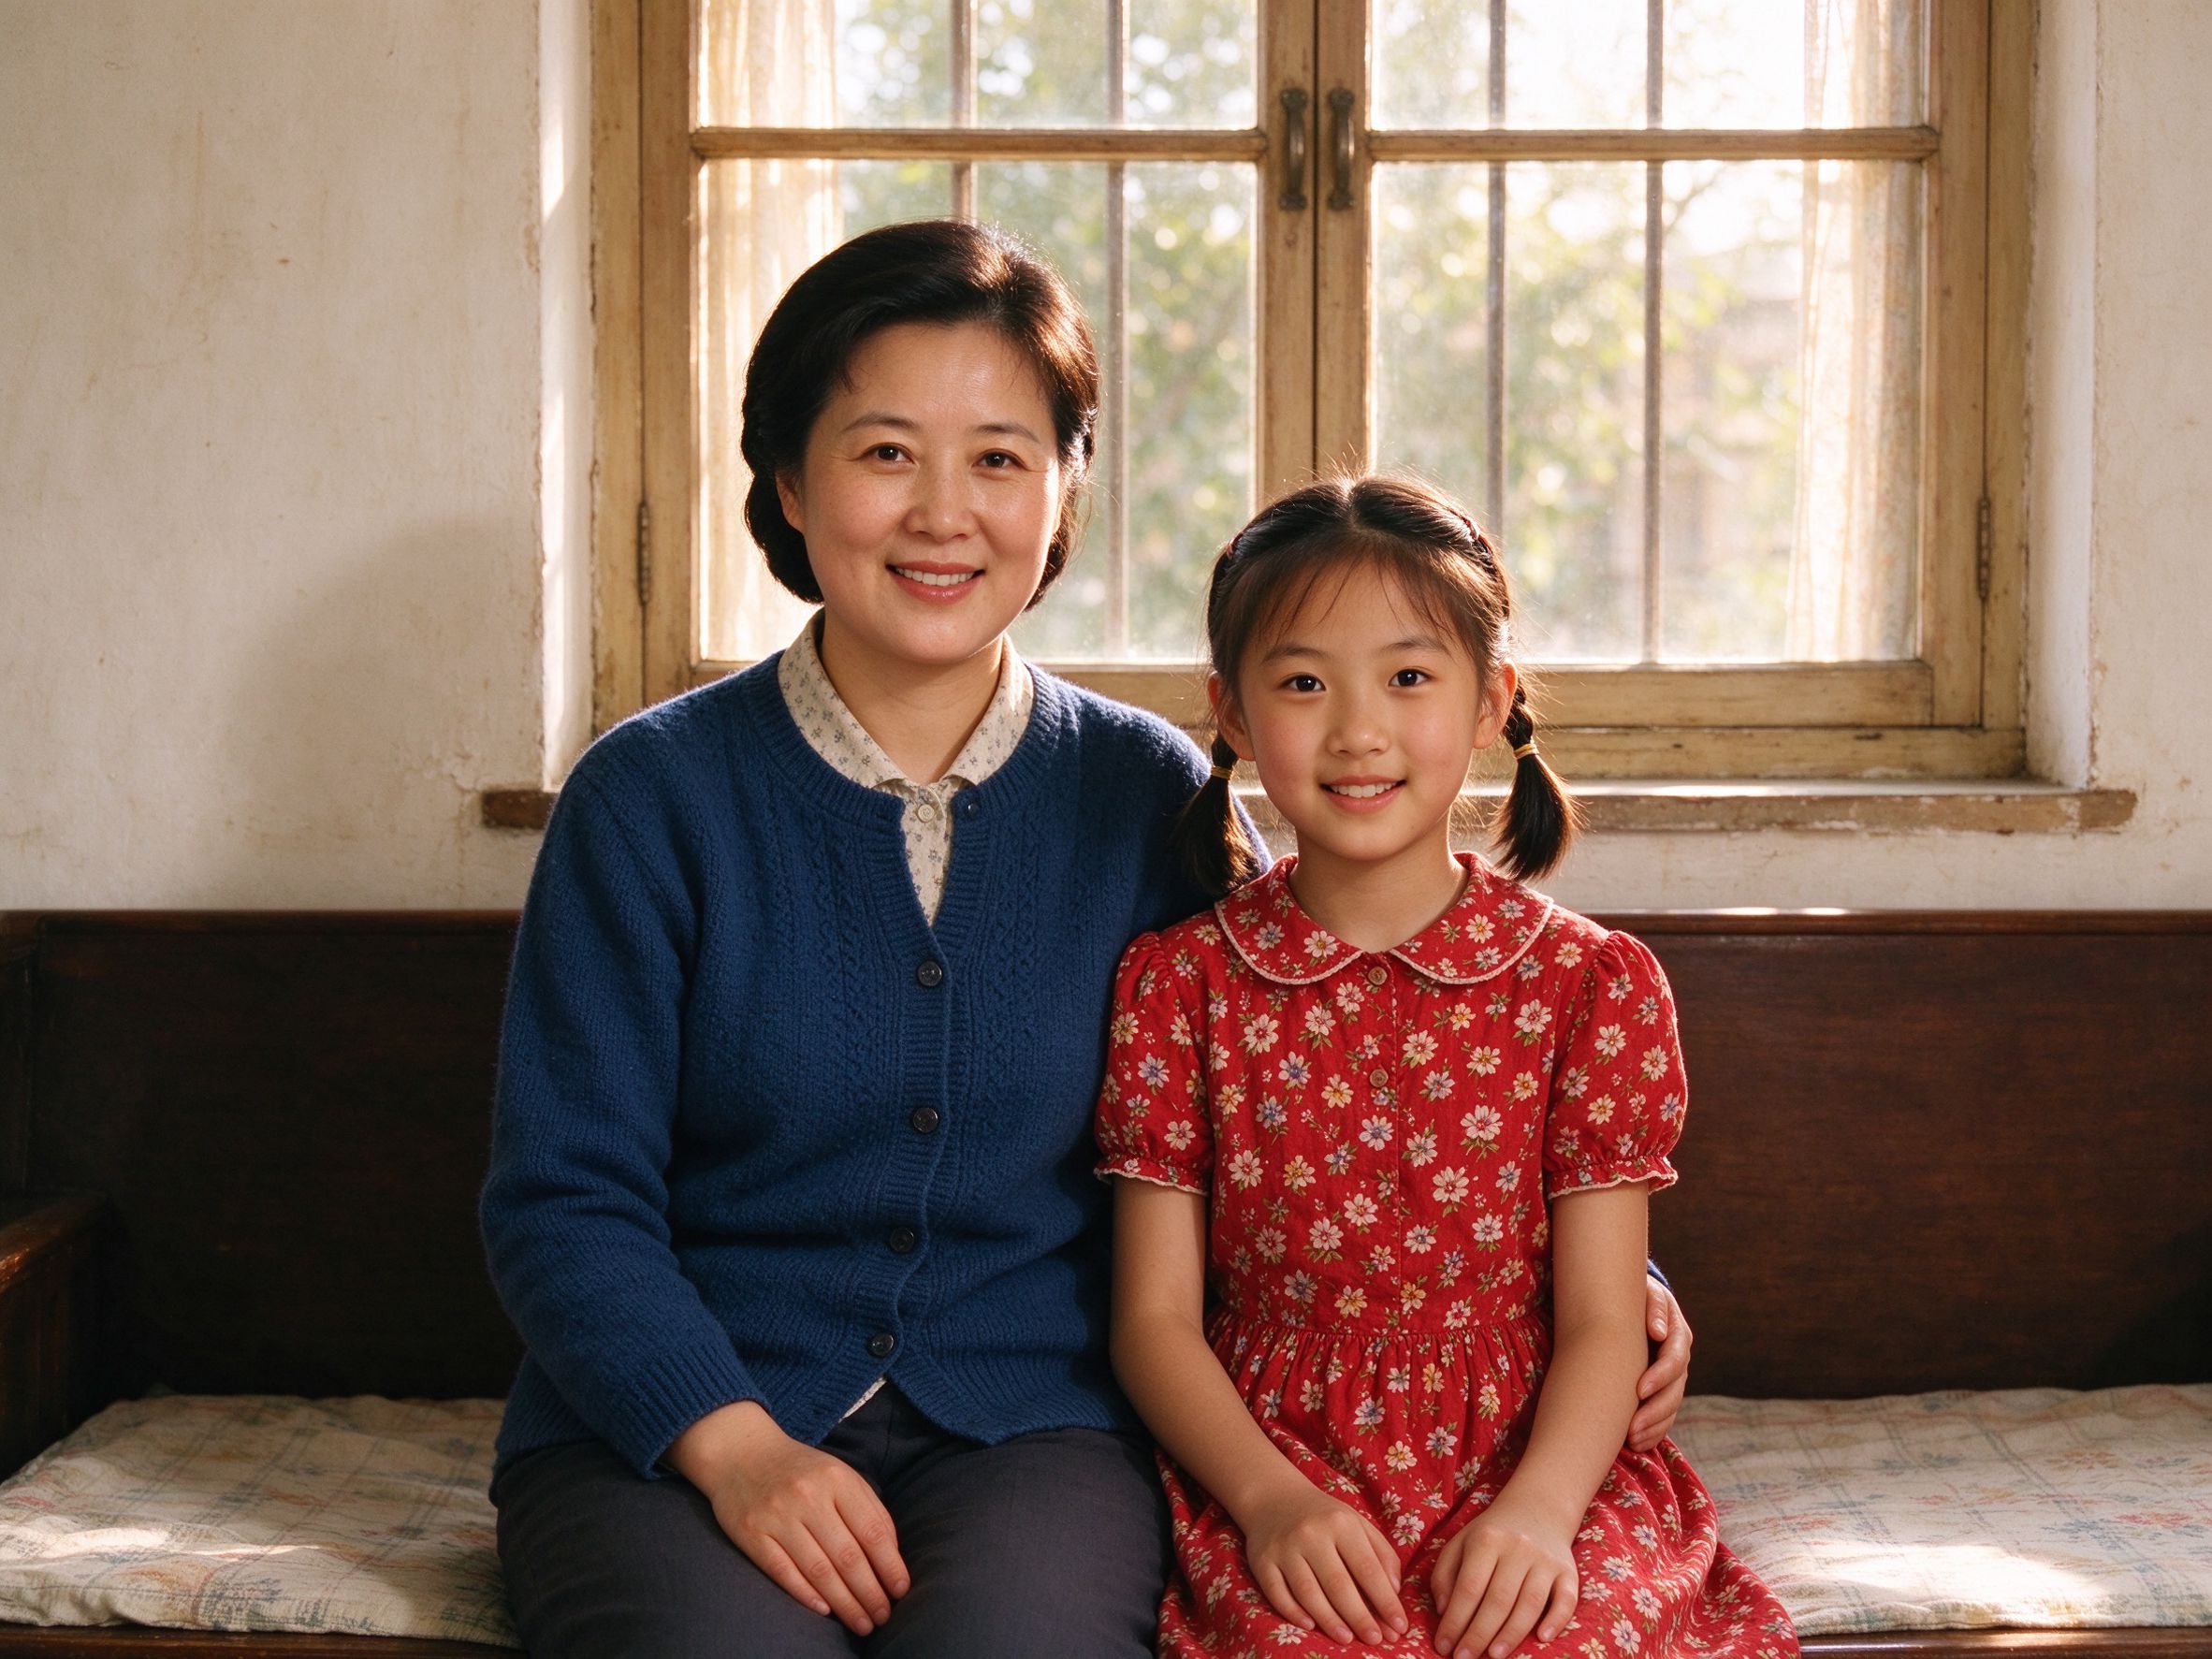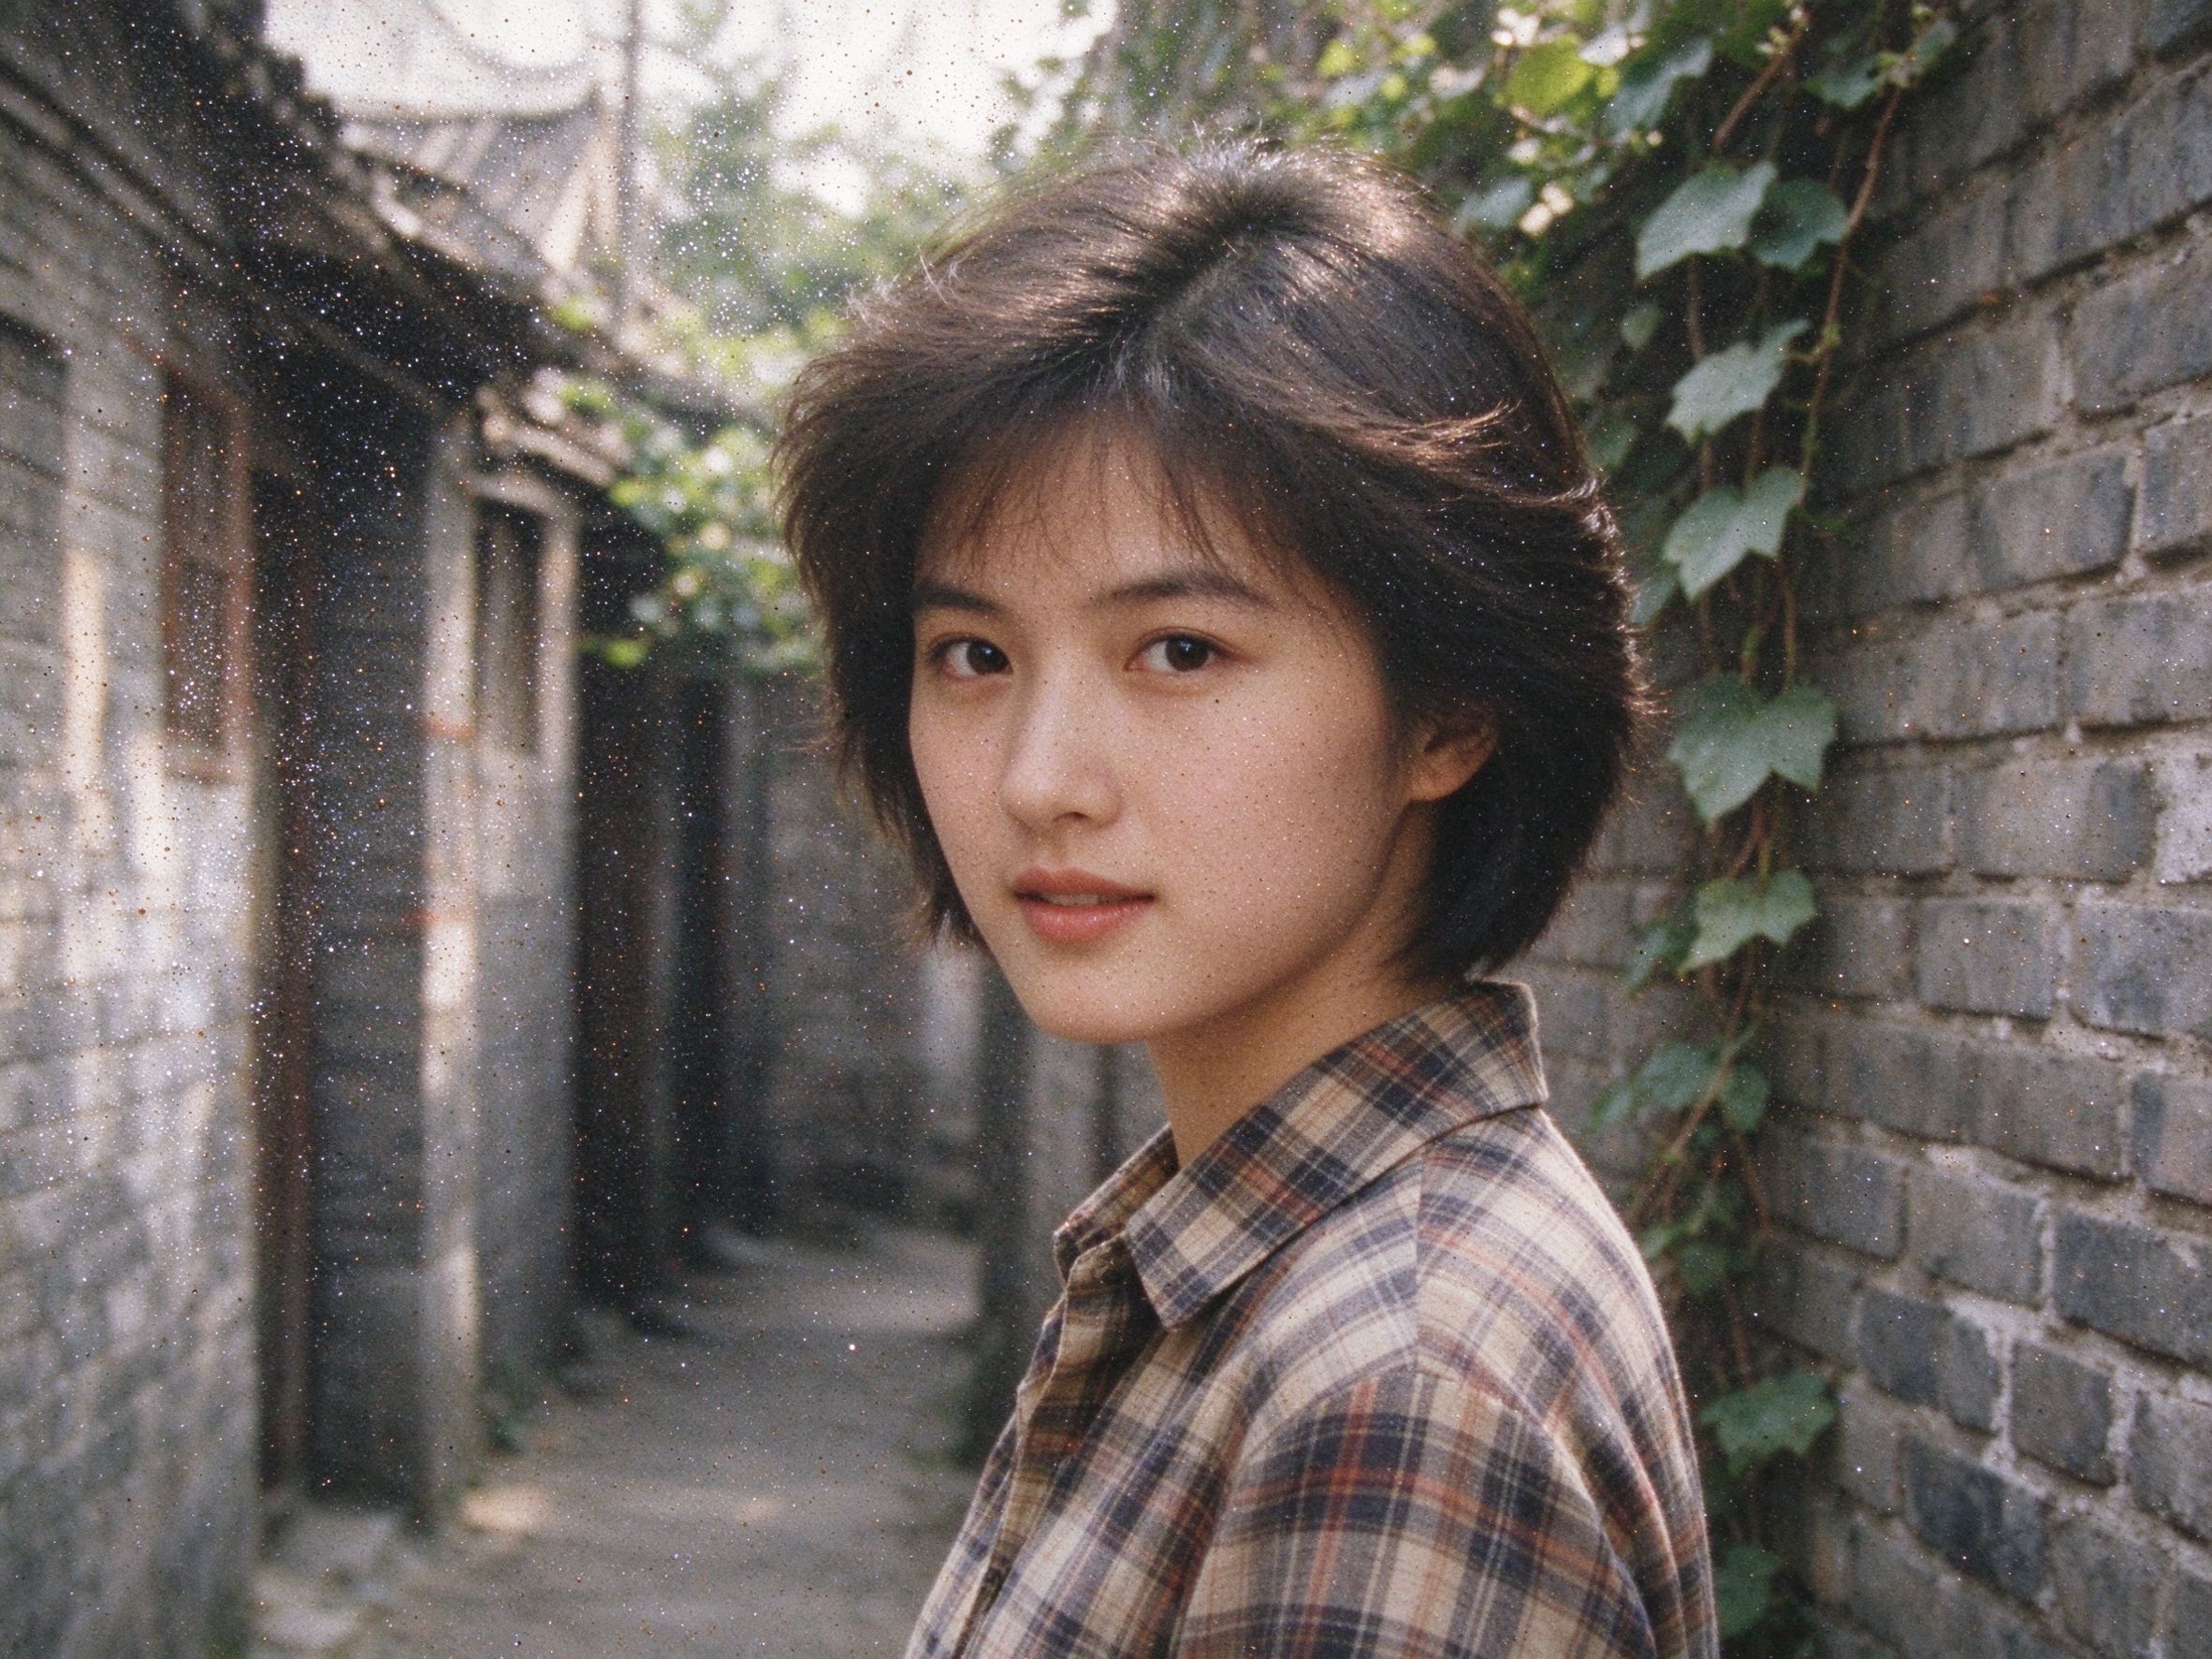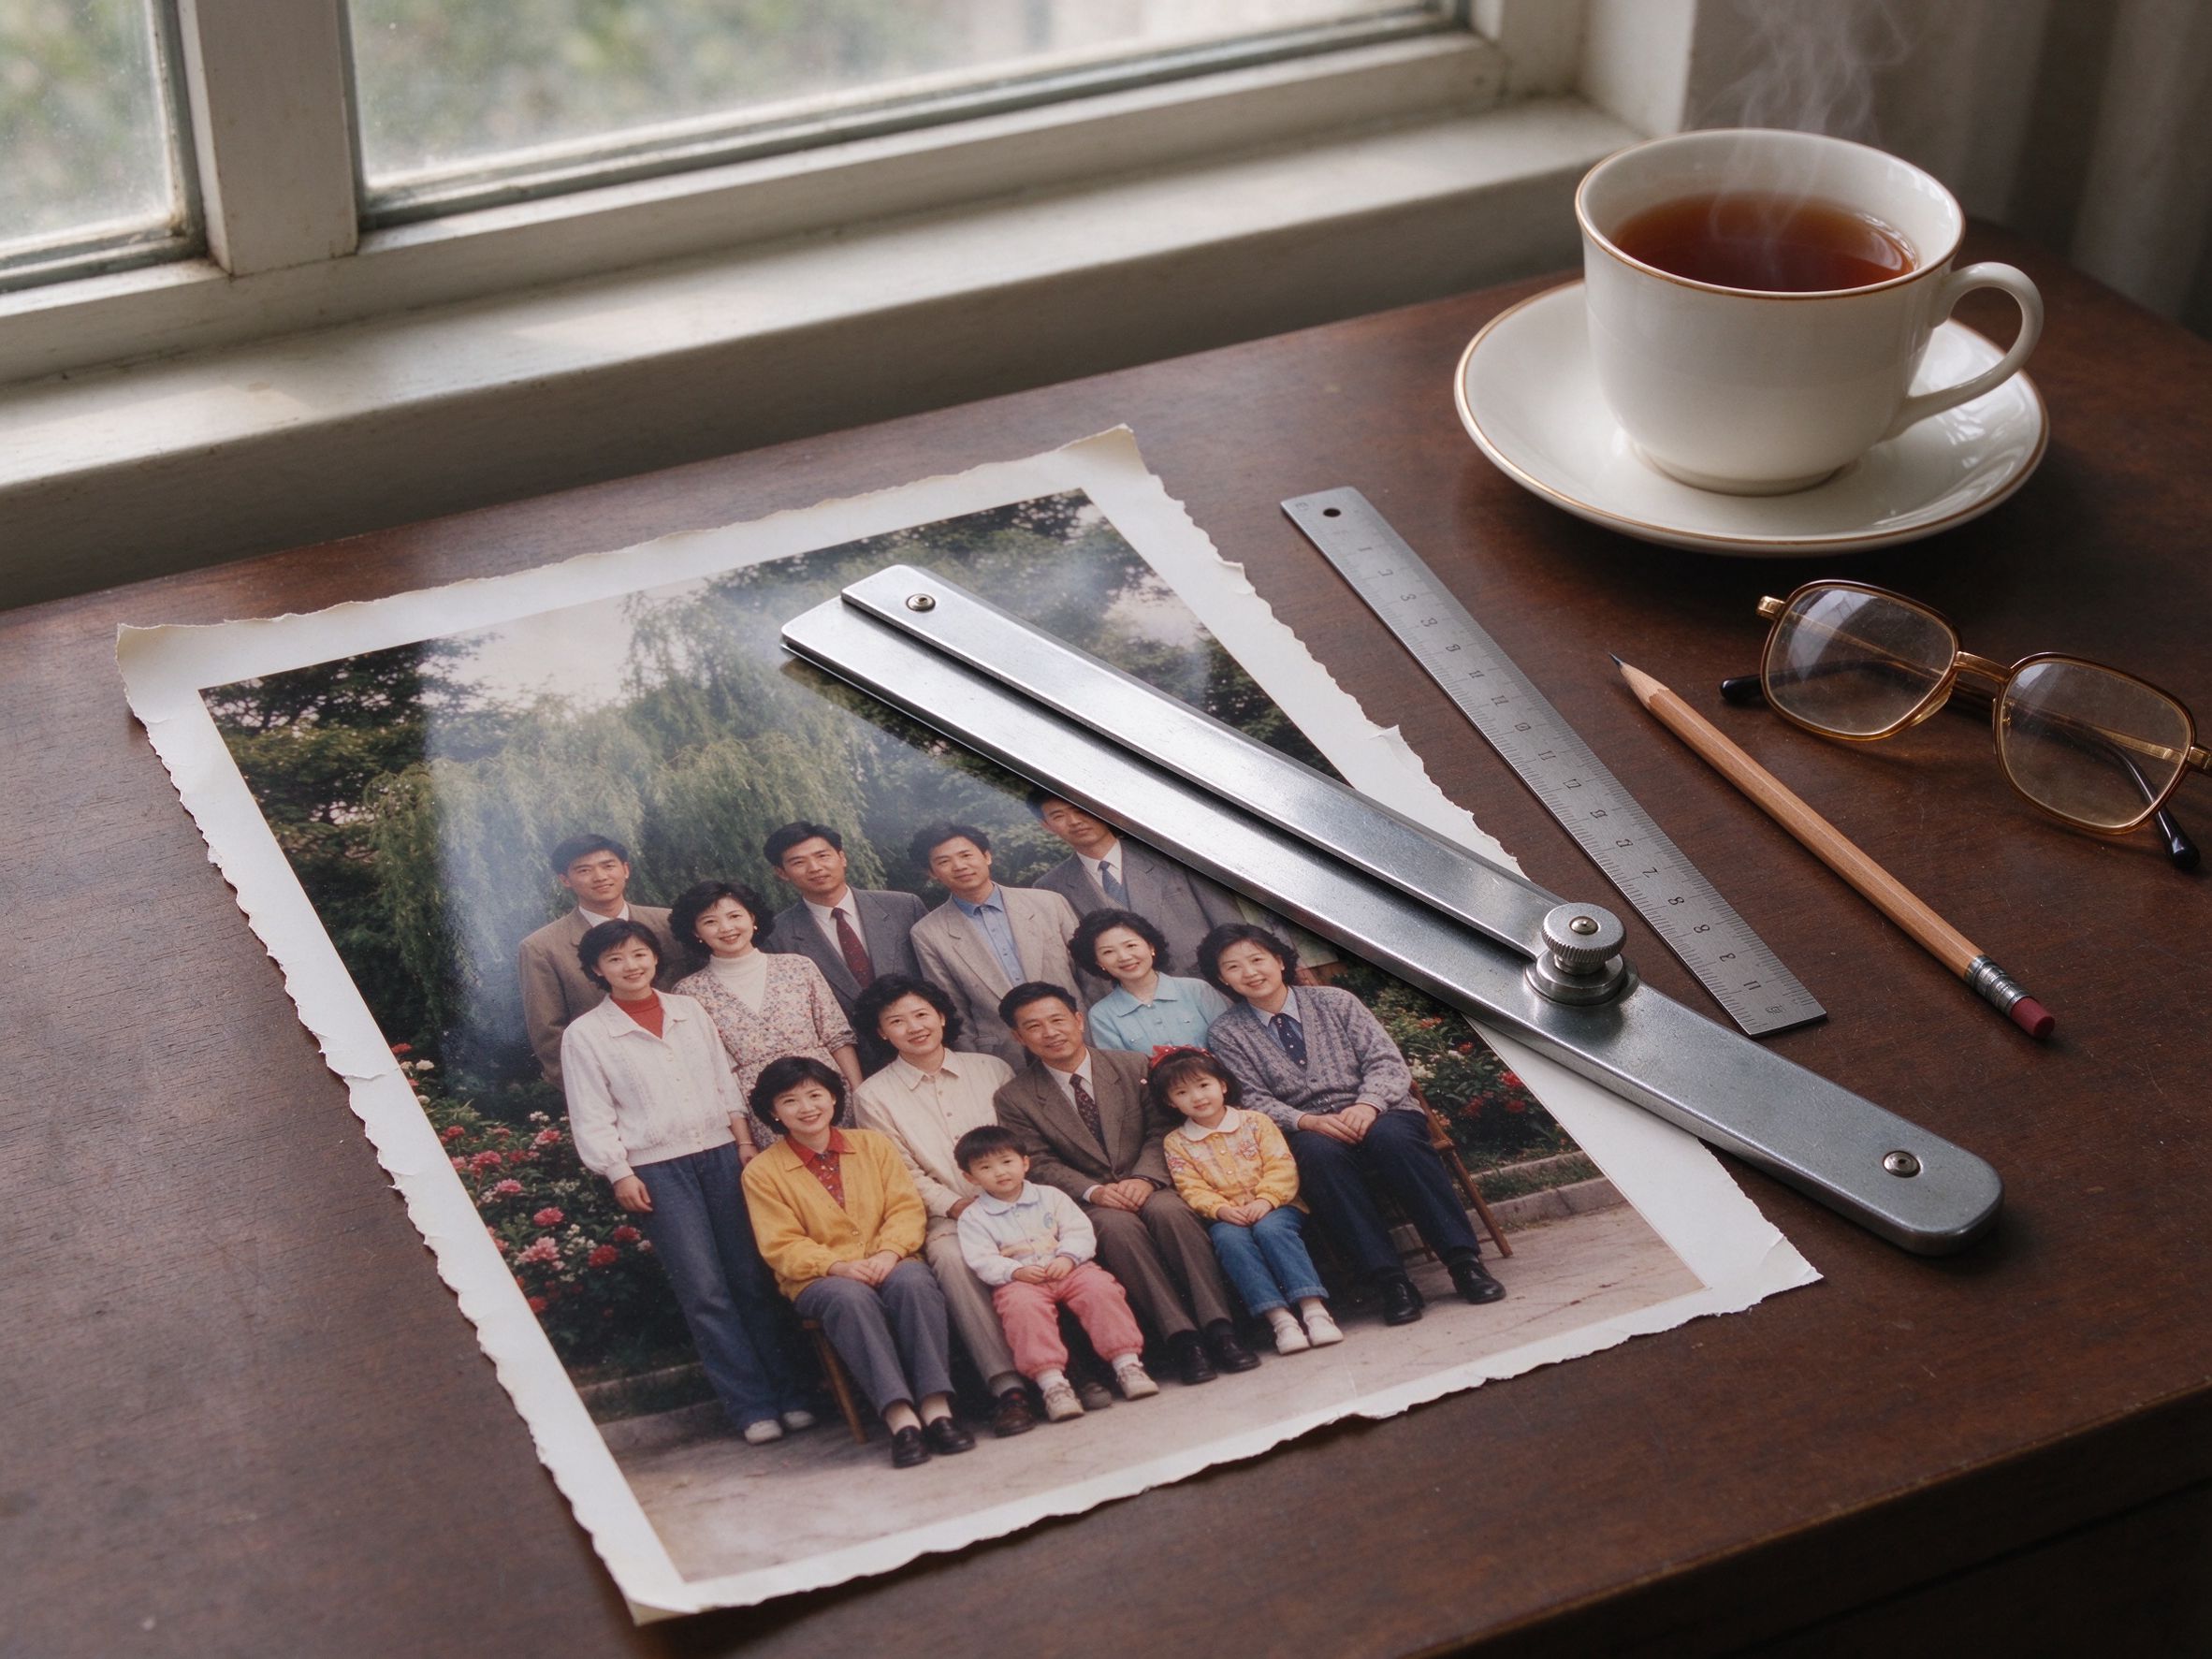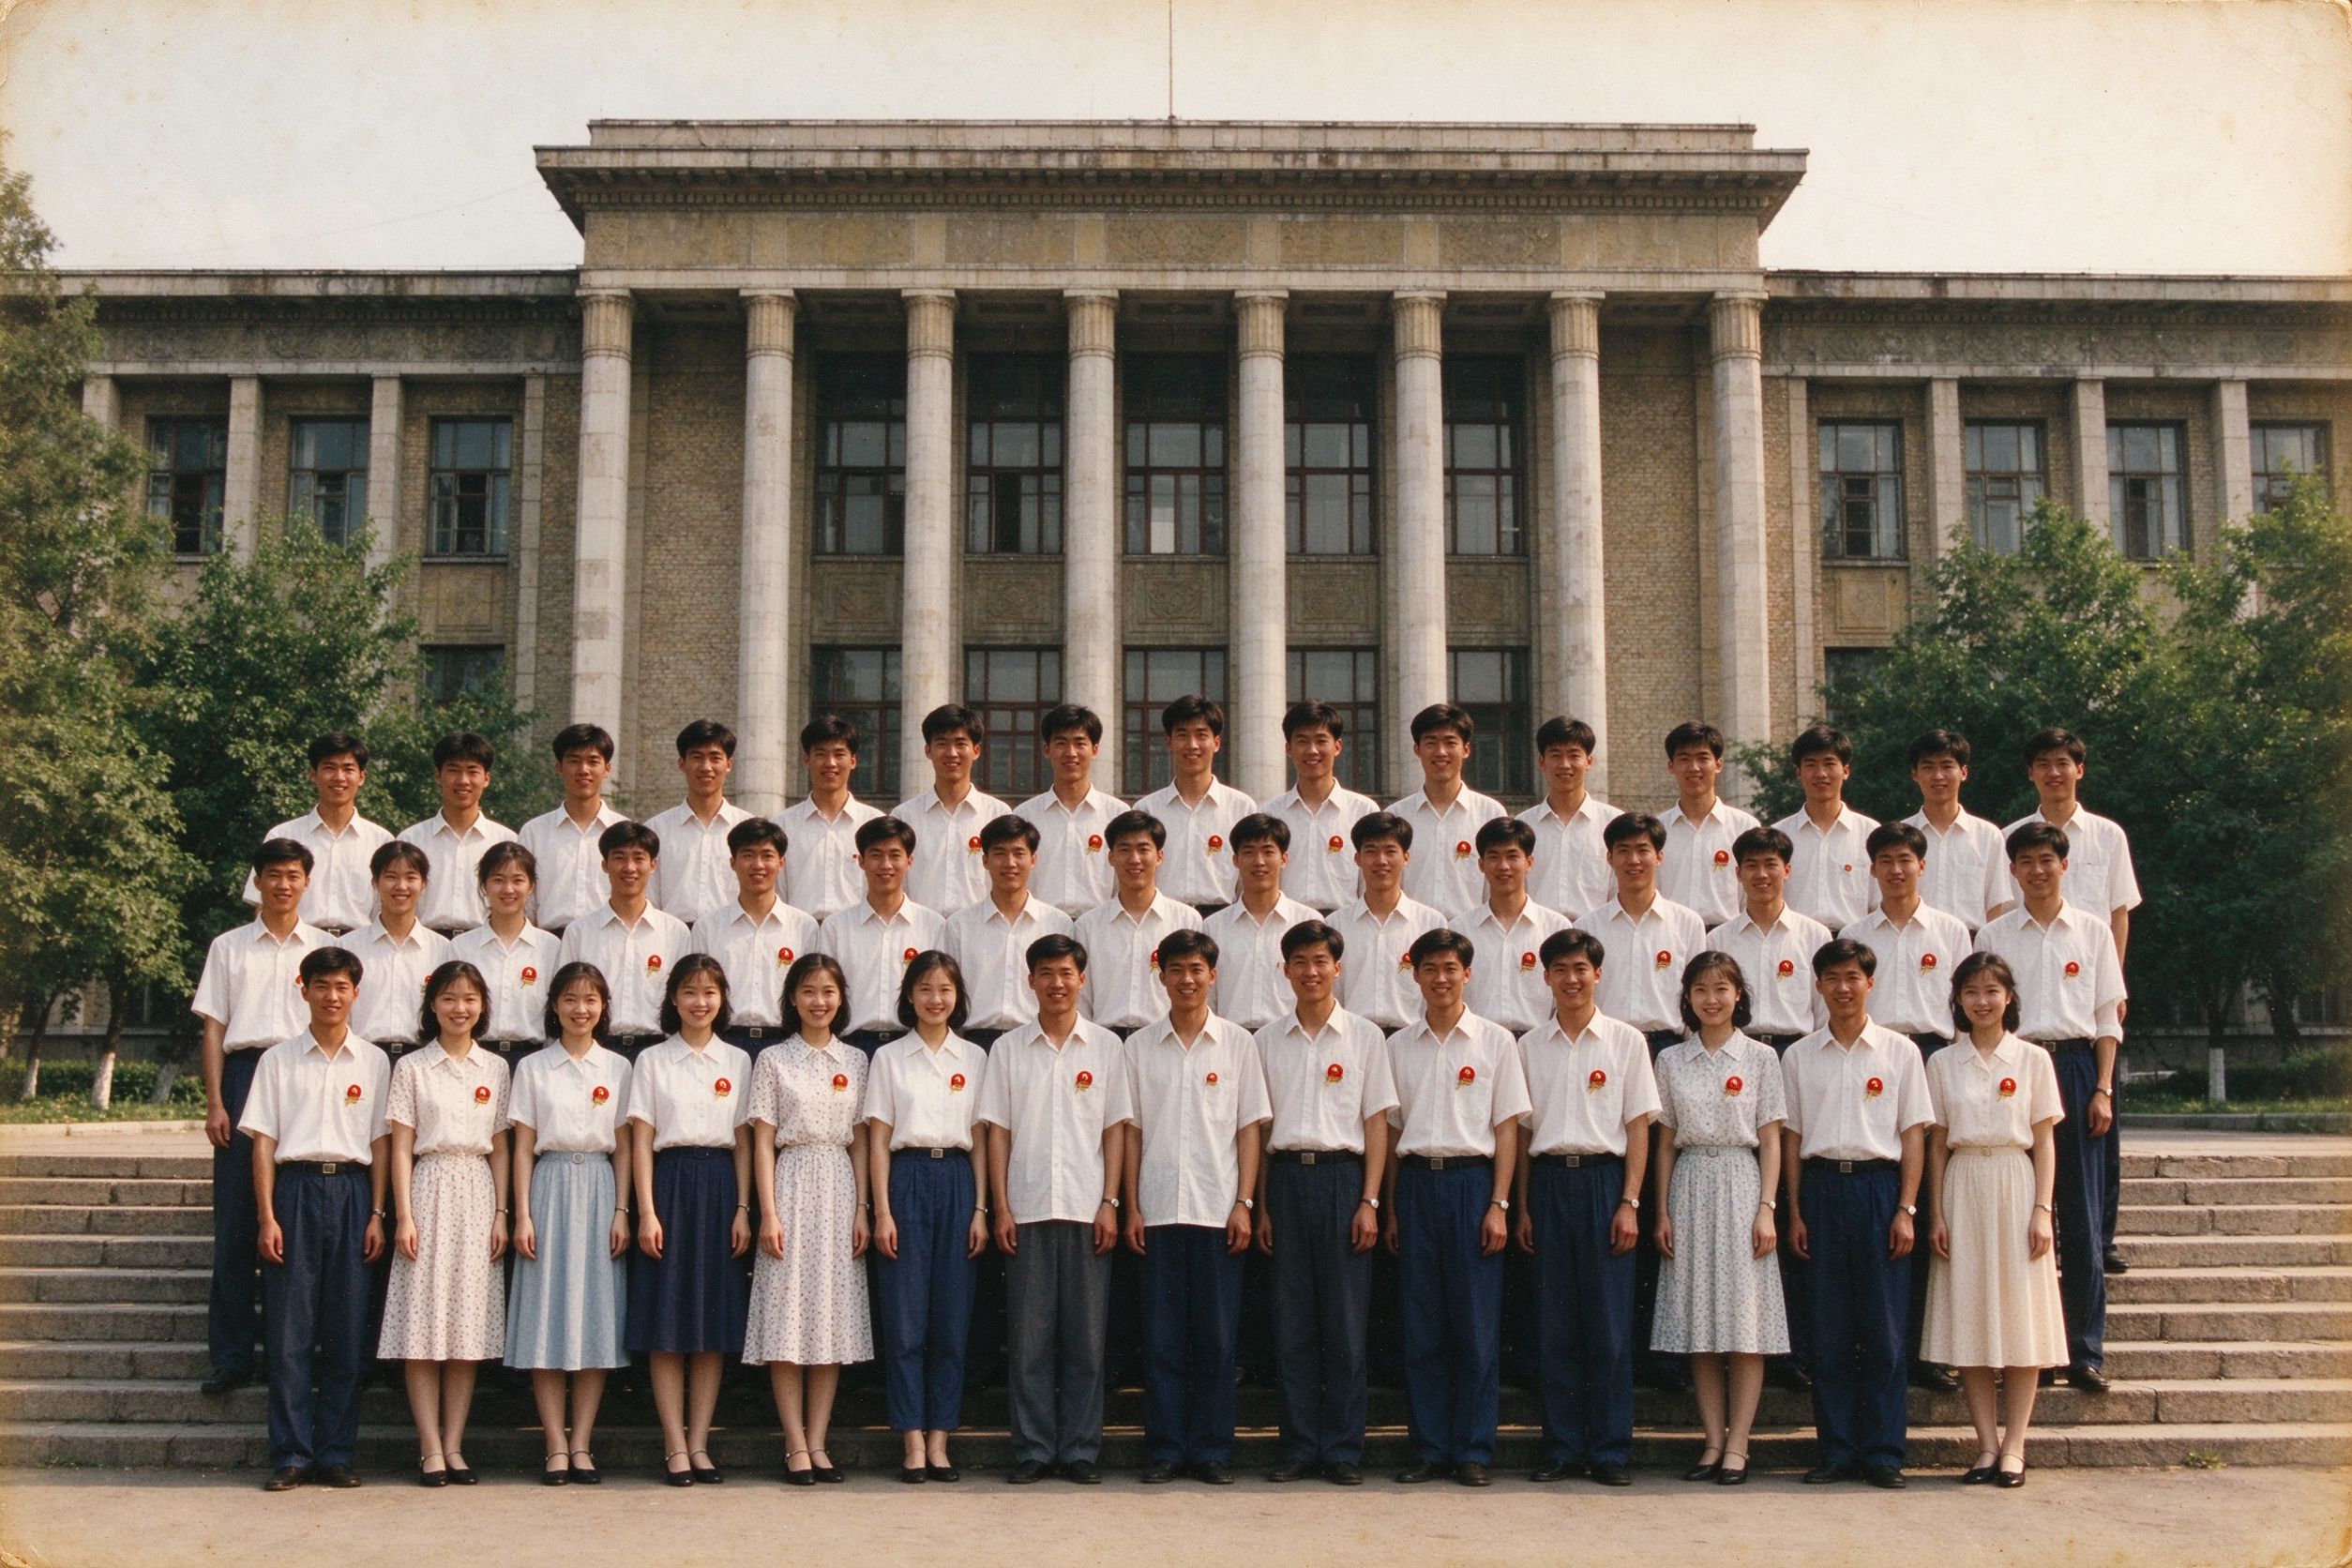
Open any old graduation photo and the first thing people do is hunt for themselves — or for their mother, their father, their teacher — across rows of tiny faces. A graduation picture lives or dies on whether those faces are identifiable. Everything else in the frame — the building, the lawn, the gowns — is secondary. That single fact changes how you should restore it.
Unlike a scenic landscape or an artistic portrait, a class photo needs to be corrected for color and damage, then sharpened with purpose: the eyes and mouths need to become readable without the whole image turning rough. This guide is about that balance — scanning high enough, sharpening carefully, and cropping a big group shot so the people you care about finally come into focus. Everything runs locally in your browser, so the original never leaves your device.
Why graduation photos are really about faces
Most graduation photographs are large group portraits: dozens of graduates arranged in rows, often printed small (around 15–20 cm wide), then folded, stuffed in a yearbook, and carried around for decades. Because each person occupies only a few millimeters of the original print, the faces are inherently low-resolution relative to the people looking for them. When you scan one and zoom in, every defect — soft focus, film grain, fading — becomes more obvious on the faces than anywhere else.
This means your restoration goal is not a pretty, artistic image. It is legibility: make eyes, glasses, graduation caps and smiles readable. That objective tells you which tools to use (light color correction, gentle denoise, targeted sharpening) and which to avoid (heavy smoothing that melts the small faces, aggressive saturation that turns skin orange).
What years do to a class photo
Decades-old graduation prints usually arrive with the familiar stack: a yellowed cast, slightly flat contrast, fine scratches across the glossy surface, and fingerprints on the white border where everyone held it. Black-and-white studio graduation portraits — extremely common from the 1960s to 1980s — additionally show soft focus and a gray cast, because the original photographers exposed for the group average rather than for individual faces. The good news is that these are all reversible problems. There are no torn-off heads in a typical class photo; the people are all there, just small and soft. Start by digitizing properly using the settings in our scanning guide.
Scan high enough to crop into faces
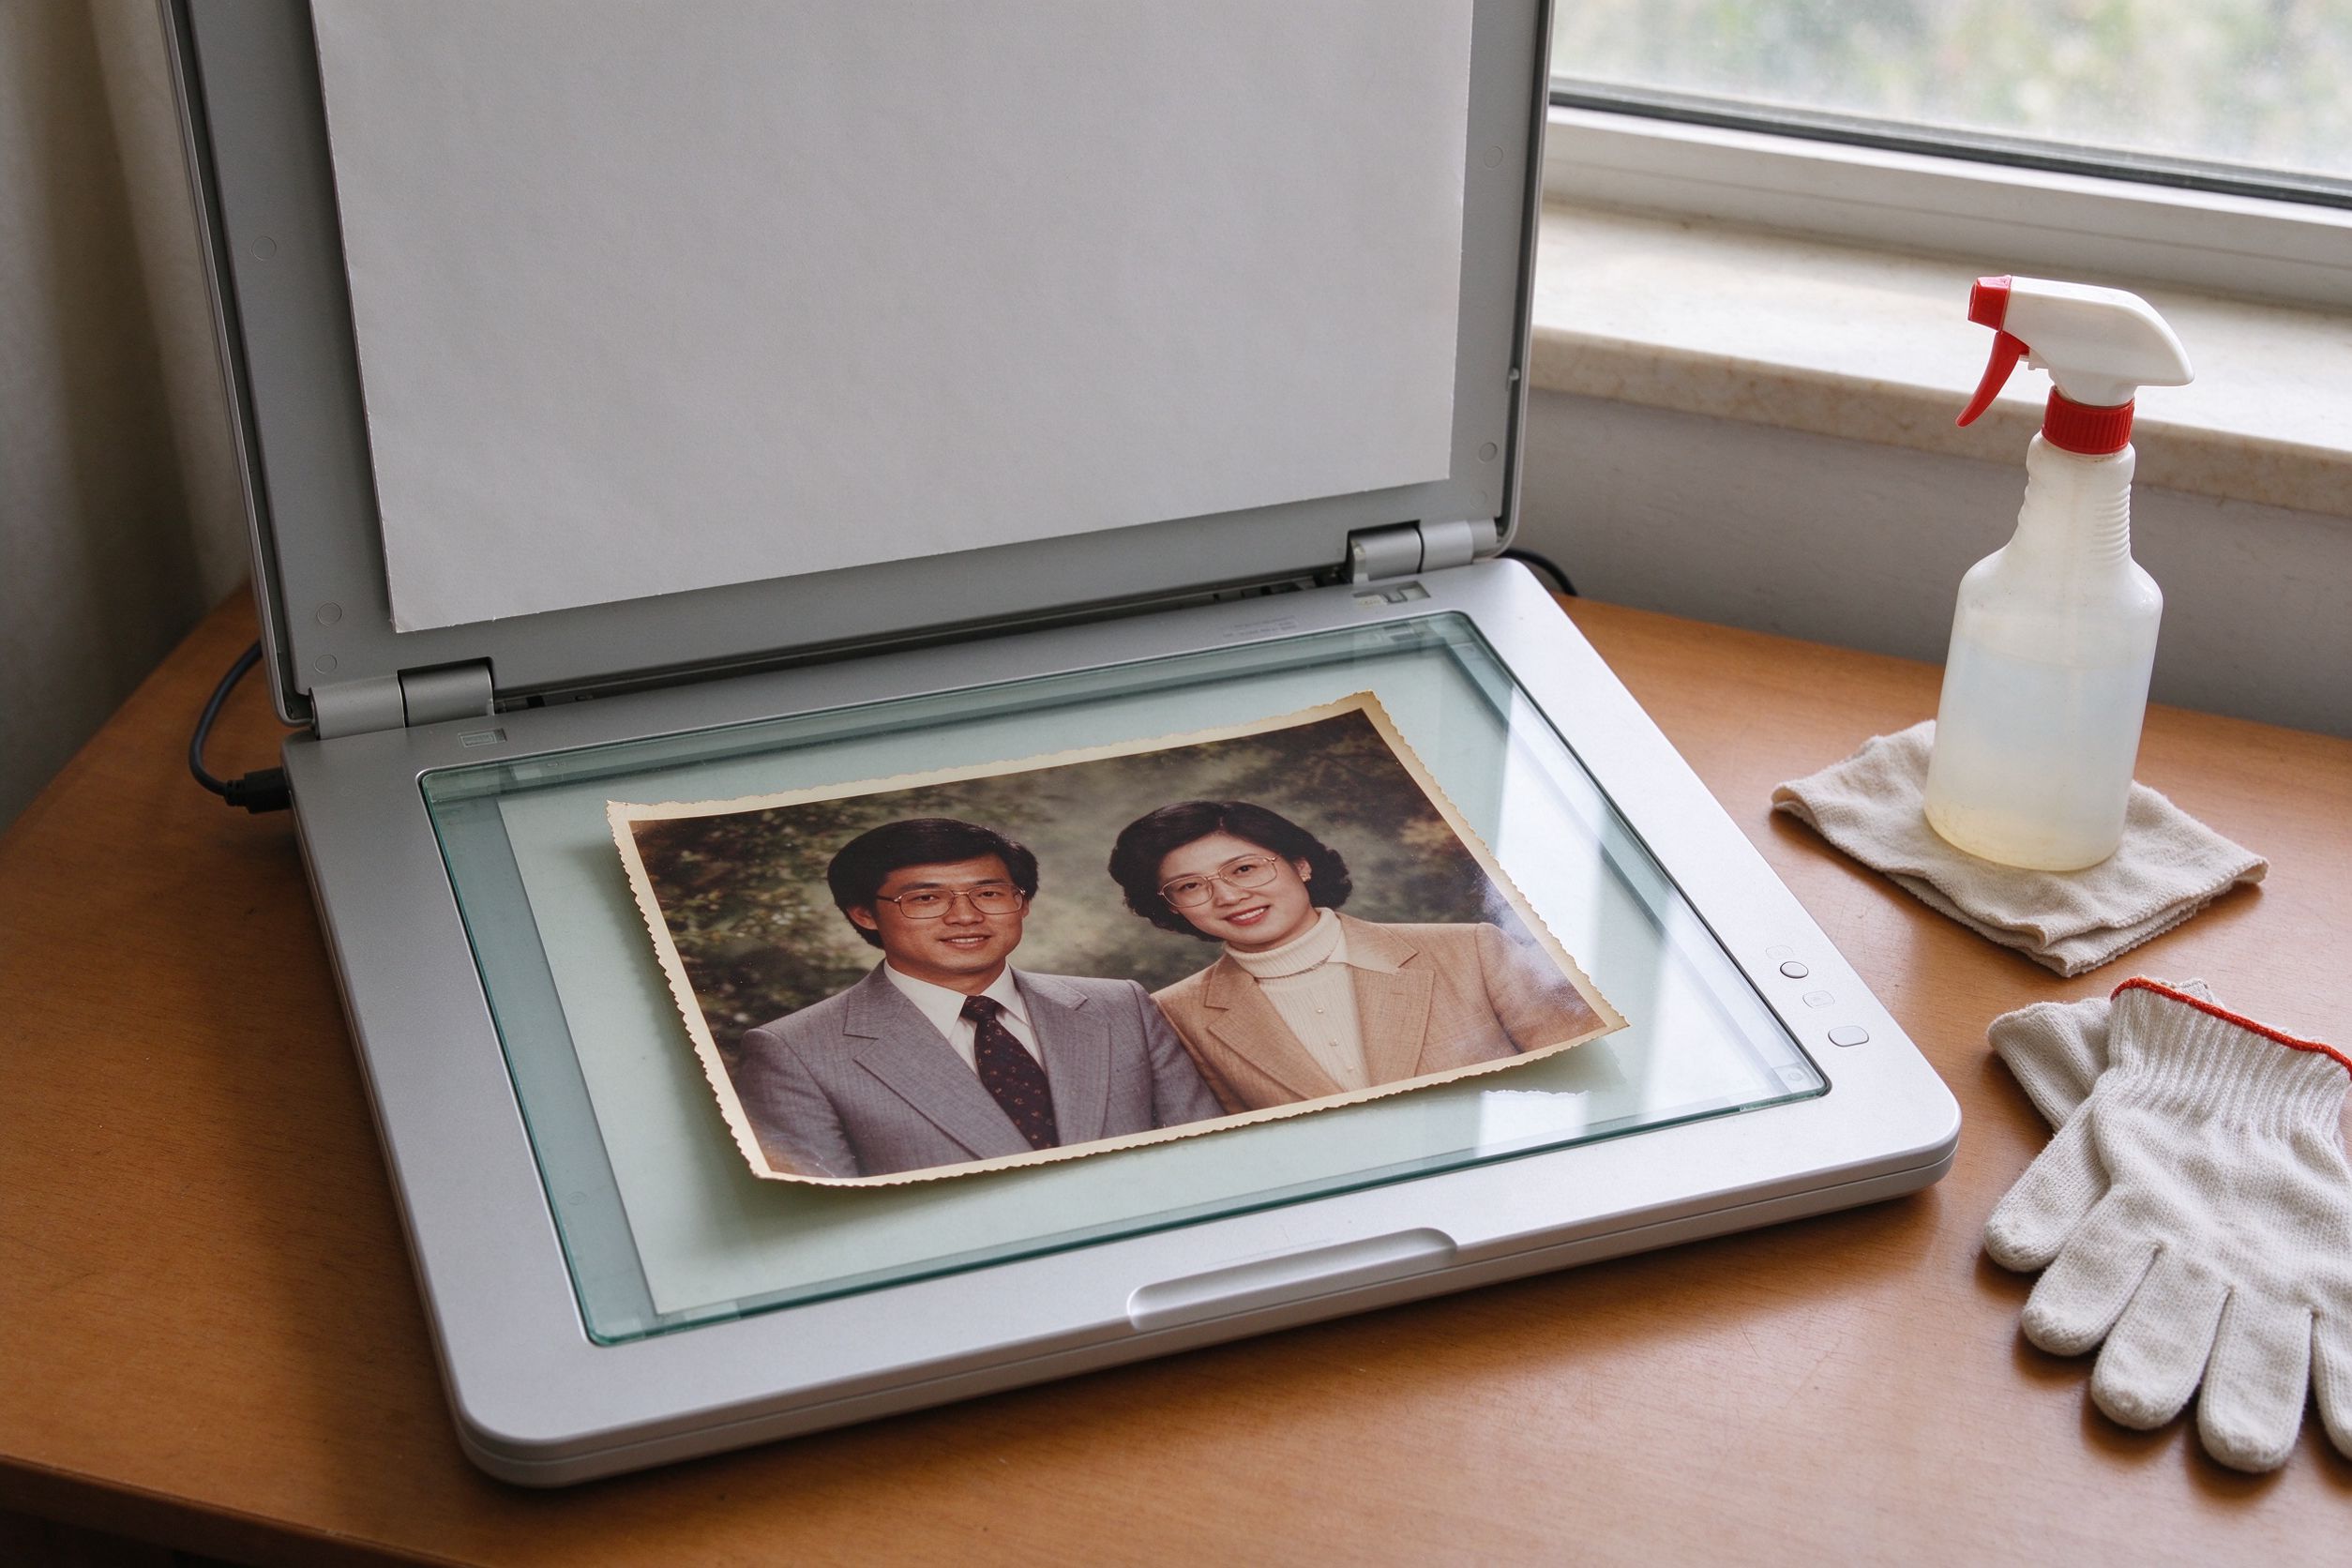
This is the one step you cannot fix later. A graduation photo will almost certainly be cropped — someone will want just themselves, their parents' row, or the graduate in the middle. To crop into a face and still have a usable image, you need pixels. Scan a class photo at 600 DPI minimum, and 1200 DPI if the original print is small. The larger the group and the smaller each face, the higher the resolution should go. A 600 DPI scan of a 20 cm-wide group photo gives you roughly 4700 pixels across; cropping out a single face might still leave you 400–600 pixels wide, which is enough for a small print or a clear screen photo. Scan at 300 DPI and that same crop turns into a blurry postage stamp. Clean the scanner glass especially well here — dust specks on a crowded face row are hard to remove later.
Sharpen eyes without creating halos
Sharpening is the heart of graduation restoration, and the step most likely to go wrong. Use the Photo Sharpener, which works on an unsharp-mask principle: it detects edges and darkens/lightens them to look crisper. Two controls matter.
- Amount (0–150, start near 60). Amount controls how strong the edge contrast becomes. Start at 50–60, zoom into a face on the screen, and raise it gradually. Stop the moment the outlines around hair, caps and glasses start to glow with a white halo — that halo is the classic sign of over-sharpening. For a class photo of many small faces, 50–75 is usually enough; you want readable eyes, not carved features.
- Radius (0.5–3, start near 1.2). Radius controls how wide around an edge the sharpening affects. A small radius sharpens fine detail like eyelashes and text; a large radius thickens every outline and makes skin feel rough. For faces, keep the radius low — around 1.0–1.5 — so sharpening lands on eyes and lips rather than on broad areas of skin.
Work by eye: zoom in, nudge, compare. If a face looks plastic or crusty, dial it back. Our full technique is in the sharpening guide; the key habit is to sharpen the whole photo just enough that the faces you can see at normal size become crisper, without chasing pixel-level detail that was never in the scan.
Denoise before you sharpen
Because graduation photos are often grainy, sharpening and grain fight each other. Sharpen a grainy scan and the grain becomes loud, speckly and unpleasant — exactly what you do not want on dozens of small faces. The order is therefore: light color correction, scratch cleanup if needed, a gentle Photo Denoiser pass to calm film grain, and only then sharpening. Keep denoising moderate: aggressive noise removal melts small facial features the same way over-sharpening does. You are after a smooth-but-detailed look, where skin is calm but eyes still read.
Cropping class group photos
A restored full class photo is wonderful, but people usually want the crop first. Use the Photo Cropper after restoration — never before, because you need the full-resolution scan to crop from. Pull in on the graduate or the row you want, keeping a little margin around faces. If you are cropping out one person from a row, try a 1:1 or 4:3 ratio; for a row or two of people, a wider frame works. A practical tip: crop the version you intend to print at the size you will actually print, because printing demands higher resolution than screen viewing. If your crop ends up smaller than you'd like, go back and re-scan the original at a higher DPI rather than upscaling a low-res crop — upscaling adds no real detail.
Resize for printing and sharing
Once a face crop looks sharp, decide the destination. For sharing in family chats, a moderate JPG through the Image Compressor keeps the file small without softening the eyes. For a framed print, use the Photo Resizer to reach the print's pixel target — a 10×15 cm print at 300 DPI needs about 1200×1800 pixels — and export a high-quality copy. Keep the full restored scan and each crop as separate files named by year and class, such as 1984-graduation-class3b-crop-john.png. A restored graduation photo, finally sharp enough to recognize everyone, is one of the most shared items in any family archive — and now you can produce it yourself, for free, privately, in minutes.
翻开任何一张老毕业照,人们做的第一件事,就是在一排排小脸里找自己——或找母亲、父亲、老师。一张毕业照的成败,全看这些脸能不能被认出来。画面里其余的一切——教学楼、草坪、学士服——都是次要的。就这一个事实,决定了你该怎么修它。
和风景或艺术肖像不同,班级合影需要先校正色彩与损伤,再有目的地锐化:眼睛和嘴要变得可读,整幅画面却不能变粗糙。本指南讲的就是这种平衡——用足够高的分辨率扫描、小心锐化、裁剪大合影,让你在意的人终于清晰起来。全程在浏览器本地运行,原图从不离开你的设备。
一、毕业照其实是关于脸
大多数毕业照是大型集体肖像:几十名毕业生排成几排,常常印得很小(约 15–20 厘米宽),然后被折起来夹毕业纪念册里,随身带几十年。因为每个人在原画上只占几毫米,相对于找他们的人来说,脸天生分辨率就低。把它扫出来放大,每一种缺陷——对焦偏软、胶片颗粒、褪色——在脸上都比在别处更明显。
这意味着你的修复目标不是一张漂亮的艺术照,而是可辨认:让眼睛、眼镜、学士帽和笑容读得出来。这个目标告诉你该用哪些工具(轻度校色、温和降噪、针对性锐化),又该避开哪些(把小脸糊掉的重度平滑、让皮肤发橙的激进饱和)。
二、岁月在班级合影上留下了什么
几十年前的毕业相纸通常带着熟悉的一摞问题:发黄偏色、对比略平、光面上的细划痕,以及大家捏着白边留下的指纹。1960 至 1980 年代极其常见的黑白影棚毕业照,还额外有对焦偏软和一层灰雾——因为当年摄影师是对着整群人的平均值曝光,而不是对着每张脸。好消息是这些都可逆。典型班级合影里没有被撕掉的头:人都在,只是小而虚。先用我们扫描指南里的设置把它数字化好。
三、扫描分辨率要够裁进脸
这是一步事后无法补救的环节。毕业照几乎一定要裁剪——有人只要自己,有人要父母那一排,有人要中间的毕业生。要裁进一张脸还能用,就得有像素。班级合影至少用 600 DPI 扫描;如果原照片很小,就用 1200 DPI。人越多、每张脸越小,分辨率就该越高。一张 20 厘米宽的合影,600 DPI 扫出来约 4700 像素宽;裁出一张脸可能还剩 400–600 像素宽,足够小冲印或清晰的屏幕图。用 300 DPI 扫,同样的裁剪就变成一张模糊的邮票。这里尤其要把扫描玻璃擦干净——密密麻麻的脸排上的灰尘点,事后很难一一去掉。
四、锐化眼睛而不产生光晕
锐化是毕业照修复的核心,也最容易翻车。使用照片锐化工具,它基于 USM 原理工作:检测边缘并加重其明暗对比,让边缘看起来更脆。两个控件最关键。
- 强度(0–150,从 60 附近开始)。强度控制边缘对比变得多强。从 50–60 开始,在屏幕上放大一张脸,再逐步提高。当头发、帽檐、眼镜的轮廓开始泛出一圈白光晕时就停——那圈光晕就是过度锐化的典型信号。对有许多小脸的班级合影,50–75 通常足够;你要的是可读的眼睛,不是雕刻出来的五官。
- 半径(0.5–3,从 1.2 附近开始)。半径控制锐化影响边缘周围多宽。小半径锐化睫毛、文字这类细节;大半径会加粗每一道轮廓,让皮肤显得粗糙。对人脸,把半径保持在低位——约 1.0–1.5——让锐化落在眼睛和嘴唇上,而不是铺在大片皮肤上。
靠眼睛来调:放大、轻推、对比。一旦脸看着塑料或发硬,就往回拨。完整技巧见锐化指南;关键习惯是把整张照片只锐化到「正常大小下可见的脸变清晰」即可,不要去追逐扫描里从来没有的像素级细节。
五、先降噪,再锐化
毕业照往往颗粒重,锐化和颗粒会互相打架。给颗粒重的扫描件锐化,颗粒会变得又响又花——这正是你不希望出现在几十张小脸上的东西。因此顺序是:轻校色、必要时清理划痕、温和过一遍照片降噪收掉胶片颗粒,最后才锐化。降噪要保持适度:过度去噪和过度锐化一样,会融化细小的面部特征。你要的是平滑却有细节的观感——皮肤安静,眼睛仍读得出来。
六、裁剪大合影
修好的整幅合影很好,但人们通常先要裁剪图。在修复之后再用照片裁剪——绝不能在之前,因为你需要全分辨率扫描件来裁。框住想要的毕业生或那一排,脸周围留点边。从一排里裁一个人,试试 1:1 或 4:3;裁一两排人,则用更宽的画幅。一个实用建议:打算冲印的版本,按你实际要印的尺寸来裁,因为冲印比屏幕观看要求更高的分辨率。如果裁完发现比想要的小,就回到原件用更高 DPI 重扫,而不是把低分辨率的裁剪图放大——放大不会增加真实细节。
七、调整尺寸用于冲印与分享
脸的裁剪图看着清晰后,决定它的去向。发家庭群分享时,用图片压缩压成中等 JPG,体积小又不柔化眼睛。要装框冲印,用照片缩放达到冲印所需的像素目标——一张 10×15 厘米、300 DPI 的冲印约需 1200×1800 像素——导出高质量副本。把整幅修复扫描和每张裁剪图分开存放,按年份和班级命名,例如 1984-graduation-class3b-crop-john.png。一张终于清晰到能认出所有人的毕业照,是任何家庭档案里最常被分享的物件之一——而现在,你可以自己免费、私密地,几分钟就把它做出来。