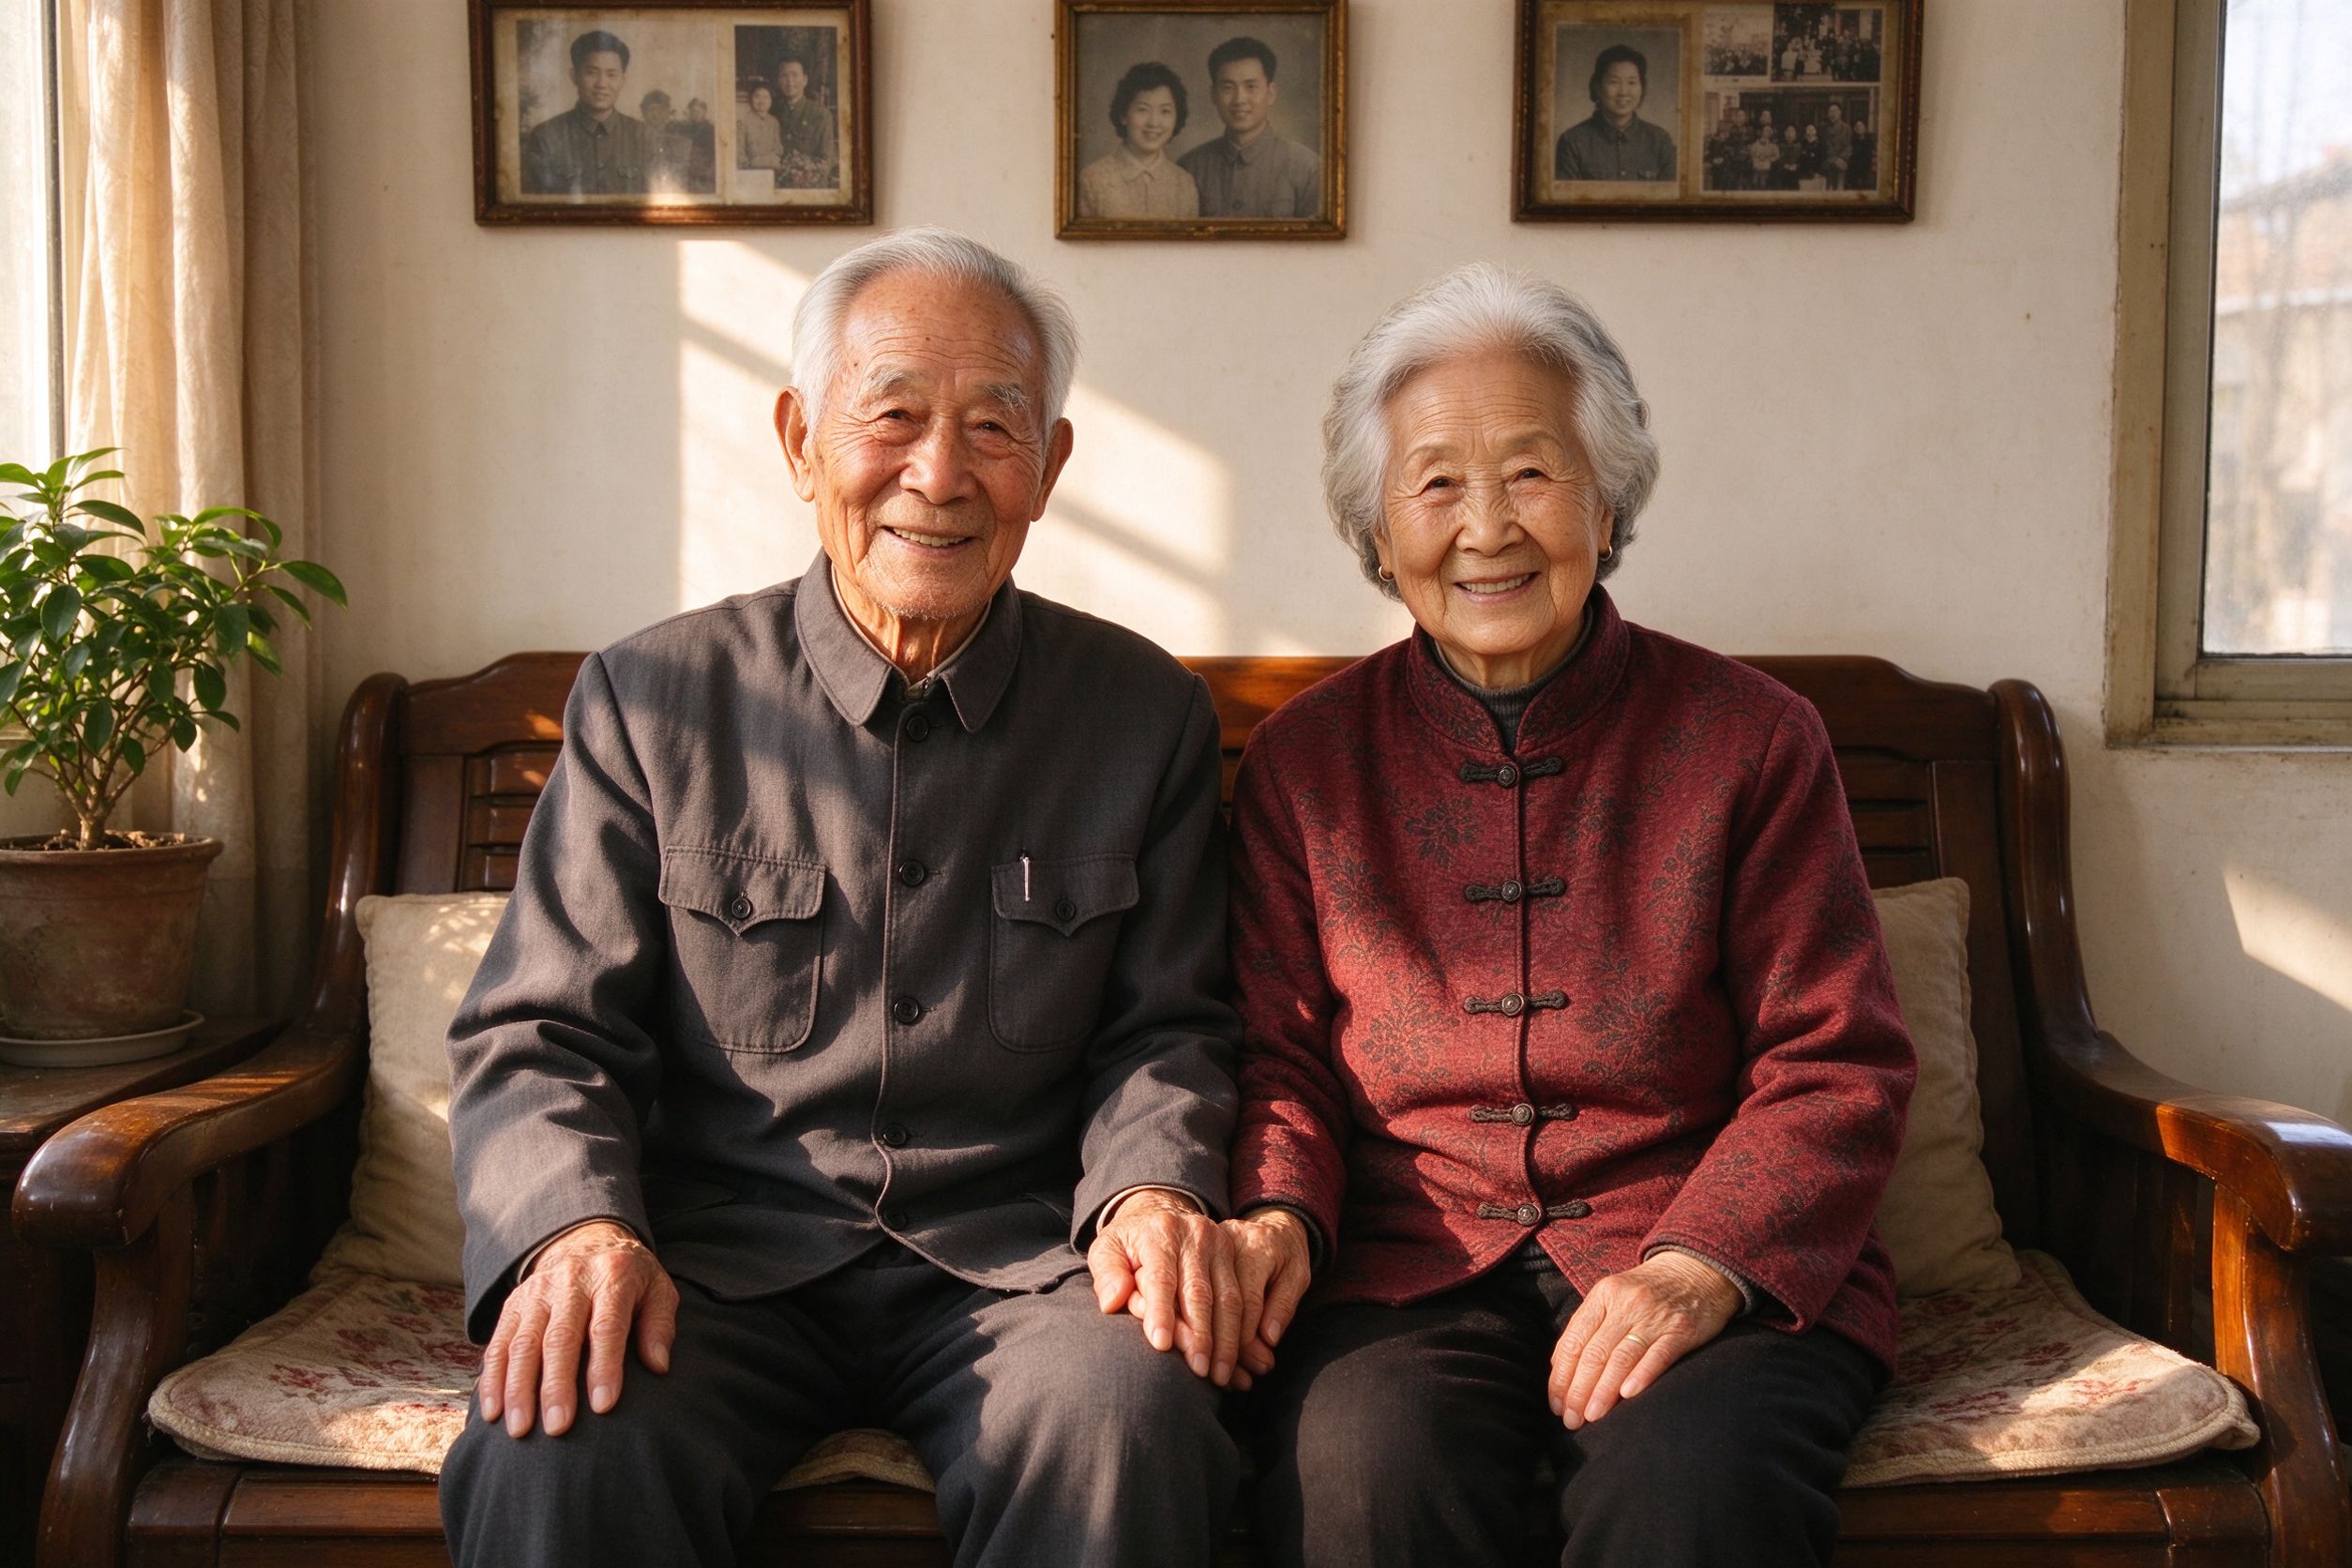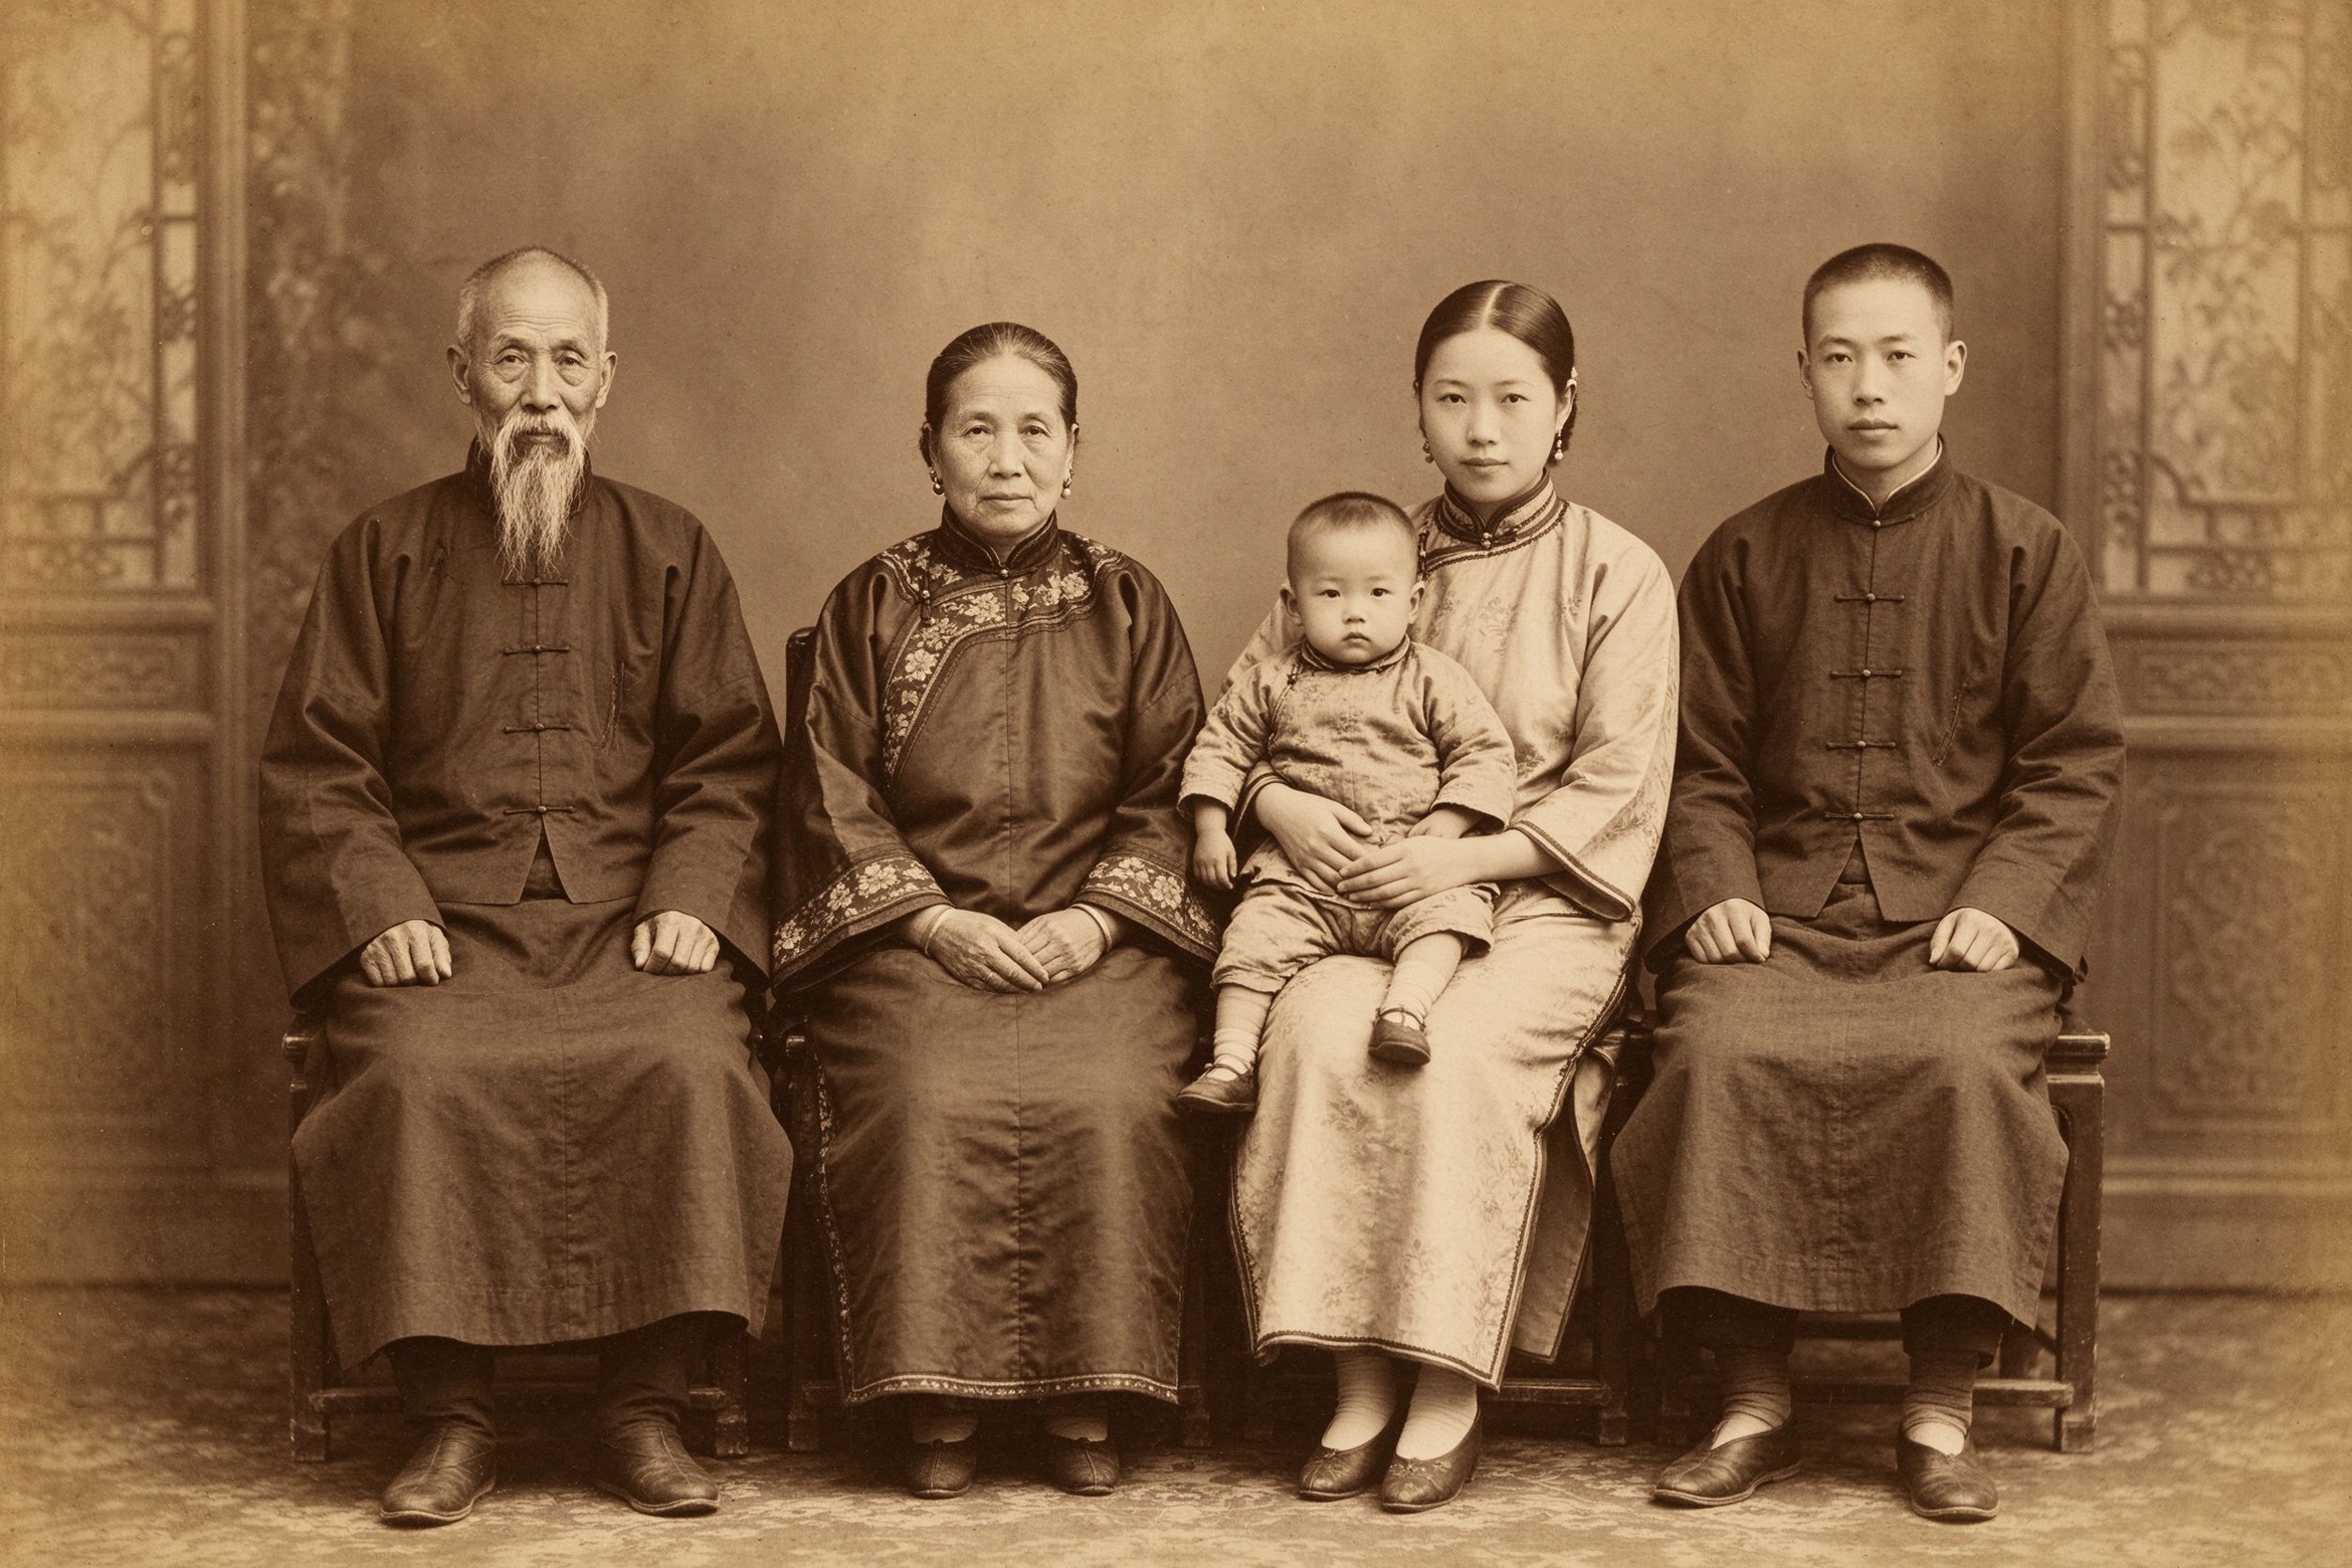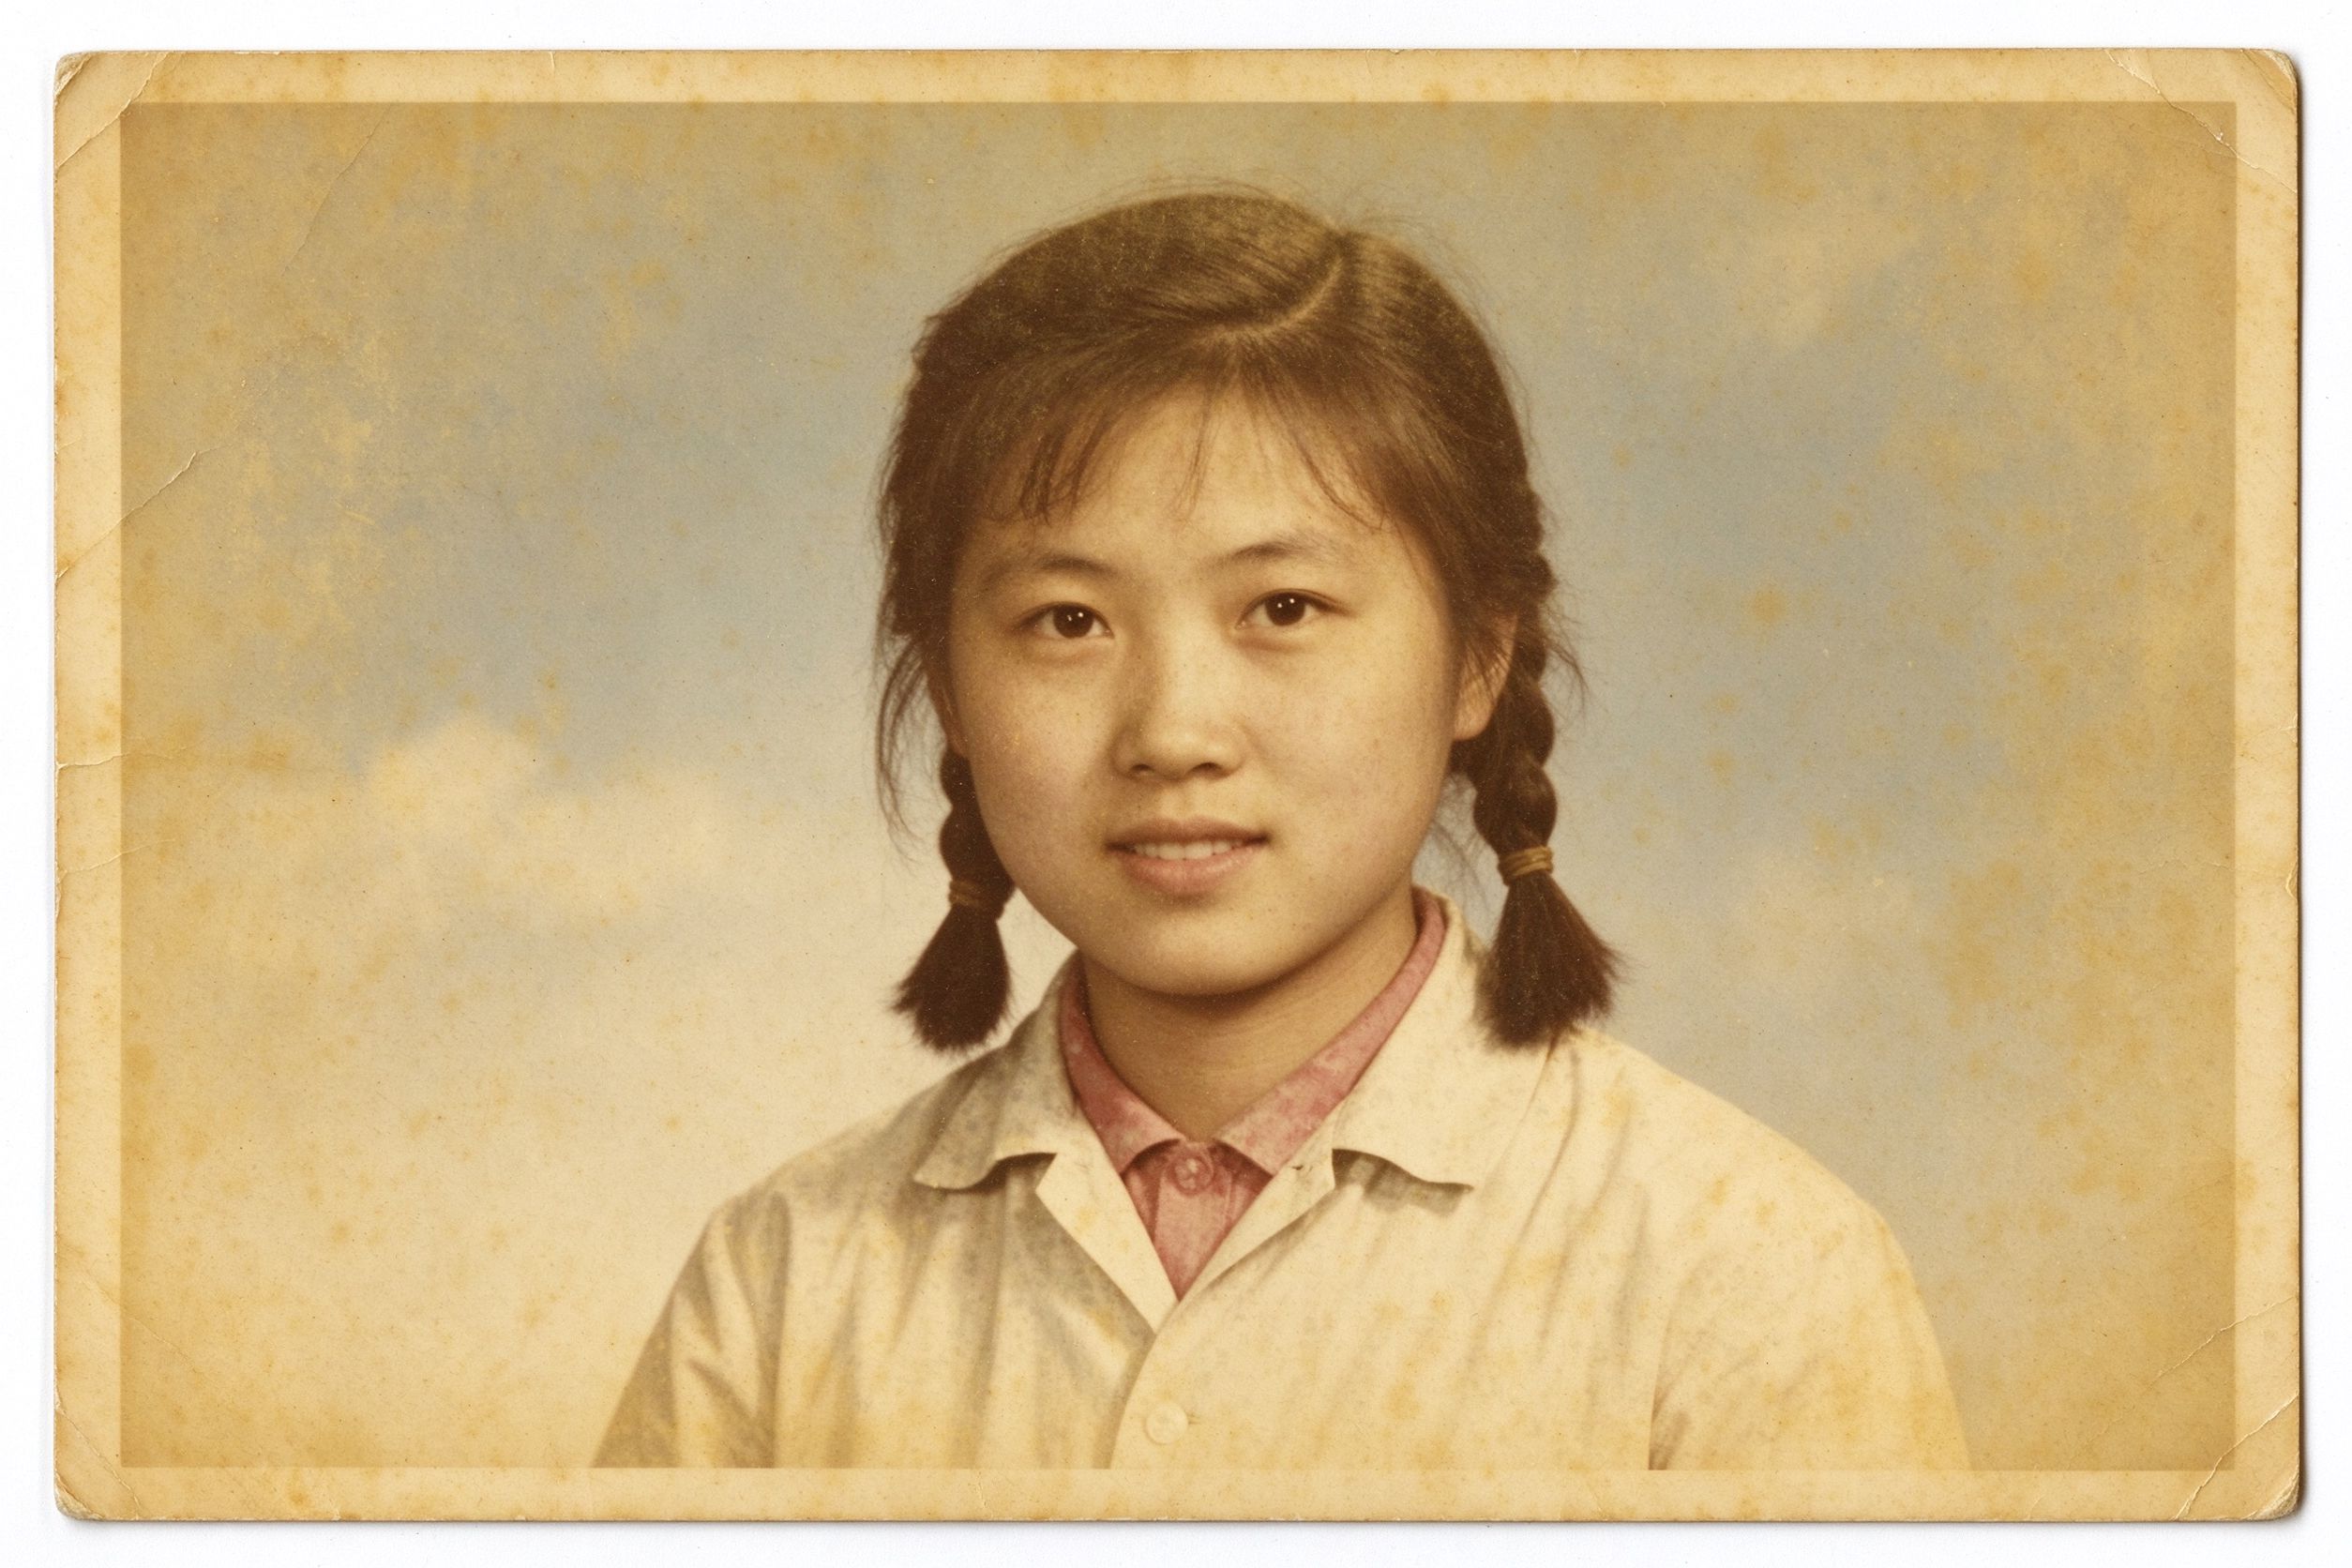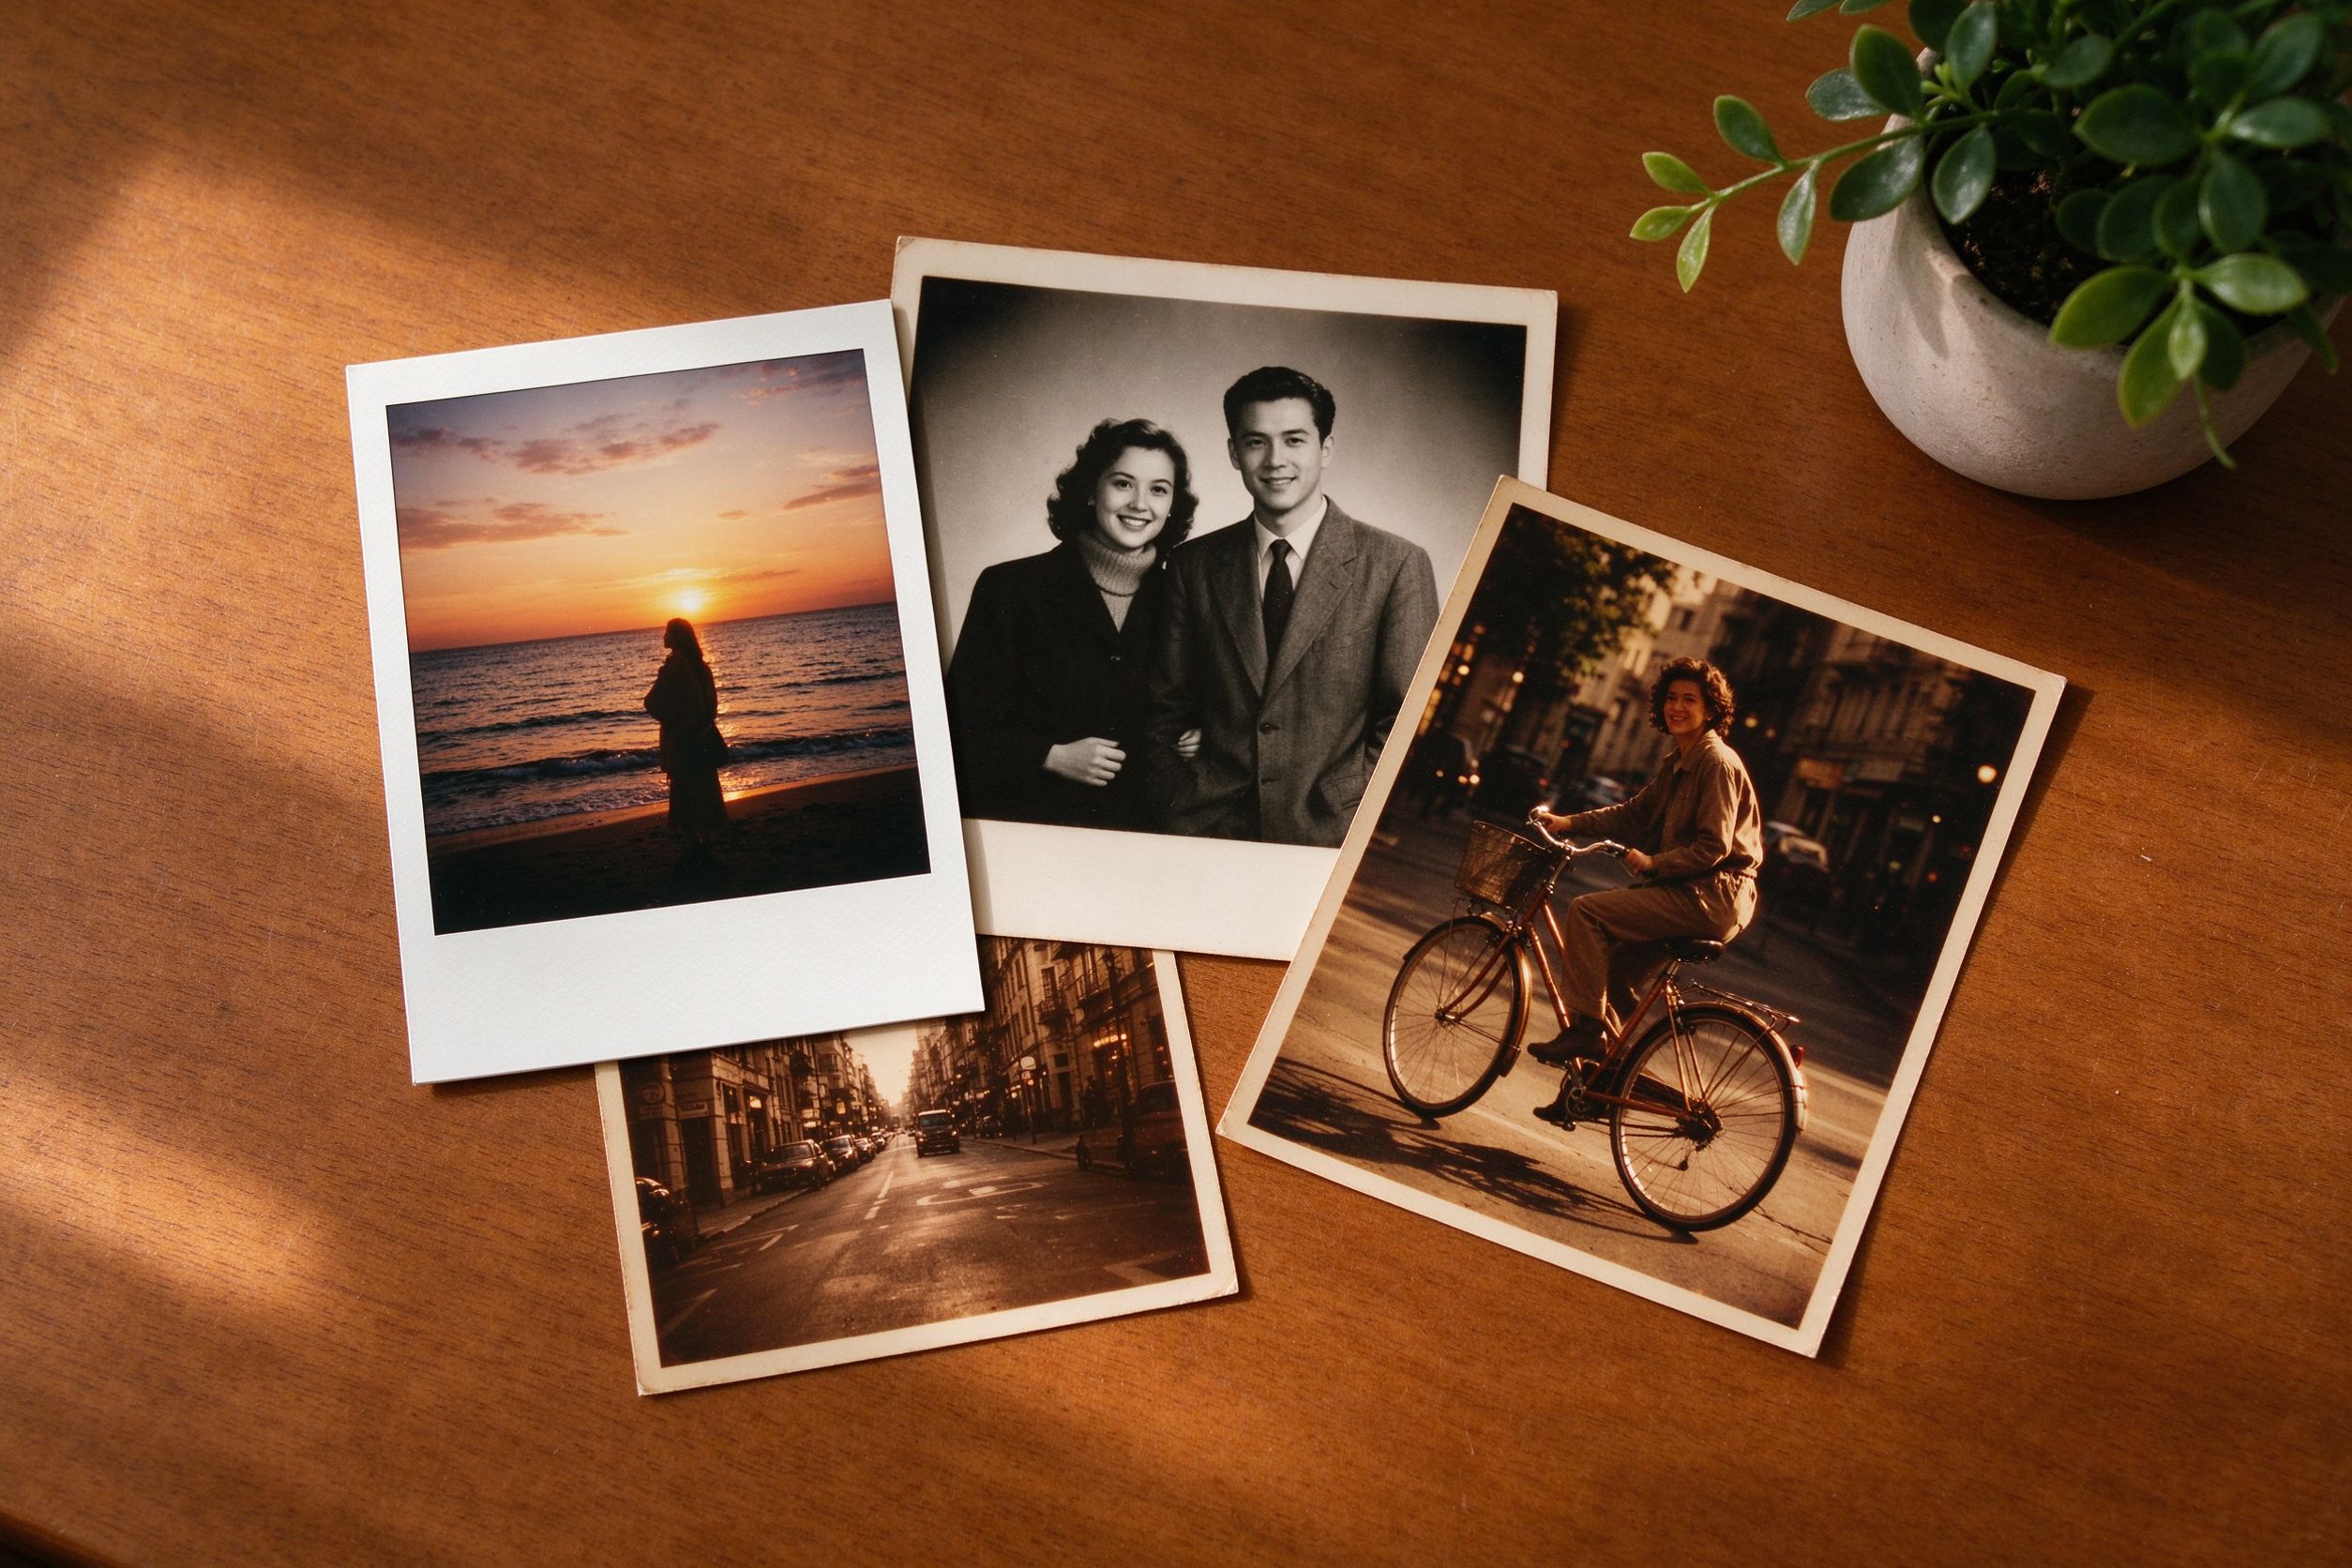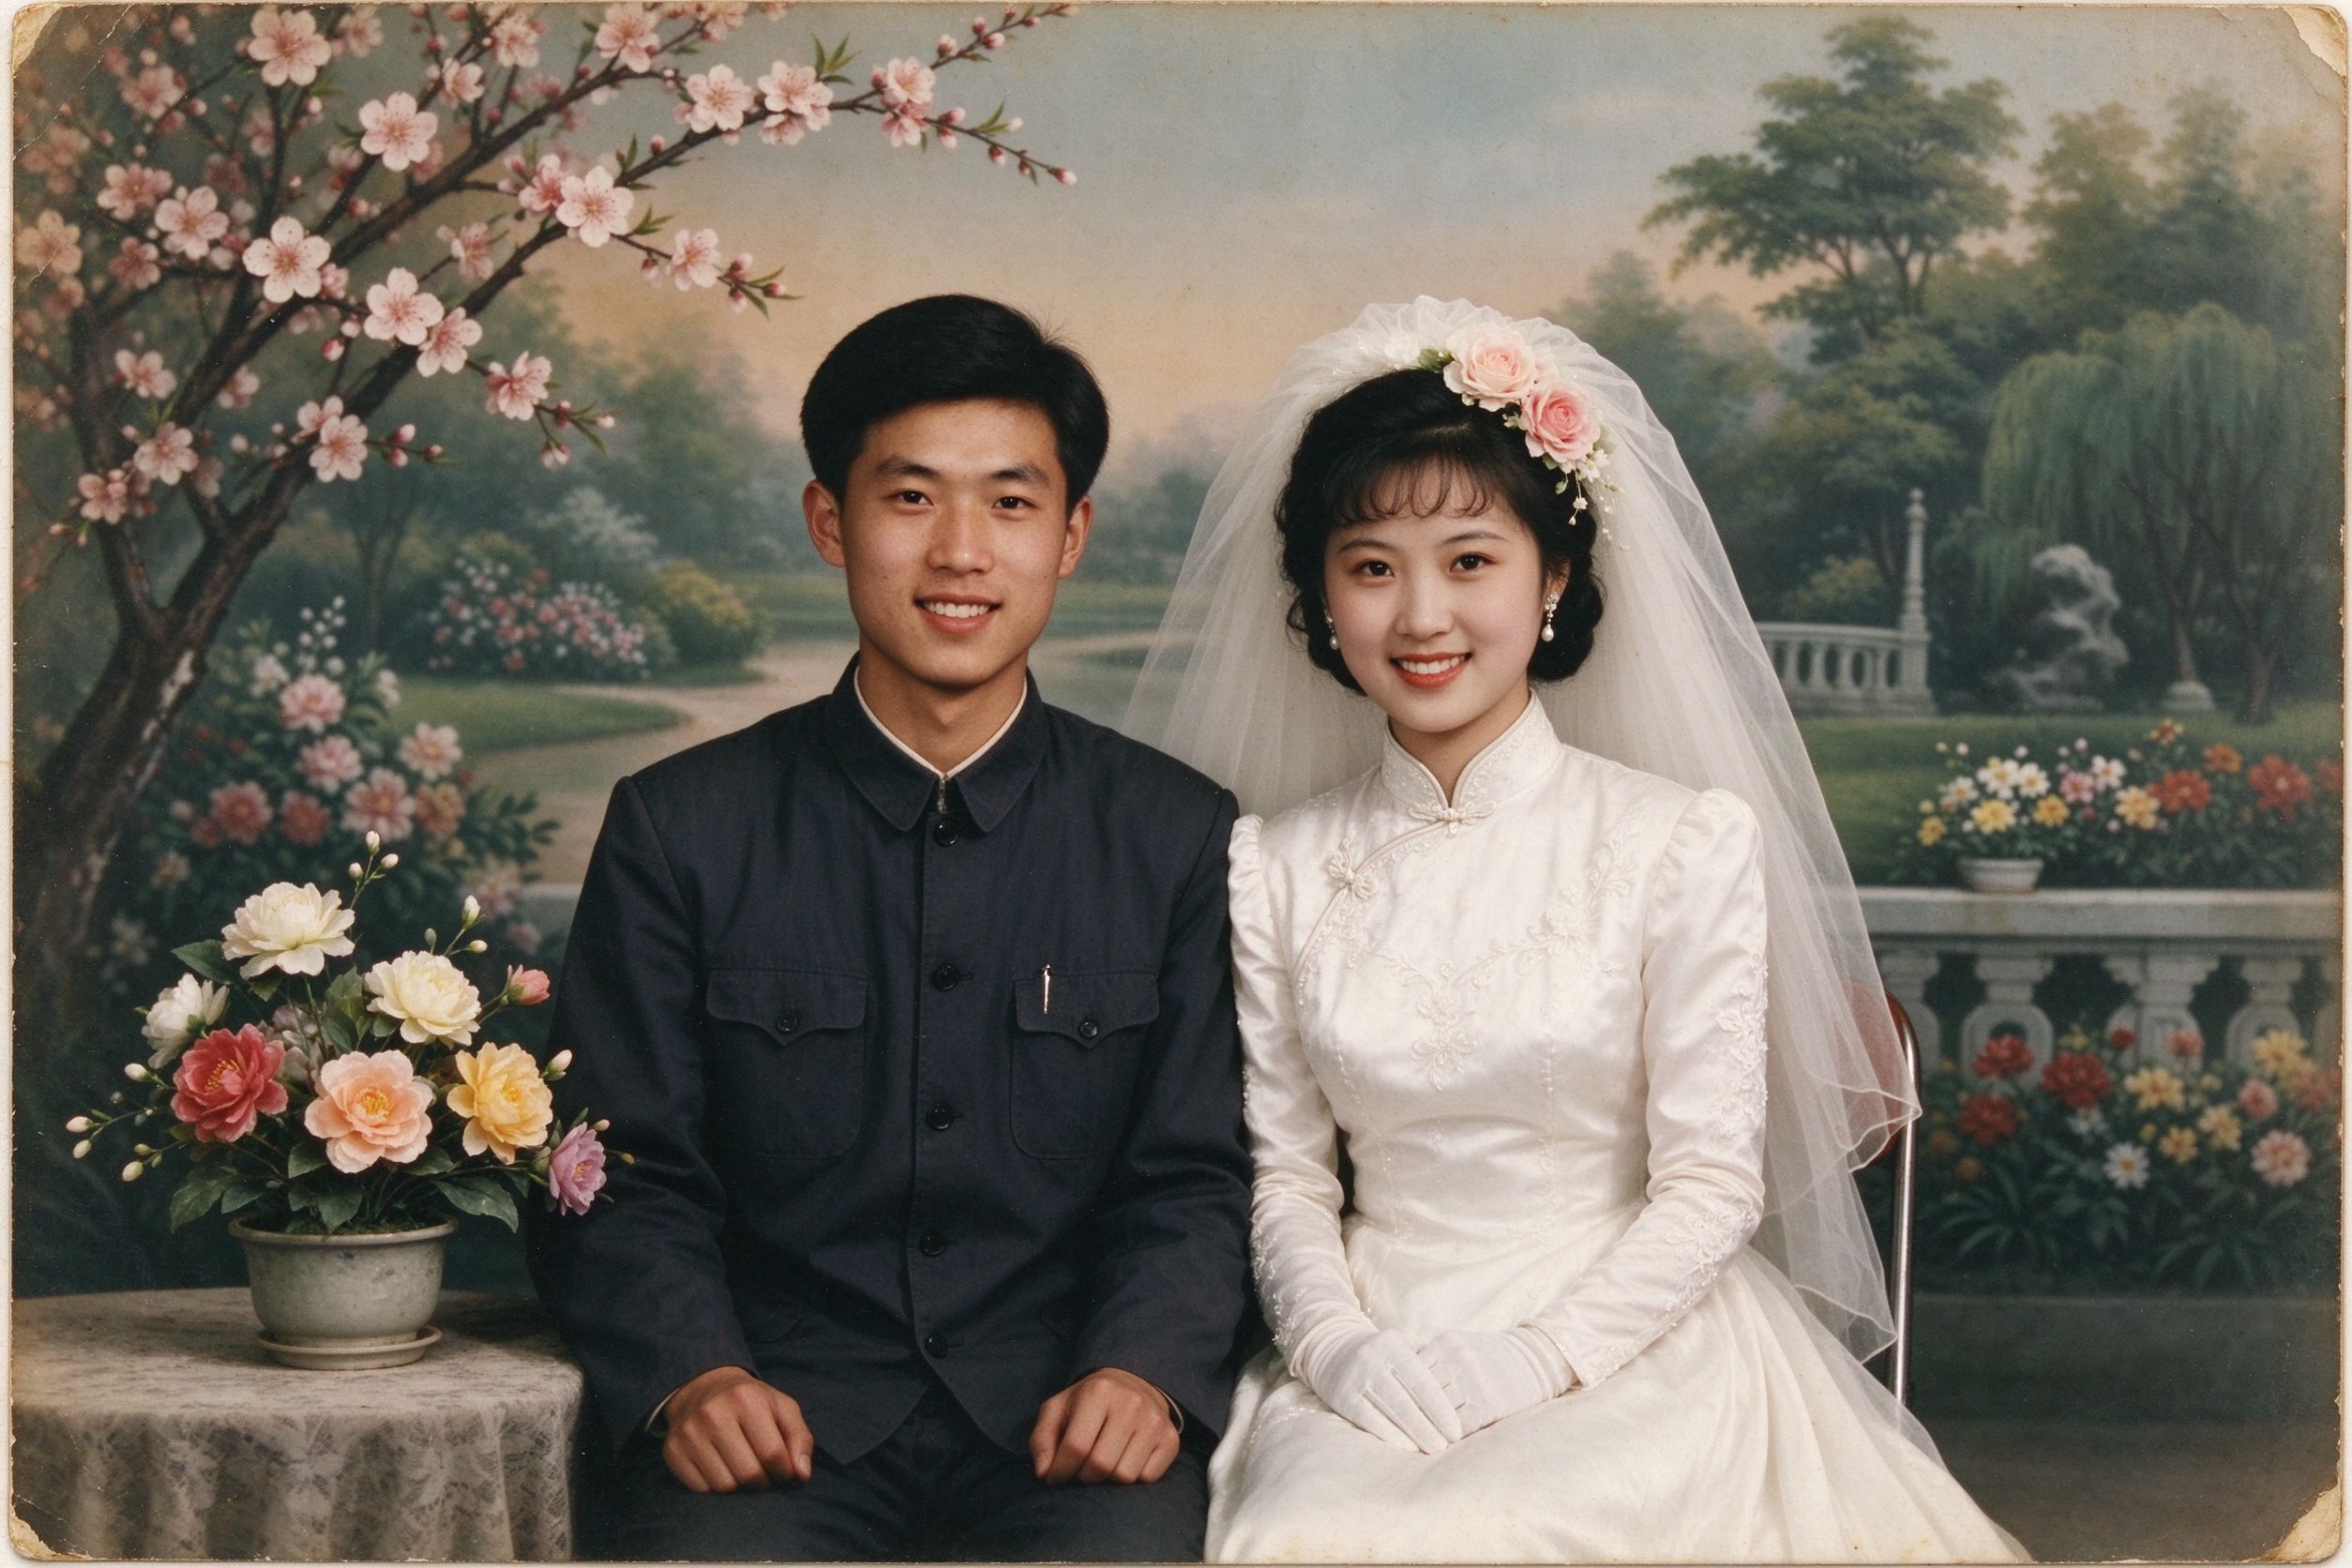
Few photographs matter as much as a wedding day. A couple's only surviving portrait from 1958, a church group shot from 1975, the blurred snapshot taken by a nervous cousin — these are the images that get pulled out at every family reunion and passed around until the edges are rounded. They are also among the most difficult to restore well, because the two things that must look perfect are the two things that fake restoration ruins fastest: the bride's dress and people's faces.
Restore a wedding photo too aggressively and the dress turns into a blown-out blob of white, skin becomes smooth plastic, and the whole frame looks like a cheap filter. Restore it with care and restraint, and the result makes the whole family cry. This guide walks through the specific decisions old wedding portraits demand, in the same browser-based, private workflow the rest of this site uses — no uploads, no subscriptions.
Why wedding portraits need special care
Wedding photographs are usually high-contrast, delicate images: a bright white or ivory dress against dark suits and shaded church walls, faces lit by on-camera flash. That wide range is exactly what age attacks first. As the print fades, the dress — full of lace, satin folds and veil detail — loses its texture and turns into an indistinct pale shape. Meanwhile skin tones shift yellow, and the dark suits lift to muddy gray. A generic one-click "enhance" often pushes contrast so hard that the dress loses every fold while the dark suits stay flat. Wedding restoration is therefore a balancing act: recover the dress texture without clipping it out, and recover skin without over-smoothing it.
What decades do to a wedding photo
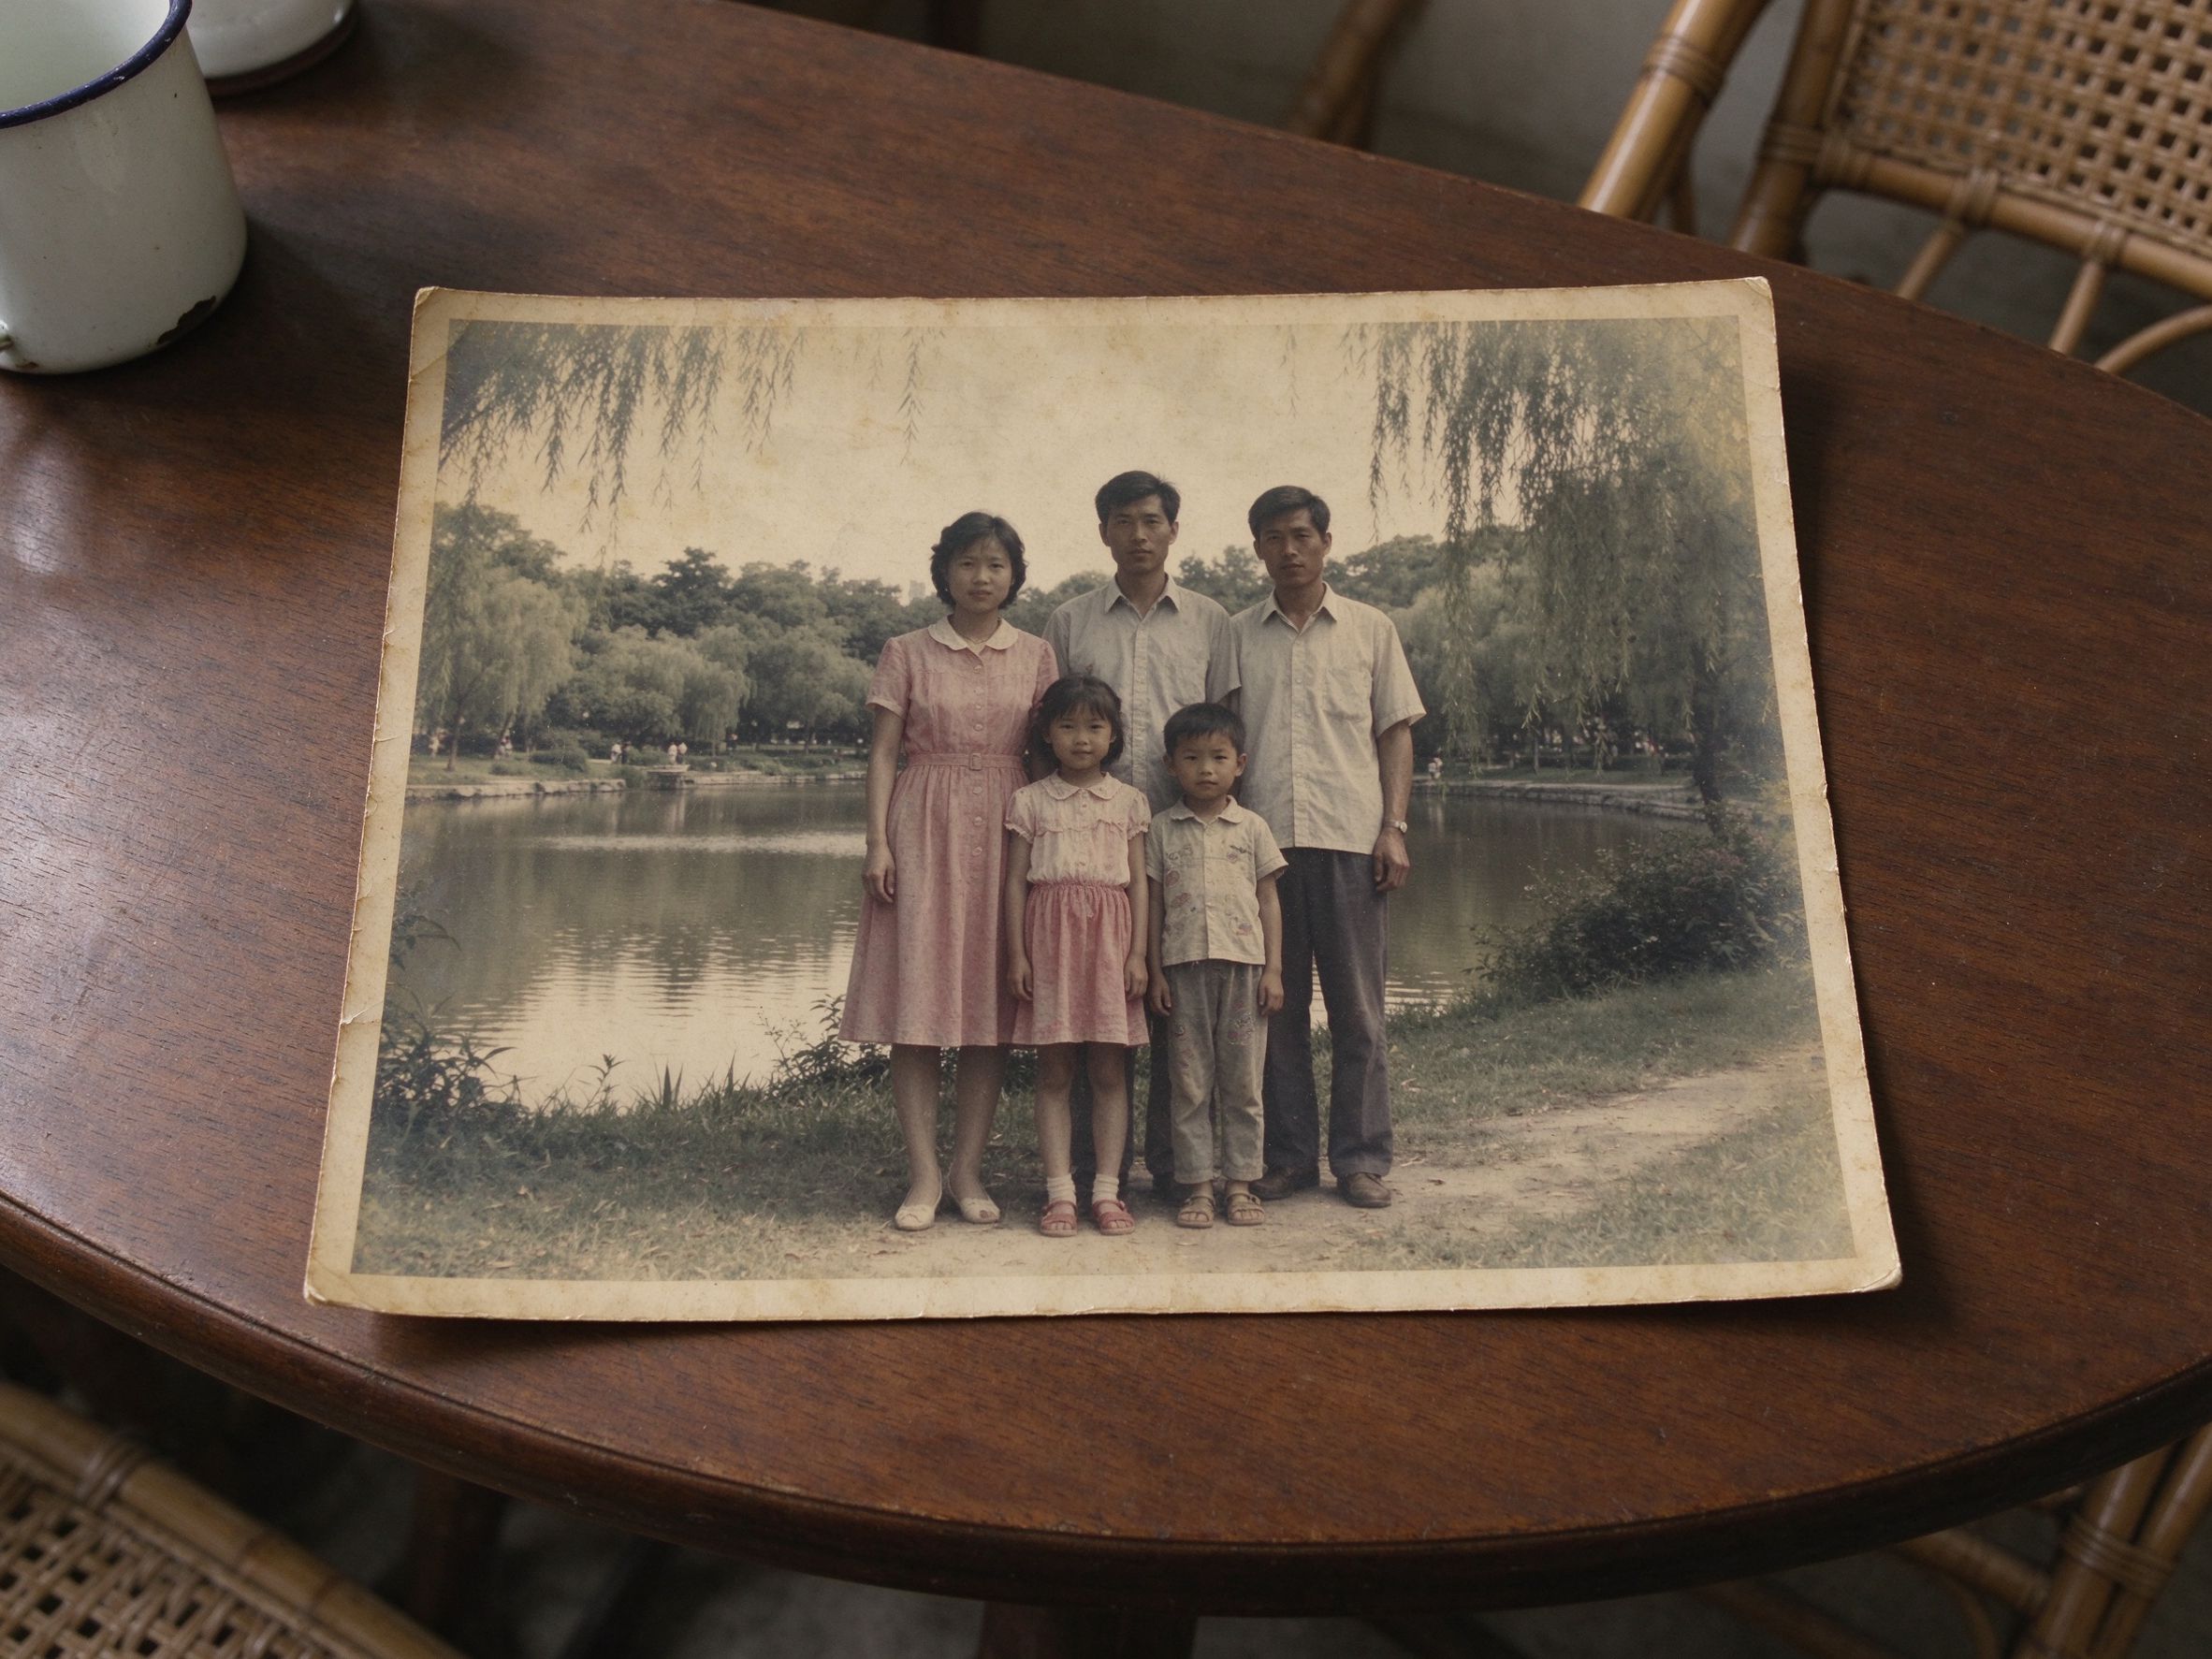
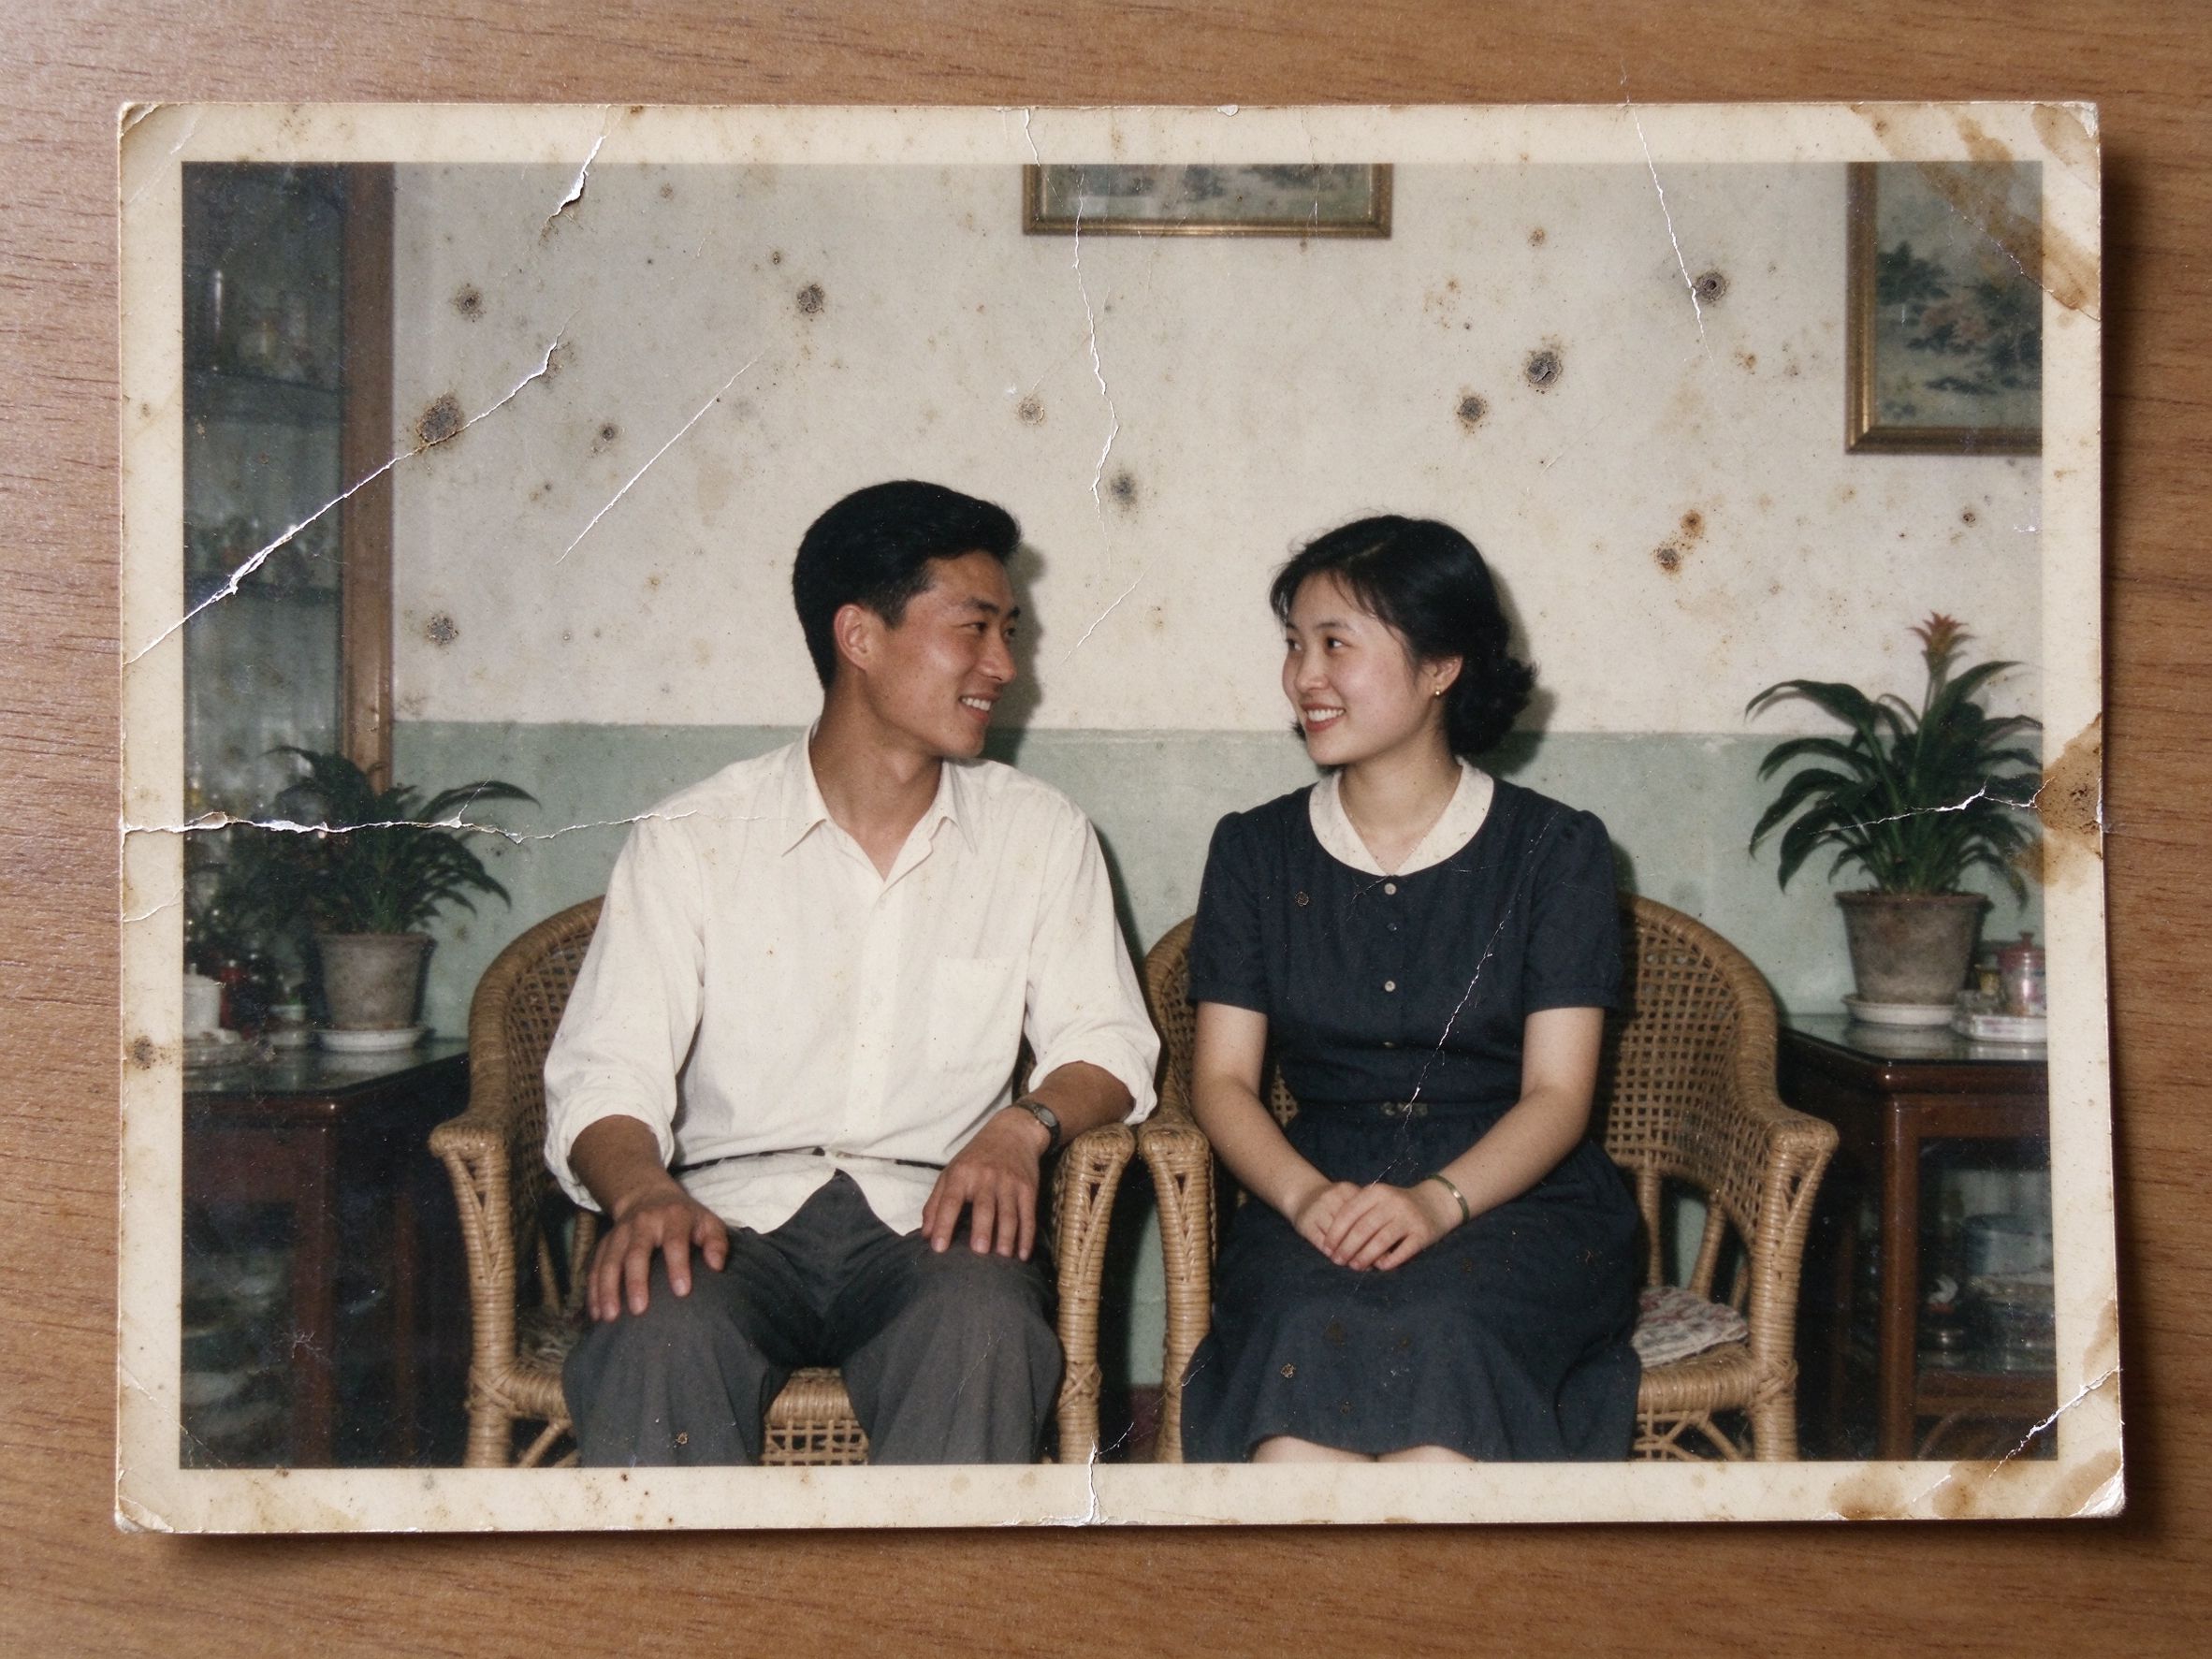
Before you open a tool, know what you are looking at. Decades-old wedding prints commonly show a stack of problems: a yellow or brown cast from dye fading; a crease where the photo was folded into an envelope; white scuff marks where the dress's satiny surface rubbed against other prints; fingerprints on the glossy border; and often a pronounced softness, because many wedding photos of the era were shot on slower film in low light and never perfectly sharp to begin with. Group wedding shots add another challenge: more faces to judge, and a small amount of blur on the people at the edges.
Scan at 600 DPI or higher before doing anything — wedding photos are often printed small and then cropped into faces, so the extra resolution pays off. If you are still scanning, follow our scanning guide; the rest of this guide assumes you have a clean, high-resolution master.
The restoration workflow in order
Open the scan in the AI Photo Restorer for a first automatic pass, then refine manually in this order.
- Correct fading first. Run the Faded Photo Fixer to remove the yellow cast and rebuild contrast. Wedding prints respond especially well to white balance, which brings skin back from sallow to natural.
- Repair physical damage. Remove creases, scuffs and fingerprint marks with the Scratch & Spot Remover, keeping the threshold conservative so lace and suit texture survive.
- Denoise film grain if needed. Older wedding film is often grainy; a gentle denoise keeps it vintage without muddying the faces.
- Sharpen very gently. Faces, not the whole frame. Over-sharpening wedding portraits is the fastest way to make skin look rough and the dress look crunchy.
Compare against the original after every step. A wedding photo should end up looking like a better-exposed version of itself, not a different photograph.
Protecting skin and the white dress
Two rules govern the whole restoration. First, the dress must retain texture. As you raise contrast to fix flatness, watch the dress area closely. The moment the lace and satin folds turn into a flat white patch, you have clipped the highlight — dial the contrast back until the folds return. A dress that reads as pure white with no shape is the single most obvious sign of an over-processed wedding photo.
Second, skin should keep its life. Keep saturation modest and warmth neutral-to-slightly-warm. Brides and grooms should look like themselves on a happy day, not airbrushed mannequins. If a complexion looks too pink or too orange after white balance, nudge the warmth control — or open the Color Temperature tool — in small steps until faces sit naturally against the dress. Remember that skin holds its character in subtle midtone variation; aggressive contrast and smoothing erase that.
Matching the tone to the decade
Not every old wedding photo wants to be brought to full modern color. A wedding from the early 1960s often looked soft and warm even on the day, and forcing today's bright saturation can make it feel wrong. Ask whether the original was color or black-and-white, and respect that. For monochrome wedding portraits, a gentle warm treatment — rather than harsh neutral gray — feels true to the studio portraits of the era; explore this in our guide to sepia and vintage tone. For color prints, keep the result slightly warm and slightly soft rather than punchy and clinical. Many restorers finish a wedding portrait with the lightest vintage touch from the vintage effects guide — a faint vignette that draws the eye to the couple — because a wedding photo should feel like a memory, not a billboard.
Film grain and flash red-eye
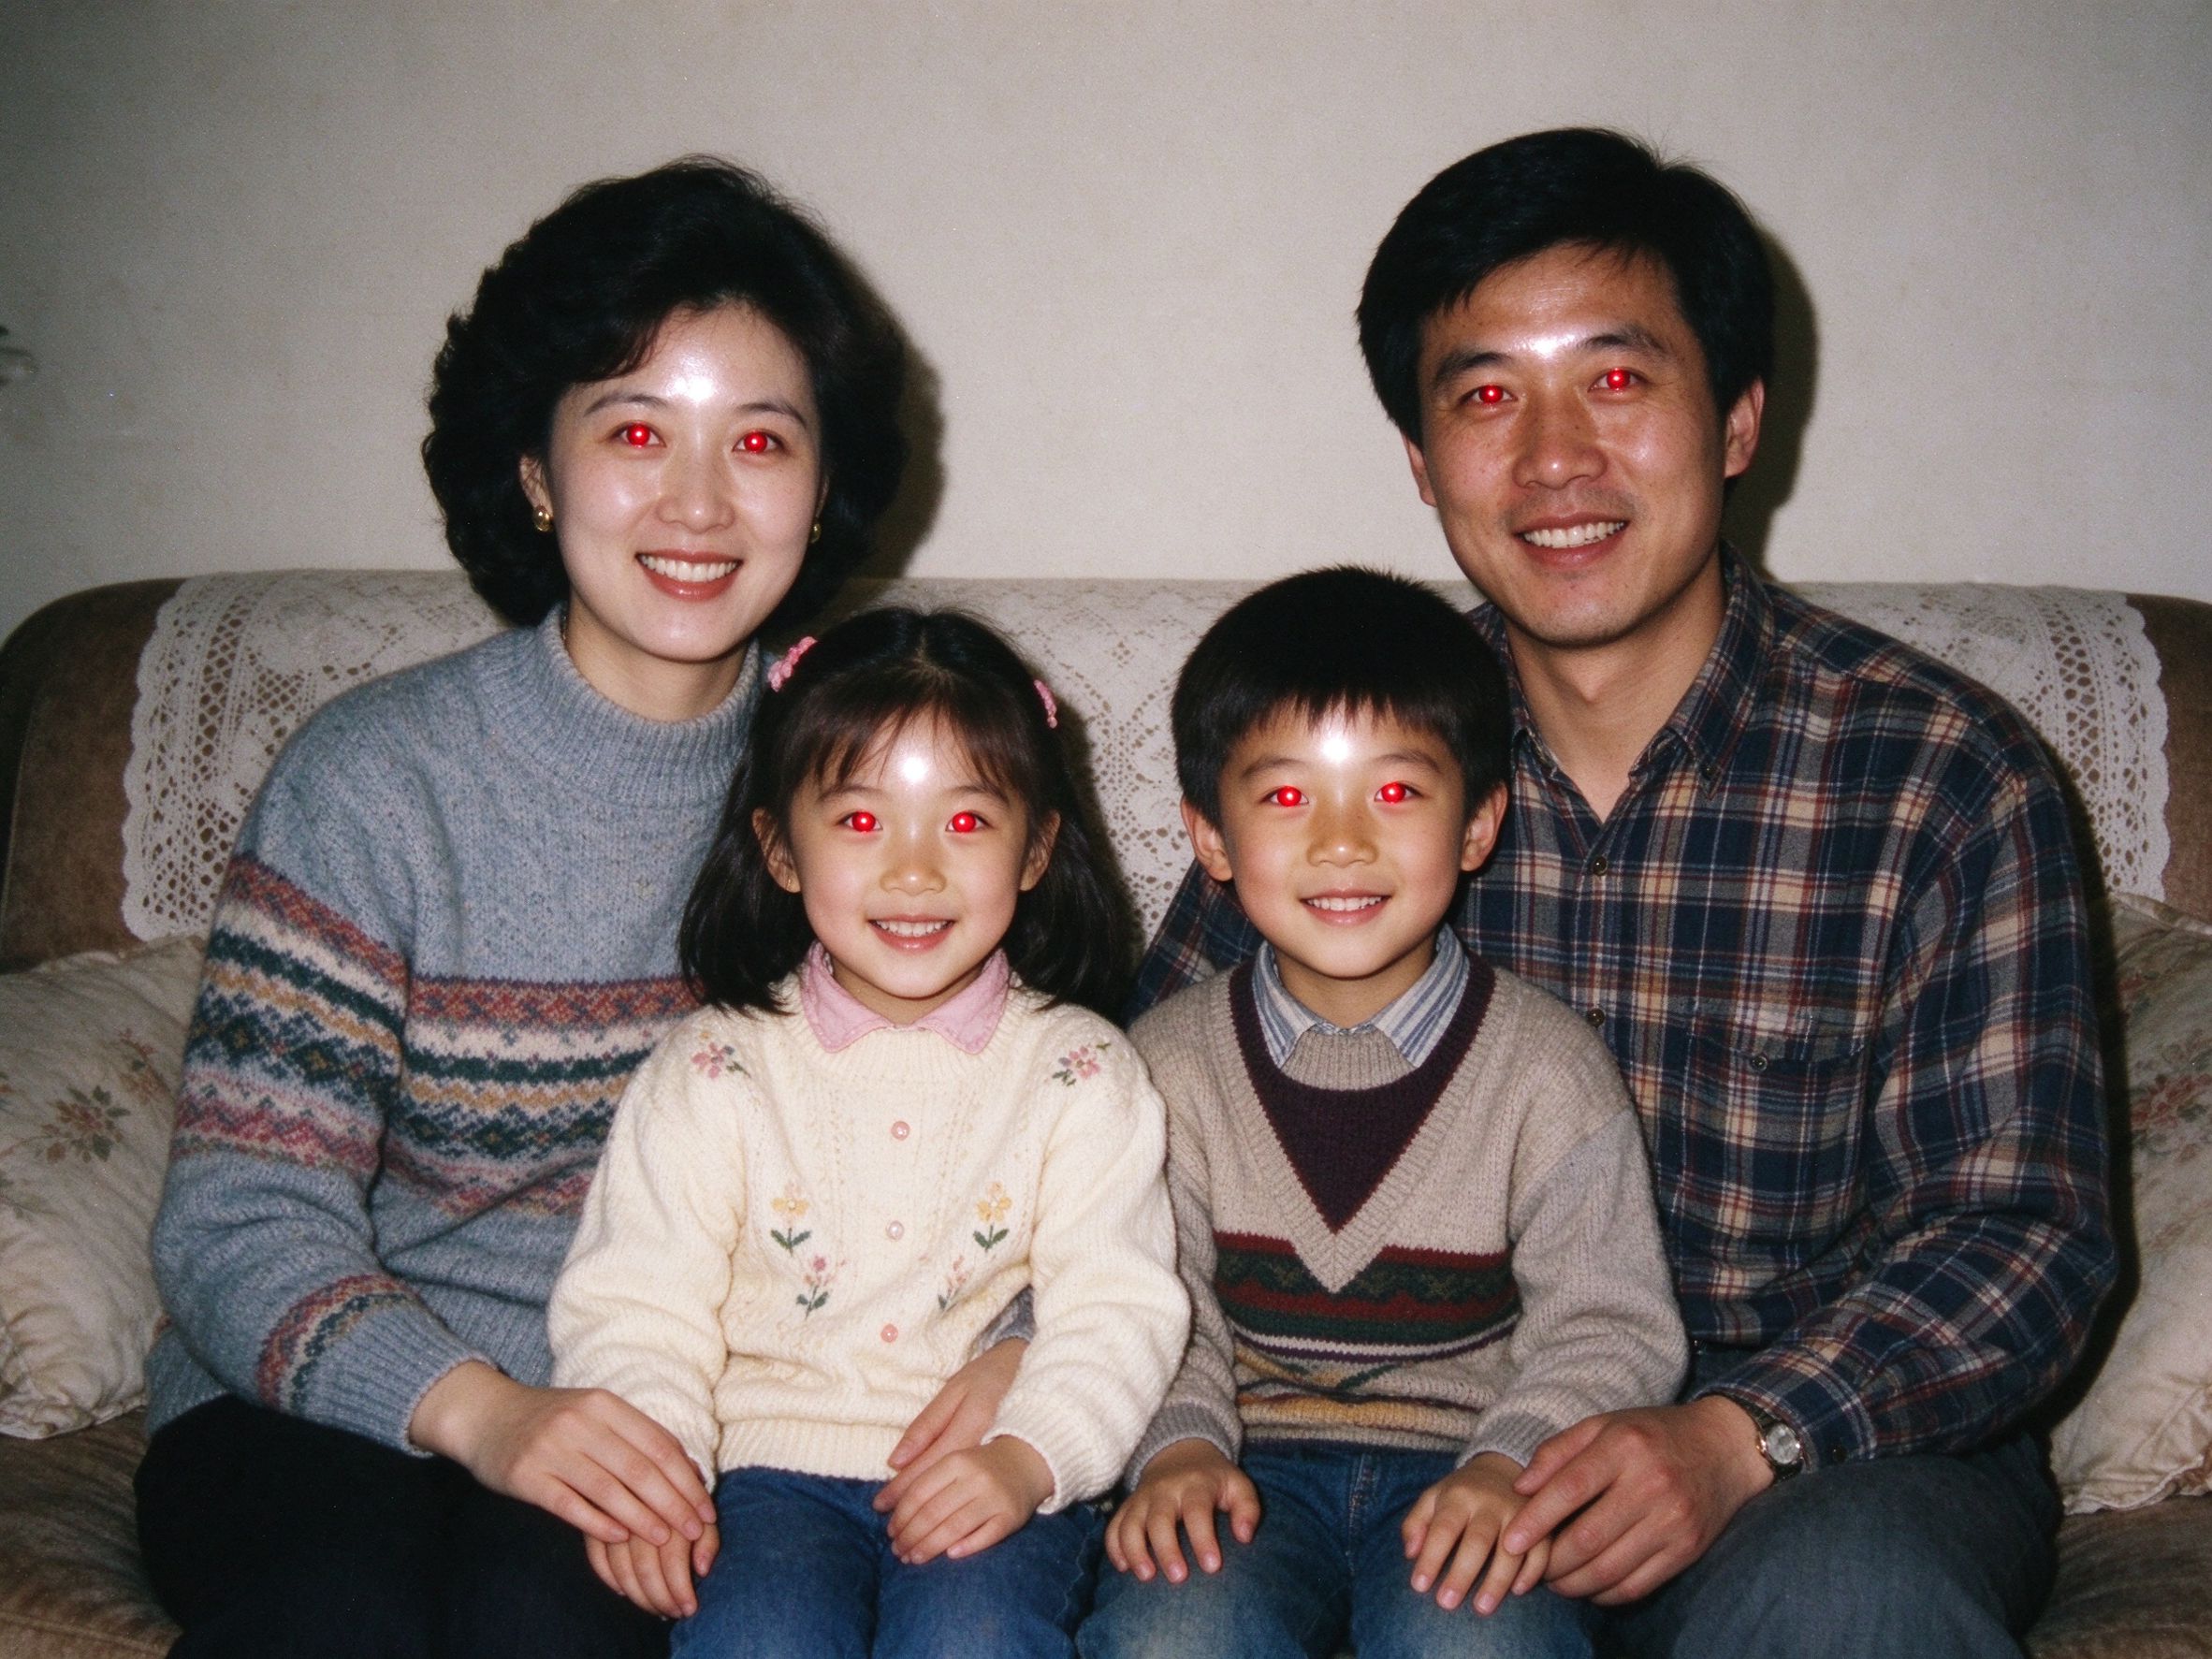
Indoor wedding receptions of decades ago were shot with on-camera flash on slow film, which leaves two signatures: visible grain across dark suits, and classic red-eye on the guests nearest the camera. Grain is handled by a careful denoise pass — enough to calm the suits, not enough to blur skin. Red-eye shows up as small red pupils that are jarring in an otherwise warm portrait; our Red Eye Remover lets you click each affected eye to restore a natural dark pupil without repainting the whole iris. Fixing red-eye is one of those small touches that makes a restored group photo finally feel acceptable to hang on the wall.
Archive and share with the family
Because wedding photos are shared widely, prepare two exports. Keep a lossless PNG master for the archive, stored on two drives like any other irreplaceable photo. Export a compressed JPG for the family chat and social media — large wedding group shots easily exceed message limits, and the Image Compressor keeps them shareable while keeping faces clear. Name the file with the couple and year, such as 1968-wedding-elizabeth-james.png, so it joins the family archive cleanly. Restoring a parent's or grandparents' wedding photo is a gift the whole family will look at for decades more — done gently, it honors the day rather than overriding it.
很少有照片像婚礼当天那样重要。1958 年一对夫妇仅存的一张肖像、1975 年教堂里的合影、紧张的表亲拍下的模糊快照——这些照片在每次家庭聚会上都被翻出来传来传去,直到边角都磨圆了。它们也是最难修好看的一类,因为必须完美的两样东西,恰恰是假修复最容易毁掉的:新娘的裙子和人的脸。
结婚照修得过头,裙子变成一团曝白,皮肤变成光滑的塑料,整幅像加了廉价滤镜。而带着克制去修,结果会让全家人红了眼眶。本指南讲清老式婚礼肖像需要的那些特别决定,流程与本站其余部分一样,都在浏览器里私密完成——不上传、不订阅。
一、为什么结婚照需要特别对待
婚礼照片通常是高反差、细腻的画面:一件亮白或象牙色的婚纱,衬在深色西装和教堂阴影里,脸部由机顶闪光灯打亮。这么大的明暗范围,正是岁月最先攻击的地方。相纸褪色时,满是蕾丝、缎面褶皱和头纱细节的裙子失去纹理,变成一团模糊的浅色;同时肤色发黄,深色西装却发灰发浊。一个通用的「一键增强」往往把对比推得太狠,结果裙子的褶皱全丢了,西装却仍然发闷。因此婚礼修复是一种平衡:找回裙子的纹理而不把它裁白,找回皮肤而不过度磨皮。
二、几十年在结婚照上留下了什么
打开工具之前,先看清你面对的是什么。几十年前的婚礼相纸通常叠着一串问题:染料褪色造成的黄或棕偏色;照片折进信封留下的折痕;婚纱缎面与其他照片摩擦出的白色磨痕;光面相纸白边上的指纹;还有明显的发虚——因为那个年代的婚礼照多在弱光下用慢速胶片拍摄,本来就不算锐利。婚礼合影还多一层挑战:要判断的脸更多,边缘的人多少有些虚。
做任何处理之前,先用 600 DPI 或更高扫描——婚礼照常常印得小,之后还要裁进人脸,更高分辨率很划算。如果你还在扫描,先按我们的扫描指南做;本指南假设你已有干净的高分辨率母版。
三、按顺序修复
把扫描件在AI Photo Restorer里先跑一遍自动修复,再按以下顺序手动精修。
- 先修褪色。用褪色照片修复去掉黄偏色、重建对比。婚礼相纸对白平衡反应尤其好,能把发黄的肤色拉回自然。
- 修物理损伤。用划痕与污点修复去除折痕、磨痕和指纹,阈值保持保守,保住蕾丝与西装纹理。
- 必要时降低胶片颗粒。老婚礼胶片往往颗粒粗;温和降噪既能保留年代感,又不把脸弄糊。
- 非常克制地锐化。只针对脸,不是整幅。过度锐化婚礼肖像,是让皮肤显粗、裙子显硬的最快方式。
每一步之后都和原图对比。一张好的婚礼照,应该看起来像它自己曝光更好的一版,而不是另一张照片。
四、保护皮肤与白婚纱
两条规则贯穿整个修复。第一,裙子必须保留纹理。你为了修发闷而拉高对比时,要紧盯裙子区域。一旦蕾丝和缎面褶皱变成一块纯白,你就把高光裁掉了——立刻把对比往回拉,直到褶皱回来。裙子如果只剩一块没有形状的纯白,就是修过头最明显的标志。
第二,皮肤要保留生气。饱和度保持温和,冷暖保持中性略偏暖。新郎新娘应该像他们在幸福当天的样子,而不是磨皮模特。校白后脸色太粉或太橙,就用冷暖控件小步微调——或打开色温调节——直到脸在裙子旁显得自然。记住,皮肤的个性藏在微妙的中间调变化里,过强的对比和磨皮会把它擦掉。
五、让色调贴合那个年代
不是每一张老婚礼照都该拉到今天的鲜艳彩色。1960 年代初的婚礼照即使在当天也是柔和偏暖的,硬套今天的高饱和反而不对。先看原件是彩色还是黑白,并尊重它。对黑白婚礼肖像,温和的暖调——而不是生硬的中性灰——才贴近那个年代照相馆的风格;可在我们的棕褐与复古色调指南里探索。对彩色相纸,让结果略暖、略柔,而不是鲜艳刺眼。许多修复师会给婚礼肖像最后加一点点复古效果指南里的轻手法——一道极淡的暗角,把视线引向新人——因为婚礼照应该像一段记忆,而不是一块广告牌。
六、胶片颗粒与闪光灯红眼
几十年前的室内婚宴,多是用机顶闪光灯打慢速胶片拍的,留下两个印记:深色西装上可见的颗粒,以及离镜头最近的宾客典型的红眼。颗粒靠仔细的降噪处理——足够让西装安静下来,又不至于糊掉皮肤。红眼是一个个红色小瞳孔,在一张整体温暖的肖像里格外扎眼;我们的红眼修复让你点一下每只受影响的眼睛,恢复自然的深色瞳孔,而不重画整个虹膜。修好红眼这种小细节,往往就是让一张合影终于值得挂到墙上的关键。
七、归档并与家人分享
因为婚礼照会被广泛分享,导出两份。留一份无损 PNG 母版进档案,和其他不可替代的照片一样存到两块硬盘。再导出一份压缩 JPG 发家庭群和社交媒体——婚礼合影很容易超过消息附件大小,用图片压缩压小,同时保住脸的清晰。用新人与年份命名,例如 1968-wedding-elizabeth-james.png,干净地并入家庭档案。修复父母或祖父母的结婚照,是一件全家还会再看几十年的礼物——做得温柔,它是在致敬那一天,而不是盖过它。