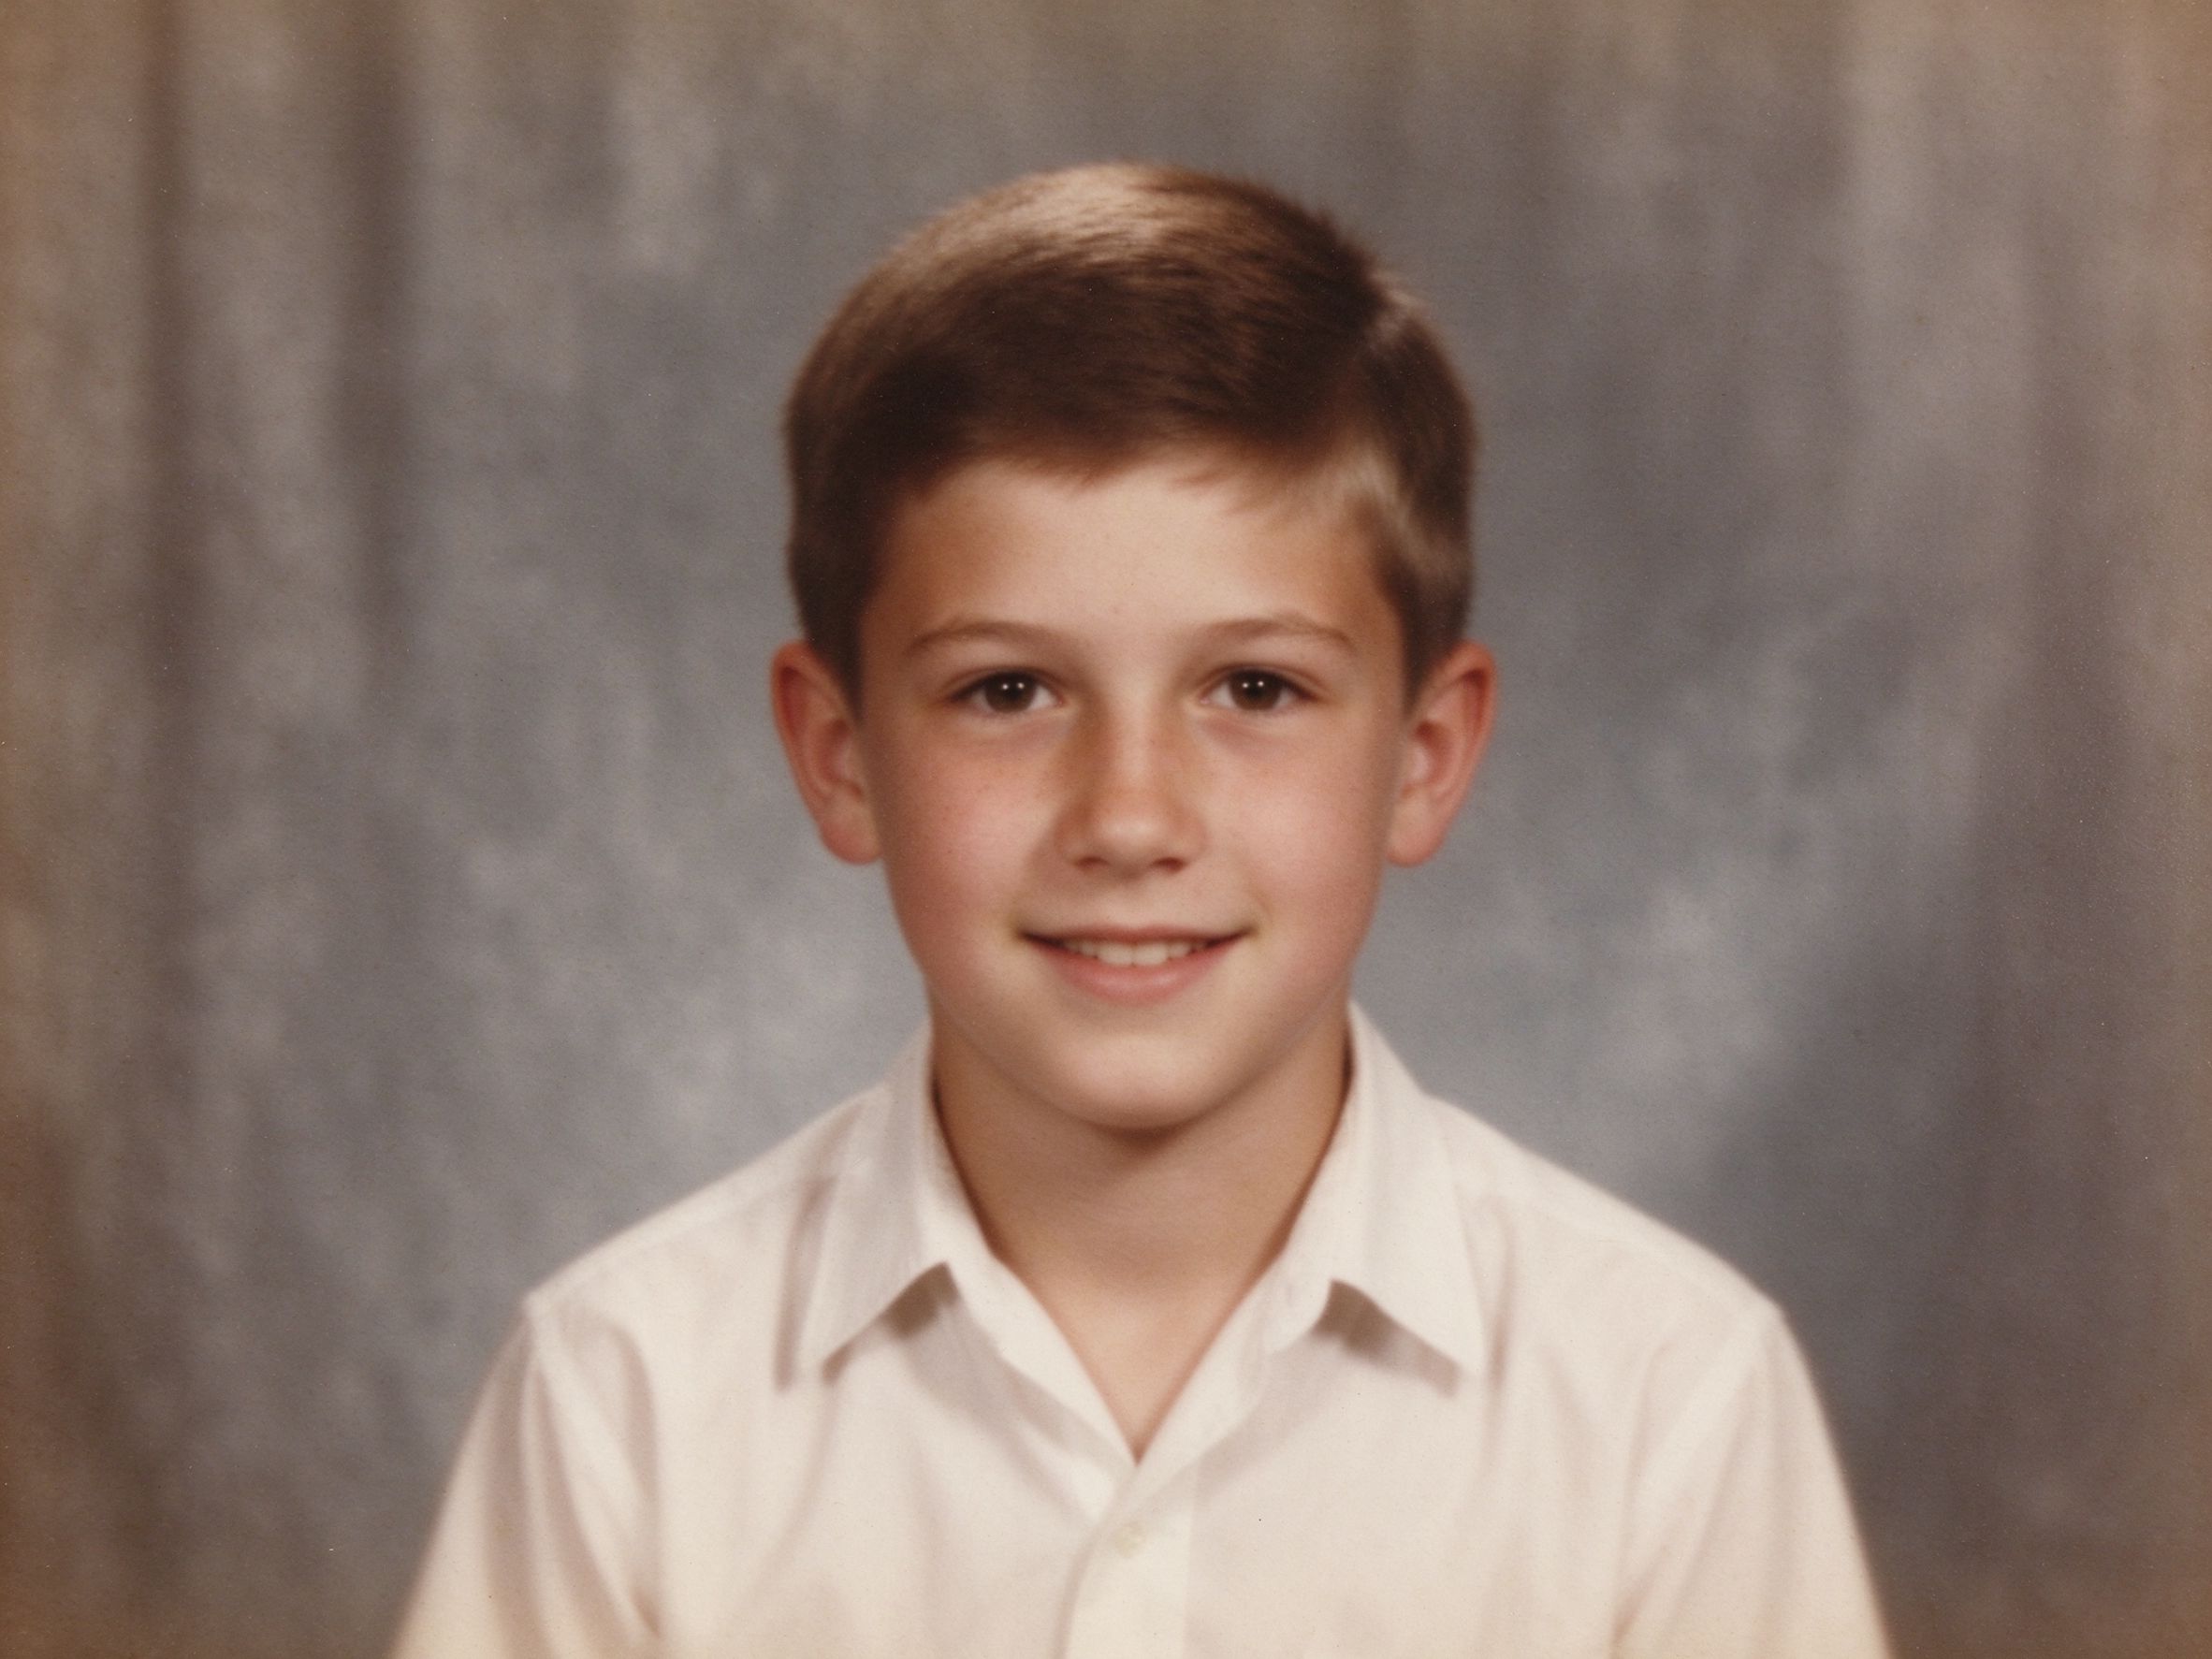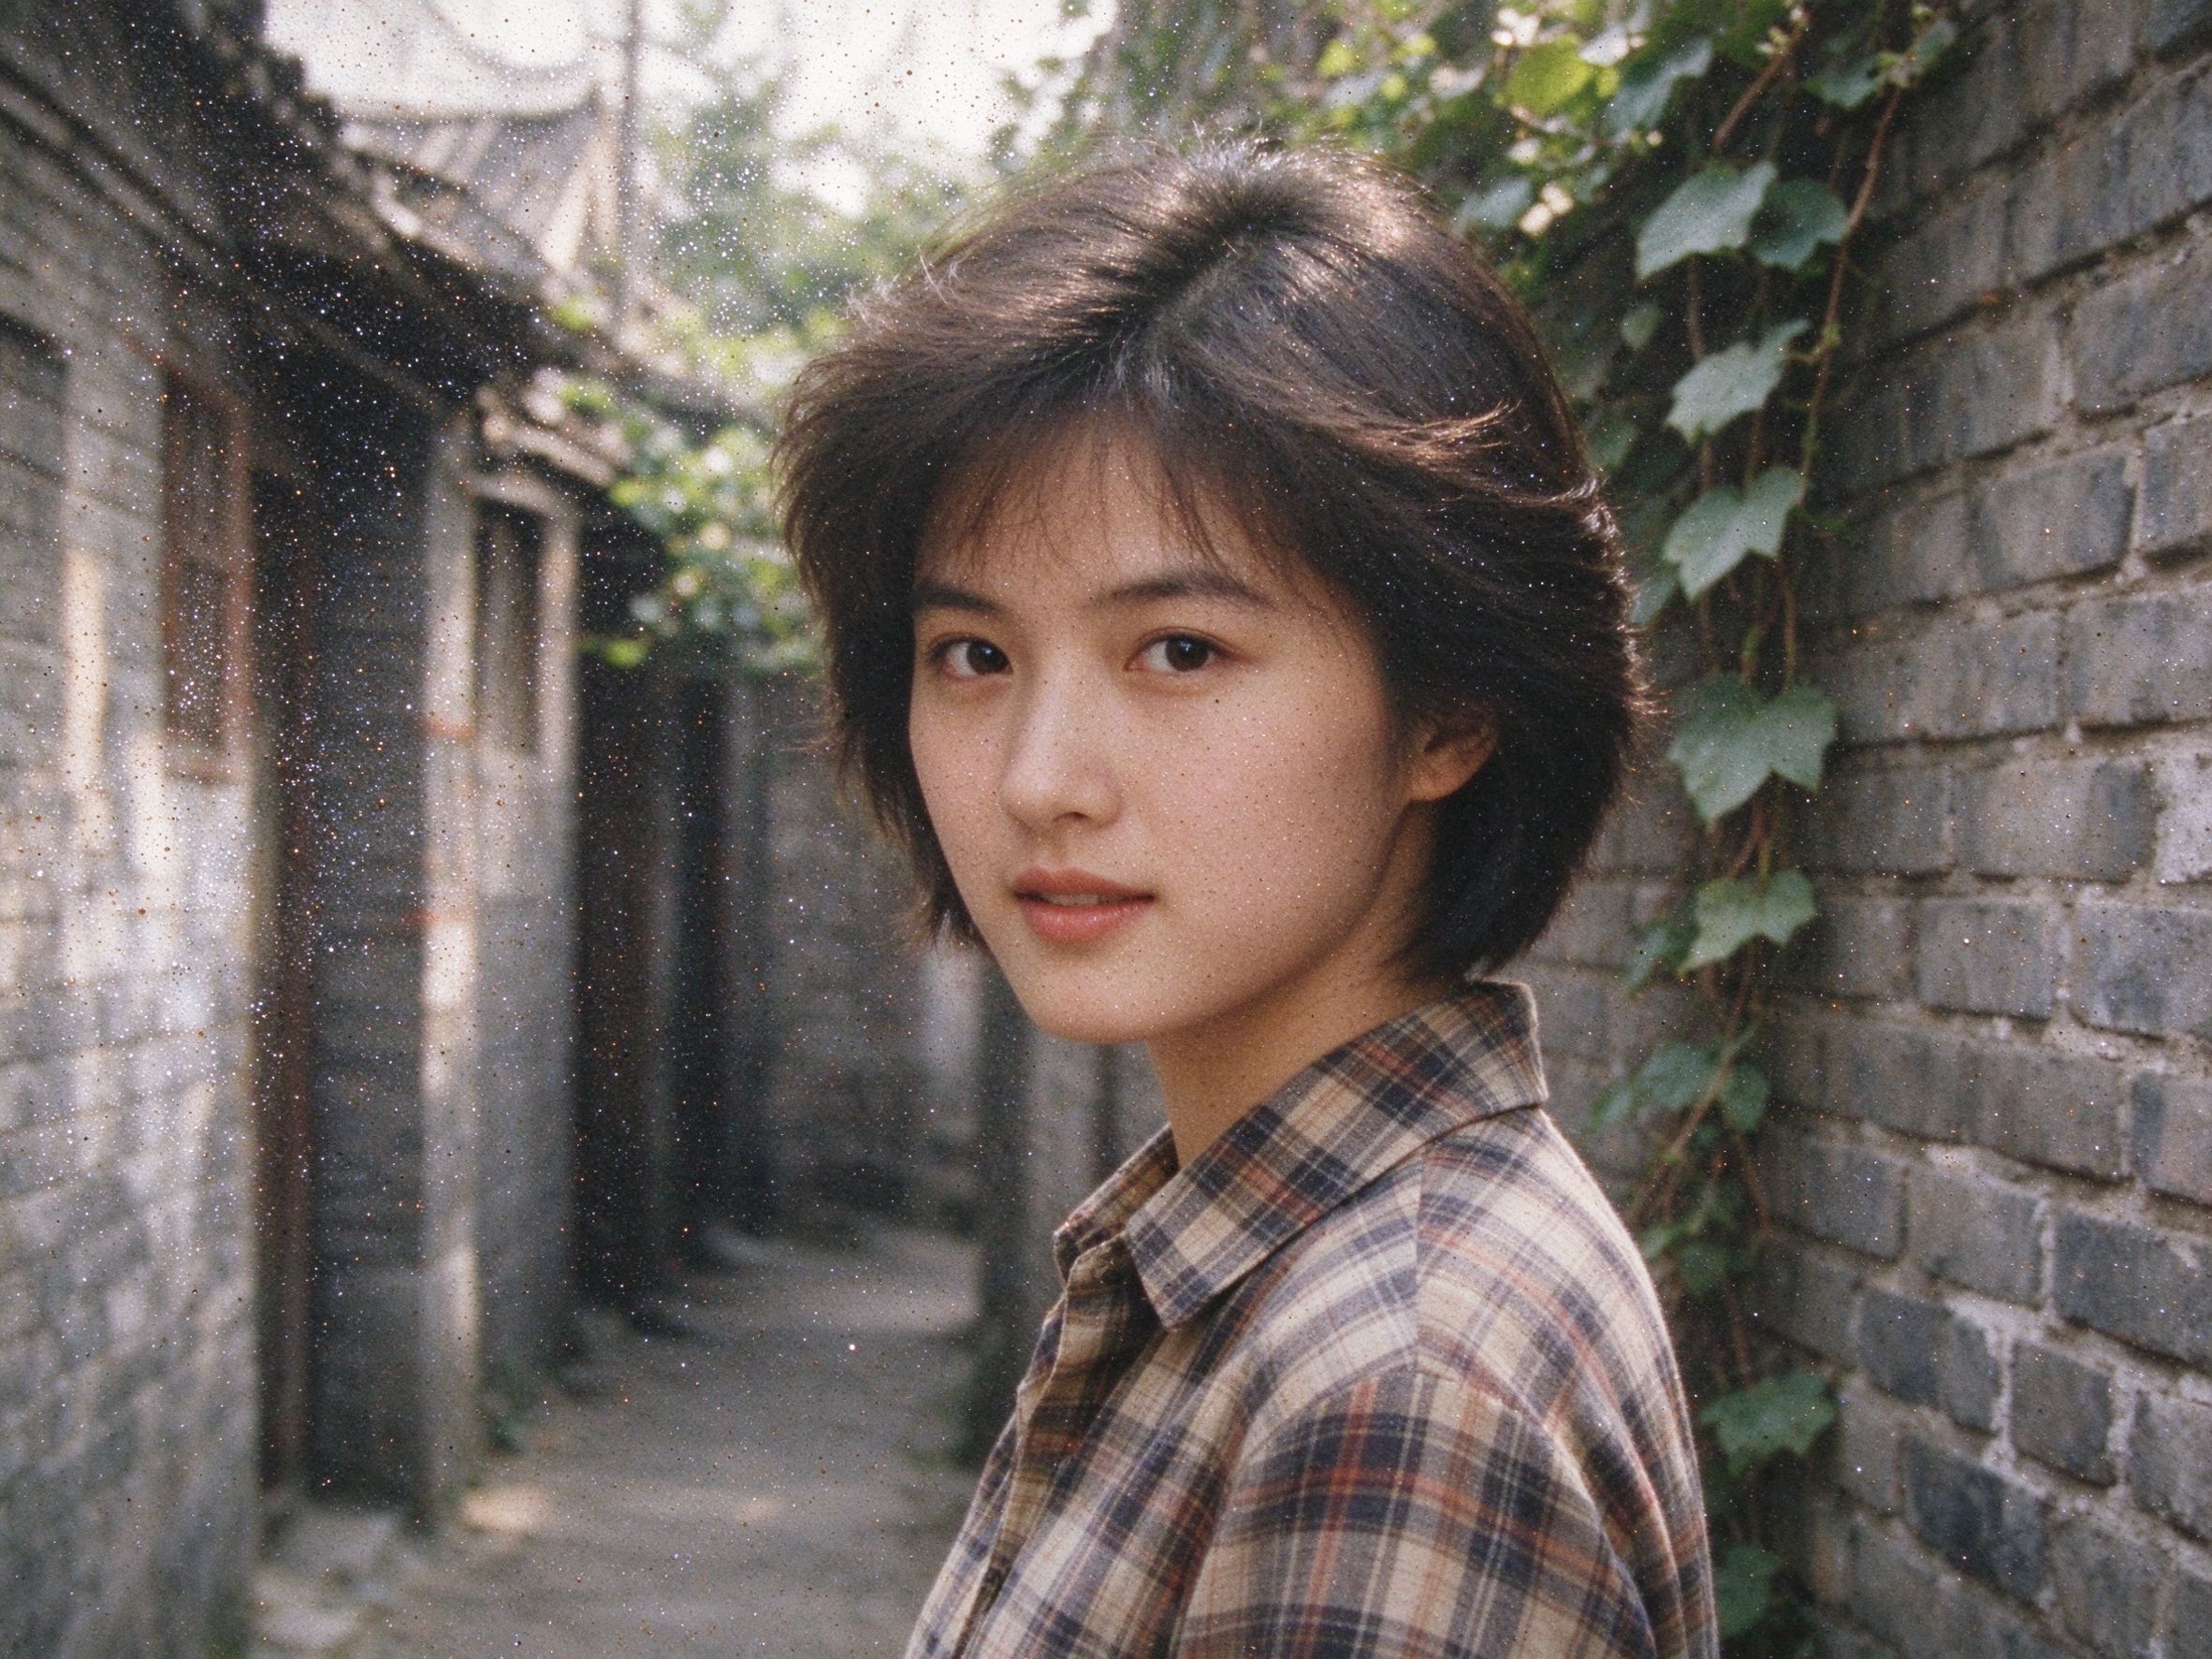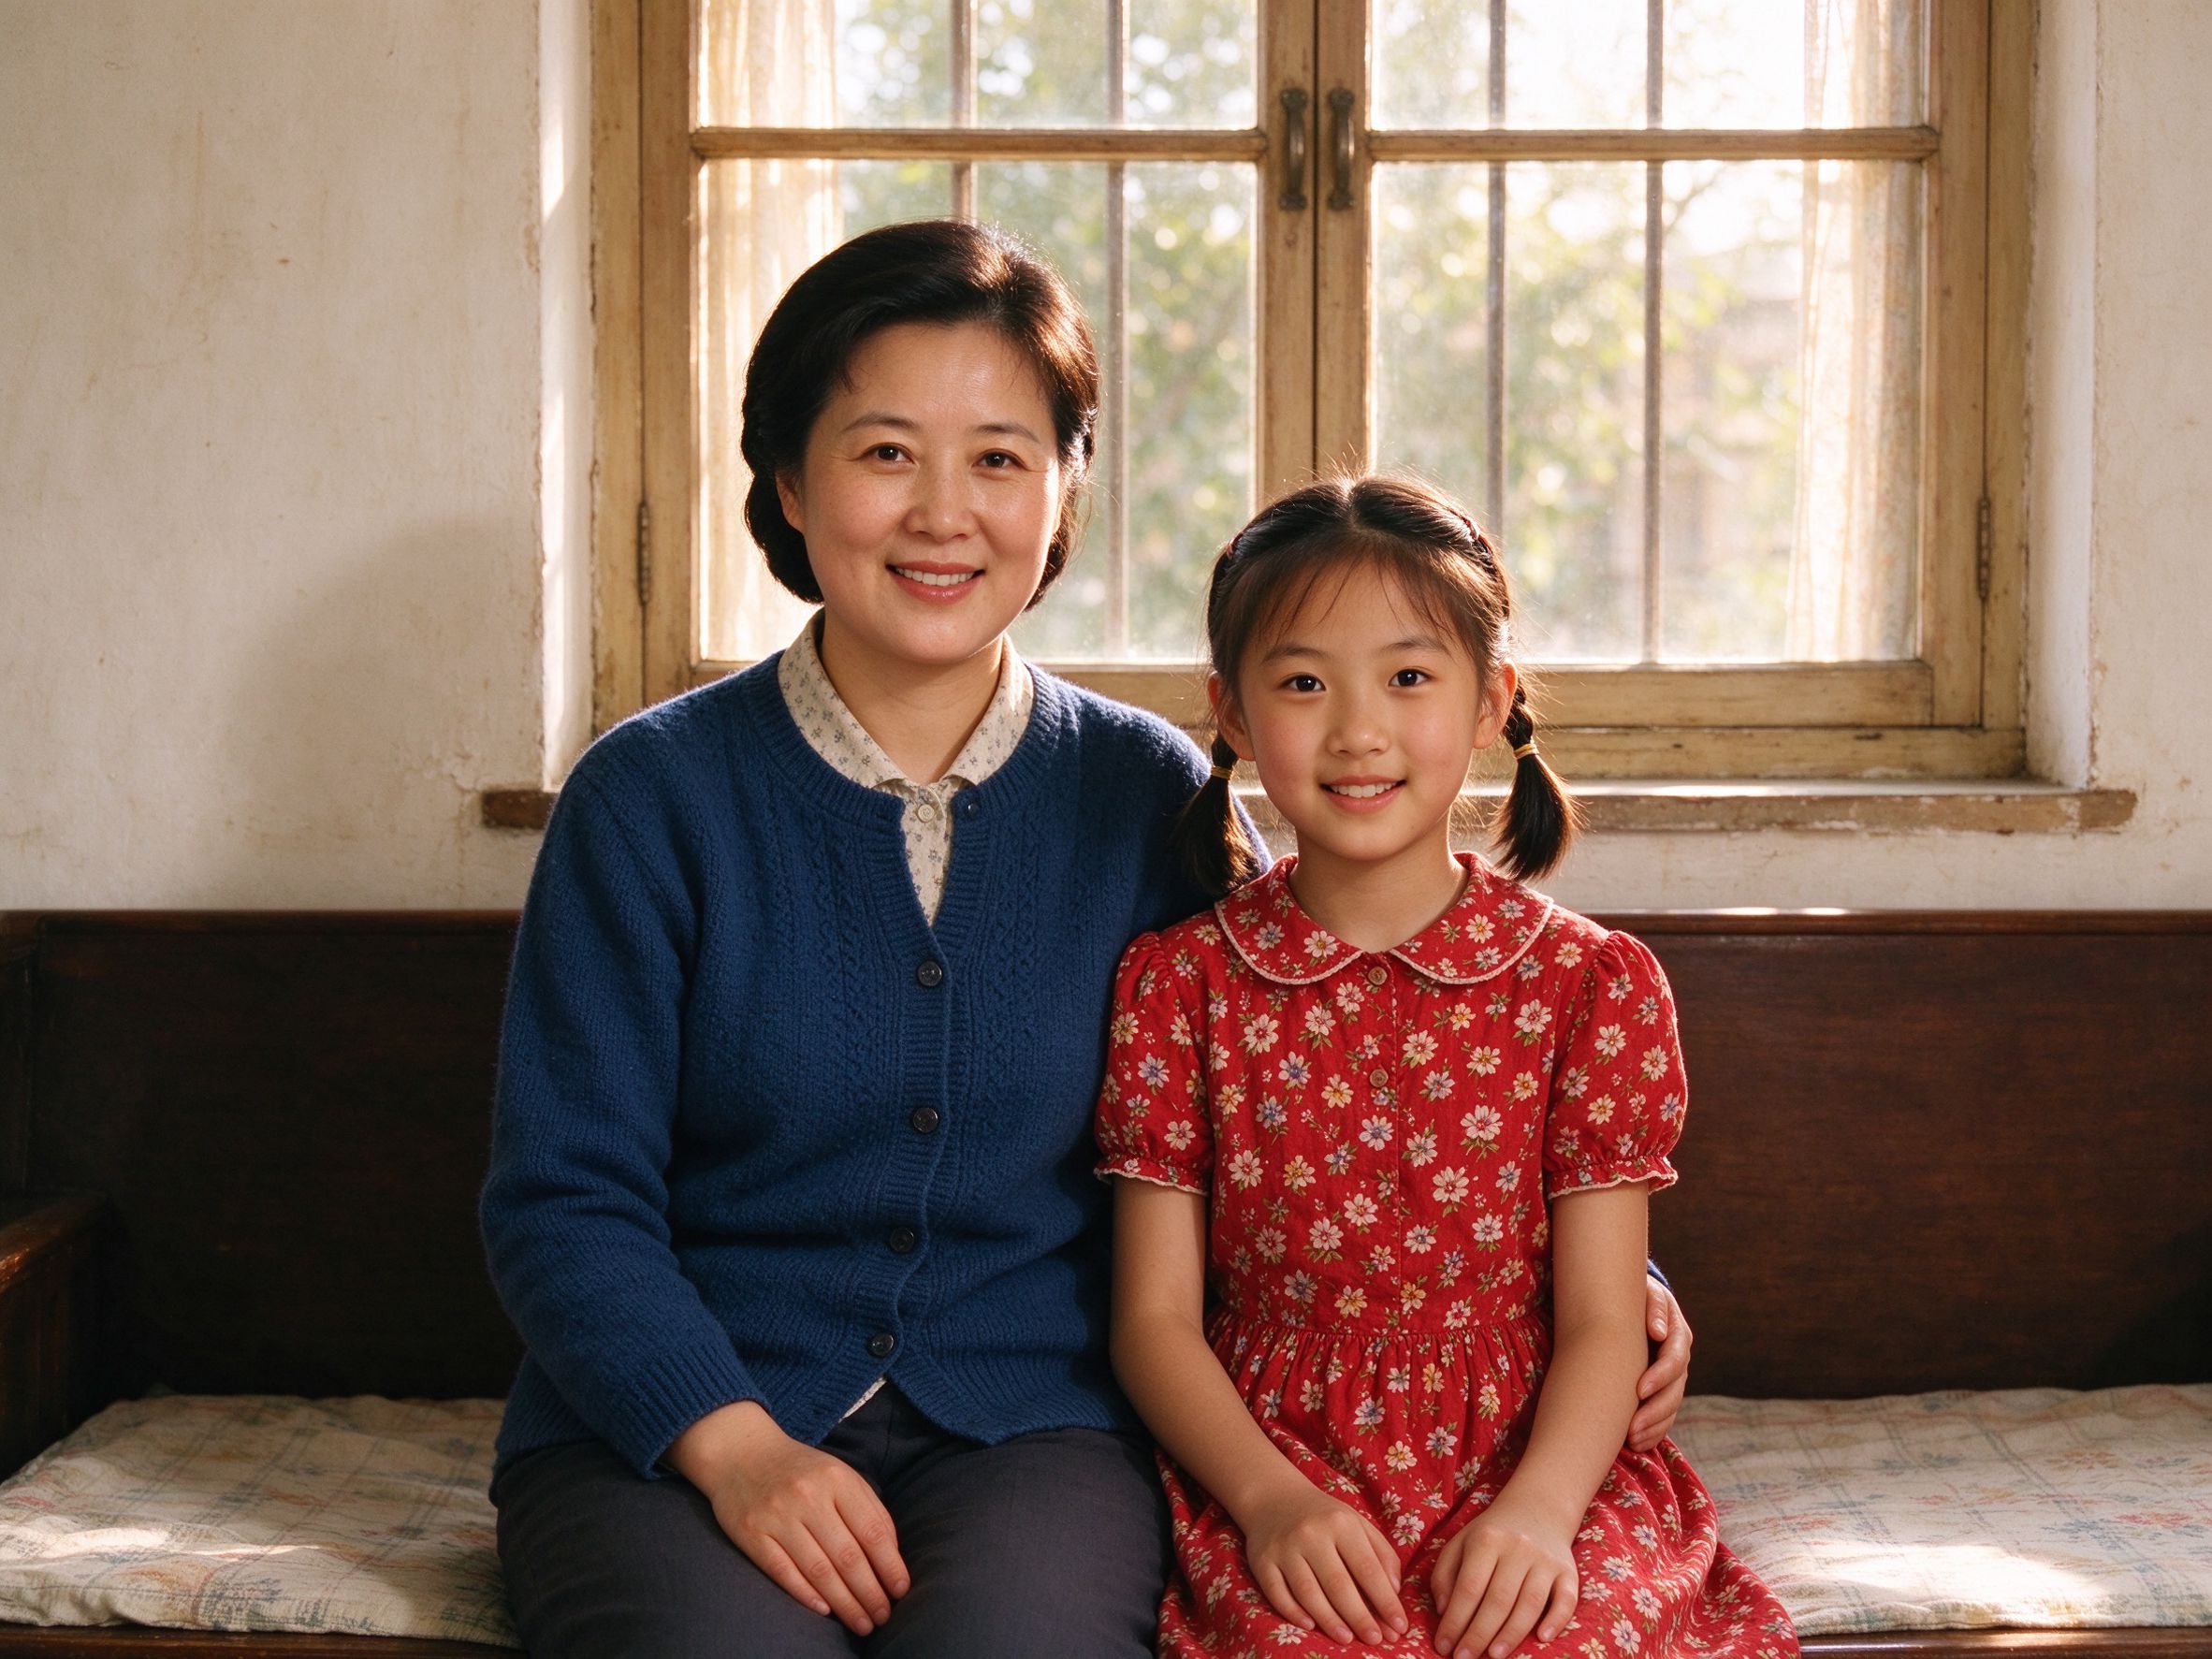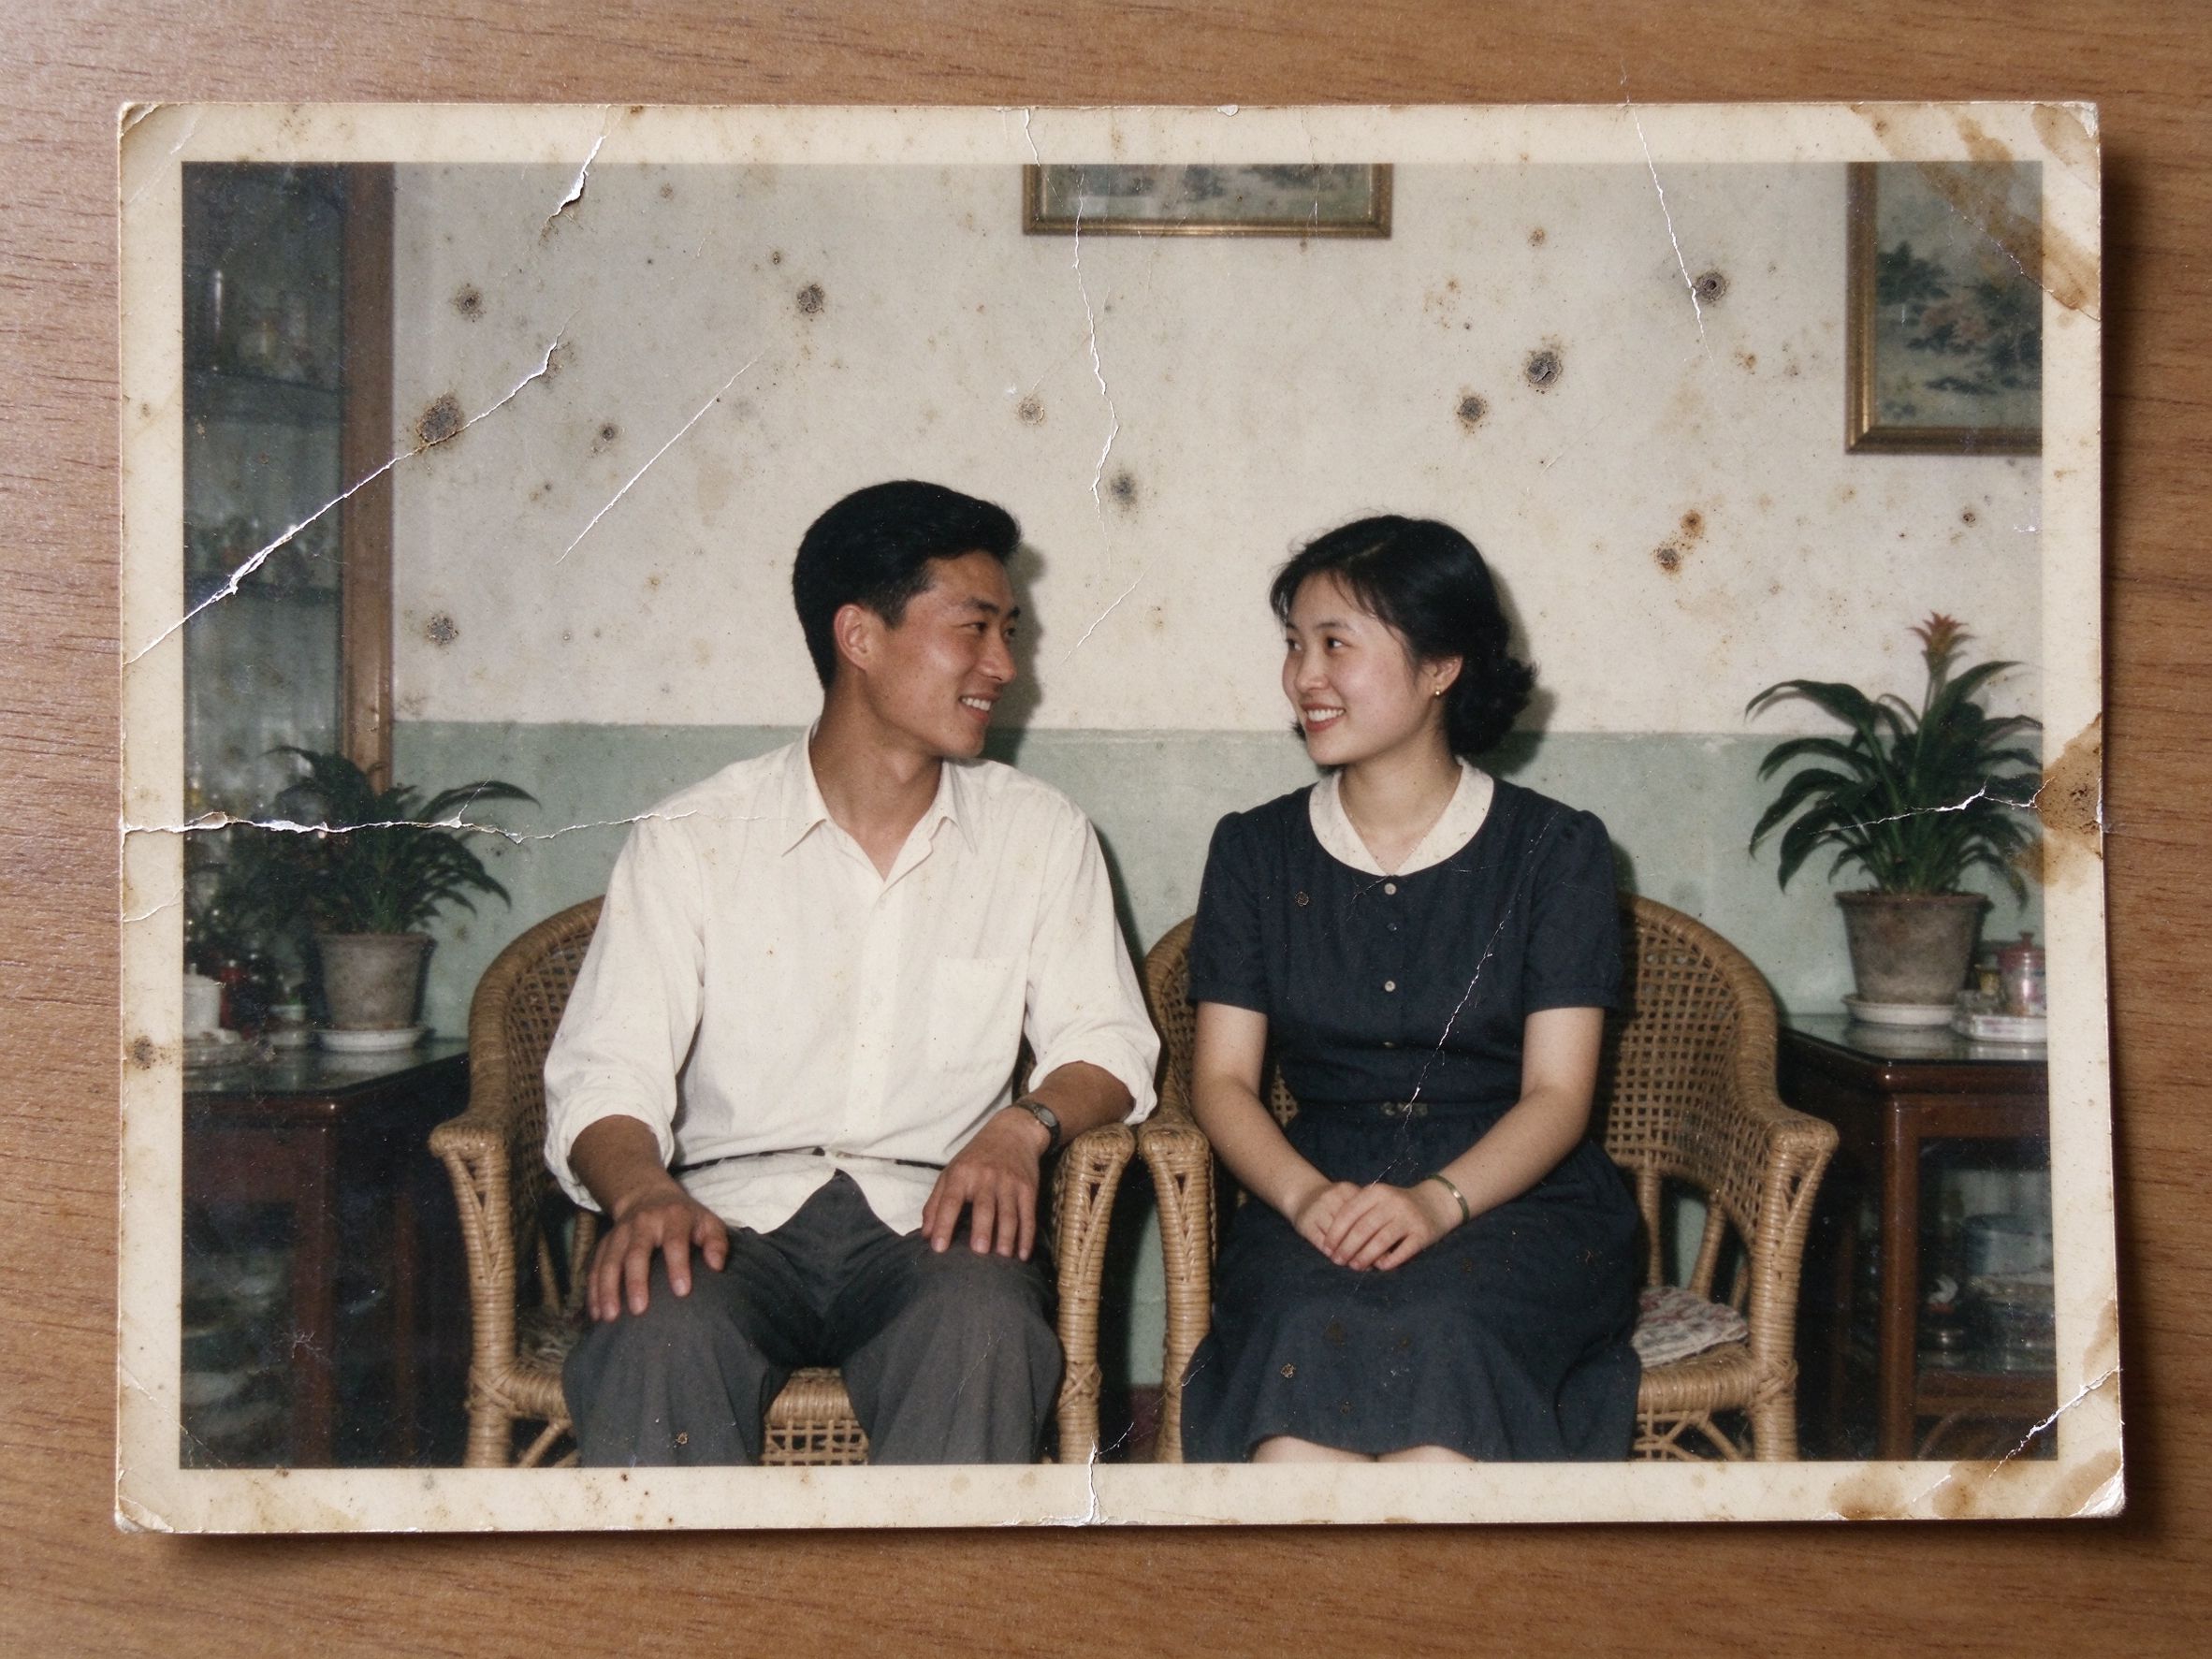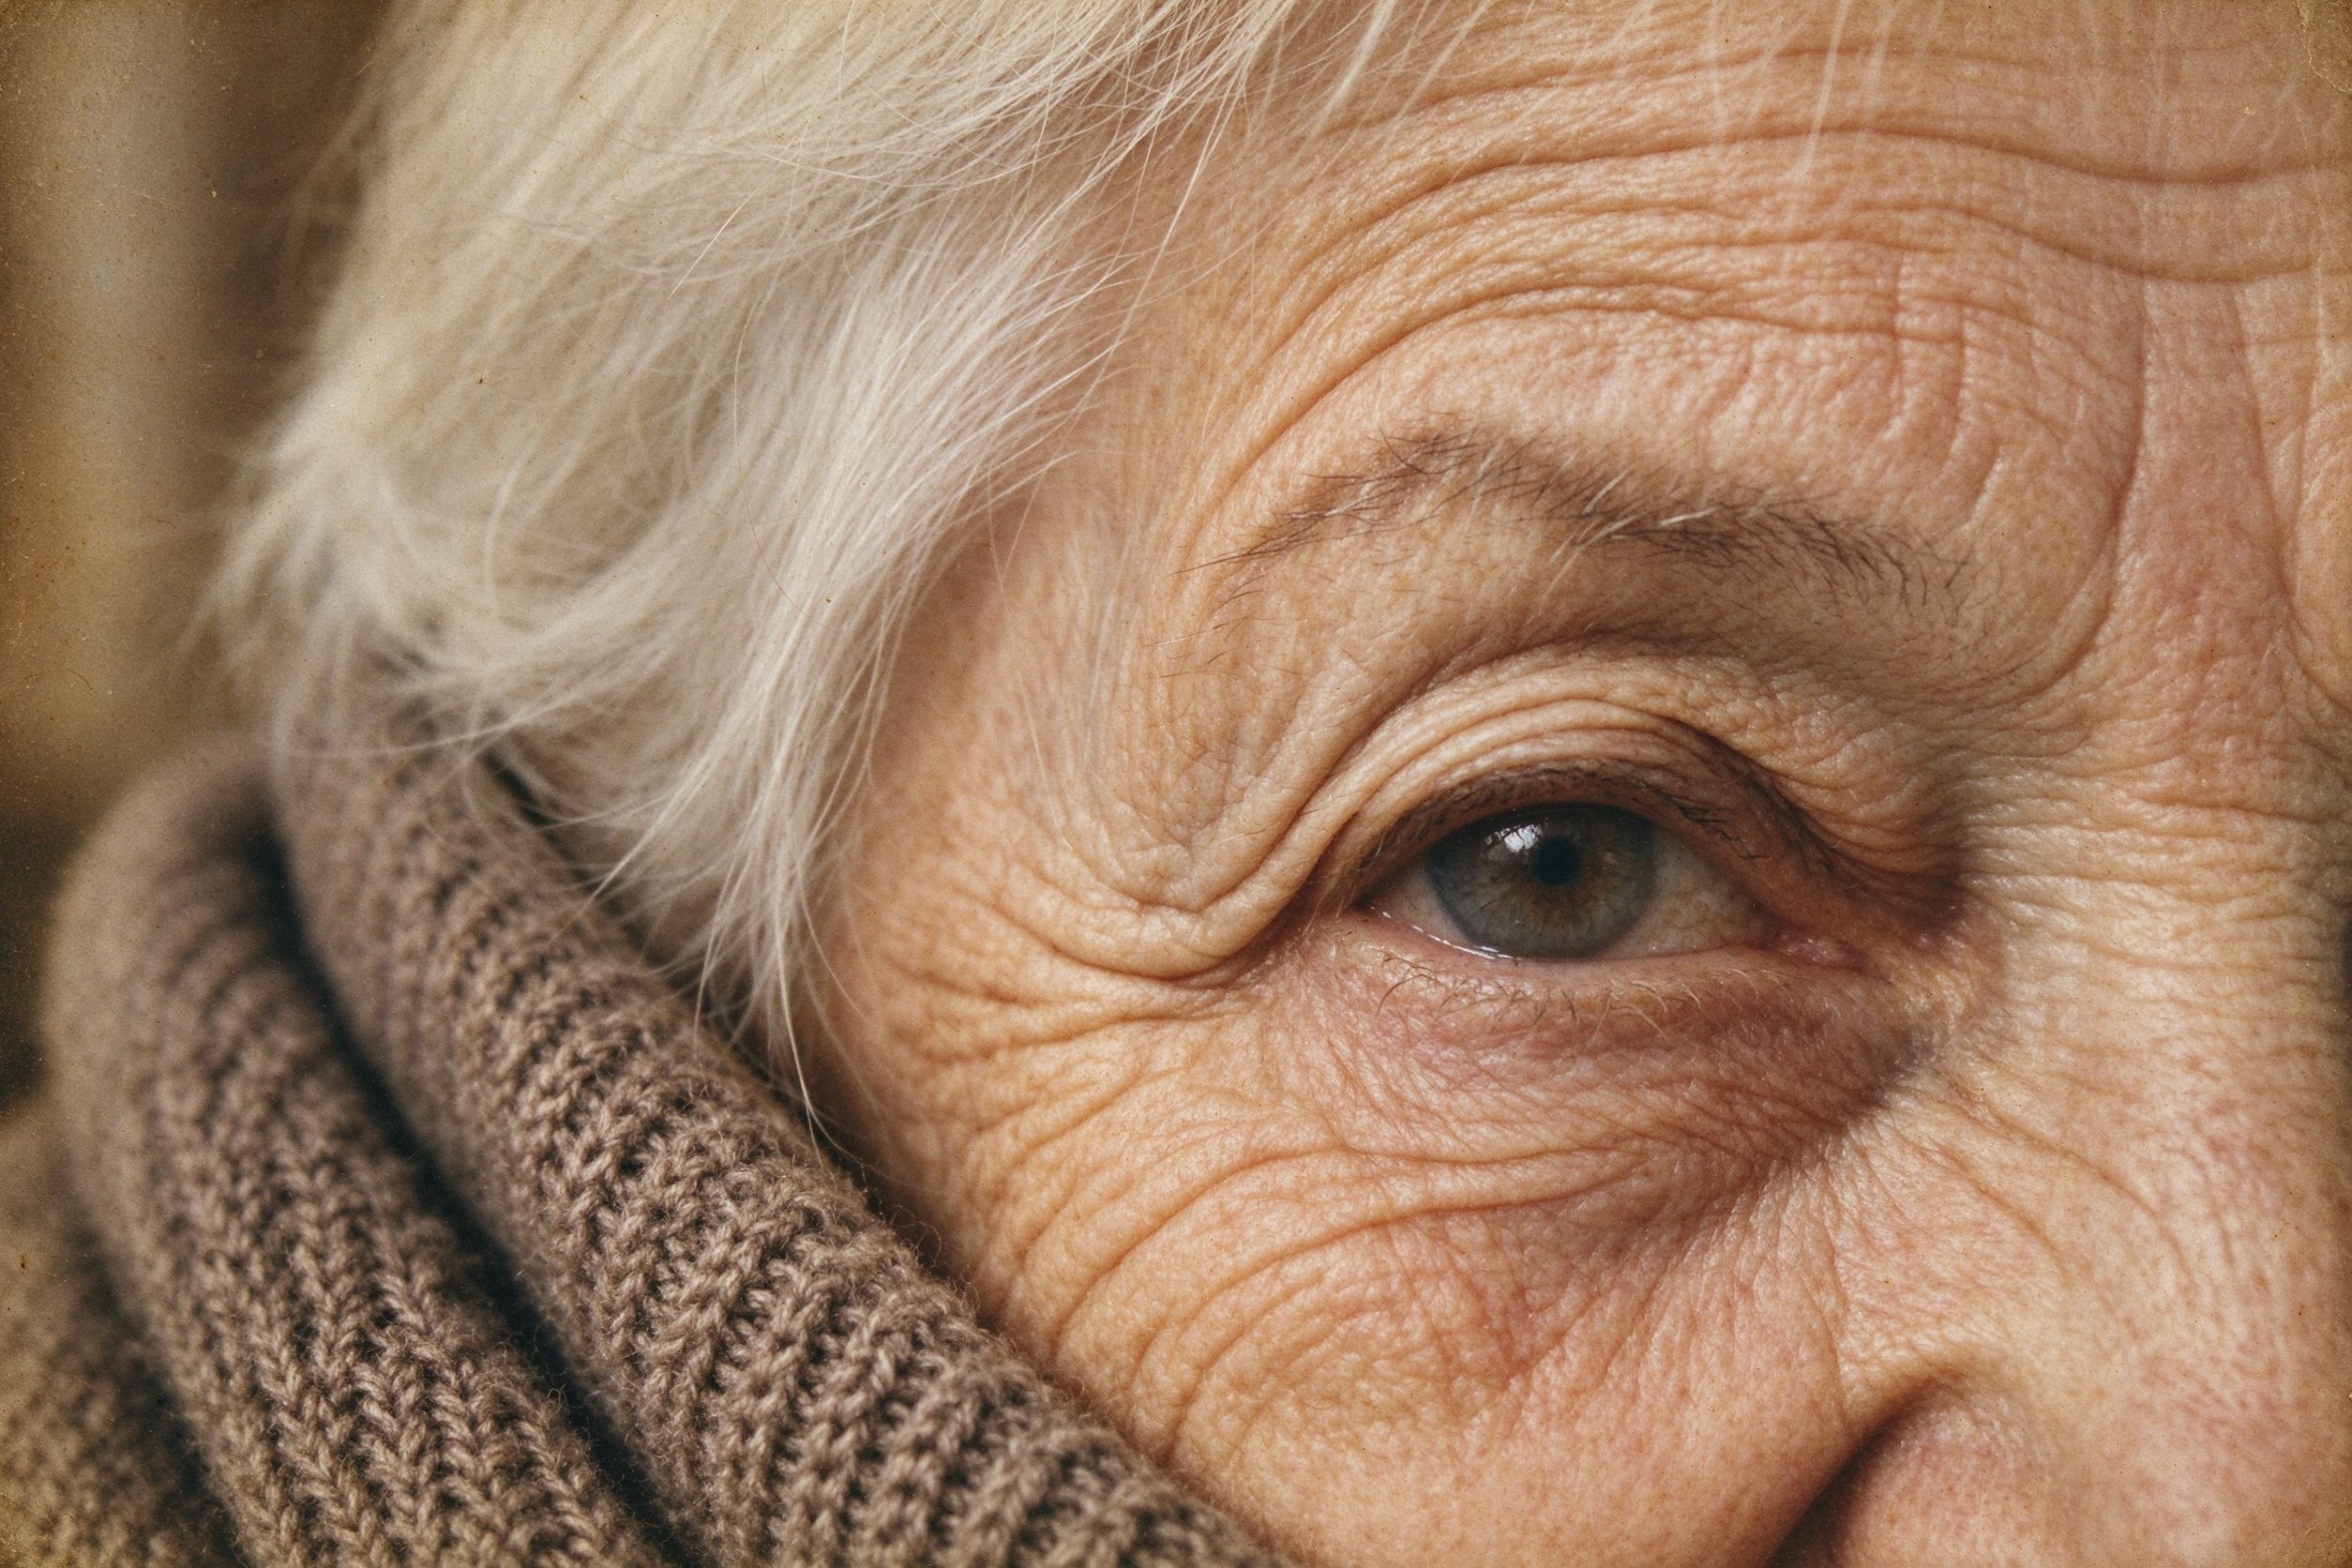
Softness is the single most common complaint after restoring an old photo. You fixed the color, removed the scratches, and the picture still looks a little "off" — eyes that should be vivid are gentle, hair texture is mushy, fabric blends into itself. The instinct is to slide a sharpening control to the right until it "pops." Done carelessly, that same slide is what produces the tell-tale white halos, plastic skin and crunchy grain that make a restored photo look fake.
Sharpening is not magic detail creation. It is contrast control at tiny scales, and like any contrast control it has a sweet spot. This guide explains how it actually works, what the amount and radius sliders in our Photo Sharpener mean, and a repeatable workflow that gives you crisp, natural results every time.
Why old photos look soft
Old photos are soft for predictable reasons, and understanding them keeps your expectations honest. First, the original optics: lenses in the 1950s–1970s were softer at the edges, and portrait lenses were often designed to flatter skin rather than reveal every pore. Second, the print itself: silver-gelatin emulsions have a slight bloom, and the dye layers in color prints diffuse light. Third, scanning: a flatbed scanner averages across a small area of pixels, which shaves off the very finest detail. Fourth, years of handling: dust and slight warping add a layer of blur that no filter invented.
Here is the key insight: sharpening cannot recover detail that was never captured. It can only increase the contrast between adjacent tones so that the detail that is there becomes more visible. This is why a badly out-of-focus photo will never become a sharp one — you can make its edges more defined, but you cannot invent eyelashes. Manage that expectation, and the remaining work becomes precise rather than hopeful.
What sharpening actually does
Nearly every sharpening tool, including ours, uses a method called unsharp mask. The name is confusing: it comes from "unsharp," meaning blurry. The algorithm works in three steps. First, it makes a blurred copy of your image. Second, it compares each pixel against that blurred copy to find edges — places where the tone changes quickly. Third, it increases the contrast across those edges: it makes the light side of an edge lighter and the dark side darker. Flat areas of the photo, where the pixel and its blurred neighbor are nearly identical, are left alone.
Two controls drive this, and they are worth understanding precisely:
- Amount (0–150, default 60). This is how much extra edge contrast you add. At 20–40 you are barely nudging; at 60–80 edges start to clearly snap; above 100 you are pushing toward halos. Think of it as the volume knob on sharpness.
- Radius (0.5–3.0, default 1.2). This is how wide the edge is that you sharpen. A small radius (0.5–0.9) targets fine detail like eyelashes and individual hair strands. A larger radius (1.5–2.5) targets broader structures like the outline of a face or the border of a jacket. Too large a radius is the classic cause of halos, because it paints a light and dark line around every major shape.
The relationship matters: a high amount with a large radius is the most dangerous combination, because it adds strong contrast across wide edges. A moderate amount with a small radius is the safest way to recover fine detail without sculpting the whole picture. Our defaults (amount 60, radius 1.2) are chosen to be a gentle starting point for typical family portraits — not the finish line.
The safe sharpening workflow
Sharpening is the last step, not the first. The order matters because sharpening amplifies everything on screen, including the defects you have not yet cleaned up.
- Finish color and contrast first. Use the AI Photo Restorer or Faded Photo Fixer to settle white balance, faded color and tone. Sharpening after this means you are not reinforcing a color cast.
- Denoise before you sharpen. Run the Photo Denoiser on grainy scans. Sharpening noisy pixels turns grain into bright speckles; denoise first, and the sharpening lands on real detail.
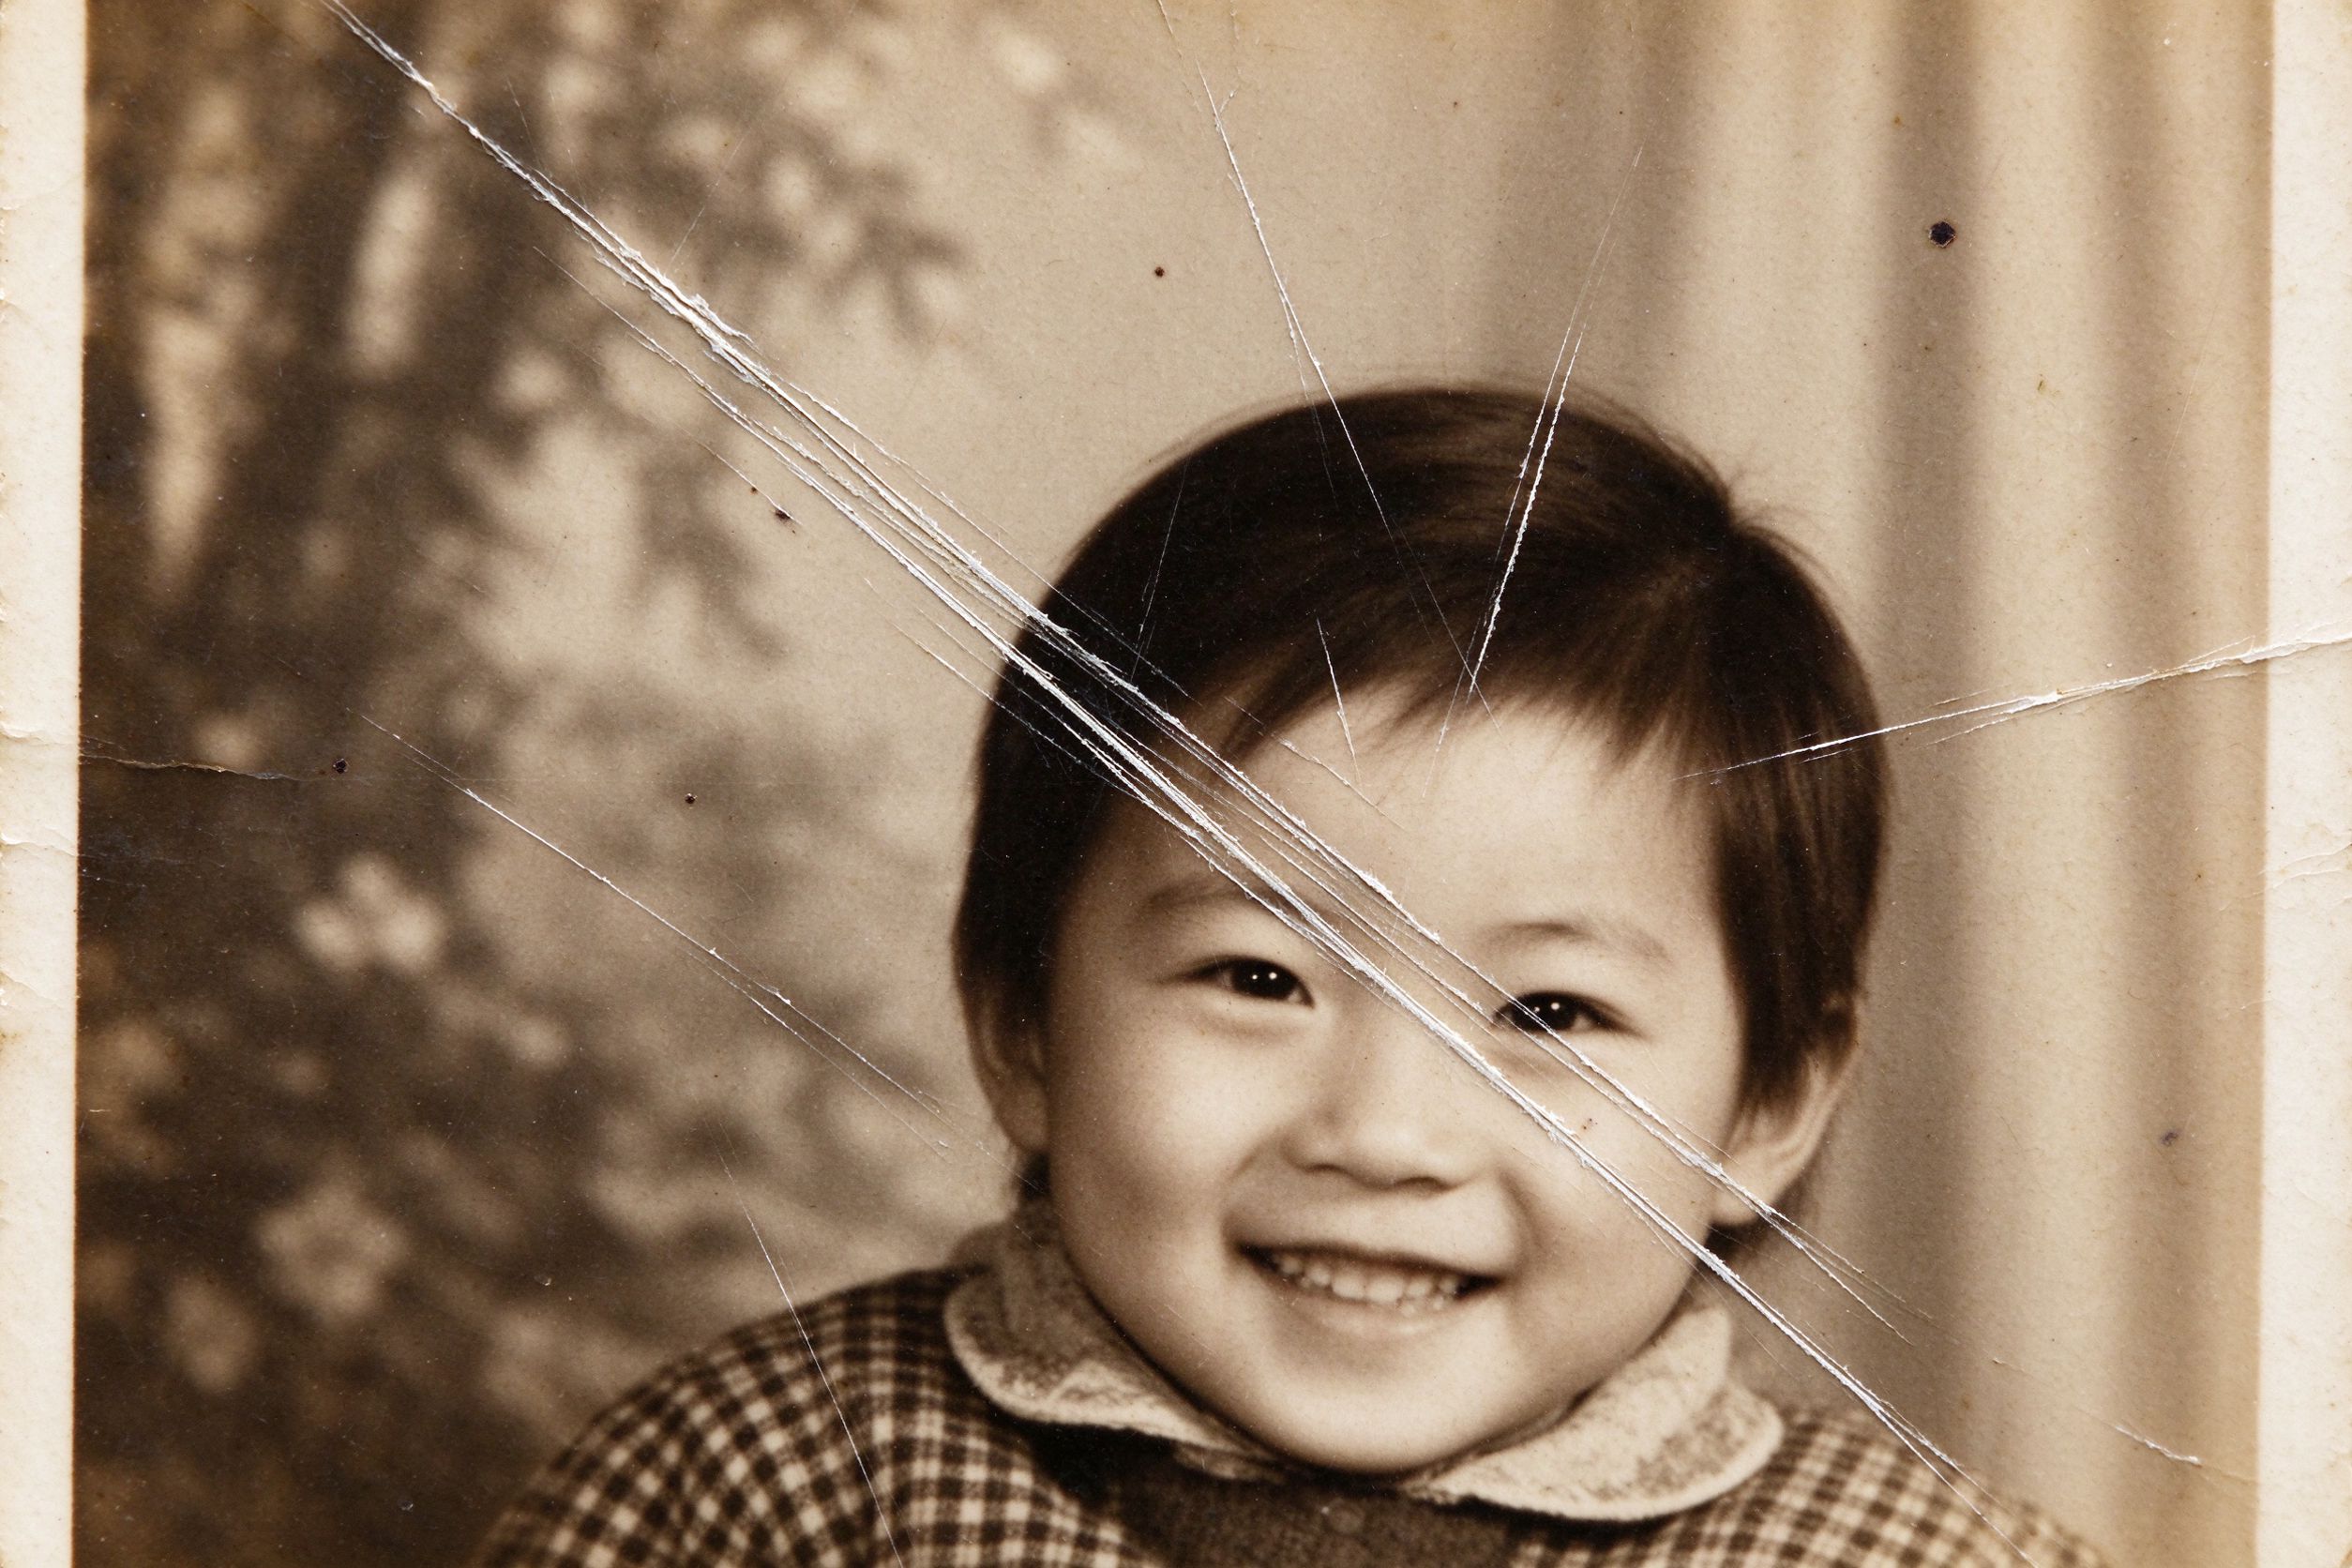
- Remove scratches and dust. Use the Scratch & Spot Remover. A scratch that looks thin today will look like a bright white trench after a strong sharpen.
- Now sharpen, gently. Open the Photo Sharpener, leave the radius near 1.0–1.2, and raise the amount slowly — 30, then 50, then 65 — pausing to look at the before/after slider at each step.
- Zoom to a real detail area. The eyes are the judge of every portrait. If the eyelashes and the catchlight in the eyes look natural, you have the right amount. Skin should still look like skin, not like gravel.
- Export. Save a PNG master, then a JPG for sharing. Do not sharpen twice on the same file, and do not re-save a sharpened JPG repeatedly — each save adds compression that the sharpening will later exaggerate.
Recommended slider values by scene
There is no single perfect number, but these starting points remove most of the guesswork. Always fine-tune against the before/after slider on your actual photo.
- Formal portrait (faces, skin). Amount 45–60, radius 0.8–1.1. Skin forgives little; keep it subtle and let the eyes do the work.
- Group photo or large print. Amount 60–75, radius 1.2–1.6. With many small faces, a slightly larger radius helps all of them read clearly.
- Landscape or architecture. Amount 65–90, radius 1.0–1.8. Hard edges like roofs, branches and horizons tolerate more sharpening than skin does.
- Grainy film scan. Amount 40–55, radius 0.8–1.0, and denoise first. Film grain is easily exaggerated; err on the soft side and re-scan if it looks too smooth.
- Heavily faded, low-detail print. Amount 50–70, radius 1.0. If the scan has little real detail, more sharpening only hardens noise — stop while it still looks natural.
A useful trick: if the whole photo needs help but you are worried about skin, the effective approach is to keep sharpening modest globally rather than cranking it up. Our tools apply sharpening evenly across the frame, so the right amount is the largest value that still looks good on the softest area — usually skin or a blurred background.
Signs you over-sharpened — and fixes
Learn to recognize over-sharpening before you save the file. These are the warning signs:
- White or dark halos around edges. A bright line appears along the outline of hair, the brim of a hat, or a shoulder. This means the radius is too large — lower it toward 0.9–1.1.
- Grain that suddenly sparkles. A previously smooth sky now has bright dots. This means you sharpened before denoising — go back and denoise, then re-sharpen more gently.
- Skin looks rough or plasticky. Pores and wrinkles turn into a texture pattern. The amount is too high — drop it toward 40–50.
- Textured fabric becomes a pattern. A woven jacket turns into a repeating digital texture. The radius is too large for that texture; reduce radius and amount together.
The fix is always the same: undo, and choose a smaller radius before a lower amount. Radius is the more forgiving dial to correct, because a too-large radius creates the halos that are hardest to hide. If you have already saved an over-sharpened file, start again from your unsharpened master — never sharpen a file that was already sharpened.
Sharpening FAQ
Why does my photo look sharper on screen than in the saved file? On screen you may be viewing at 100% or higher zoom, which exaggerates edge contrast. Zoom to 50% or view the whole image before judging; that matches how people will actually see the photo.
Should I sharpen before or after resizing? Sharpen at your final working resolution. If you resize after sharpening, the fine edge contrast softens again, and you lose the effect. Export a small web copy from the sharpened master rather than sharpening the small file.
My scan is genuinely out of focus. Can sharpening save it? Partly. Sharpening will define the edges that exist, but it cannot invent detail. Combine a gentle sharpen with the restoration workflow in our family photo restoration guide, and accept that a soft original stays soft in character.
Is more sharpening better for printing? Slightly more is fine for large prints, because viewing distance dilutes halos. For screen and social media, keep it subtler — screens show every artifact at arm's length.
Does sharpening damage the original? No. Our tools process entirely in your browser on a copy, and your uploaded file is never changed or uploaded anywhere. See our privacy-first guide for how that works.
修复老照片之后,"发虚"是最常见的抱怨。你修好了色彩、去掉了划痕,画面却还是有点"不对"——本该生动的眼睛是柔的,发丝纹理糊成一团,衣服和背景融在一起。本能反应是把锐化滑块往右推,直到画面"跳出来"。但同样这一推,一不小心就会产生标志性的白色光晕、塑料感皮肤和粗糙颗粒,让修复后的照片显得假。
锐化不是凭空创造细节。它是在极细微尺度上控制对比度,和任何对比度控制一样有个甜区。本指南讲清它的原理,解释我们 照片锐化 工具里 amount(强度)与 radius(半径)两个滑杆的含义,并给出一套可重复、每次都能得到自然清晰结果的流程。
一、老照片为什么发虚
老照片发虚有可预见的原因,理解它们能让你的预期更诚实。首先是原始镜头:1950–70 年代的镜头边缘更软,人像镜头往往被设计成美化皮肤,而非呈现每一个毛孔。其次是相纸本身:银盐乳剂有轻微的光晕,彩色相纸的染料层会漫射光线。第三是扫描:平板扫描仪会在一小块像素范围内取平均,恰恰削掉最精细的细节。第四是多年的摆弄:灰尘和轻微翘曲又加了一层模糊。
关键在于:锐化无法恢复从未被记录下来的细节,它只能增大相邻色调之间的对比,让已有的细节更显眼。这就是为什么一张严重失焦的照片永远变不成清晰照片——你可以让它的边缘更明确,却变不出睫毛。把这个预期摆正,剩下的工作就从"指望奇迹"变成了"精确操作"。
二、锐化到底在做什么
几乎所有锐化工具(包括我们的)都用一种叫反相蒙版(unsharp mask)的方法。名字容易误导:"unsharp"是"模糊"的意思。算法分三步:第一步,生成一张模糊的图像副本;第二步,把每个像素和这张模糊副本对比,找出边缘——也就是色调变化快的地方;第三步,在这些边缘上加大对比:让边缘亮的一侧更亮、暗的一侧更暗。画面中平坦的区域(像素与模糊邻域几乎相同)则保持不动。
两个控件驱动它,值得精确理解:
- Amount 强度(0–150,默认 60)。这是增加多少边缘对比。20–40 只是轻微推动;60–80 时边缘明显"咬合";超过 100 就开始向光晕推进。把它想成锐化的音量旋钮。
- Radius 半径(0.5–3.0,默认 1.2)。这是你锐化的边缘有多宽。小半径(0.5–0.9)针对睫毛、单根发丝这类精细细节;大半径(1.5–2.5)针对脸部轮廓、外套边缘这类较大结构。半径过大就是光晕的经典成因,因为它会在每个主要形状周围描出一条明暗线。
两者的关系很重要:高强度加大半径是最危险的组合,因为它在宽边缘上叠加强对比;中等强度加小半径才是在不重塑整张图的前提下恢复细节最安全的方式。我们的默认值(强度 60、半径 1.2)是为典型家庭肖像选的温和起点——而不是终点。
三、安全的锐化流程
锐化是最后一步,不是第一步。顺序之所以重要,是因为锐化会放大屏幕上的一切,包括你还没清理掉的缺陷。
- 先完成色彩与对比。用 AI 照片修复或 褪色照片修复器把白平衡、褪色和影调定下来。之后再锐化,就不会强化色偏。
- 先降噪,再锐化。对有颗粒的扫描件运行 照片降噪。给噪点锐化会把颗粒变成亮斑;先降噪,锐化才能落在真实细节上。
- 去除划痕与灰尘。用 划痕与污点修复。今天看着很细的划痕,强锐化后会像一条亮白的沟。
- 现在再温和锐化。打开照片锐化工具,半径保持在 1.0–1.2 附近,缓慢提高强度——30、再 50、再 65——每停一步都用前后对比滑块看一眼。
- 放大到真实细节处判断。对每张肖像,眼睛都是裁判。如果睫毛和眼睛里的高光看起来自然,强度就对了;皮肤应当仍然像皮肤,而不是像砂石。
- 导出。存一份 PNG 母版,再存一份分享用的 JPG。不要对同一文件锐化两次,也不要反复另存已锐化的 JPG——每次保存都会加入压缩,之后会被锐化放大。
四、按场景推荐的滑杆数值
没有唯一完美数值,但以下起点能去掉大部分猜测。始终在你自己的照片上、用前后对比滑块微调。
- 正式肖像(人脸、皮肤)。强度 45–60,半径 0.8–1.1。皮肤容错很低,保持克制,让眼睛去表现。
- 合影或大幅冲印。强度 60–75,半径 1.2–1.6。人多脸小,略大的半径能让每张脸都读得清。
- 风景或建筑。强度 65–90,半径 1.0–1.8。屋顶、树枝、地平线这类硬边,比皮肤更能承受锐化。
- 有颗粒的胶片扫描。强度 40–55,半径 0.8–1.0,且先降噪。胶片颗粒极易被放大;宁可偏柔,太干净就重扫。
- 严重褪色、细节稀少的照片。强度 50–70,半径 1.0。如果扫描本身没什么真实细节,再锐化只会硬化噪点——在仍显自然时就停手。
一个实用技巧:如果整张照片都需要帮助,但你又担心皮肤,有效做法是保持全局锐化克制,而不是把强度拉满。我们的工具对整幅画面均匀锐化,所以正确的强度,是在最软的区域(通常是皮肤或模糊背景)上仍然好看的最大值。
五、过度锐化的信号与补救
在保存文件之前,学会认出过度锐化。以下是警告信号:
- 边缘出现白边或暗边光晕。在发丝、帽檐、肩膀轮廓外出现一条亮线。这说明半径过大——把它降到 0.9–1.1。
- 颗粒突然发亮。原本平滑的天空出现亮斑。这说明你在降噪之前就锐化了——回去降噪,再更温和地锐化。
- 皮肤变粗糙或塑料感。毛孔和皱纹变成一种纹理图案。强度太高——降到 40–50。
- 织物纹理变成图案。编织外套变成重复的数字纹理。对那种纹理来说半径太大——把半径和强度一起降。
补救办法永远相同:撤销,先选更小的半径,再降强度。半径是更容易纠正的那个旋钮,因为过大半径产生的光晕最难隐藏。如果你已经保存了过度锐化的文件,请从未锐化的母版重新开始——绝不要对已经锐化过的文件再锐化。
六、锐化常见问题
为什么照片在屏幕上看着比保存后更锐?在屏幕上你可能以 100% 或更高缩放查看,会放大边缘对比。判断前请缩放到 50% 或看整图——这才接近别人实际看到的样子。
应该在缩放前还是缩放后锐化?在最终工作分辨率下锐化。如果锐化后再缩放,精细的边缘对比会再次变软,效果就丢了。从锐化好的母版导出小尺寸网页副本,而不是对小文件锐化。
我的扫描本身确实失焦,锐化能救吗?能救一部分。锐化会让已有的边缘更明确,但变不出细节。把温和锐化和我们家庭照片修复指南里的流程结合,并接受失焦原件在气质上仍然偏柔。
打印时是不是越锐越好?大幅冲印可以略多一点,因为观看距离会冲淡光晕;屏幕和社交媒体则要更克制——屏幕在一臂距离内把每个瑕疵都展现出来。
锐化会损坏原件吗?不会。我们的工具完全在浏览器里对一份副本处理,你上传的文件不会被改动,也不会上传到任何地方。原理见我们的隐私优先指南。