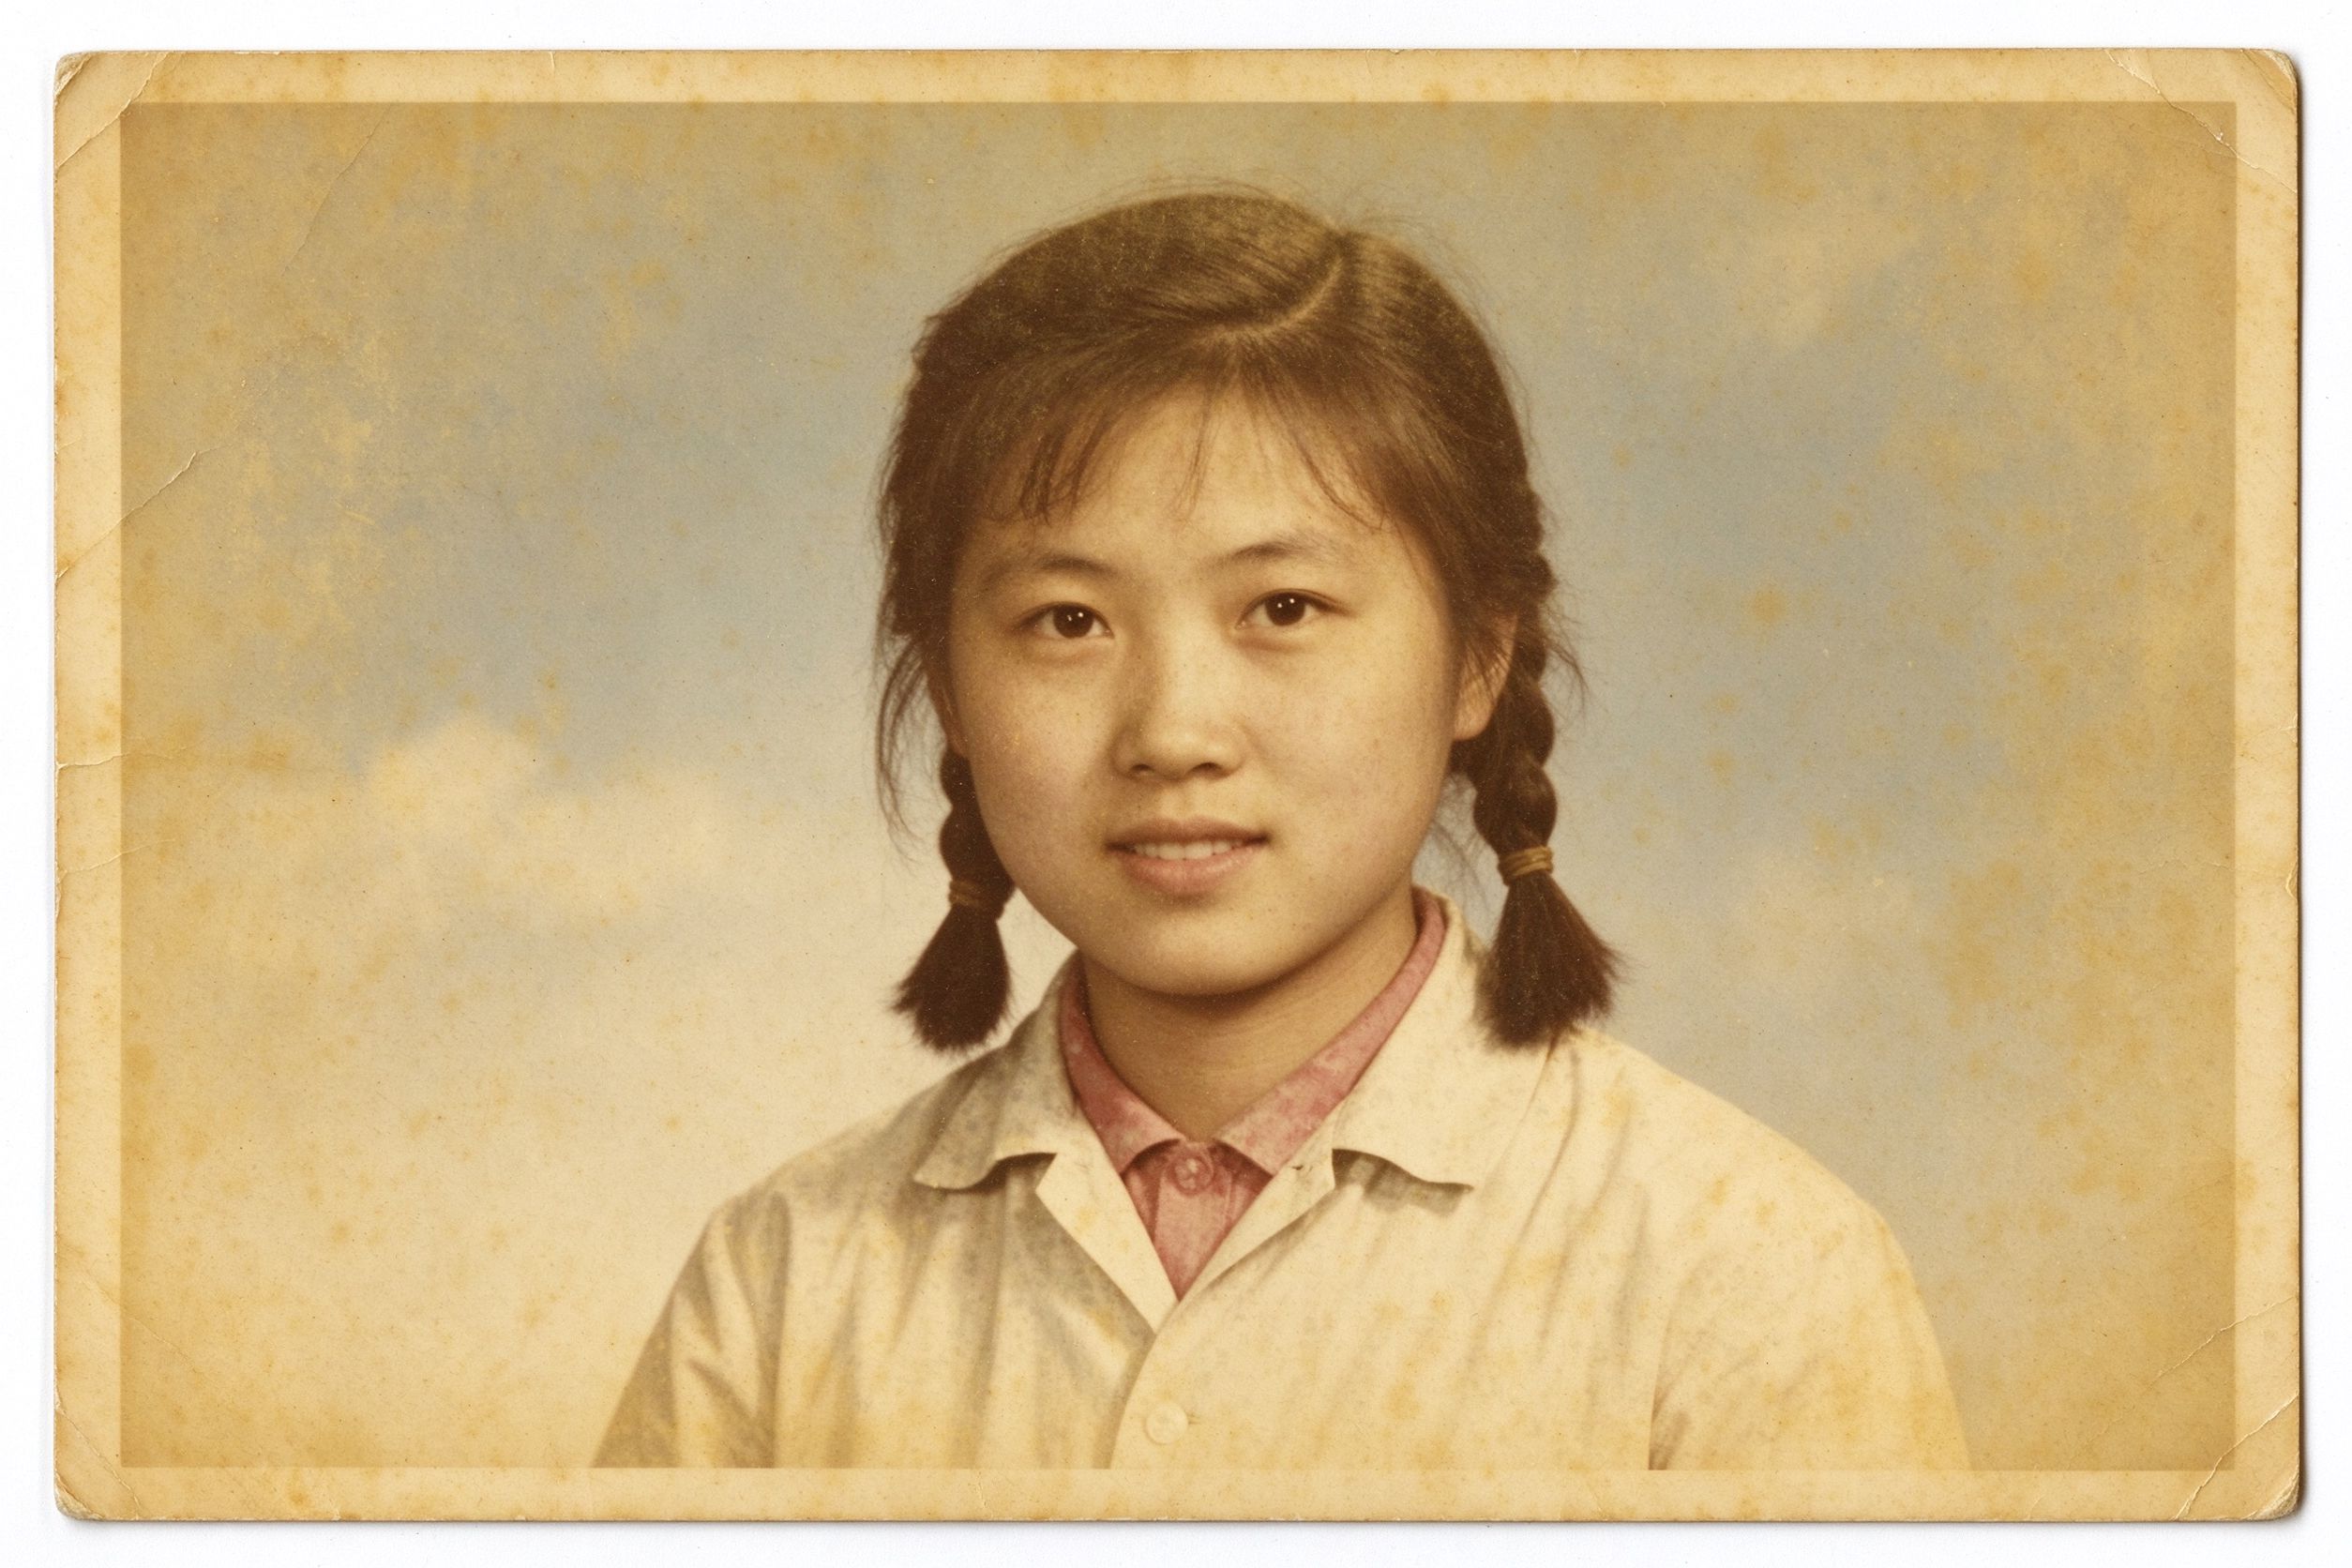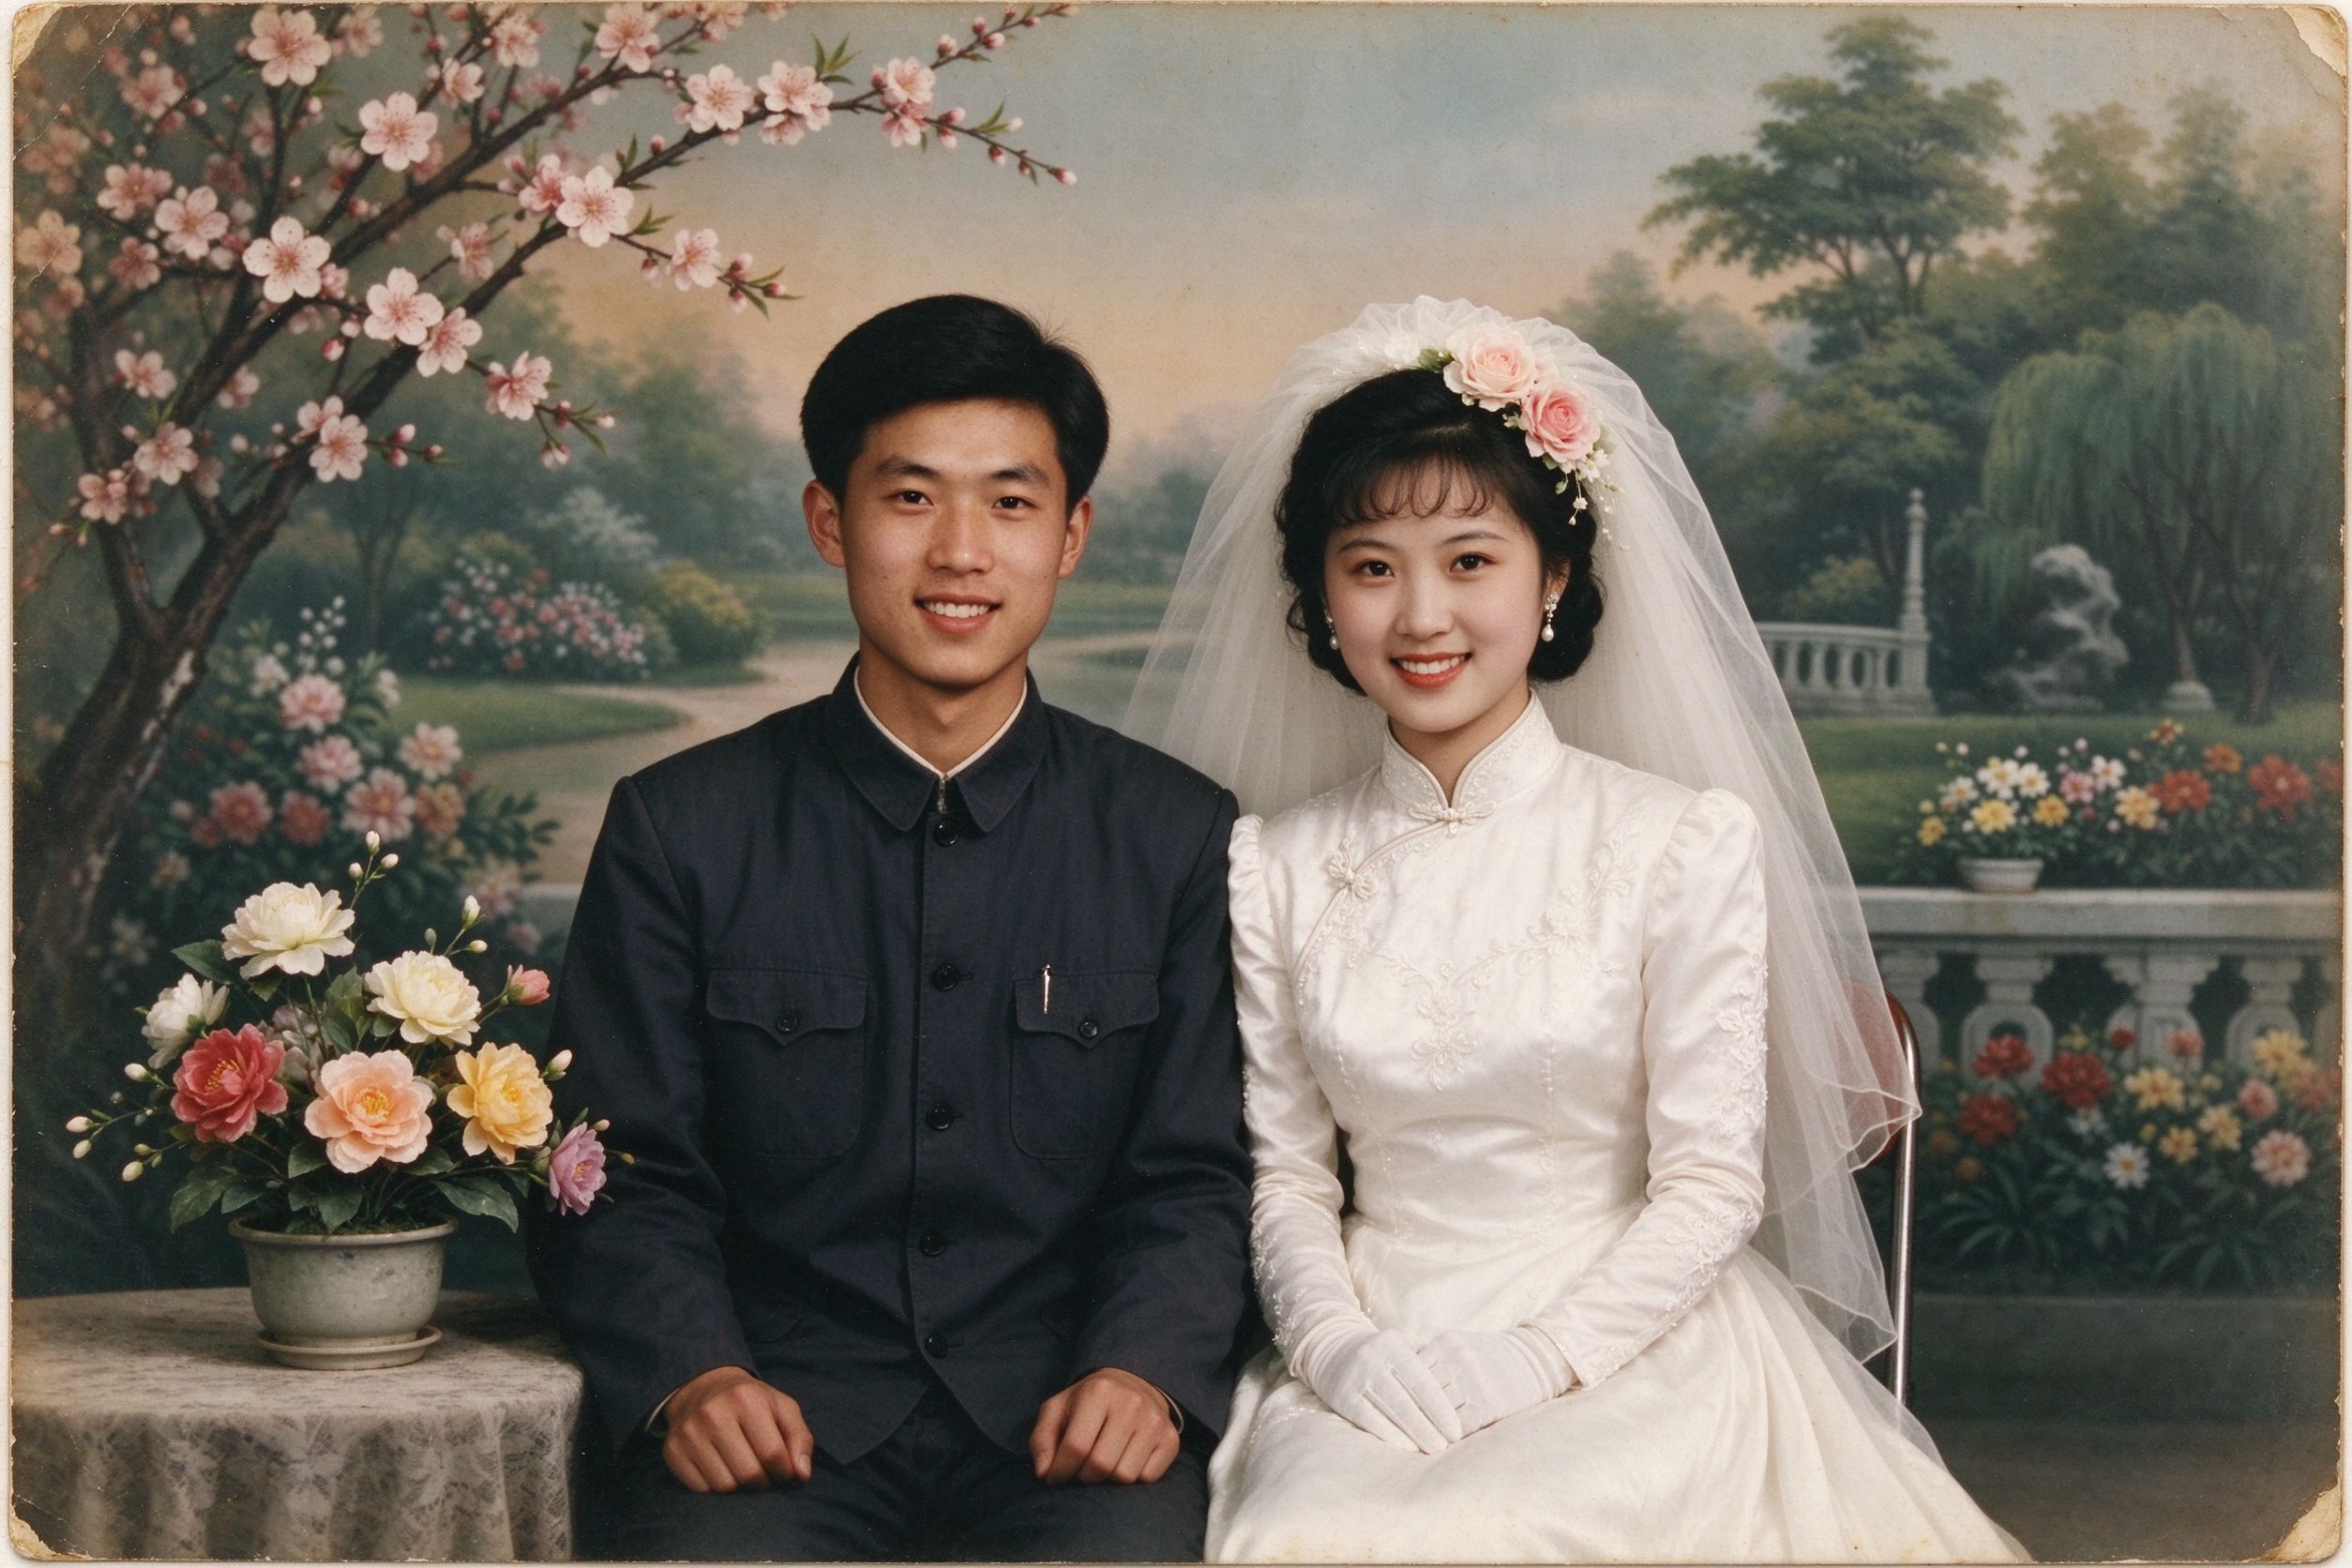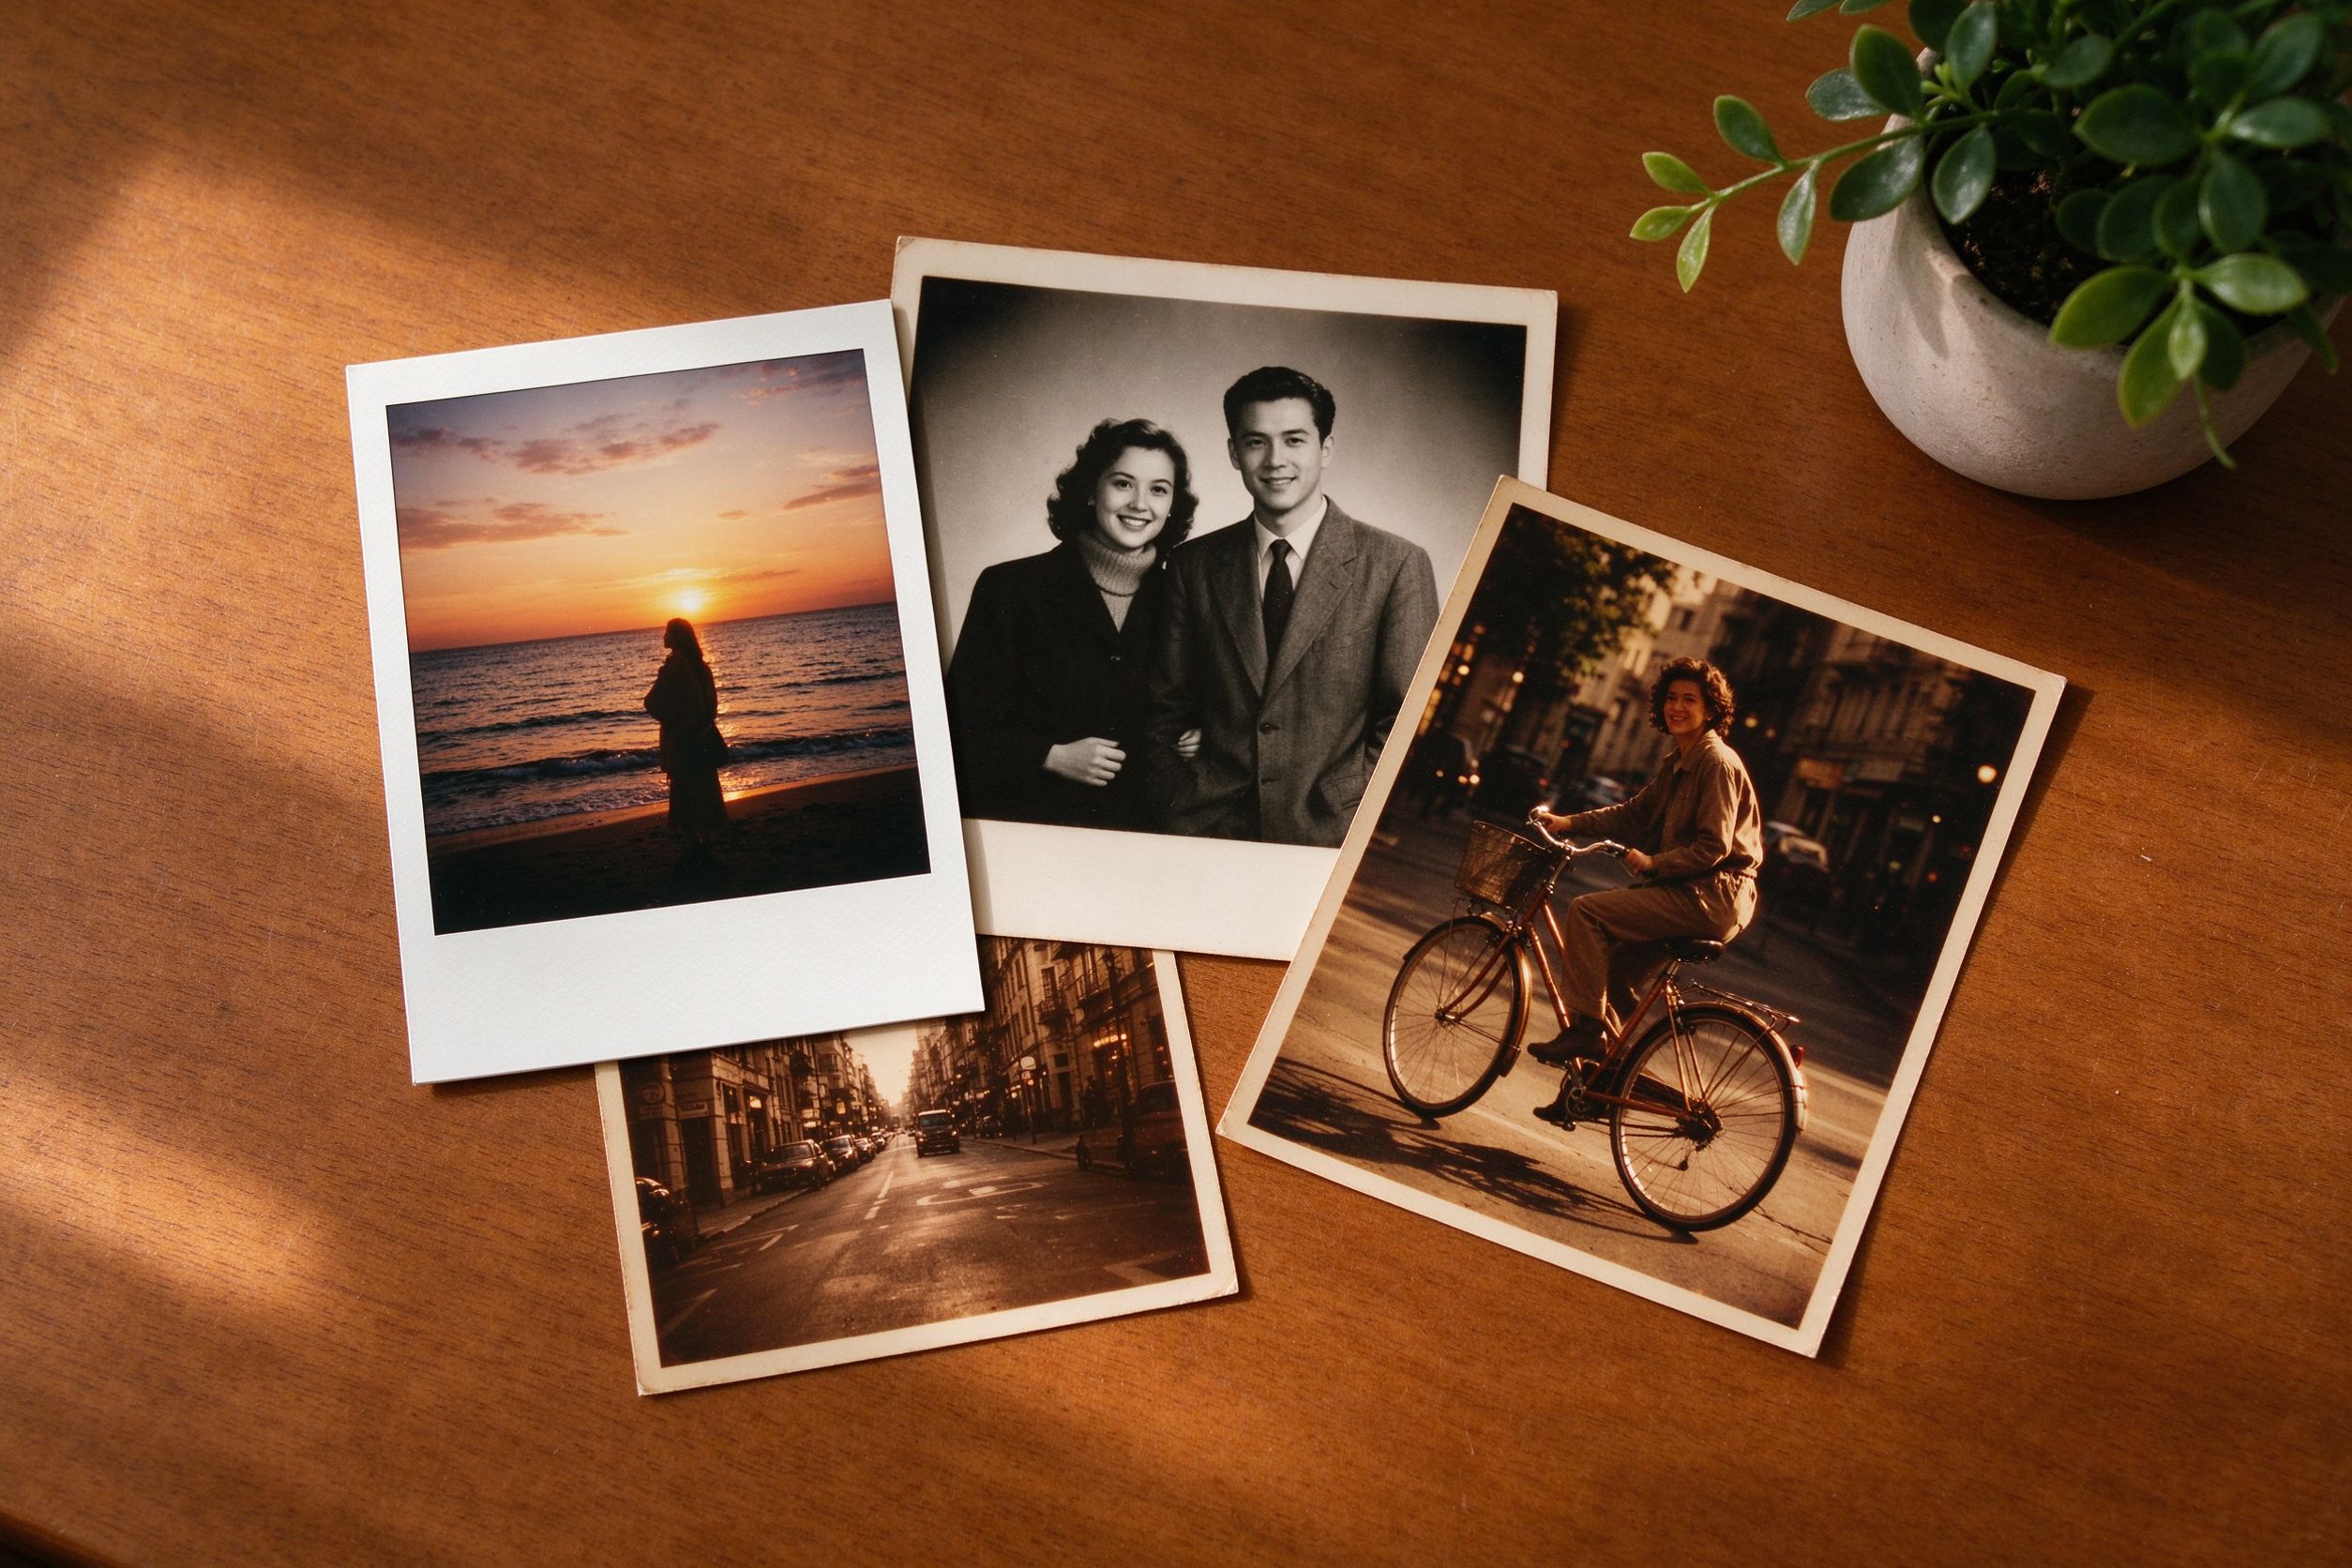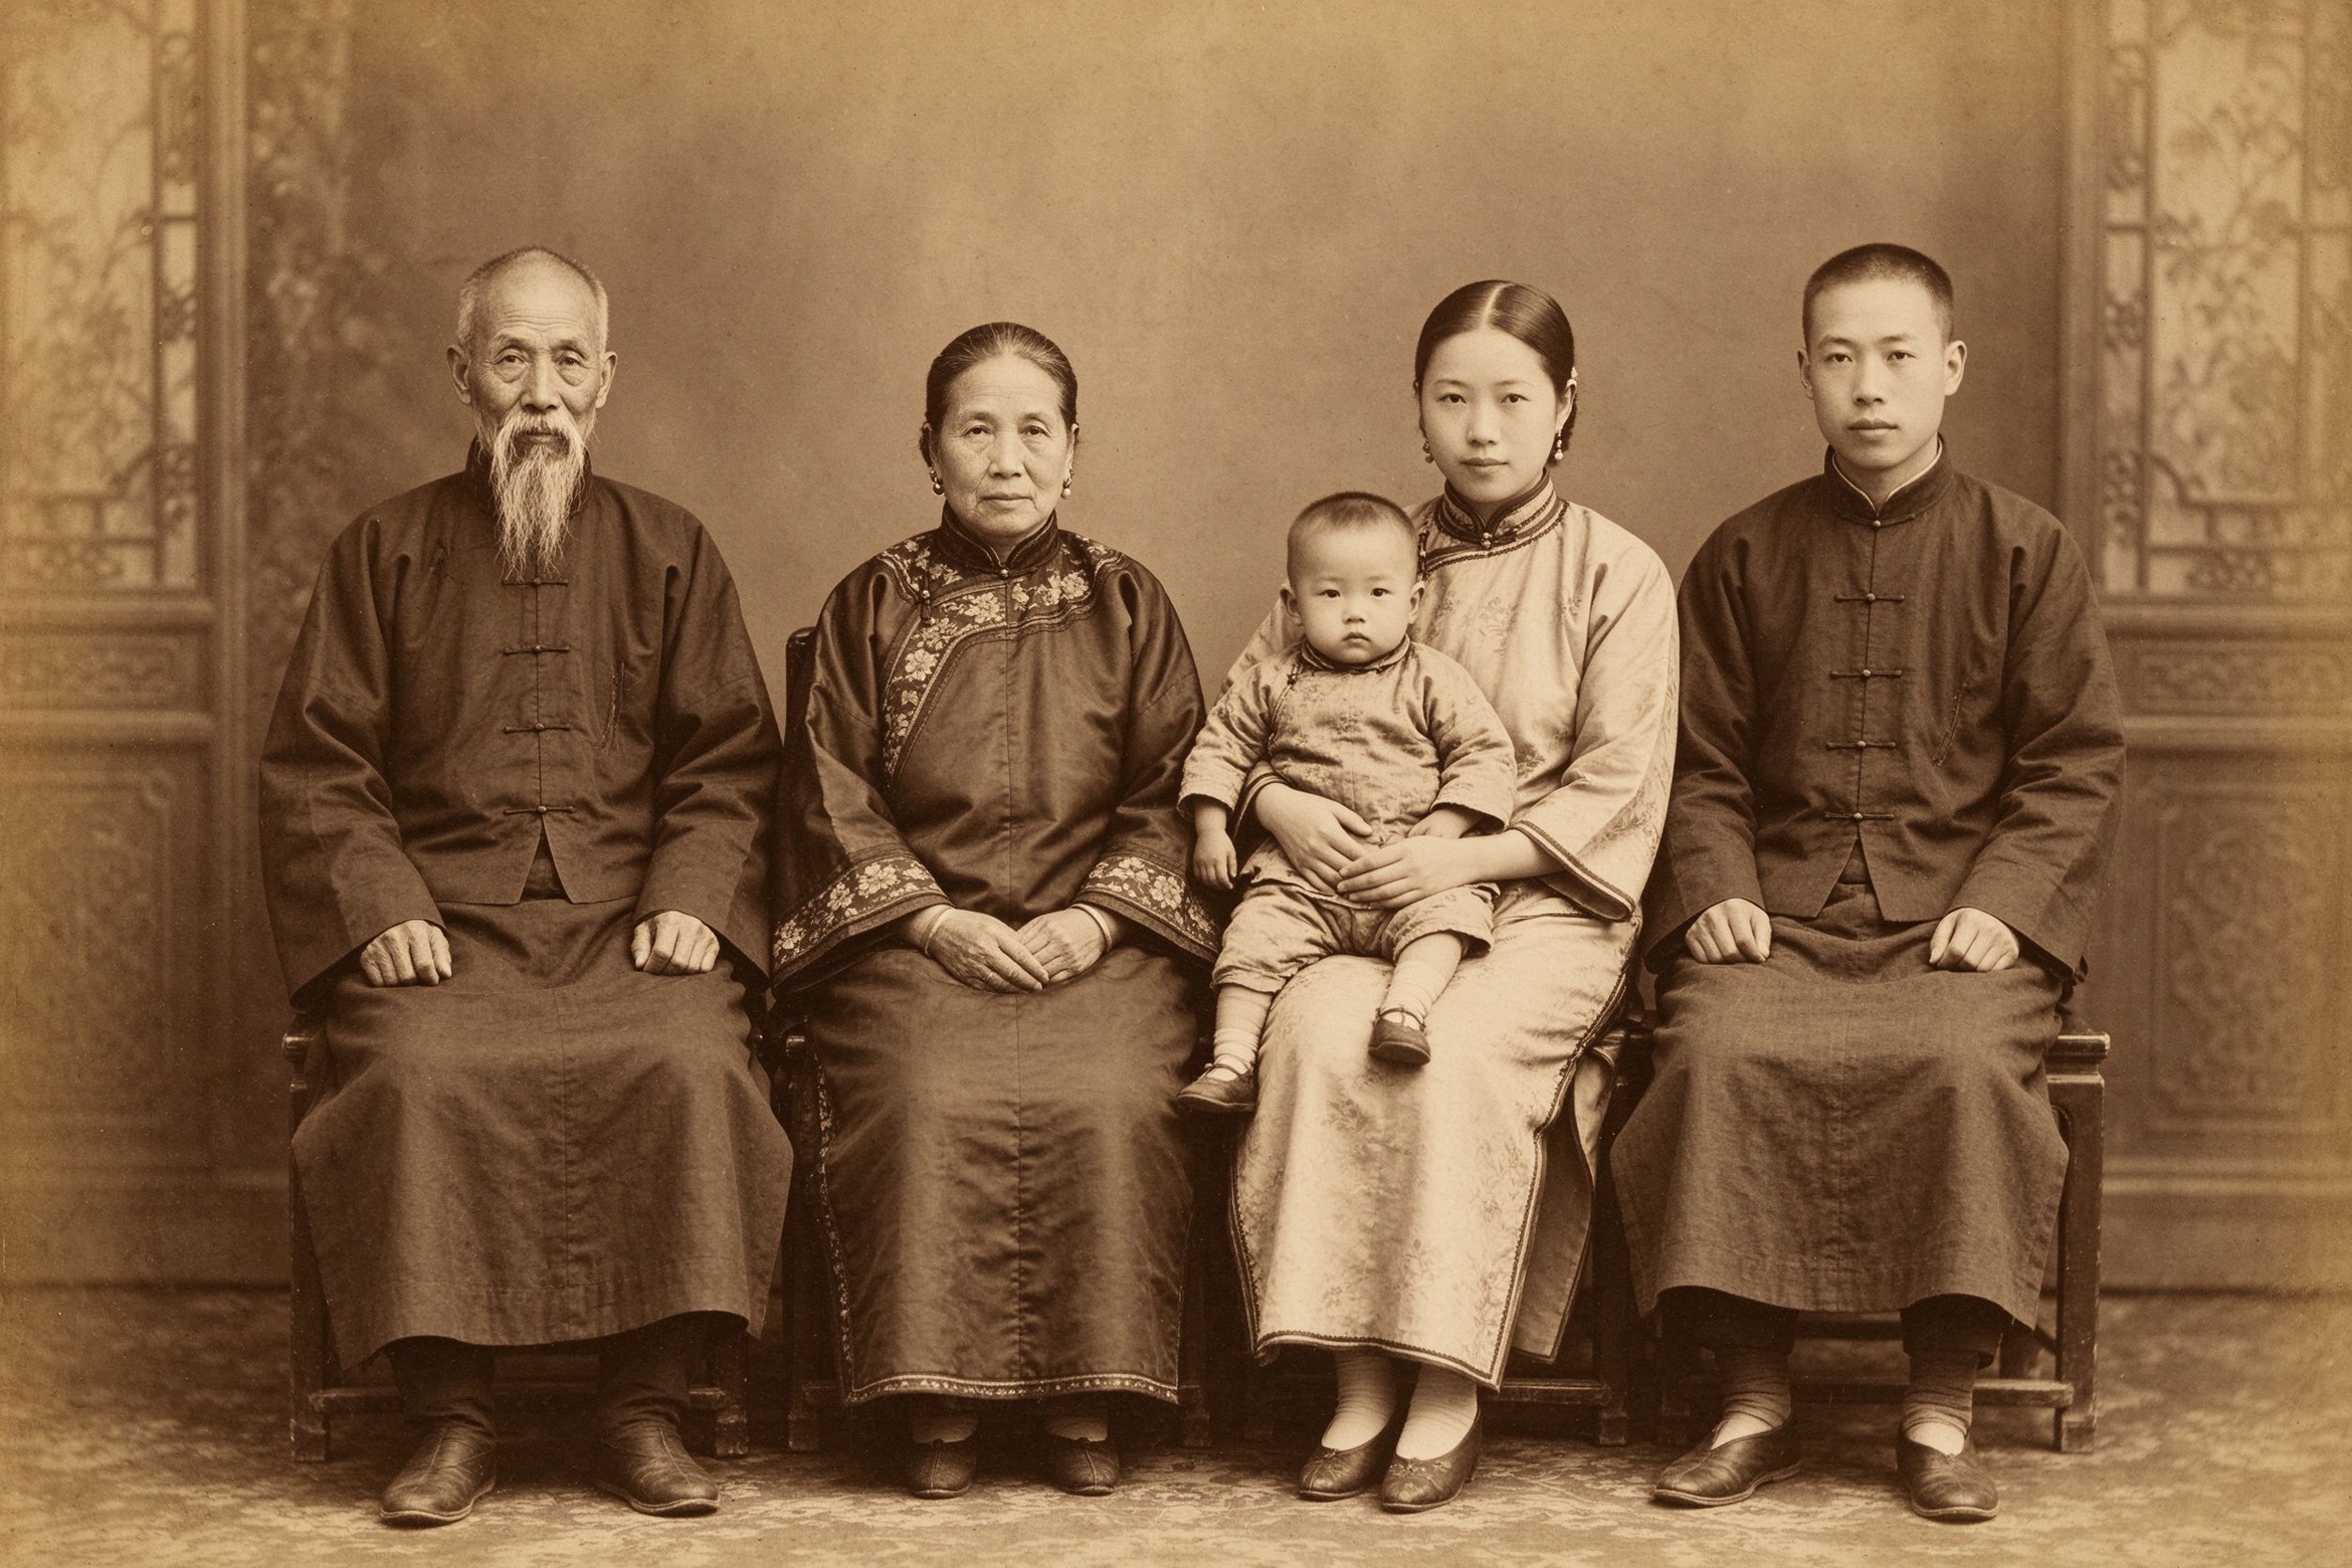
Walk into any antique shop and the oldest photographs are almost never black and white — they are a warm, deep brown, the color of old parchment or coffee. That is sepia, and it carries an unmistakable sense of age. Yet most digital "sepia" filters look wrong: a flat, uniform brown wash over everything, like the photo was dipped in tea for too long. The difference between convincing sepia and a cheap filter is not the color itself — it is the contrast underneath and the subtlety of the tint.
This guide explains how to apply sepia so it reads as authentic, using the free Sepia & Vintage Tone tool that runs entirely in your browser. Your photos never leave your device, and there is no upload to a server. Let's begin with what sepia actually was, because that history tells you exactly how to fake it well.
What real sepia is
Historically, sepia was not a filter at all — it was a chemical toning process. After developing a black-and-white silver-gelatin print, photographers washed it in a toner derived originally from cuttlefish ink (the word "sepia" is Latin for cuttlefish). The toner replaced the silver in the image with a more stable silver-sulfide compound, which shifted the image from neutral gray to warm brown. Two things mattered: the highlights kept a pale, creamy warmth, the shadows went deep chocolate rather than pure black, and the whole print lasted far longer.
This is the secret most filters miss. Authentic sepia is toned grayscale — it starts from a well-exposed black and white image, then applies a brown color relationship across the whole tonal range. It is not "brown color." A proper sepia has detail in the bright areas, rich layered browns in the midtones, and shadows that are dark brown, not empty black. If your result looks like a single flat brown overlay, you skipped the grayscale foundation.
When sepia suits a photo
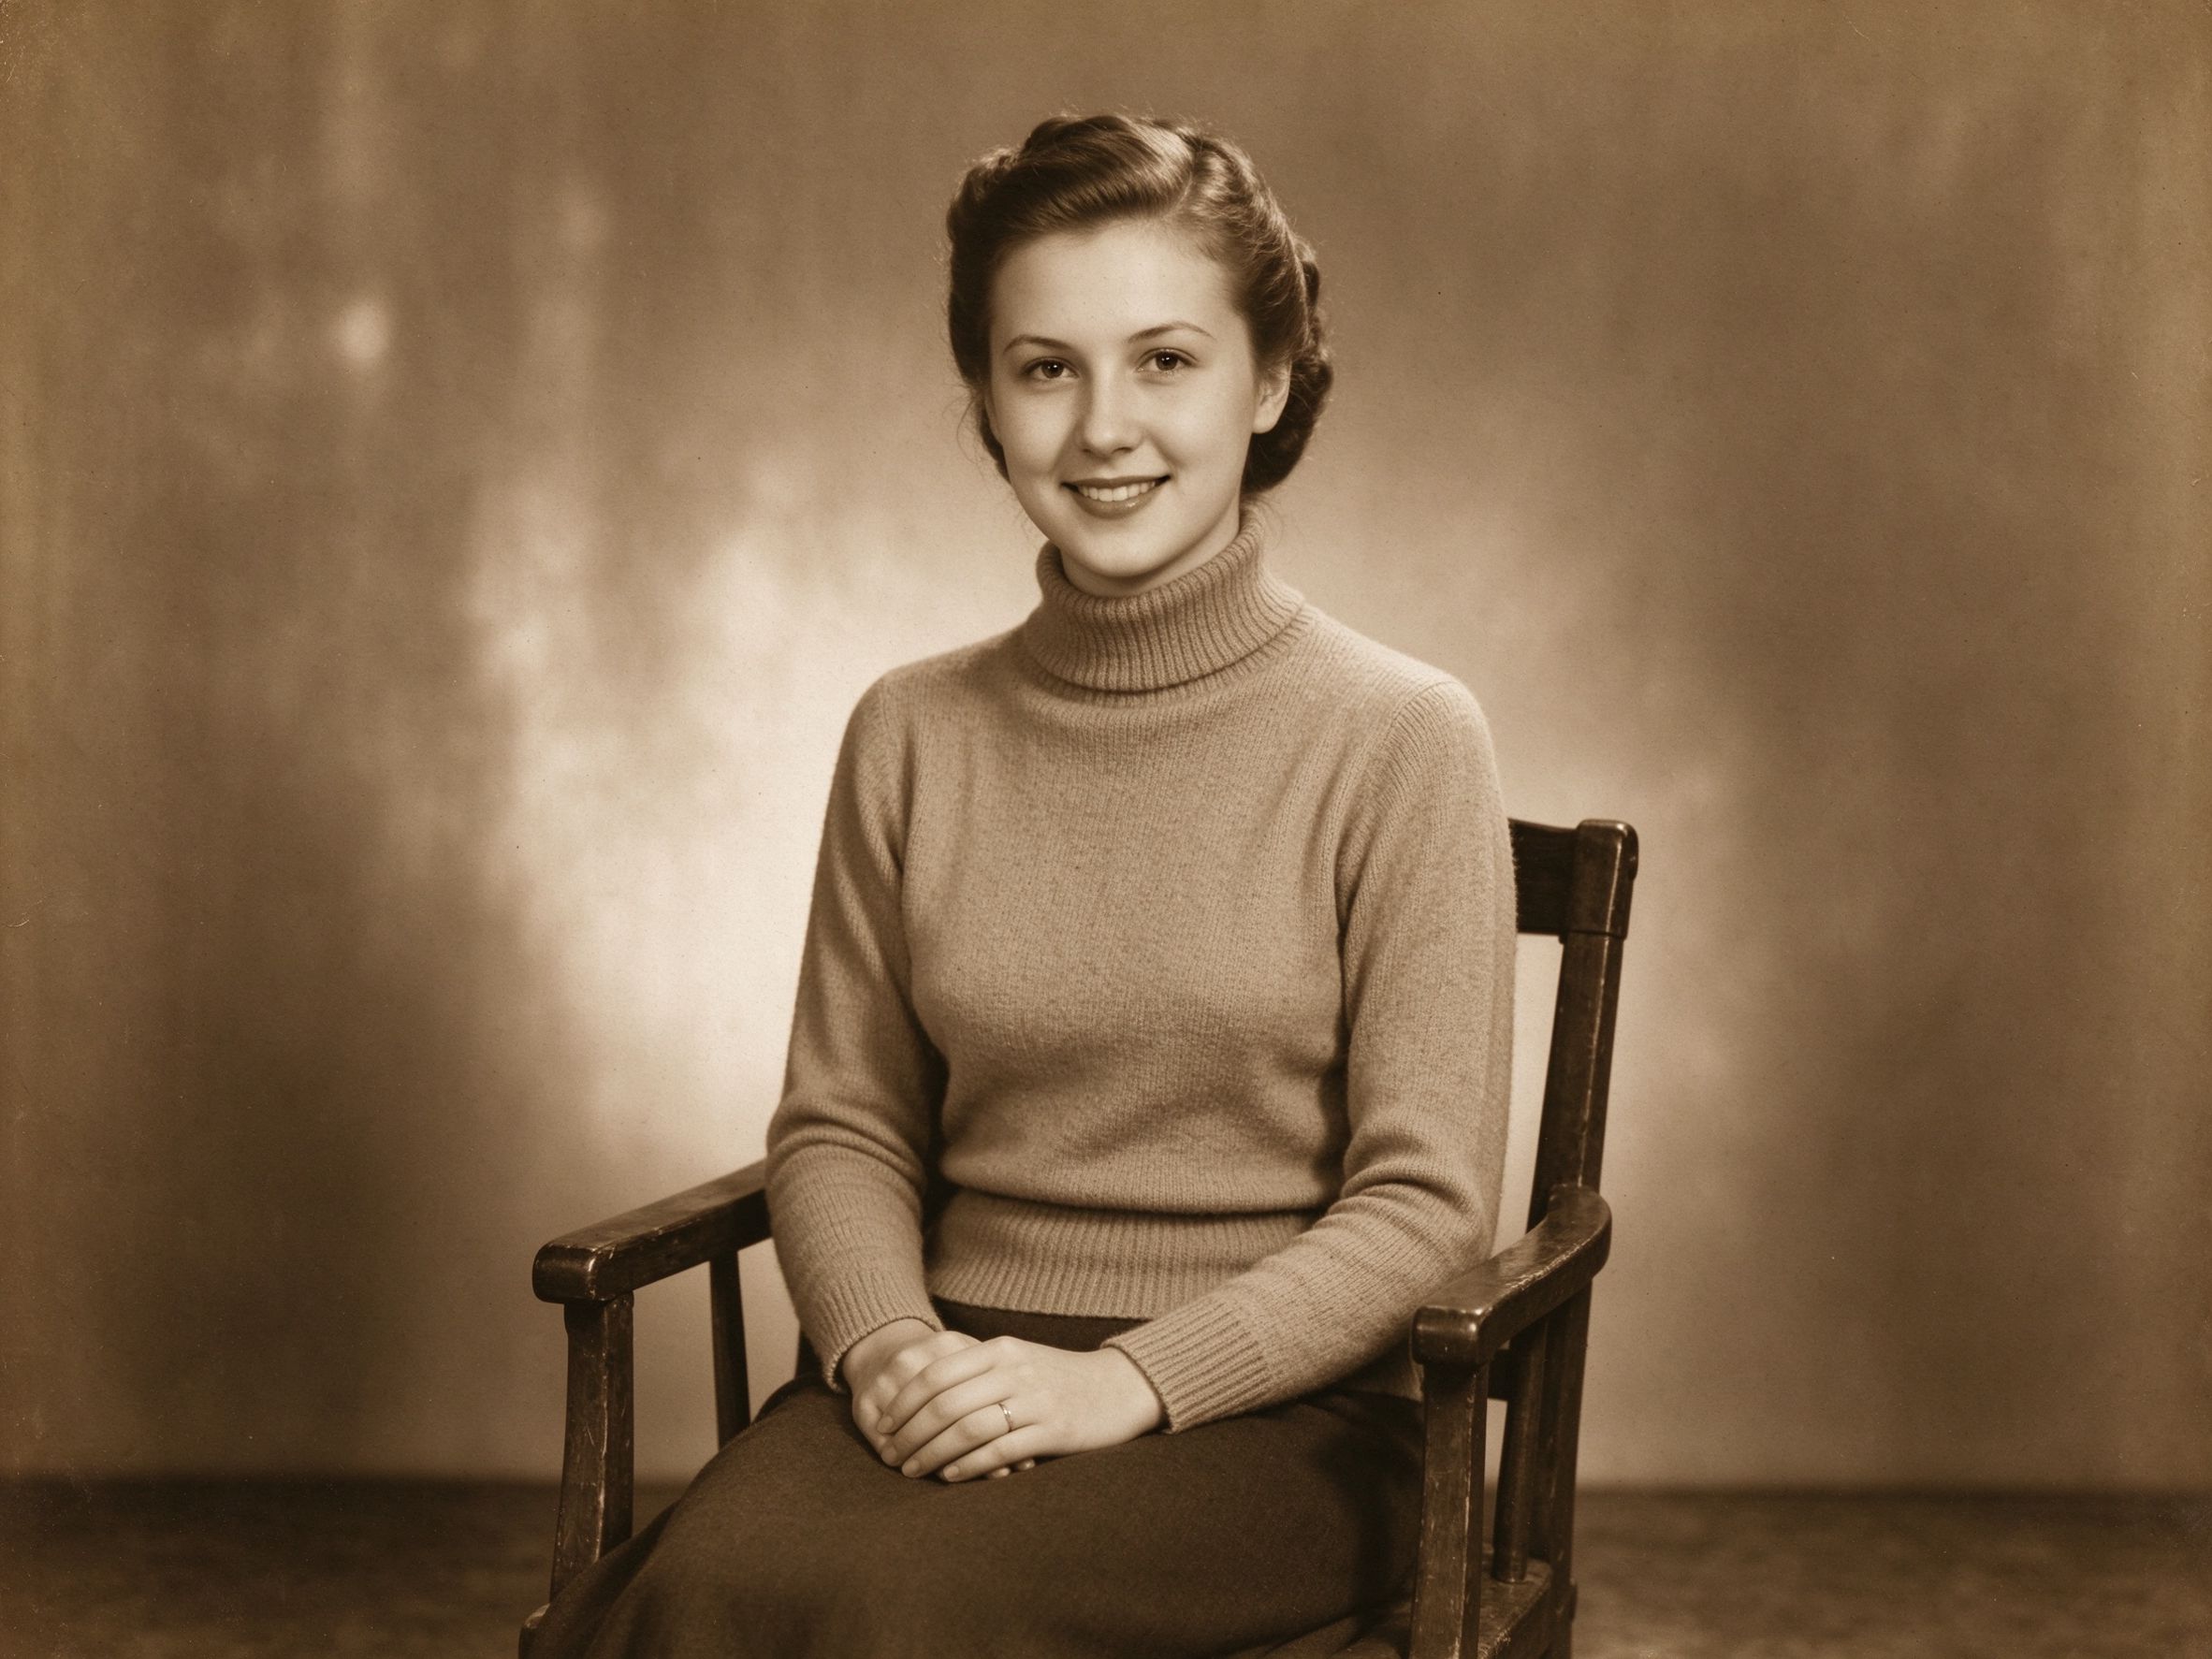
Sepia flatters portraits, studio headshots, wedding photos, old letters, and any image you want to feel timeless and gentle. It also hides a multitude of sins: a slightly off color cast, uneven aging, or a photo whose color you cannot fully recover. When a color scan looks murky, converting toward sepia often rescues it because the viewer expects warm browns and judges the image by its light and shadow rather than its hue.
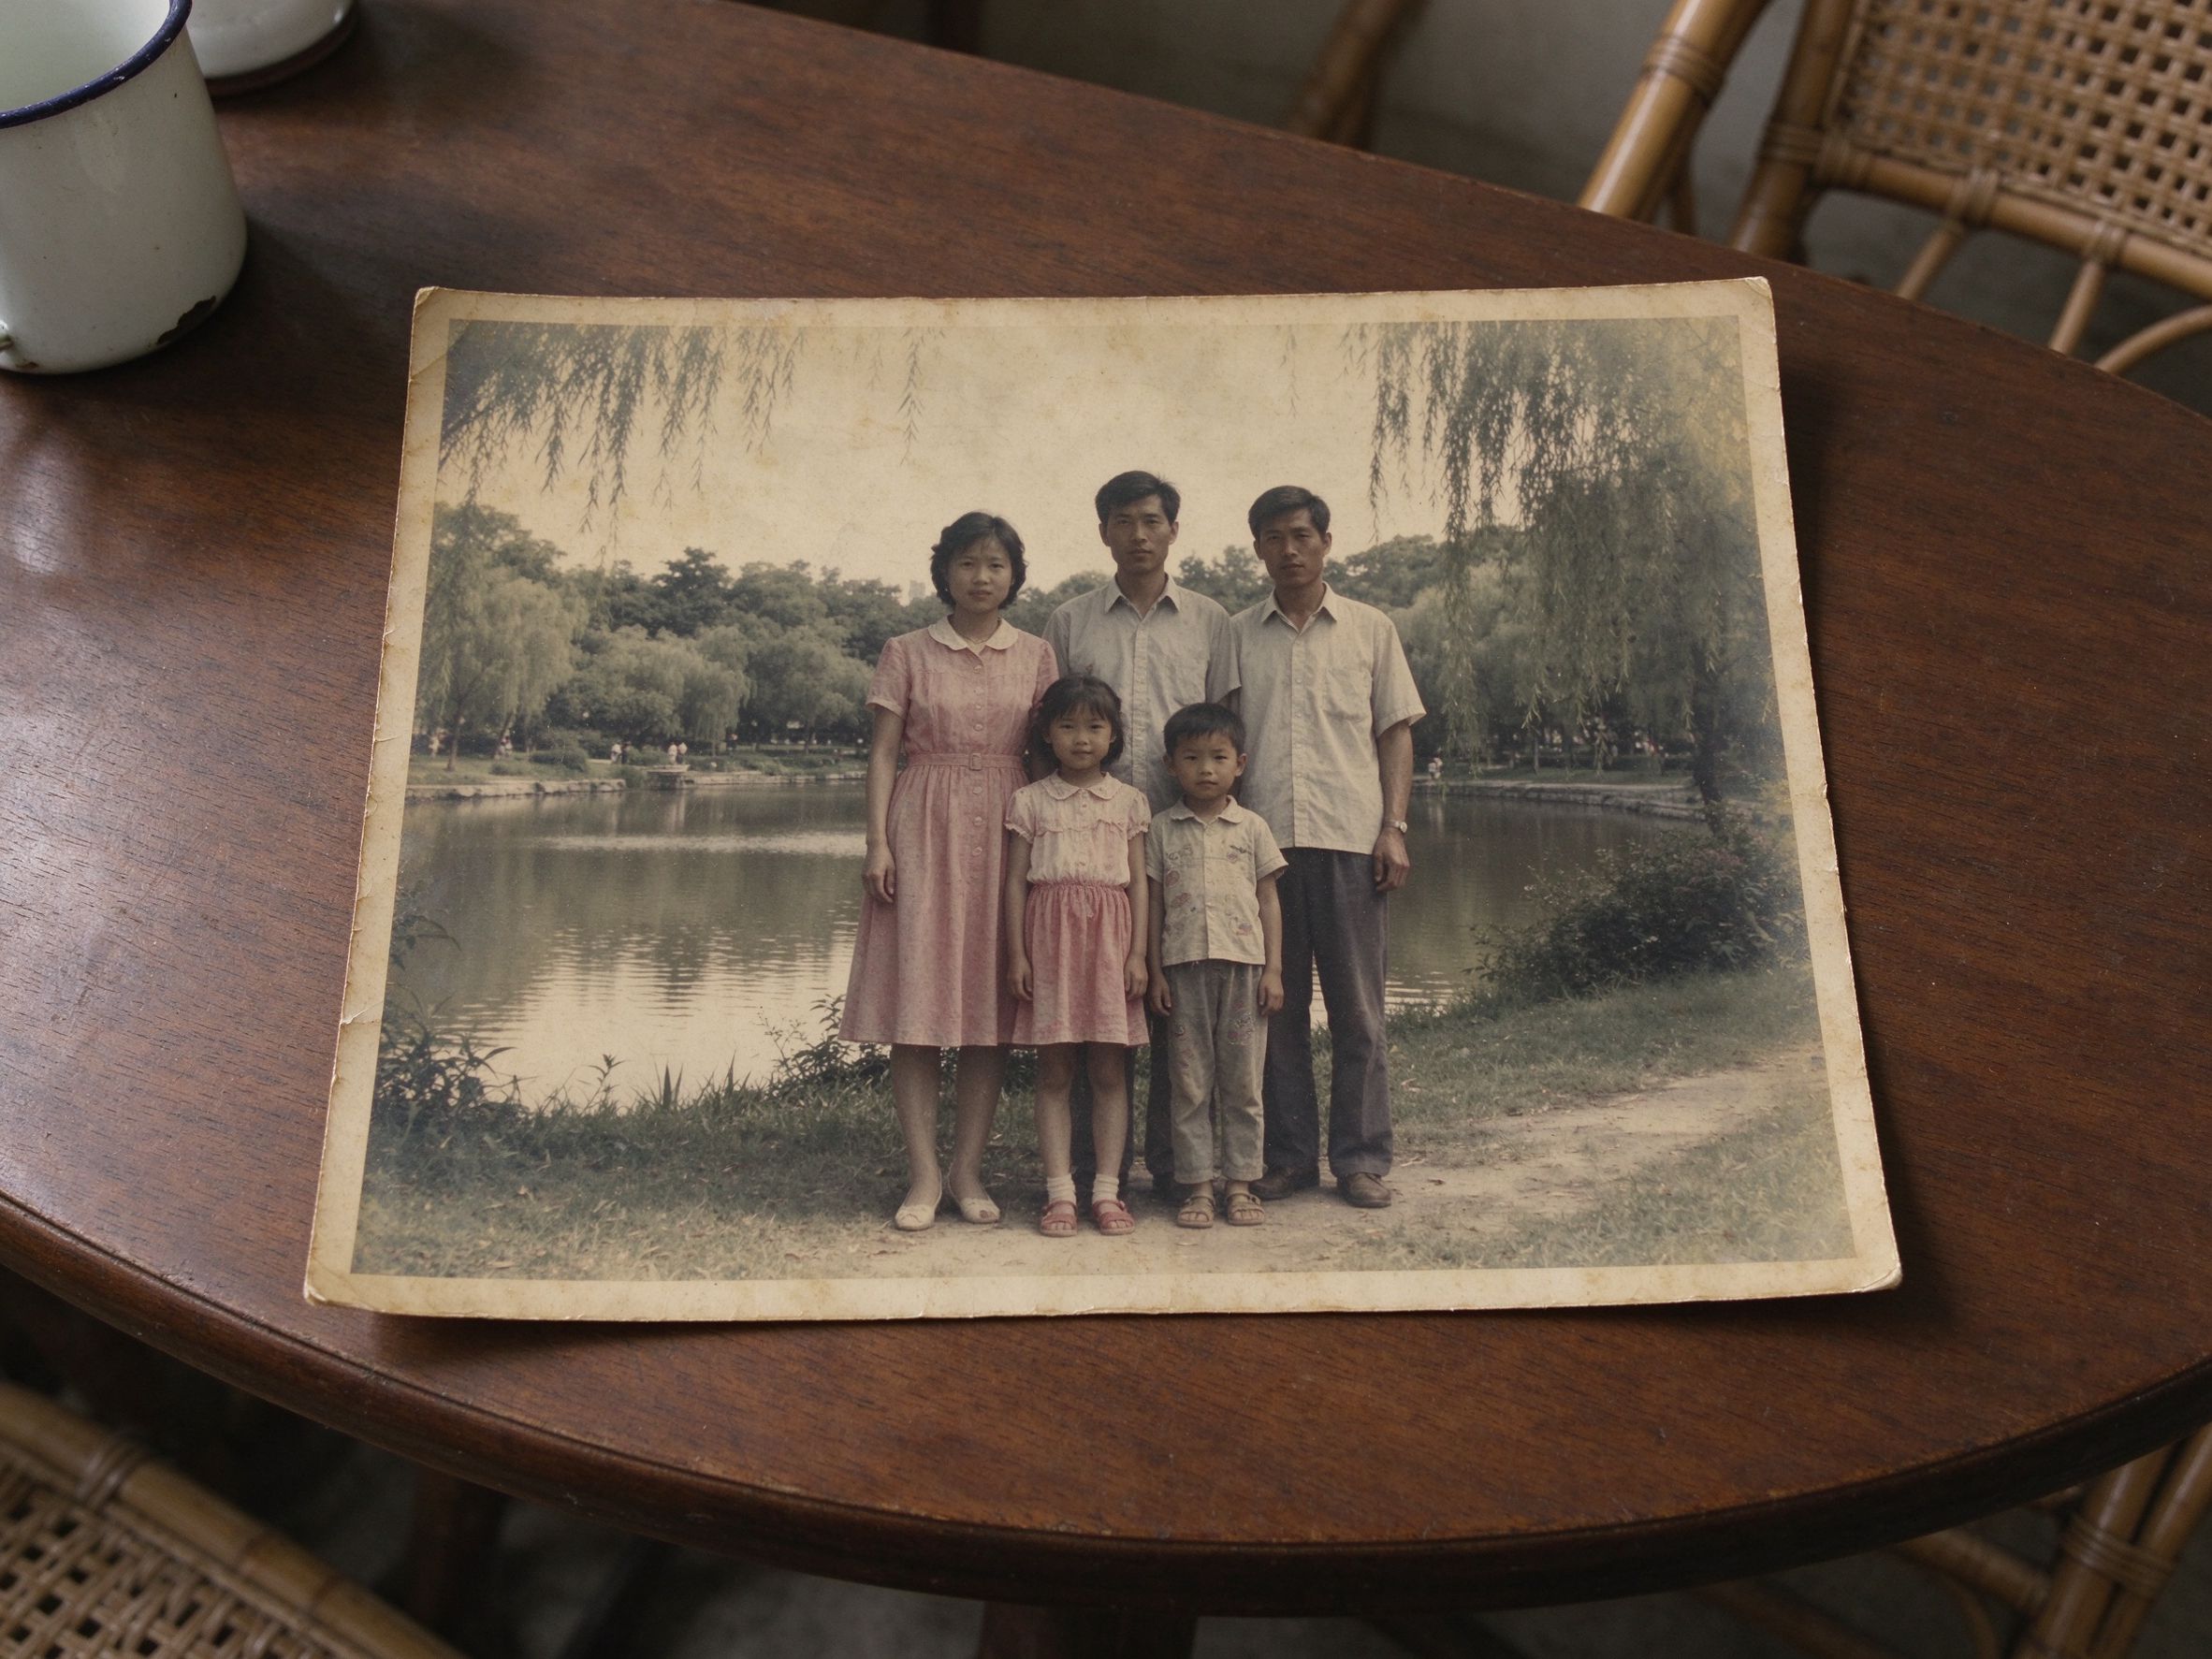
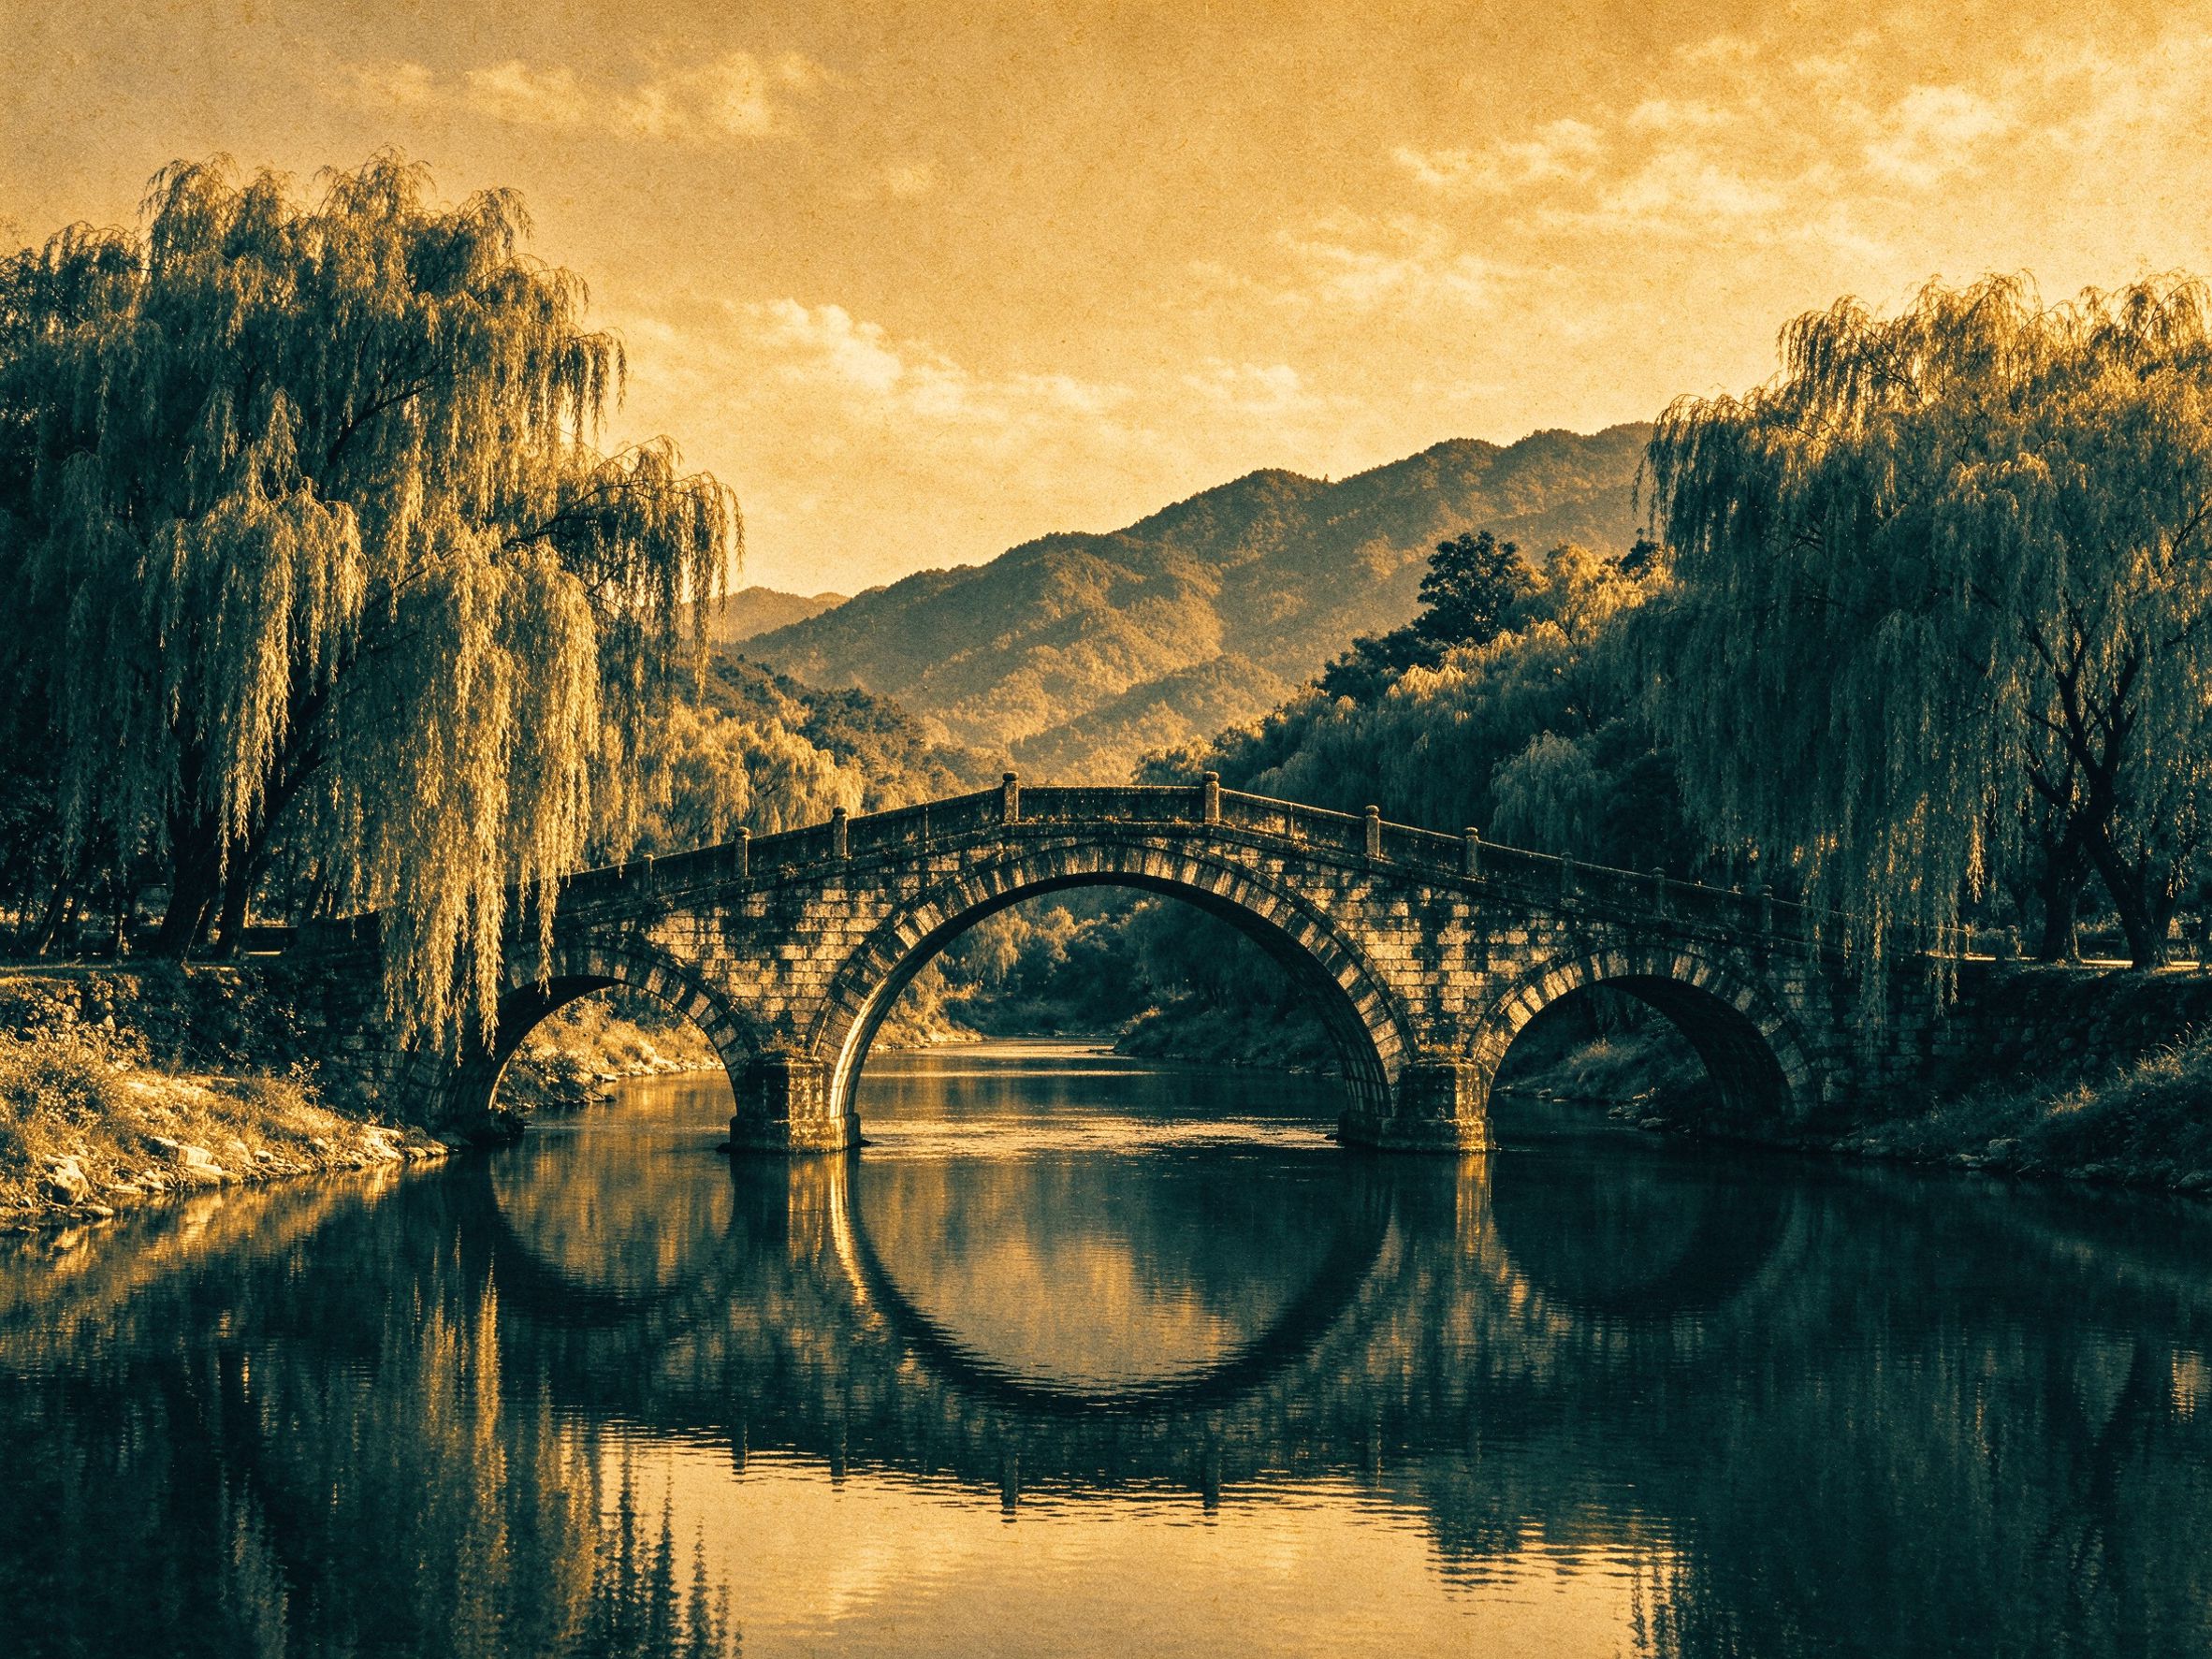
Sepia does not suit everything. Bright outdoor scenes with vivid skies, modern snapshots, and anything where cool blue light matters tend to look odd under a brown wash. And if a family photo was genuinely shot as a crisp black-and-white in the 1960s, forcing sepia onto it can feel costumey — sometimes honest grayscale is more respectful than a vintage effect. For a broader menu of effects, see our creative vintage effects guide.
Intensity and warmth, decoded
The Sepia & Vintage Tone tool gives you two controls. Understanding what each one actually does is the difference between a tasteful result and a tea-stained one.
- Intensity (0–100, default ~80). This is how far the image leans from neutral gray toward warm brown. At 0 you have a plain grayscale; at 100 the whole image is strongly brown. A common beginner mistake is pushing it to 100 for "maximum vintage." Real sepia is usually around 60–85 — strong enough to read as warm, but restrained enough that the grayscale detail still breathes. If faces look muddy, your intensity is almost certainly too high.
- Warmth (−30 to +30, default 0). This fine-tunes the flavor of the brown. Positive values push toward a more golden, caramel tone; negative values pull toward a cooler, darker chocolate. Choose warmth to match the subject: golden caramel suits sunlit portraits; cool chocolate suits serious, formal studio shots. Keep this near zero at first and only nudge it if the result feels too yellow or too gray.
Think of intensity as "how much sepia" and warmth as "which kind of sepia." Set intensity first to a believable level, then warmth as a tiny seasoning, not a main course.
Step-by-step sepia workflow
- Restore the underlying photo first. Remove scratches and dust with the Scratch & Spot Remover, and recover contrast if the print is flat. Sepia magnifies defects — a scratch you barely noticed in color becomes a glaring light line in brown.
- Decide your starting point. If the source is a faded color photo, you can tone it directly. If it has an ugly color cast, either correct it roughly first or lean into monochrome — strong blue cast plus brown tone can look greenish.
- Open Sepia & Vintage Tone and set intensity to about 70. Look at the before/after slider. Is the result warm but still detailed, or is it a brown blob? Adjust in steps of 5–10.
- Check the shadows and highlights. Do the dark areas hold detail, or have they crushed to black? If shadows are dead, lower intensity slightly or restore a touch of contrast. Do the highlights stay creamy, or have they blown out to white?
- Nudge warmth. Add a little warmth for golden sunlight, subtract a little for a cooler archival feel. One small step is usually enough.
- Export a PNG. Keep the original scan untouched. Sepia is a creative choice, not a restoration you want to lock in permanently.
Grain, vignette and frames
Sepia rarely stands alone — the vintage look is usually an ensemble. Three partners make it more convincing:
- A soft vignette. Darkening the corners inward draws the eye to the center and mimics the edge falloff of old lenses. A mild vignette reads as natural; an aggressive one reads as an Instagram filter.
- A whisper of grain. A perfectly clean digital sepia looks airbrushed. Leaving or adding subtle grain makes it feel like real printed paper. Do not overdo it — grain should be texture, not noise.
- A period frame. A thin white or cream border, like an old cabinet card, completes the illusion without distracting from the photo.
If your photo is also faded, visit the faded photo restoration guide first to recover underlying contrast — sepia on a flat image stays flat no matter how much tint you add.
Common mistakes and FAQ
Why does my sepia look orange rather than brown? Almost always the warmth slider is pushed too high on an already-warm old print. Bring warmth back toward zero and lower intensity a touch.
Is sepia just brown color over a photo? No. Good sepia is a toned grayscale. If you apply it to a low-contrast, color-muddy image, you just get a muddy brown photo. Build the contrast first.
Can I sepia a modern digital photo? Yes, and it can be a lovely stylistic choice — but expect it to read as "styled," not "genuinely old." The effect works best when combined with realistic grain and a slightly imperfect scan feel.
Should I sepia the whole album or just favorites? Sepia is a statement, not a default. Apply it selectively to portraits and formal shots; leave everyday snapshots in their restored natural state.
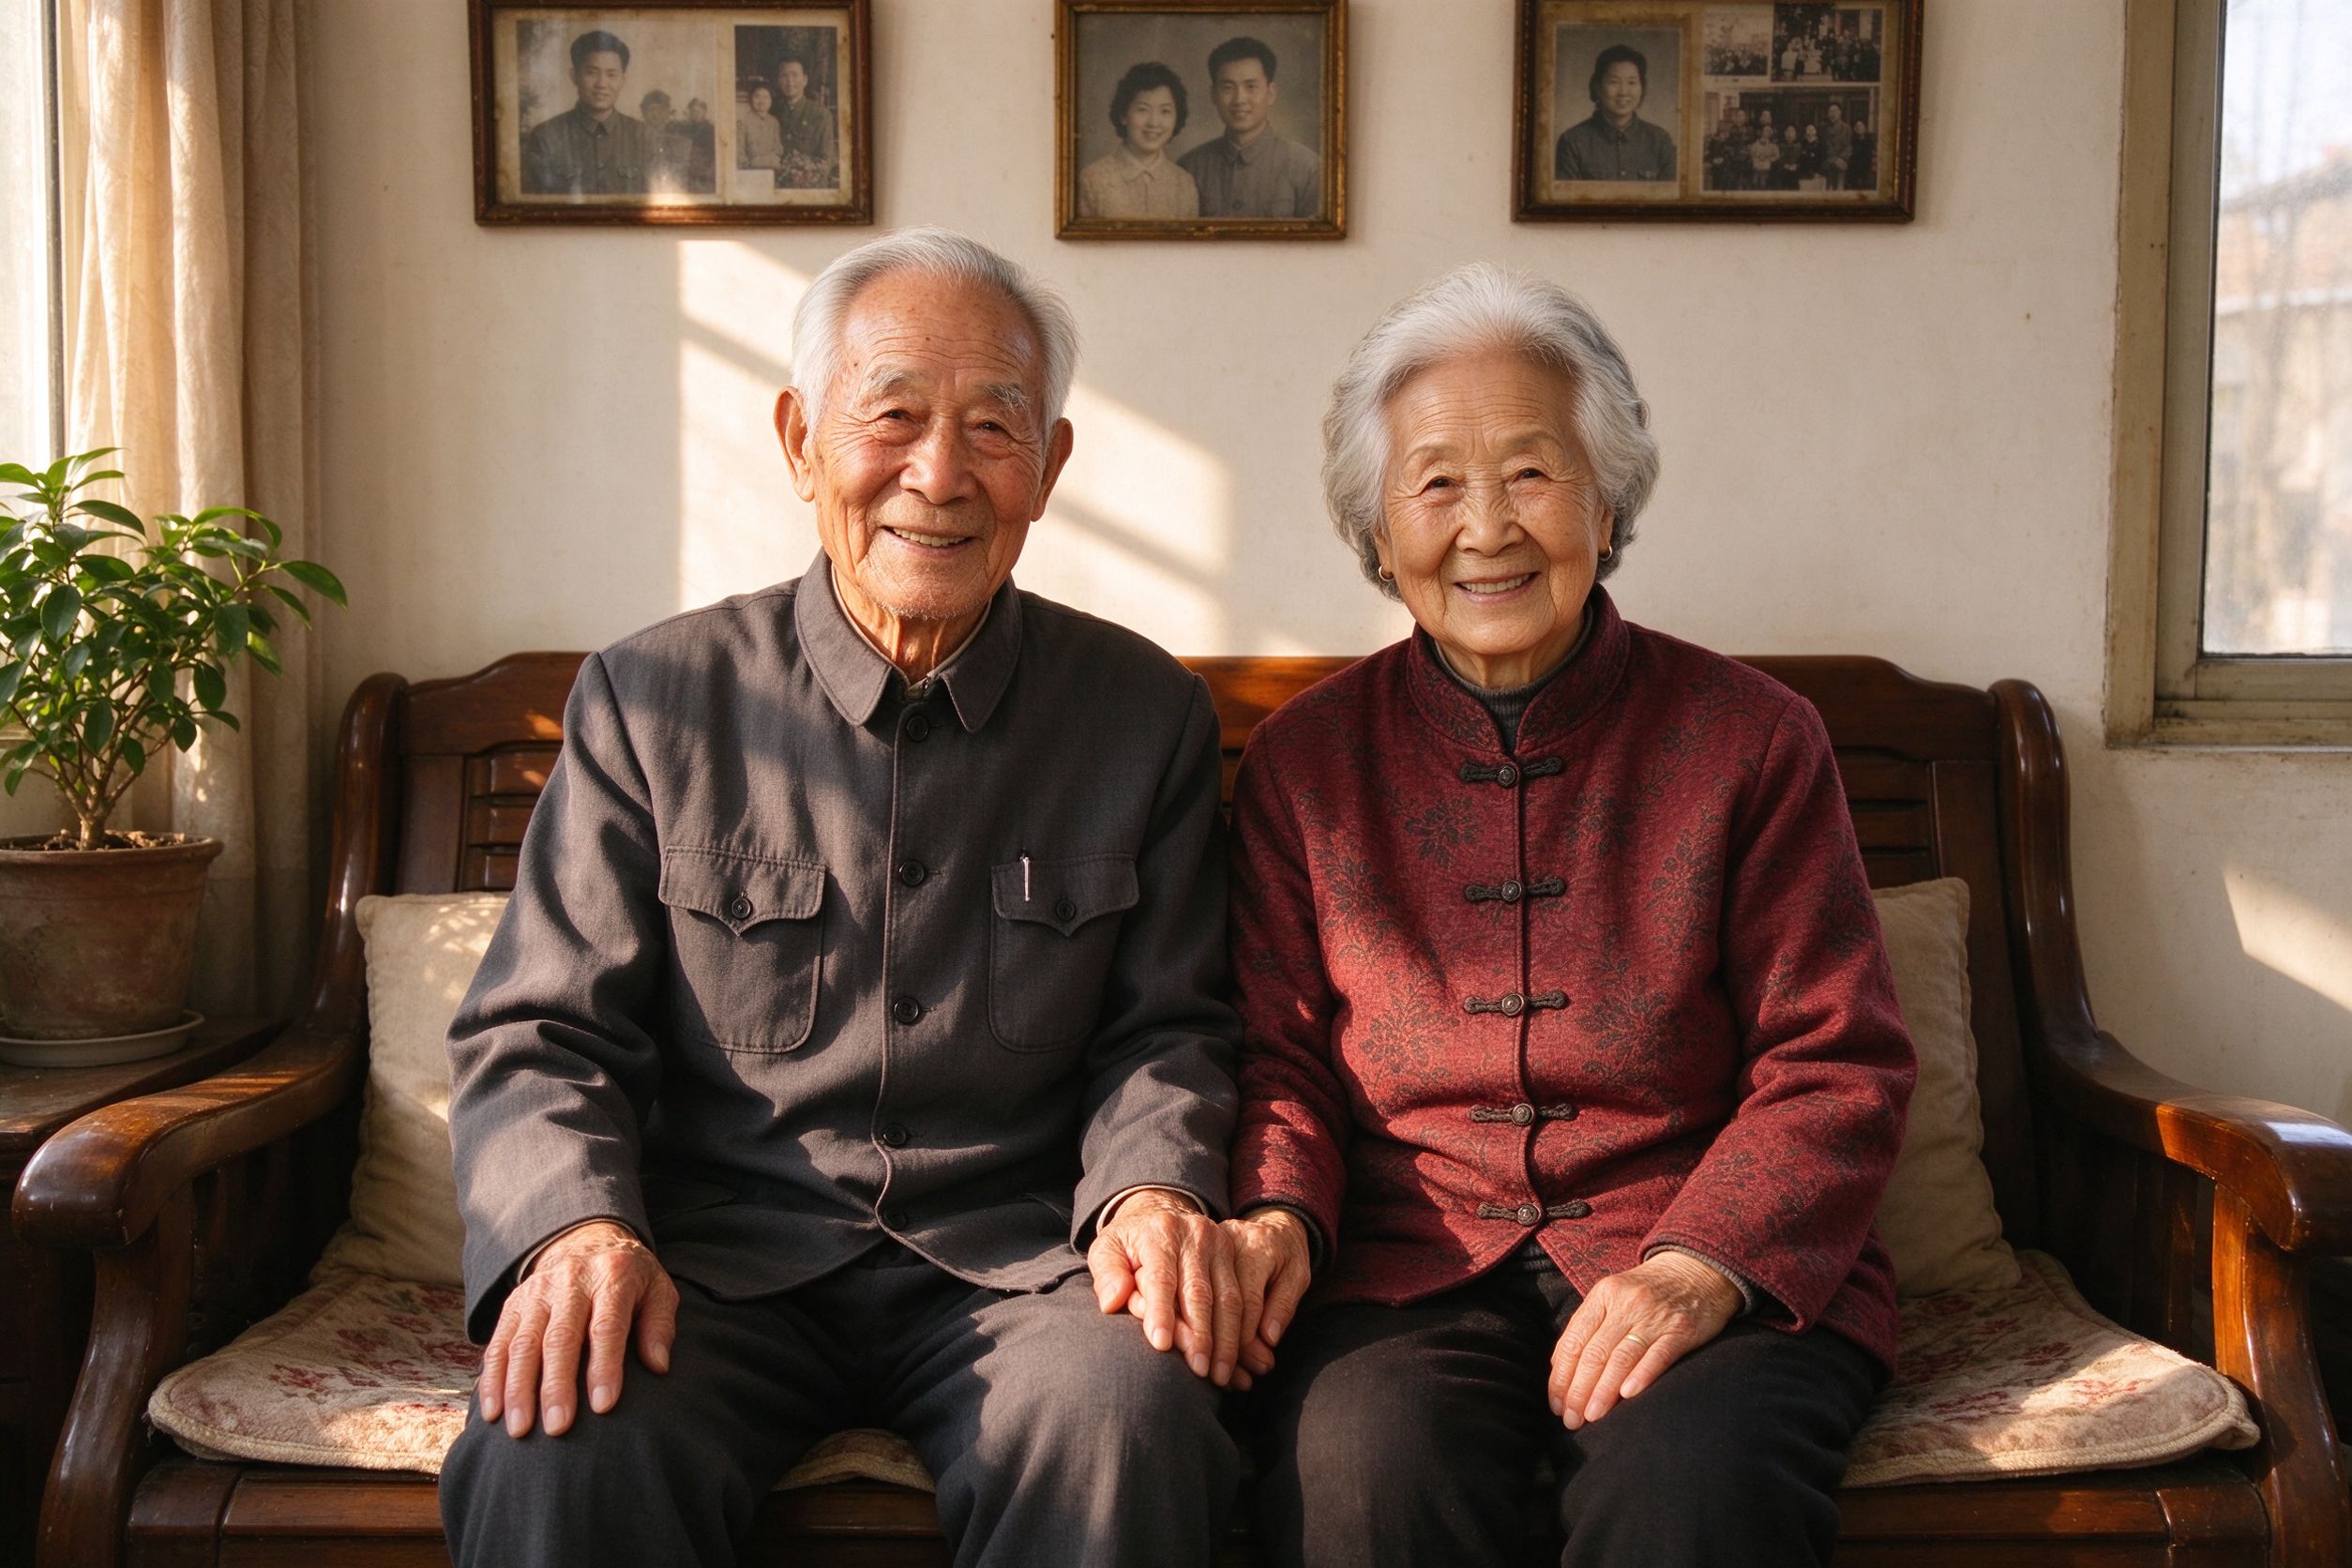
Sepia is one of the kindest things you can do to a tired old photograph: it forgives fading, suits the human face, and instantly gives a damaged print the quiet dignity it has earned over decades. Get the contrast right, keep the tint restrained, and let the brown carry the memory.
走进任何一家旧货店,最老的照片几乎都不是黑白的——而是一种温暖的深棕色,像旧羊皮纸或咖啡。那就是棕褐色调(sepia),带着一种无法错认的年代感。然而大多数数字「sepia」滤镜看起来都是错的:一片扁平、均匀的棕色覆盖在画面上,像照片在茶水里泡太久。令人信服的棕褐与廉价滤镜之间的差别,不在颜色本身,而在底下的对比度与着色的克制程度。
本指南教你用浏览器内免费运行的棕褐复古色调工具,把棕褐做得像真的。你的照片从不离开设备,也无需上传到任何服务器。先从棕褐到底是什么说起——这段历史会告诉你怎样才能把它仿得像。
一、真正的棕褐色调是什么
历史上,棕褐根本不是滤镜,而是一道化学调色工艺。黑白银盐照片冲洗出来后,摄影师会用调色液再洗一遍——最初的调色液源自乌贼墨(sepia 一词在拉丁语里就是乌贼的意思)。调色液把影像中的银替换成更稳定的硫化银,让画面从中性灰转为暖棕。关键在于:高光保持浅淡、奶油般的暖,暗部变成深巧克力而非纯黑,而且整张照片保存得更久。
这正是大多数滤镜漏掉的秘密。正宗棕褐是被着色的灰度——它从一张曝光良好的黑白影像出发,再把一种棕色的色彩关系铺满整个影调范围。它不是「棕色」。好的棕褐在亮部有细节、中间调有层次丰富的棕、暗部是深褐而非空洞的黑。如果你的结果像一块扁平的棕色遮罩,那是因为你跳过了灰度这个地基。
二、棕褐适合什么样的照片
棕褐很衬肖像、影棚头像、婚礼照、旧书信,以及任何你想显得隽永温柔的画面。它也能遮掩许多瑕疵:略偏的色偏、不均匀的老化,或颜色怎么也救不回来的照片。当一张彩色扫描显得浑浊时,转向棕褐往往能救它——观众本就期待暖棕,于是按光影而非色相来判断画面。
棕褐并非万能。天空鲜艳的明亮外景、现代快照、任何以冷蓝光线为关键的画面,罩上棕色后都容易别扭。如果一张家庭照片本来就是 1960 年代拍的干净黑白,硬加上棕褐反而像戏服——有时候,诚实的灰度比复古特效更尊重原作。想要更多特效选择,见我们的创意复古特效指南。
三、强度与暖度,逐一拆解
棕褐复古色调工具给你两个控制项。弄懂它们各自到底做什么,正是雅致结果与茶渍照片的分水岭。
- 强度(0–100,默认约 80)。这是画面从中性灰向暖棕倾斜的程度。0 是纯灰度;100 整幅强烈偏棕。新手常见错误是为了「最大复古感」把它推到 100。真正的棕褐通常在 60–85——暖得读得出,又克制到灰度细节仍能呼吸。如果脸发闷,几乎一定是强度过高。
- 暖度(−30 到 +30,默认 0)。这是棕色「风味」的微调。正值推向更金黄、焦糖的色调;负值拉向更冷、更深的巧克力棕。按题材选:金黄焦糖适合阳光肖像;冷巧克力适合严肃正式的影棚照。一开始让它靠近 0,只有当结果太黄或太灰时才轻轻推一下。
把强度想成「棕褐有多少」,把暖度想成「是哪一种棕褐」。先把强度定到可信的程度,再把暖度当作一点点调味,而不是主菜。
四、分步棕褐调色流程
- 先把底层照片修好。用划痕与污点修复去掉划痕灰尘,画面发灰就恢复对比。棕褐会放大缺陷——彩色里几乎注意不到的一道划痕,在棕色里会变成扎眼的亮线。
- 决定起点。如果源片是褪色彩照,可以直接调色。如果色偏难看,先大致校正,或干脆走向单色——强烈蓝偏加上棕褐容易泛绿。
- 打开棕褐复古色调,把强度设到约 70。看前后对比滑块。结果是温暖但仍有细节,还是一坨棕色?以 5–10 为步长调整。
- 检查暗部与亮部。暗部还留着细节,还是已经死黑?如果暗部闷死,略微降低强度或补一点对比。亮部还保持奶油感,还是已经过曝成白?
- 微调暖度。要金色阳光感就加一点,要冷调档案感就减一点。通常一小步就够。
- 导出 PNG。原始扫描保持不动。棕褐是创意选择,不是你想永久锁死的修复。
五、颗粒、暗角与相框
棕褐很少单打独斗——复古感通常是一组搭配。三个搭档让它更可信:
- 柔和暗角。四角向内压暗,把视线引向中心,也模仿老镜头边缘的自然衰减。轻微暗角读起来自然;用力过猛就像 Instagram 滤镜。
- 一丝颗粒。过于干净的数码棕褐像被喷过。保留或加入细腻颗粒,会让它像真正印在纸上的照片。别过量——颗粒应当是质感,而不是噪点。
- 时代感边框。一圈细细的白或米色边,像老的橱柜肖像照,能在不抢戏的前提下完成整套错觉。
如果你的照片同时褪色,先看褪色照片修复指南恢复底层对比——发平的照片再怎么加棕也还是平的。
六、常见错误与问答
为什么我的棕褐看起来是橙色而不是棕色?几乎总是因为本来就暖的老照片上,暖度又推得太高。把暖度拉回 0 附近,强度再降一点。
棕褐就是在照片上罩一层棕色吗?不是。好的棕褐是被着色的灰度。如果施加在低对比、色彩浑浊的图上,你只会得到一张浑浊的棕照片。先把对比建起来。
能给现代数码照片加棕褐吗?可以,而且可能是很漂亮的风格选择——但要预期它读起来是「刻意造型」而非「真的很老」。这个效果在配合真实颗粒和一点不完美扫描感时最好用。
整本相册都加棕褐,还是只挑喜欢的?棕褐是一种表态,不是默认值。有选择地用在肖像和正式照上;日常快照保持修复后的自然状态。
对一张疲惫的老照片来说,棕褐是最温柔的处理之一:它原谅褪色,衬得住人脸,并立刻给破损的相纸一种历经数十年的安静尊严。把对比做对、把着色收住,让这抹棕色替你留住那段记忆。