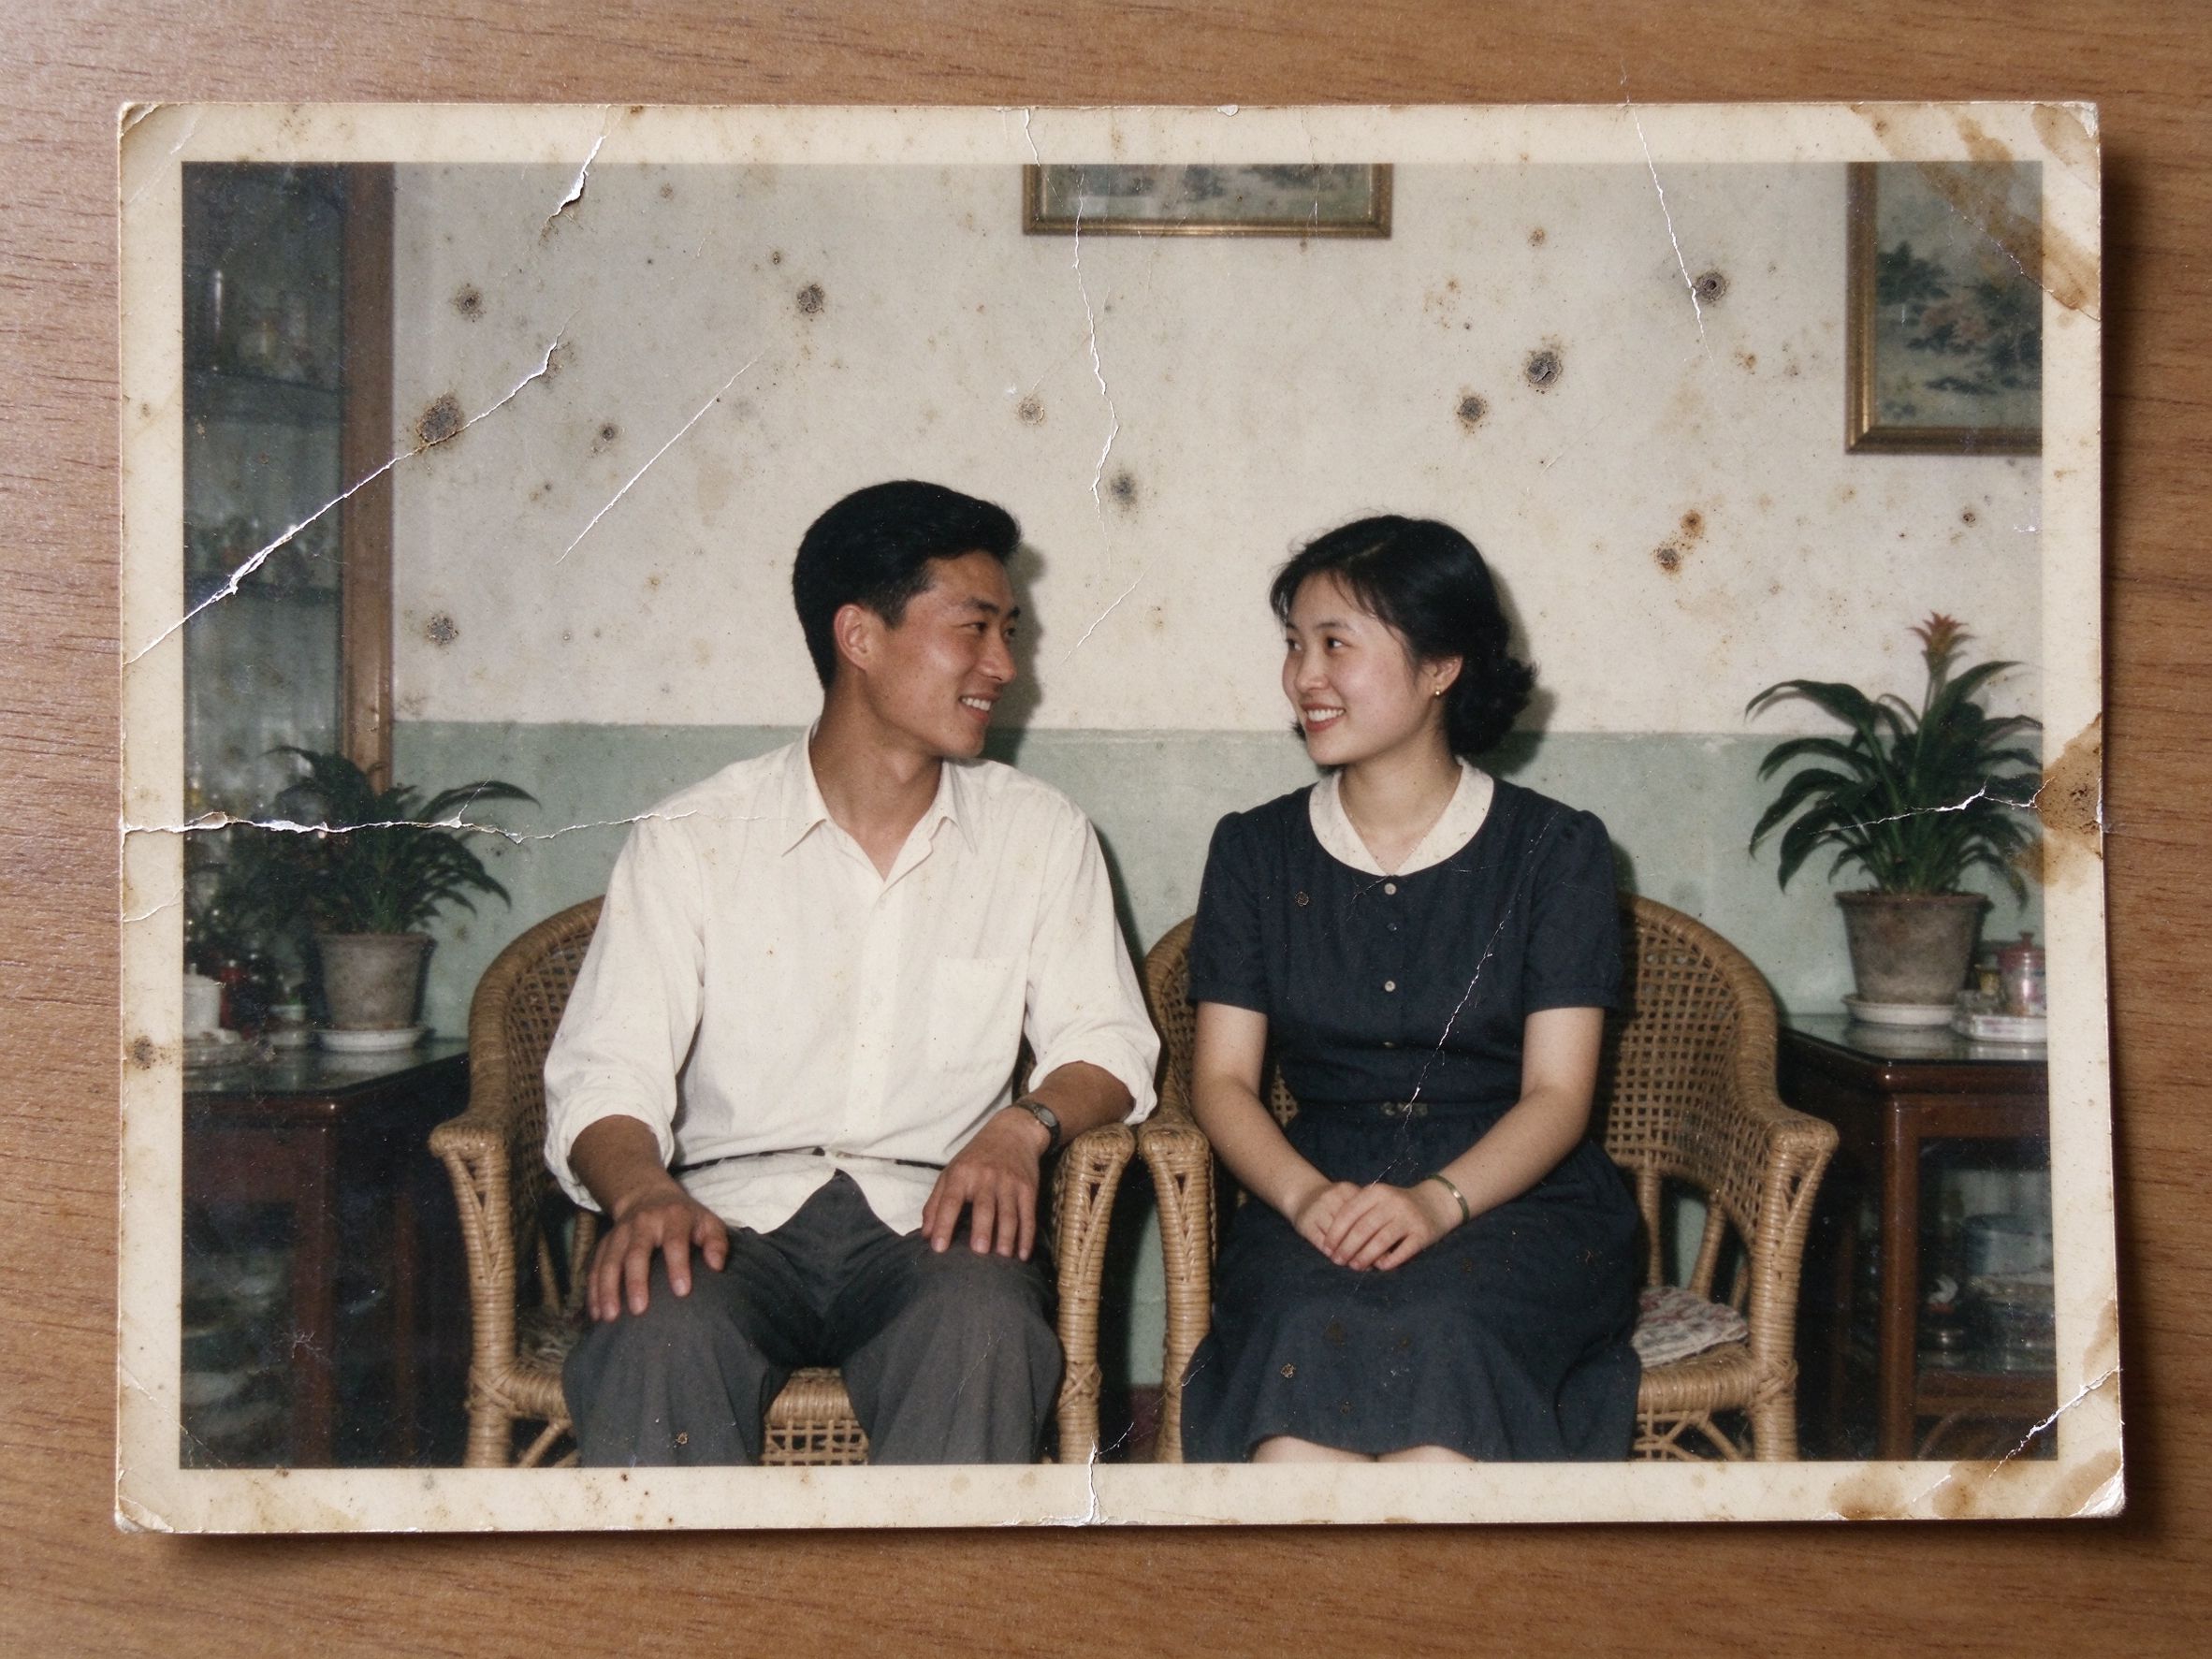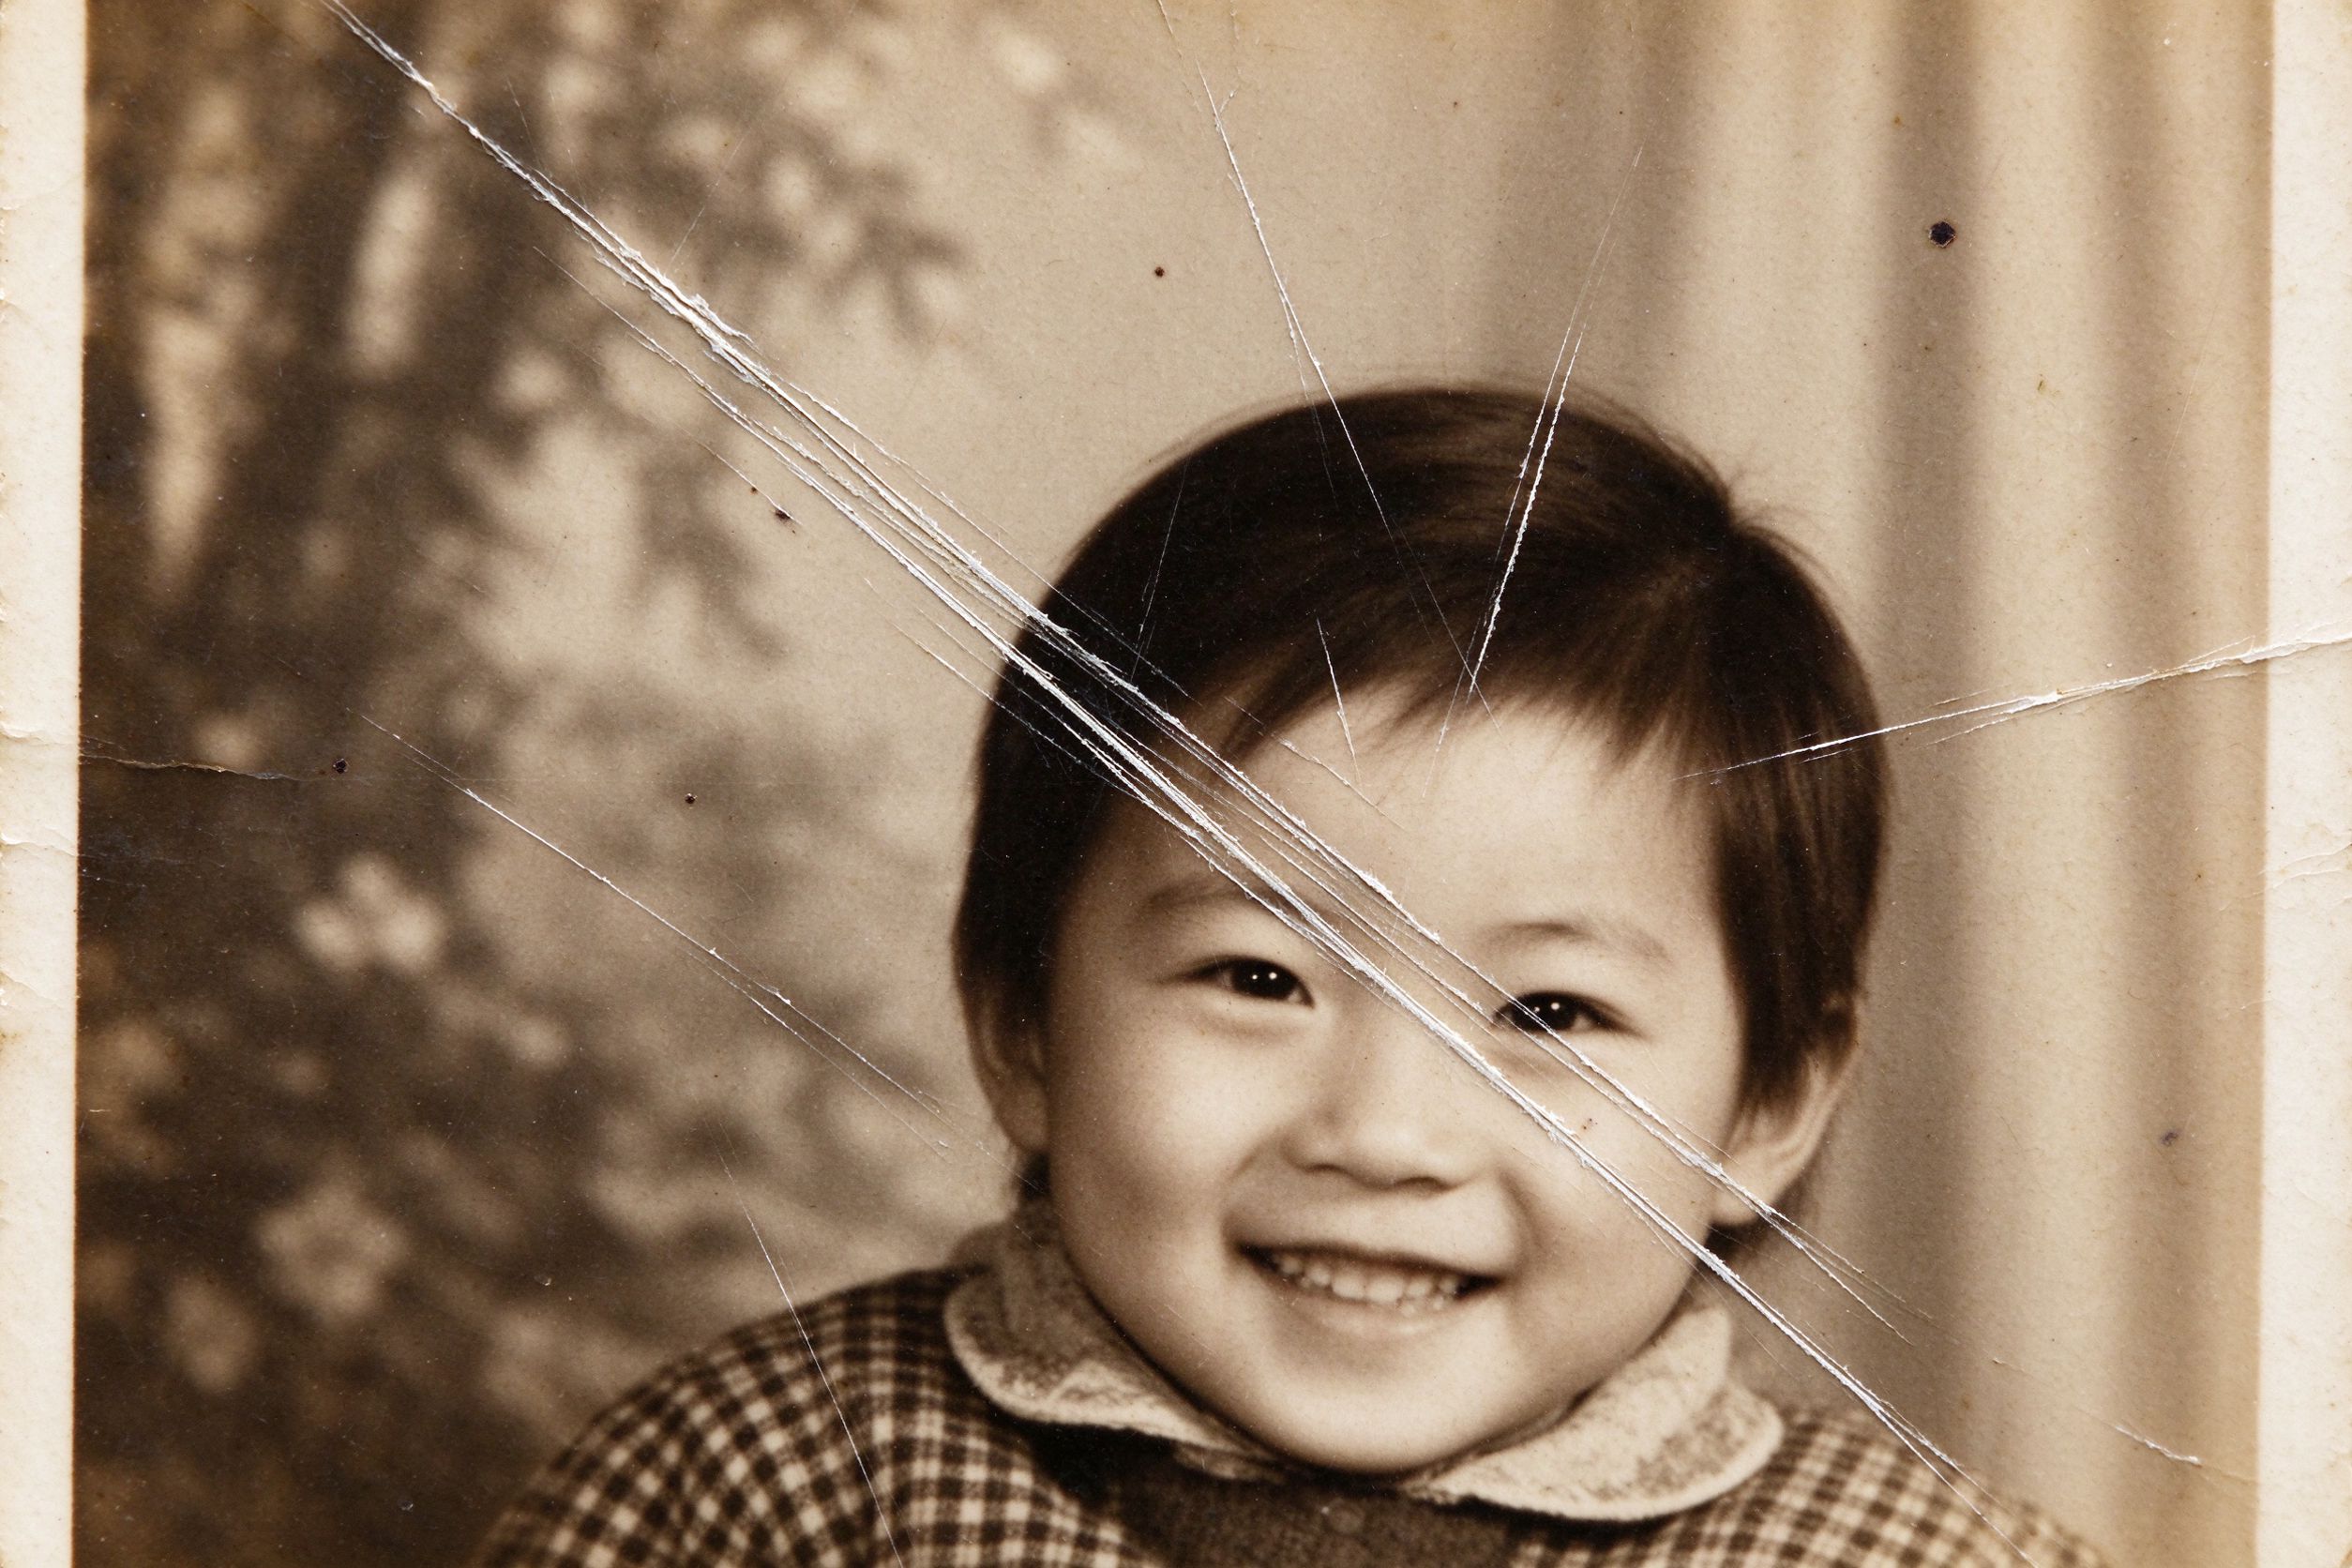
A single bright diagonal line across a family portrait can ruin the whole photo. You remember the day clearly, but the print argues with you — a white scratch runs through grandmother's face, dark spots dot the sky like freckles, and a crease cuts across the wedding cake. These marks feel permanent, but most of them are not. They are surface events: the emulsion has been scraped, dust landed during printing, or the paper was folded.
Removing scratches well is less about power than about order and restraint. A heavy-handed filter will clear the lines but also erase eyelashes, lace and tree bark. This guide teaches you to first identify the kind of damage, then run the corrections in the right order, and finally tune the two key sliders so that defects disappear while real detail survives. As with everything on this site, the repair runs locally in your browser — the photo never leaves your device.
Identify what kind of mark you are fixing
Not every mark is a scratch, and treating them all the same is the first mistake. Look closely at the scan and sort the damage into one of four types.
- White scratches are the most common. They appear as pale lines because the colored emulsion was scraped away, exposing the light paper base beneath. These are the easiest to fix because the tool simply blends the line with its surrounding pixels.
- Dark scratches and pressure marks are darker lines caused by the emulsion being compressed or exposed to pressure. They respond to the same smoothing, but because dark lines break up faces and clothing, they need a gentler touch.
- Dust specks and spots are small round marks — white dots from dust on the scanner glass, dark dots from airborne dirt embedded in the print. Most disappear in a single moderate pass.
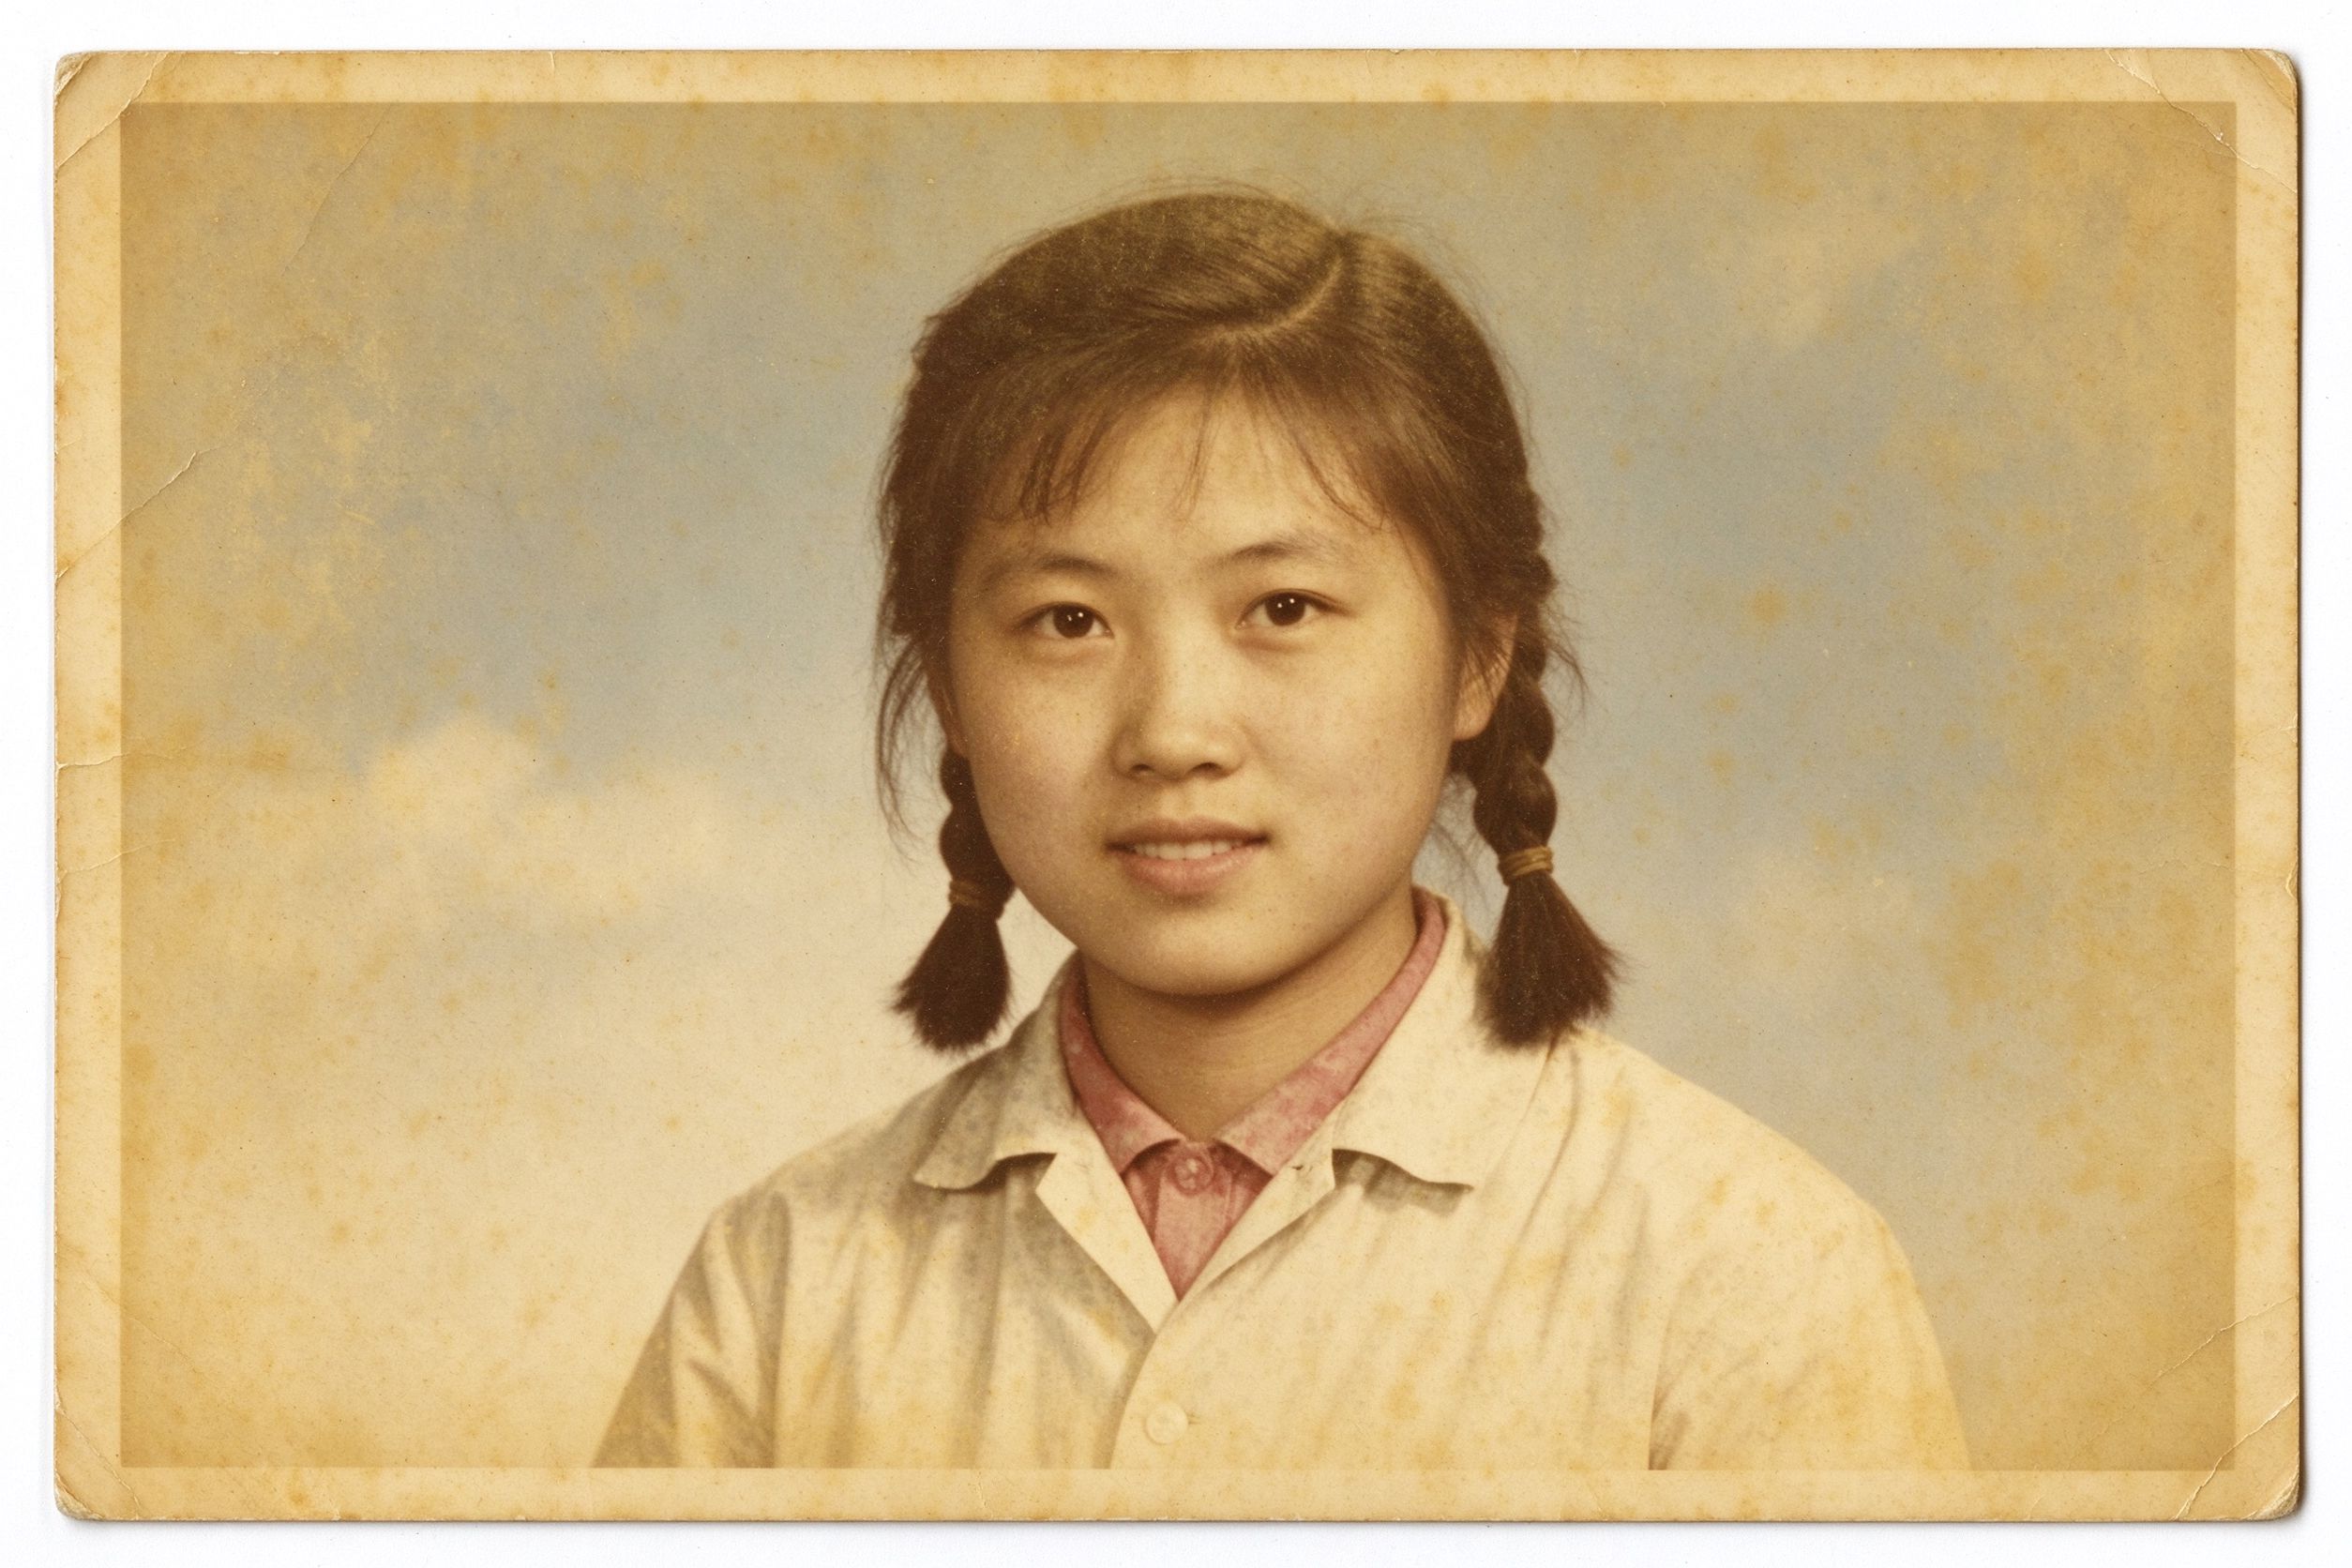
- Stains and foxing are larger, irregular brown or yellow blotches caused by moisture or acidic storage. These are harder: they blend with real image content, and over-processing smears the surrounding photo.
Knowing which type you have sets your expectations. Thin scratches and dust are routine. Creases and tears are manageable. Large water stains and missing emulsion need honesty — read the limits section below before you fall in love with a result the tool cannot deliver.
Start from a truly clean scan
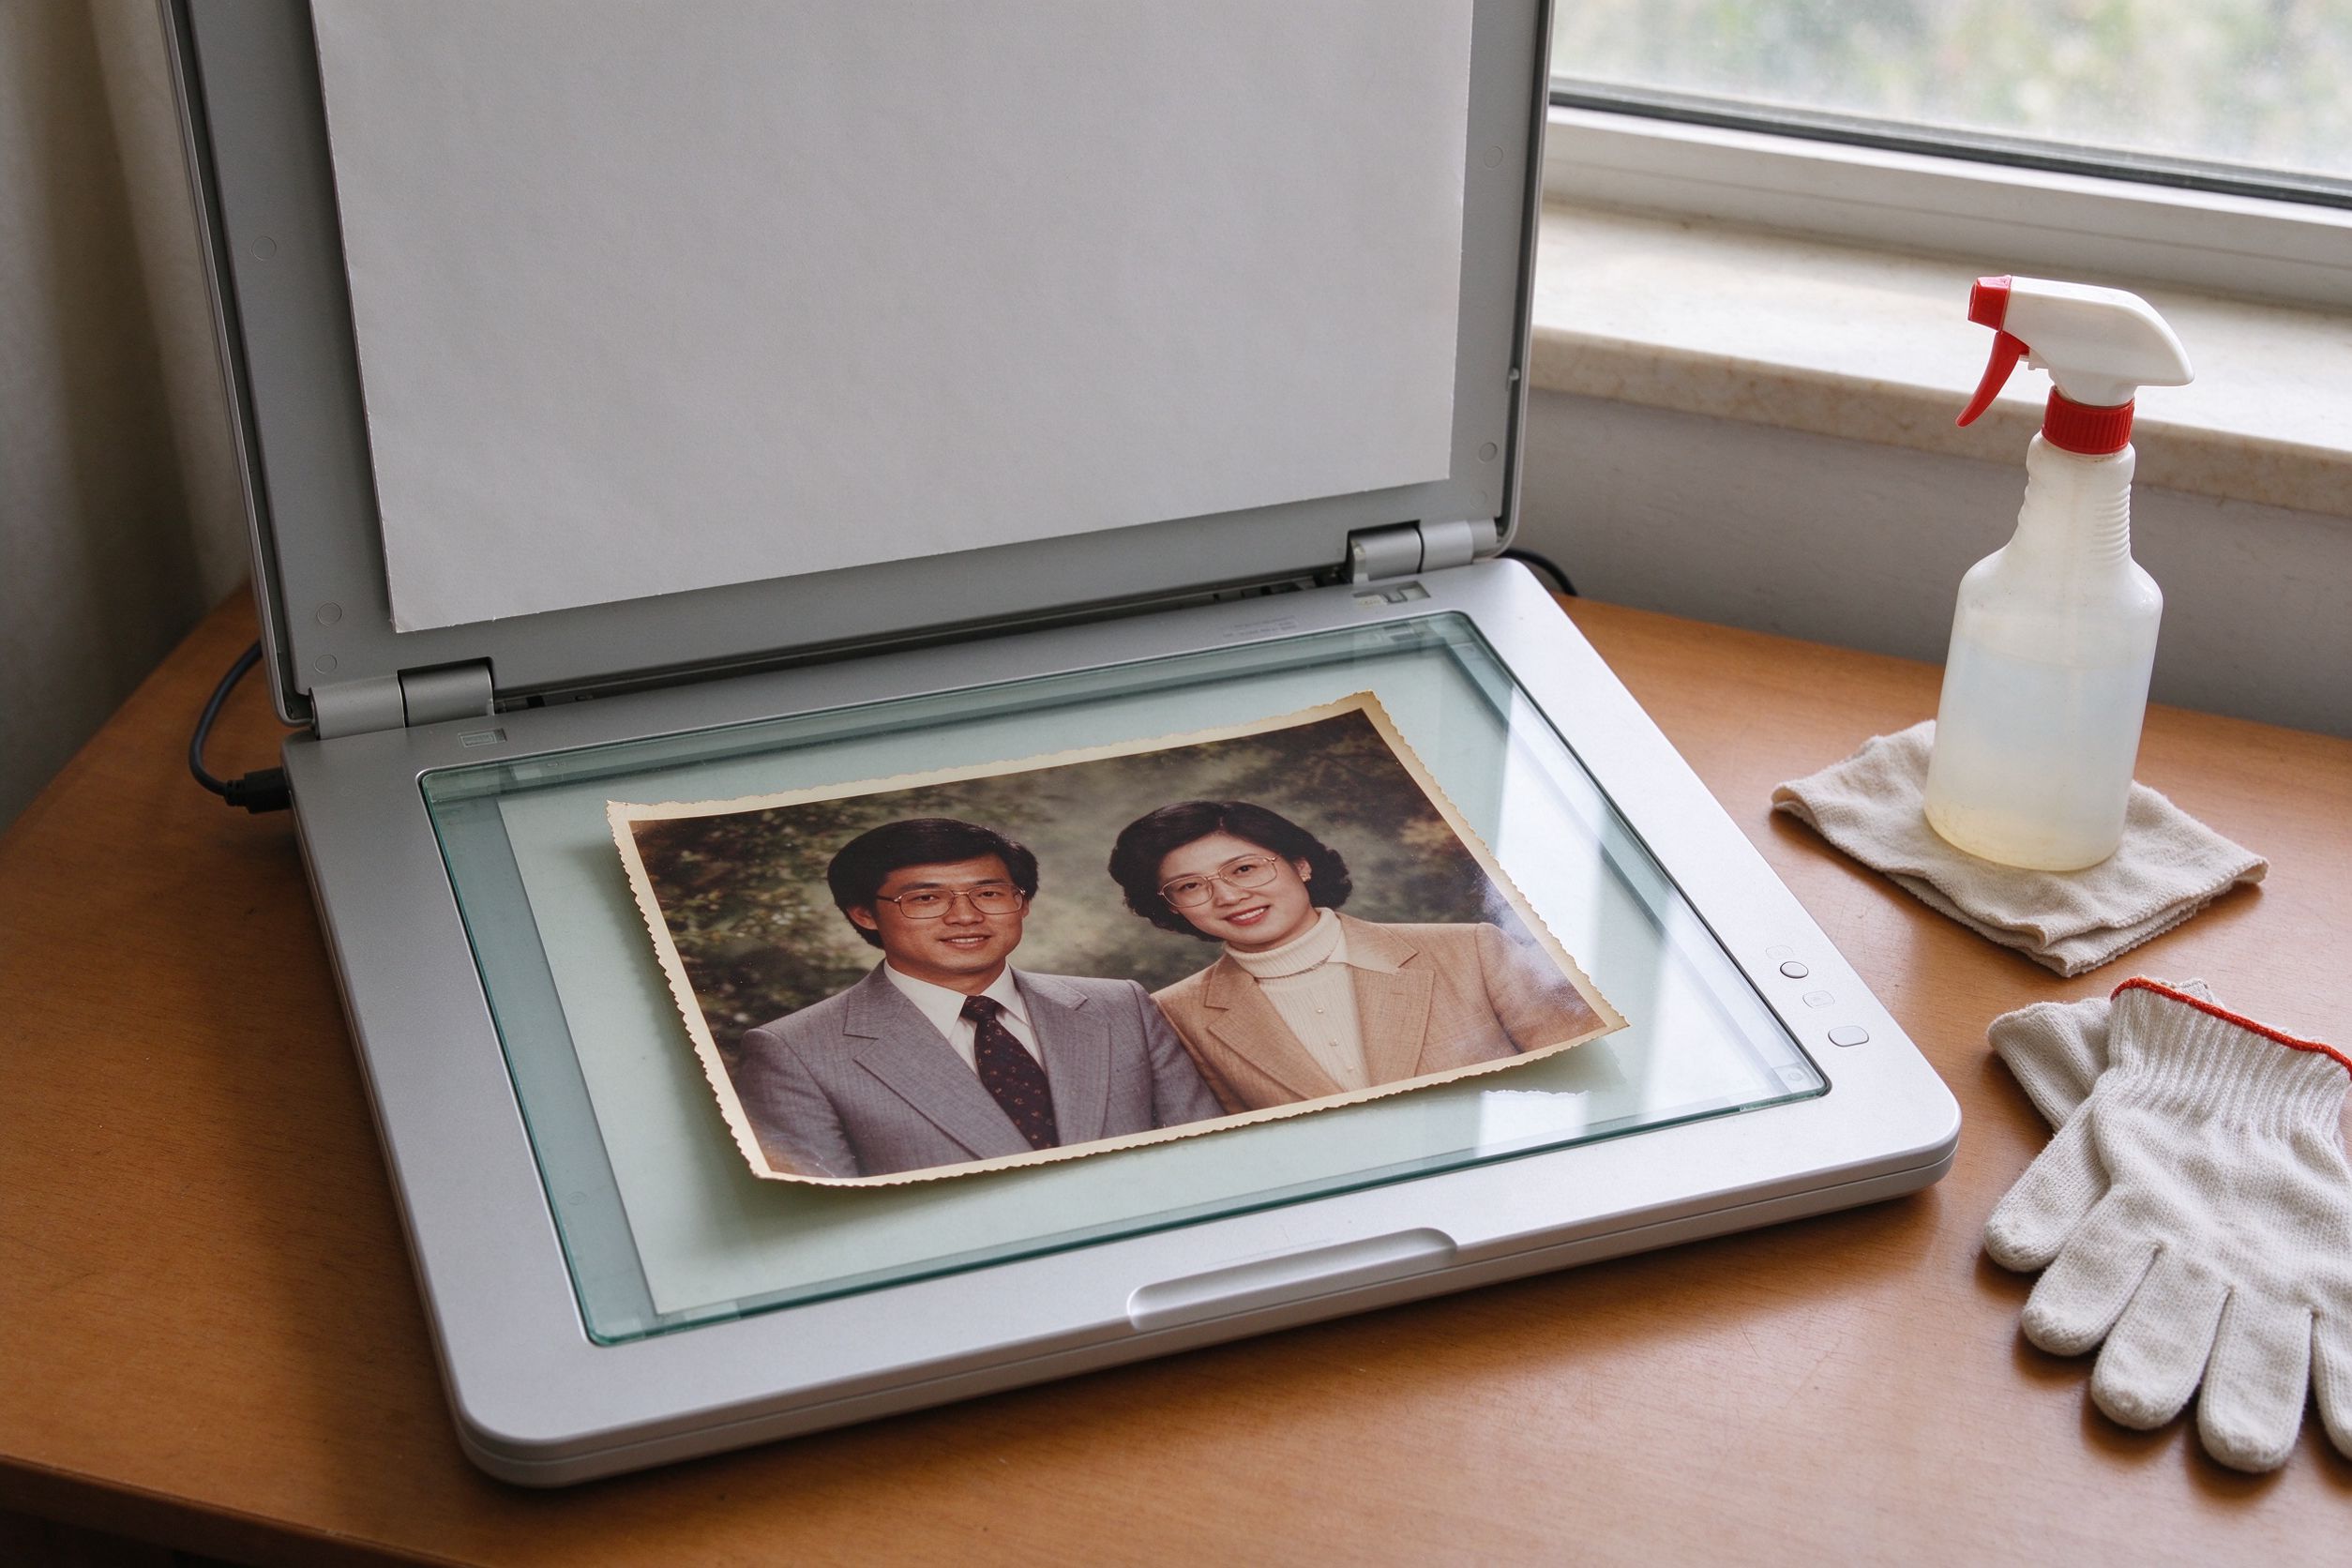
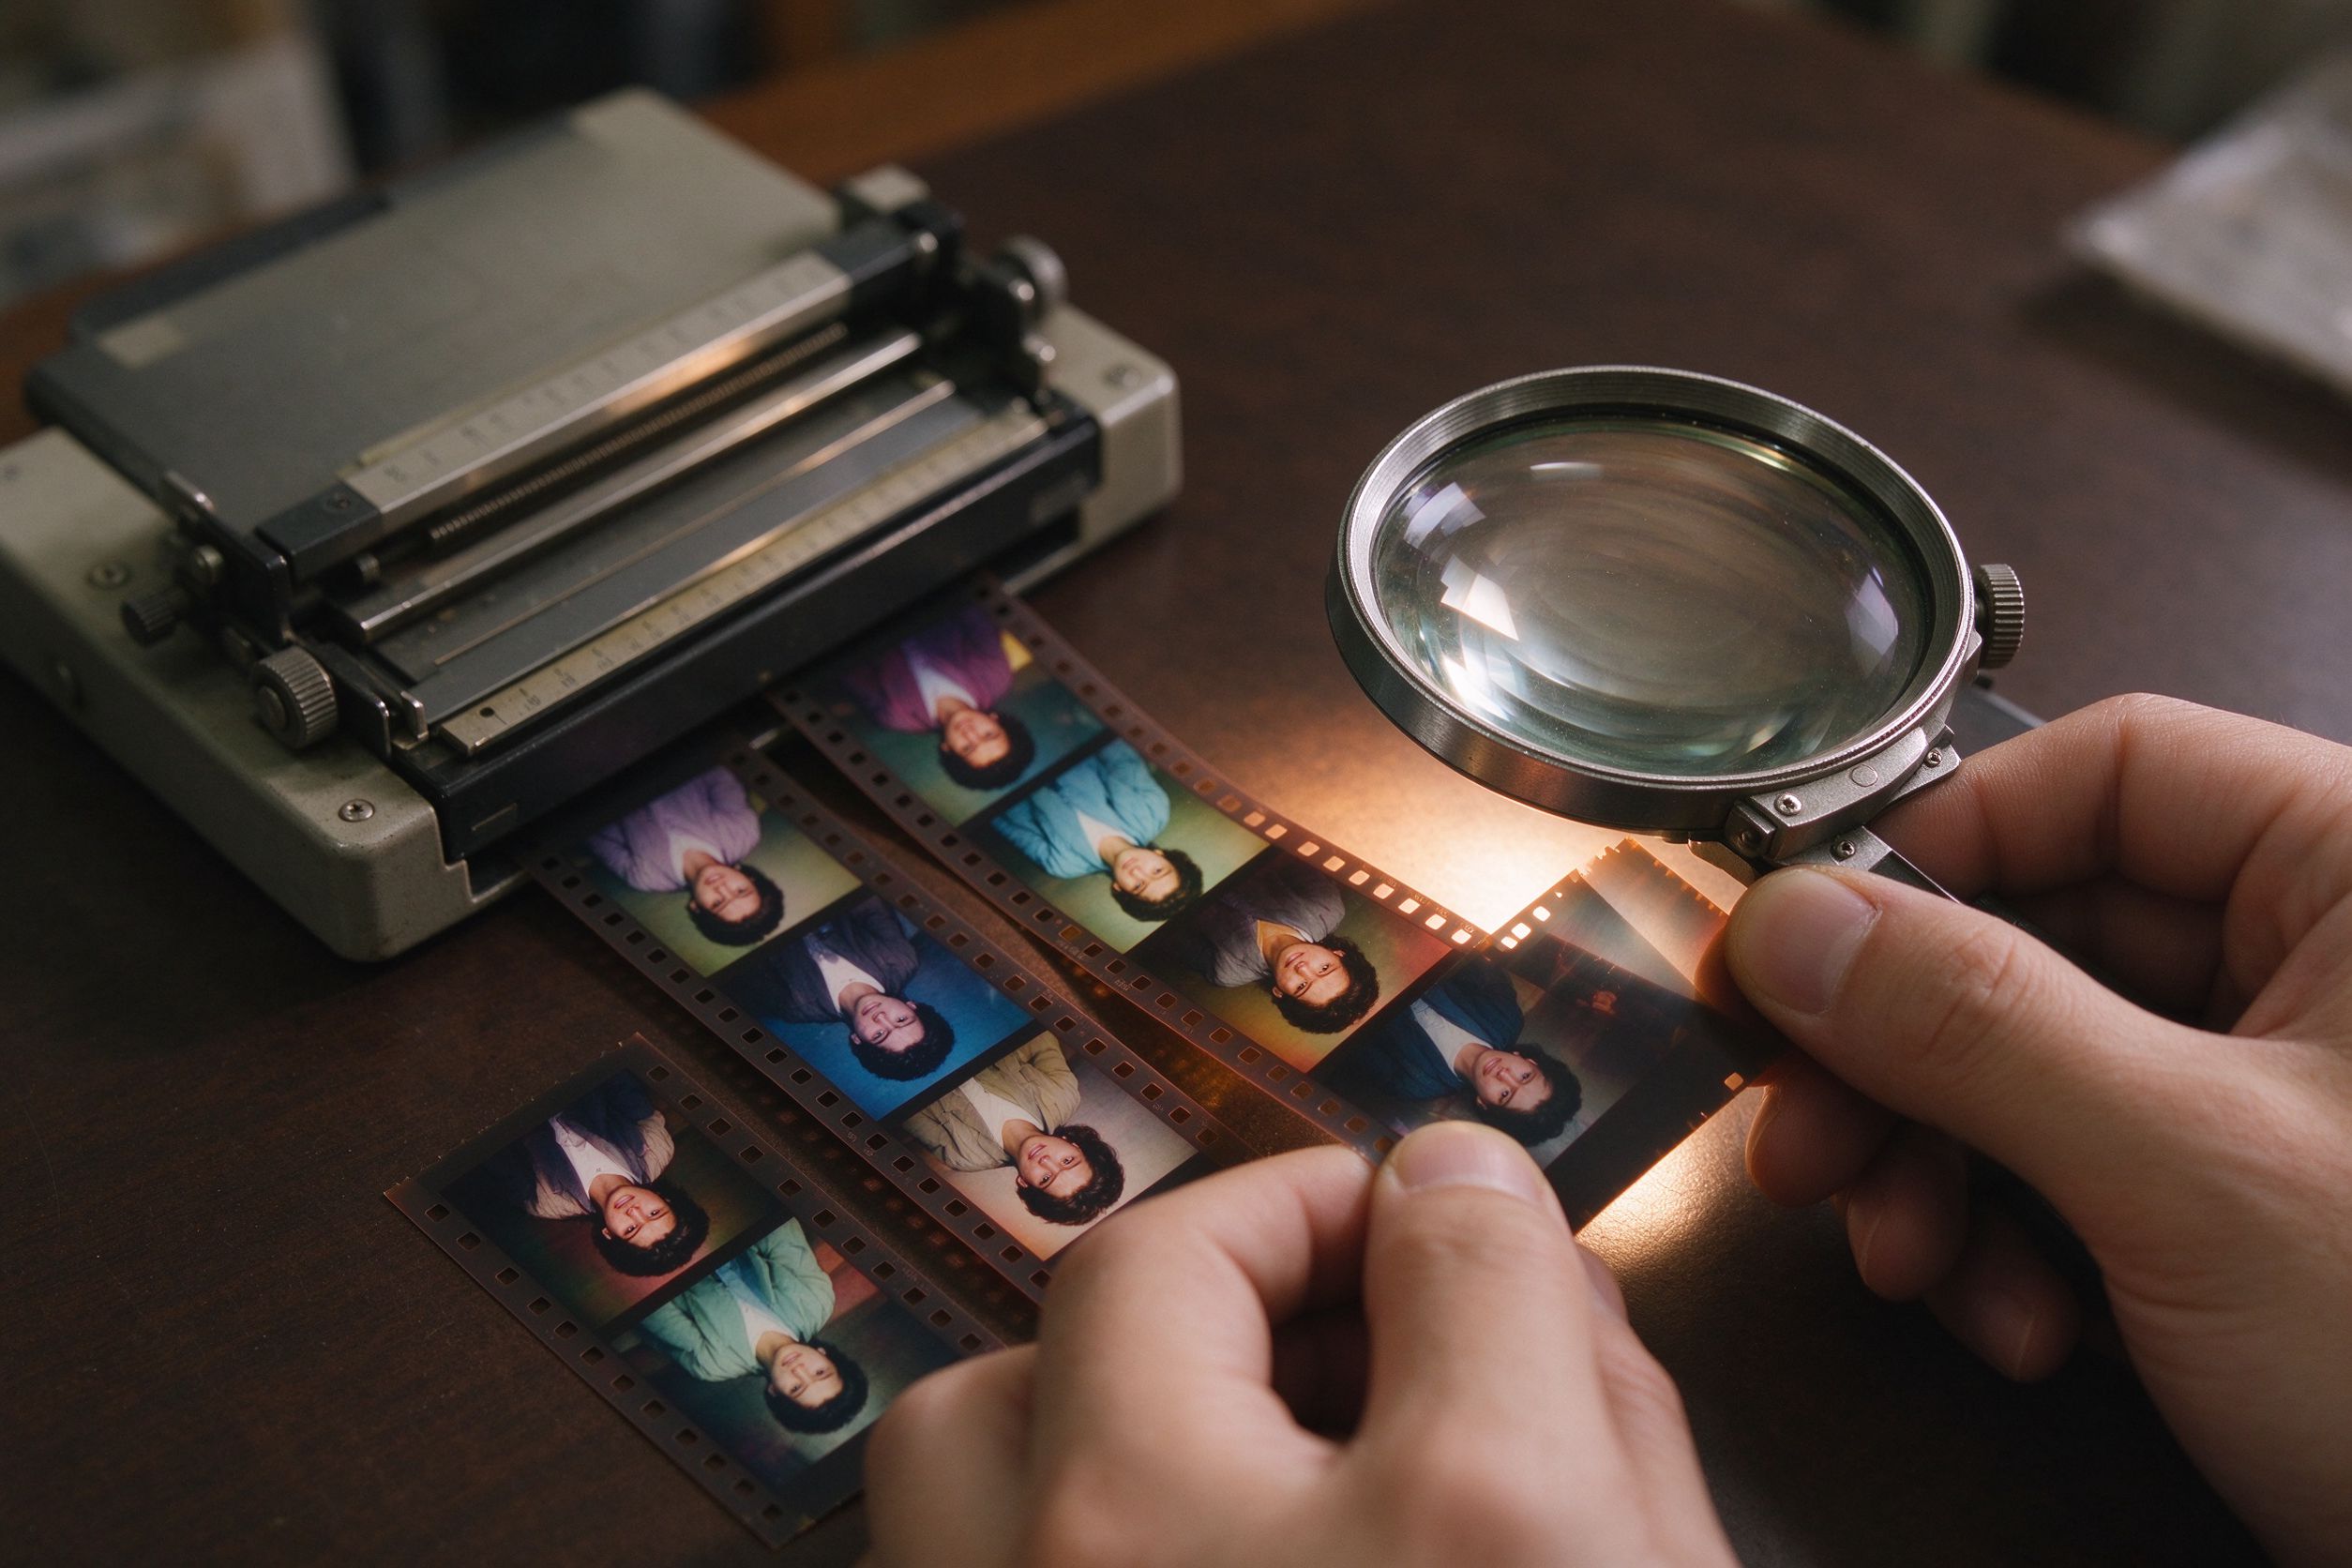
Many "scratches" in a digital file were never on the photo. They arrived on the scanner bed as dust and fibers, and every scan you make inherits them. Before you repair anything, clean the scanner glass with a microfiber cloth and gently brush loose dust off the print with a soft brush. Scan at 600 DPI rather than 300 — higher resolution gives the smoothing algorithm more pixels to work with, so thin lines blend more naturally. If you are scanning film rather than prints, our film scan restoration guide covers the extra dust and grain behavior specific to negatives and slides.
One practical habit: scan a blank white page after cleaning the glass. If that scan still shows white specks, your glass is still dirty — clean it again before blaming the old photo. A surprising amount of scratch removal turns out to be scanner hygiene. If you have not scanned yet, work through our scanning setup guide first.
The correct order of operations
The order matters more than the settings. Follow this sequence and the repair stays clean; scramble it and you will spend hours fighting artifacts.
- Fix color and fading first. Yellowed, faded prints change how you perceive contrast and marks. Do the white balance, contrast and saturation work in the Faded Photo Fixer before touching scratches, because a properly color-balanced image makes remaining defects far easier to see and judge.
- Denoise if the source is grainy film. Film grain can be mistaken for hundreds of tiny spots. A gentle Photo Denoiser pass first collapses that grain, so the spot remover does not waste effort trying to "fix" natural texture.
- Remove scratches and spots. Only now run the Scratch & Spot Remover.
- Sharpen last. Sharpening amplifies every remaining defect, so it must come after repair — never before. Read our sharpening guide for the right amount.
If you only remember one rule: never sharpen, then repair. That order guarantees you will see a halo around every scratch you later try to smooth.
What radius and threshold actually do
The Scratch & Spot Remover has two controls, and understanding them is the difference between a clean result and a blurry one.
- Radius (1–2, start near 1). Radius sets the width of the area around each suspicious pixel that the tool uses to guess the correct color. A radius of 1 targets very thin scratches and fine dust. Increase it only for noticeably wider scratches or spots; beyond about 2 you begin to average together real detail, and edges like lips, eyes and hair start to go soft. Think of radius as the brush size of an invisible eraser — small for thin lines, never large.
- Threshold (0–100, start near 50). Threshold decides how different a pixel must look from its neighbors before the tool treats it as a defect. At a low threshold, the tool is aggressive: it smooths almost everything and may wash out texture. At a high threshold, it is conservative: it only attacks the most obvious bright lines and dark dots, leaving faint marks behind. For most family photos, begin around 50, then raise it slightly if you still see spots, and lower it slightly only if fine detail is being lost.
Work in small passes rather than one dramatic setting. Run threshold at 50 and inspect; if thin scratches remain, nudge up by 10 and run again. Comparing with the original through the before/after slider tells you the truth — defects should vanish, but the texture of a wool sweater, individual hairs and eyelashes should all still be there.
Creases, tears and large stains
A straight crease across a print is a shallow V-shaped fracture in the emulsion. On the scan it shows as a darker line surrounded by a faint lighter band. The scratch remover handles a light crease well, because the crease is thin and the surrounding pixels are predictable. But a deep crease that actually folded the paper — where one side of the fold is permanently compressed — often carries a shadow that no local smoothing can fully hide. In those cases, run the repair at threshold 40–50 to soften the line, then accept the faintest residual trace rather than pushing the tool until the whole area turns into a smudge.
Large water stains and foxing are the honest limit of automatic repair. Because the brown blotch blends into real skin, grass or wall texture, the tool cannot tell stain from content, and aggressive smoothing will smear whatever is underneath. The realistic approach is to reduce the worst of the blotch with a moderate pass, then leave it. A restored photo with one honest age mark is more believable — and more loved — than a digitally erased one that looks melted.
What local repair cannot do
Browser-based repair is powerful but honest. It blends pixels that are already there; it does not invent missing content. If a corner of the print is torn away, leaving a blank white gap, no slider will reconstruct what stood there. If a scratch ran straight across an eye, the tool can smooth the line but cannot restore the iris detail that the scratch erased. If half a face is completely faded to blank paper, the best result is a clean, smooth blank — not a guessed face. This is the difference between repair and fabrication, and it is exactly why your originals remain untouched: you can always try again, and you never lose the true document.
Final cleanup before sharpening
After the scratch pass, zoom across the whole image once, checking sky, skin and fabric separately for any leftover specks. A single remaining white dot on a dark jacket draws the eye more than the rest of the photo put together. When the marks are gone, the photo is ready for its final step — a gentle sharpen to recover the crispness that scanning softens away, using the technique in our sharpening guide. Then export a PNG master, keep the scan untouched, and enjoy a print that finally looks the way you remembered it.
家族肖像上一道斜贯画面的亮线,足以毁掉整张照片。你清楚地记得那一天,但相纸和你作对:一道白划痕穿过祖母的脸,天空上的暗点像雀斑一样散布,折痕横切过婚礼蛋糕。这些痕迹看着像永久的,但大多数并非如此。它们只是表面事件——乳剂被刮掉、冲印时落了灰,或者纸被折过。
把划痕修好看,靠的不是力度,而是顺序与克制。一个下手太重的滤镜会去掉线条,却也抹掉睫毛、蕾丝和树皮纹理。本指南教你先判断损伤类型,再按正确顺序校正,最后调好两个关键滑杆,让缺陷消失而真实细节存活。和本站所有功能一样,修复都在你浏览器本地完成——照片从不离开你的设备。
一、先认清你要修的是哪种痕迹
不是每道痕迹都是划痕,把它们混为一谈是第一个错误。凑近扫描件看,把损伤分成四类。
- 白色划痕最常见。它们呈浅色线条,因为彩色乳剂被刮掉了,露出下面浅色的纸基。这类最好修,工具只需把线条与周围像素融合即可。
- 深色划痕与压痕是乳剂被挤压或受压形成的暗线。它们对同样的平滑处理有反应,但因为暗线会破坏人脸与衣服,下手要更轻。
- 灰尘点是细小的圆点——白点来自扫描仪玻璃上的灰,暗点来自嵌在照片里的尘土。大多数一次中等强度就能去掉。
- 污渍与褐变是较大、不规则的棕色或黄色斑块,由受潮或酸性存放引起。这类最难:它们与真实画面内容混在一起,处理过头会把周围照片抹糊。
知道是哪种,就能设定合理预期。细划痕和灰尘是常规活;折痕和撕裂可处理;大面积水渍与缺失乳剂则需要诚实——在爱上工具无法交付的结果之前,先读下面的「局限」一节。
二、从真正干净的扫描件开始
数字文件里的许多「划痕」原本并不在照片上,而是落在扫描台上的灰尘和纤维,被每一次扫描继承下来。修复任何东西之前,先用镜布擦净扫描玻璃,再用软毛刷轻轻刷去相纸上的浮尘。用 600 DPI 而不是 300 DPI 扫描——更高分辨率给平滑算法更多像素可用,细线融合得更自然。如果你扫的是胶片而非相纸,我们的胶片扫描修复指南专门讲底片与幻灯片特有的灰尘和颗粒问题。
一个实用习惯:擦净玻璃后再扫一张白纸。如果这张白纸扫描件仍有白点,说明玻璃还脏——先再擦一遍,别去怪老照片。相当一部分「除划痕」工作,其实是扫描仪卫生。如果你还没开始扫描,请先按扫描设置指南做好准备。
三、正确的处理顺序
顺序比设置更重要。按这个序列做,修复保持干净;打乱它,你会花好几个小时和各种伪影搏斗。
- 先修色彩与褪色。发黄褪色的照片会改变你对对比和痕迹的判断。在动划痕之前,先用褪色照片修复完成白平衡、对比与饱和度,因为色彩平衡后的画面会让残余缺陷清晰得多、也好判断得多。
- 如果是颗粒重的胶片,先降噪。胶片颗粒会被误当成成百上千个小点。先温和过一遍照片降噪,把颗粒收掉,除污点工具才不会浪费力气去「修」自然纹理。
- 再除划痕与污点。到这一步才运行划痕与污点修复。
- 最后锐化。锐化会放大每一个残余缺陷,所以必须在修复之后——绝不能在之前。合适的力度见我们的锐化指南。
如果只记一条规则:绝不要先锐化、后修复。那个顺序会保证你之后想平滑的每道划痕周围都带着一圈光晕。
四、半径与阈值到底管什么
划痕与污点修复工具有两个控件,懂它们,结果才会干净而不发糊。
- 半径(1–2,从 1 附近开始)。半径设定工具以每个可疑像素为中心、取多大范围的邻域来推测正确颜色。半径 1 针对很细的划痕和细小灰尘;只在划痕或斑点明显更宽时才加大;超过约 2,你就开始把真实细节平均掉,嘴唇、眼睛、头发等边缘会开始发柔。把半径想象成一块隐形橡皮的粗细——细线用小号,永远别用大的。
- 阈值(0–100,从 50 附近开始)。阈值决定一个像素要和邻居差多少,工具才把它当成缺陷。阈值低,工具激进:几乎什么都平滑,可能洗掉纹理;阈值高,工具保守:只处理最明显的亮线暗点,轻微痕迹会留下。大多数家庭照片从 50 开始,若仍见斑点就略往上加 10,若精细细节在丢失才略往下调。
分多次小步处理,而不是一次拉满。把阈值设到 50 跑一遍检查;细划痕还在就加 10 再跑。用前后对比滑块和原图比才知道真相——缺陷应该消失,但毛衣的纹理、一根根头发和睫毛都应该还在。
五、折痕、撕裂与大面积污渍
横亘相纸的直折痕是乳剂上一道浅 V 形裂缝,在扫描件上表现为一条暗线,两侧各有一圈淡淡的亮带。浅折痕很好处理,因为线很细、周围像素可预测。但真正把纸折过的深折痕——折痕一侧被永久压平——往往带着局部平滑无法完全消除的阴影。这种情况下,用阈值 40–50 跑一遍把线柔化,然后接受那道极淡的残留痕迹,而不是把工具推到整块区域糊成一片。
大面积水渍与褐变,是自动修复诚实的边界。因为棕色斑块融进真实的皮肤、草地或墙面纹理里,工具分不出哪是污渍、哪是内容,过度平滑只会把下面的东西抹糊。现实的做法是用中等强度把最严重的斑块减弱,然后留着它。一张留着一处真实岁月痕迹的修复照,比一张被数字擦除、看着像融化了的照片更可信,也更被珍爱。
六、局部修复做不到的事
浏览器内的修复强大而诚实。它混合已经存在的像素,不会凭空创造缺失内容。如果相纸一角被撕掉、留下空白,没有任何滑杆能补回那里原本站着什么。如果一道划痕正好划过眼睛,工具能平滑线条,却无法恢复被它抹去的虹膜细节。如果半张脸已经褪成白纸,最好的结果就是一块干净平滑的空白——而不是猜出来的脸。这就是修复与伪造的区别,也正因如此,原始文件始终不动:你随时可以重来,永远不会丢失真实的记录。
七、锐化前的最后清理
除划痕之后,把整张图再放大看一遍,分别检查天空、皮肤和织物上有没有残留斑点。深色外套上的一个白点,比整张照片其余部分加起来还吸眼睛。痕迹消失后,照片就可以走最后一步——用我们锐化指南里的方法,温和锐化,找回扫描带来的轻微发虚。然后导出 PNG 母版,保留扫描件不动,享受一张终于和你记忆中一样的照片。