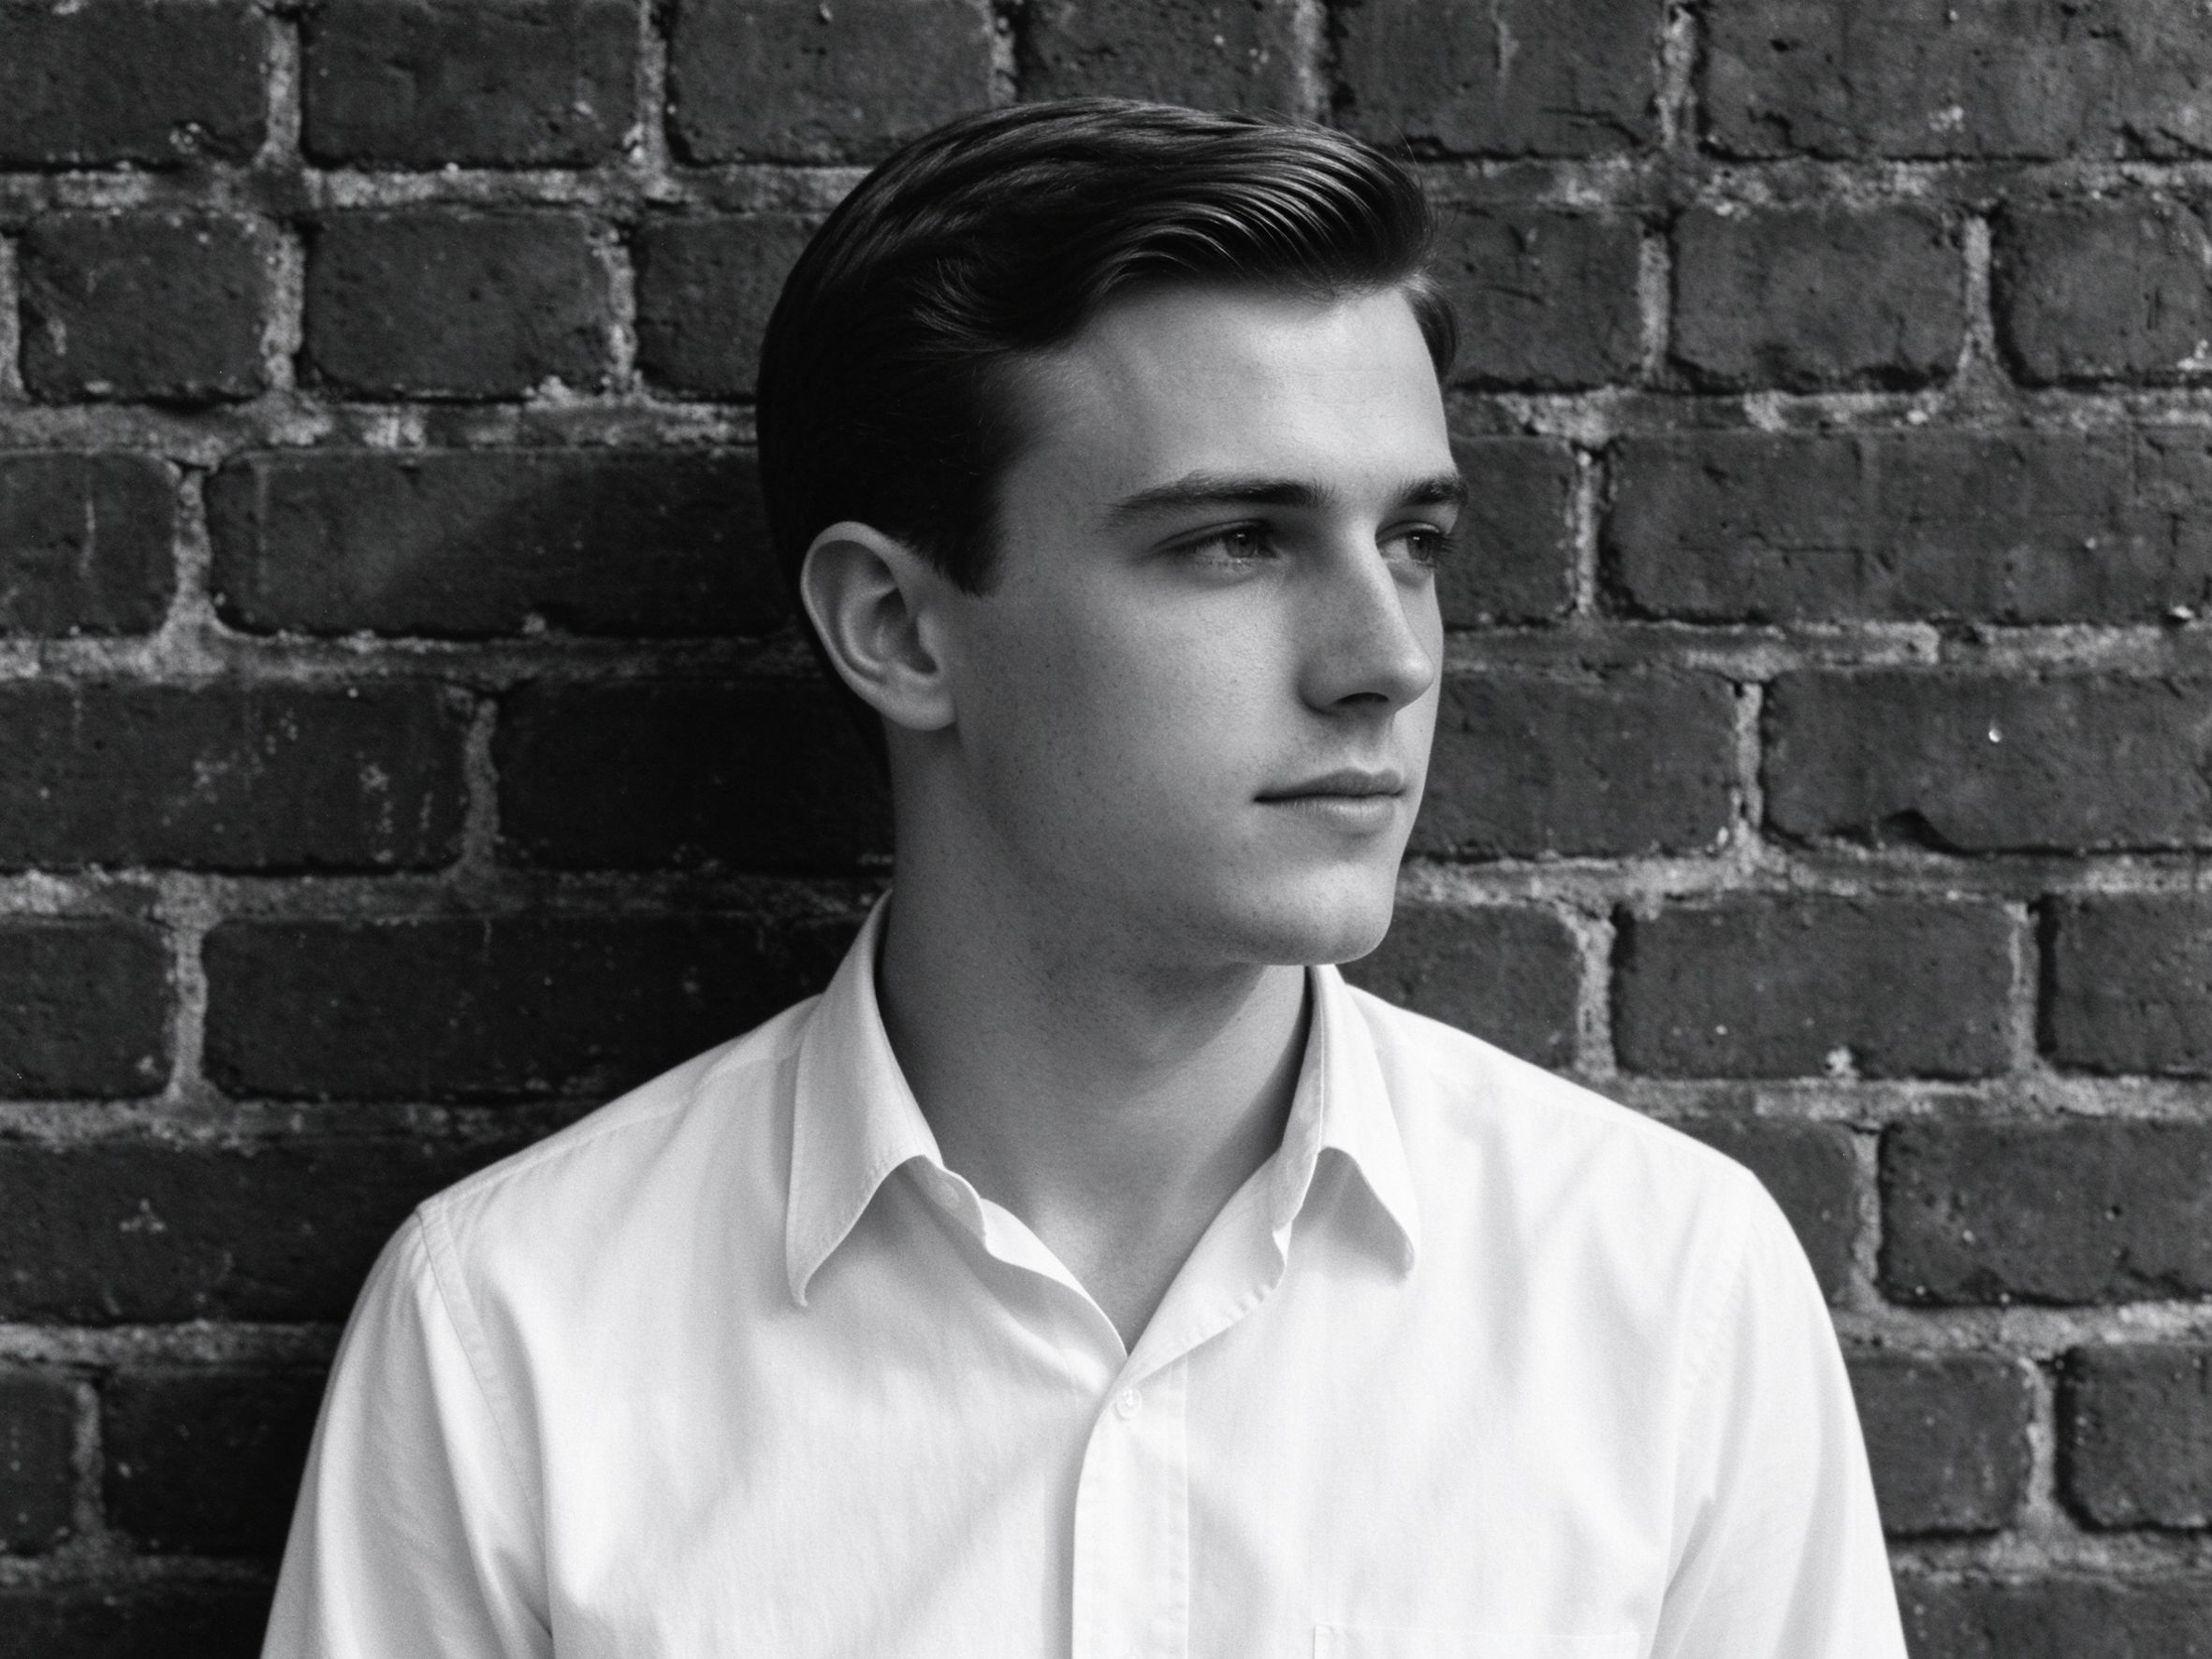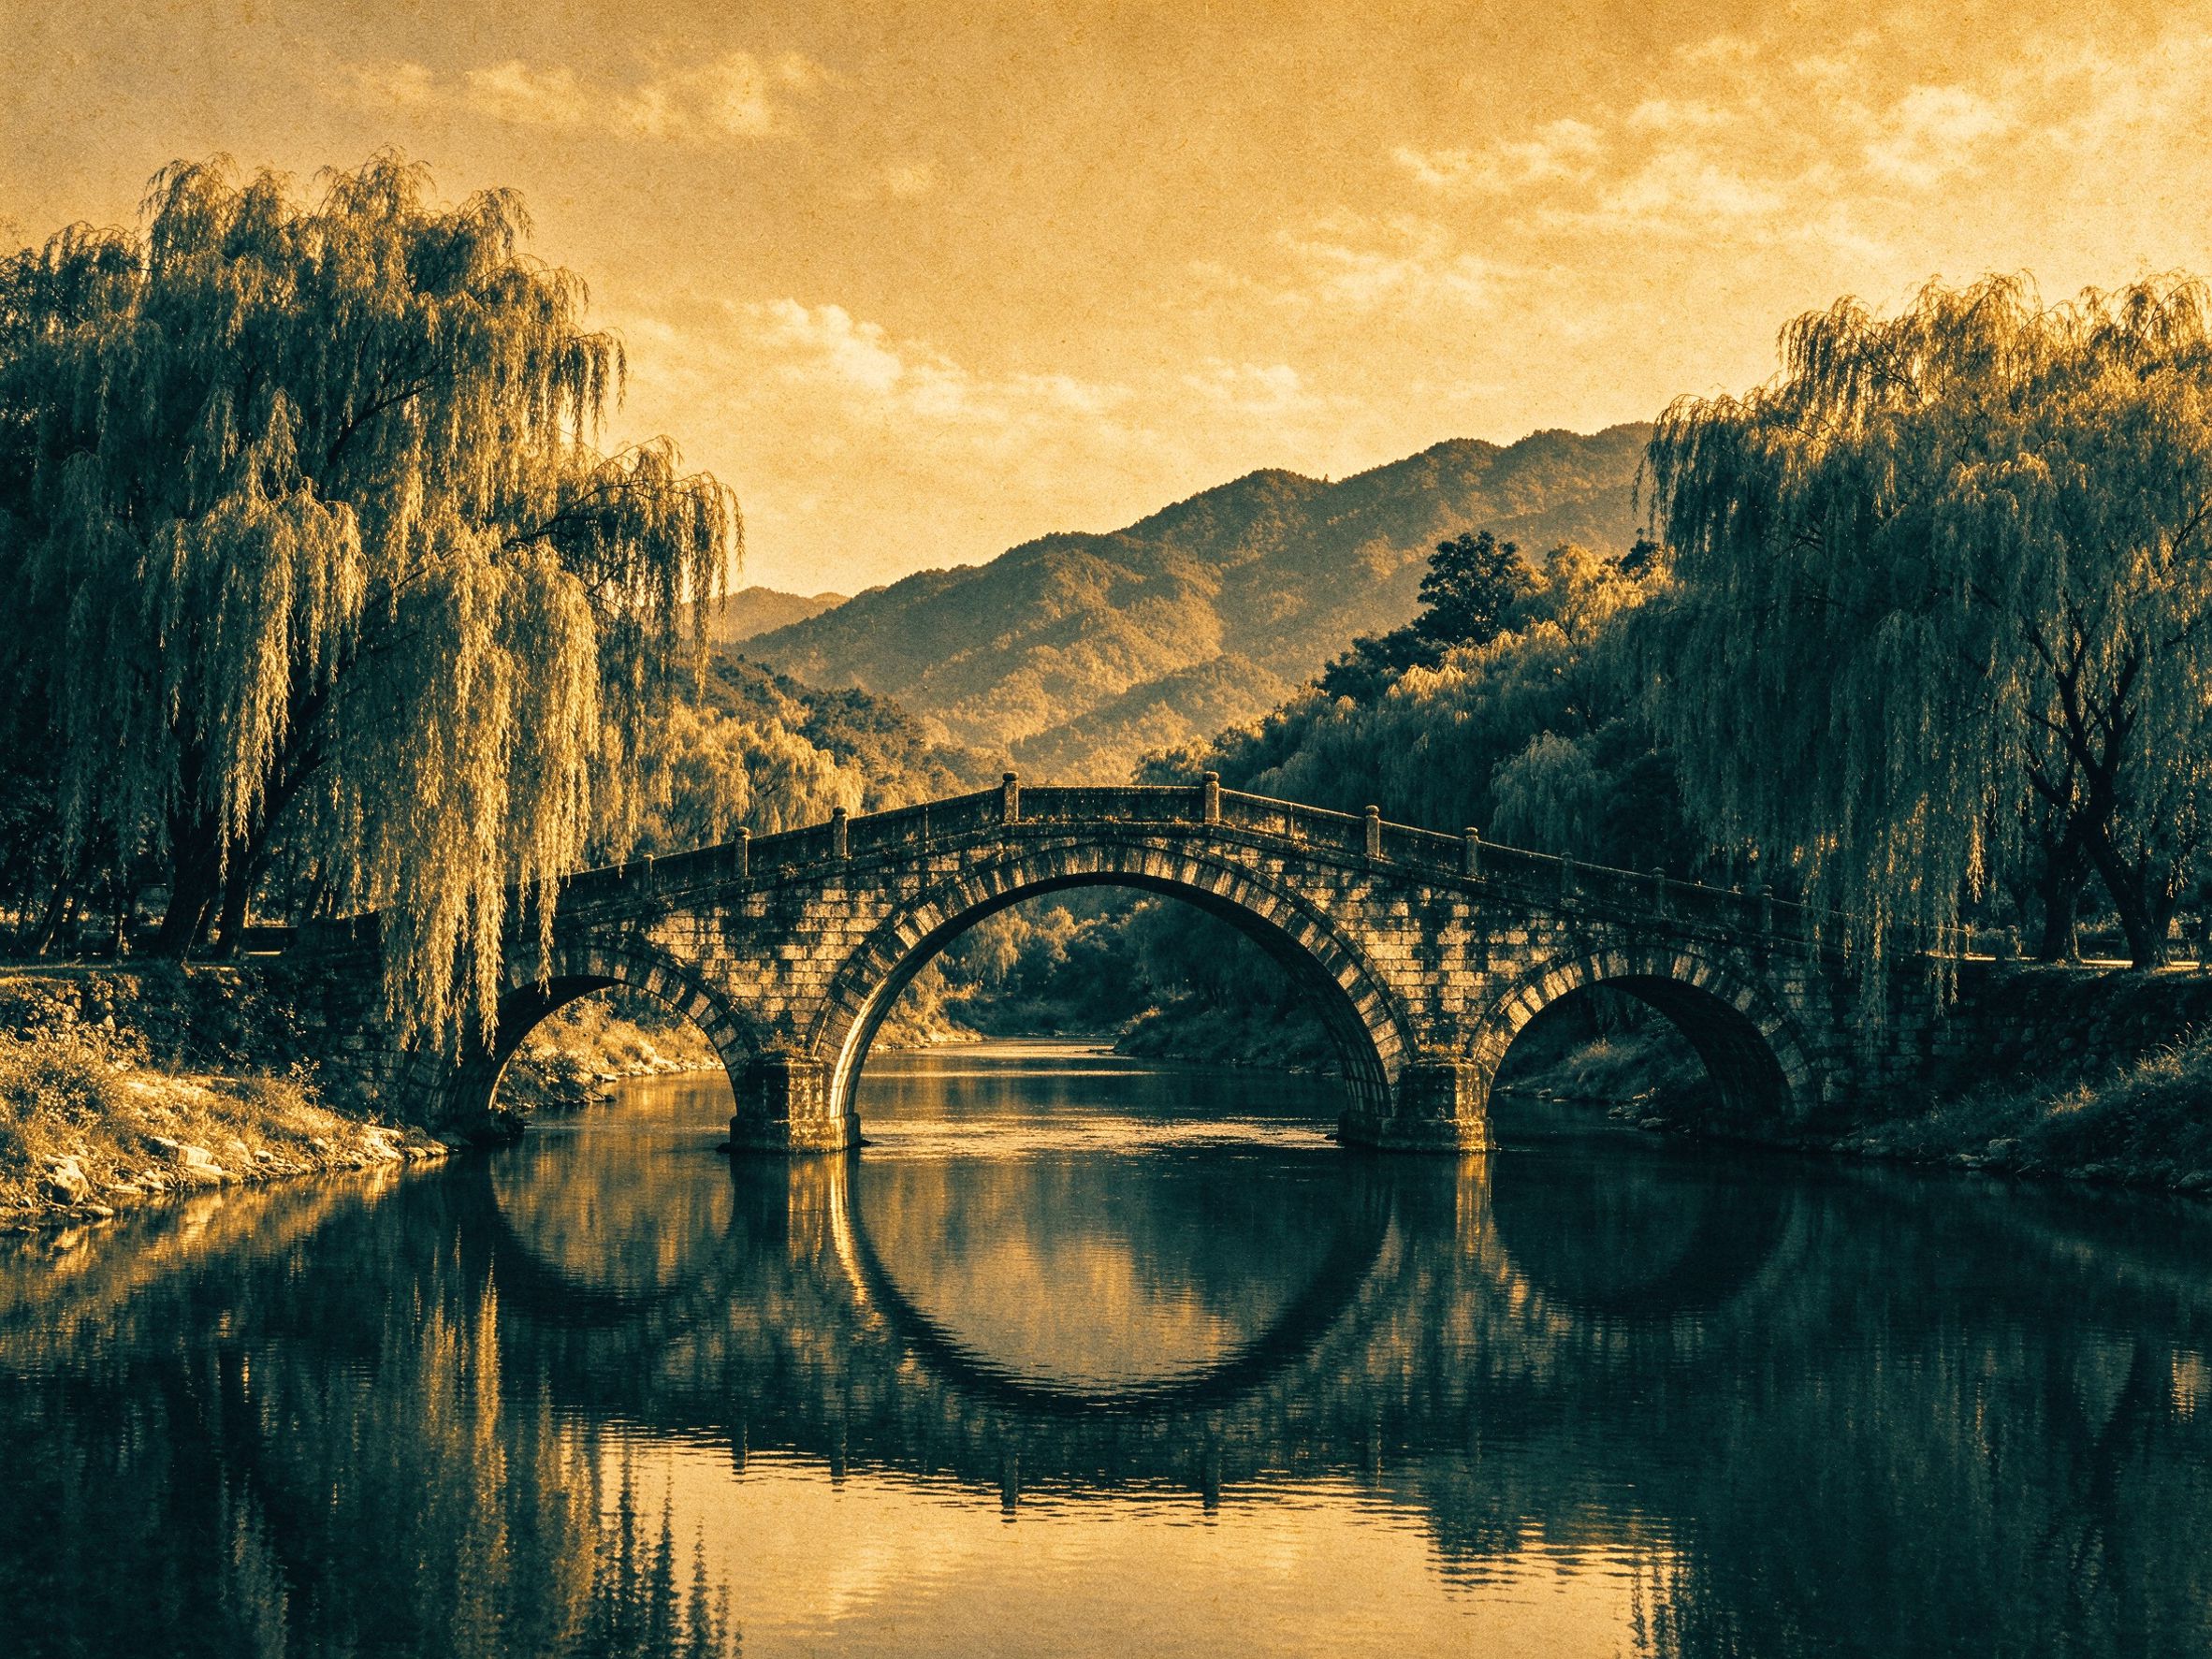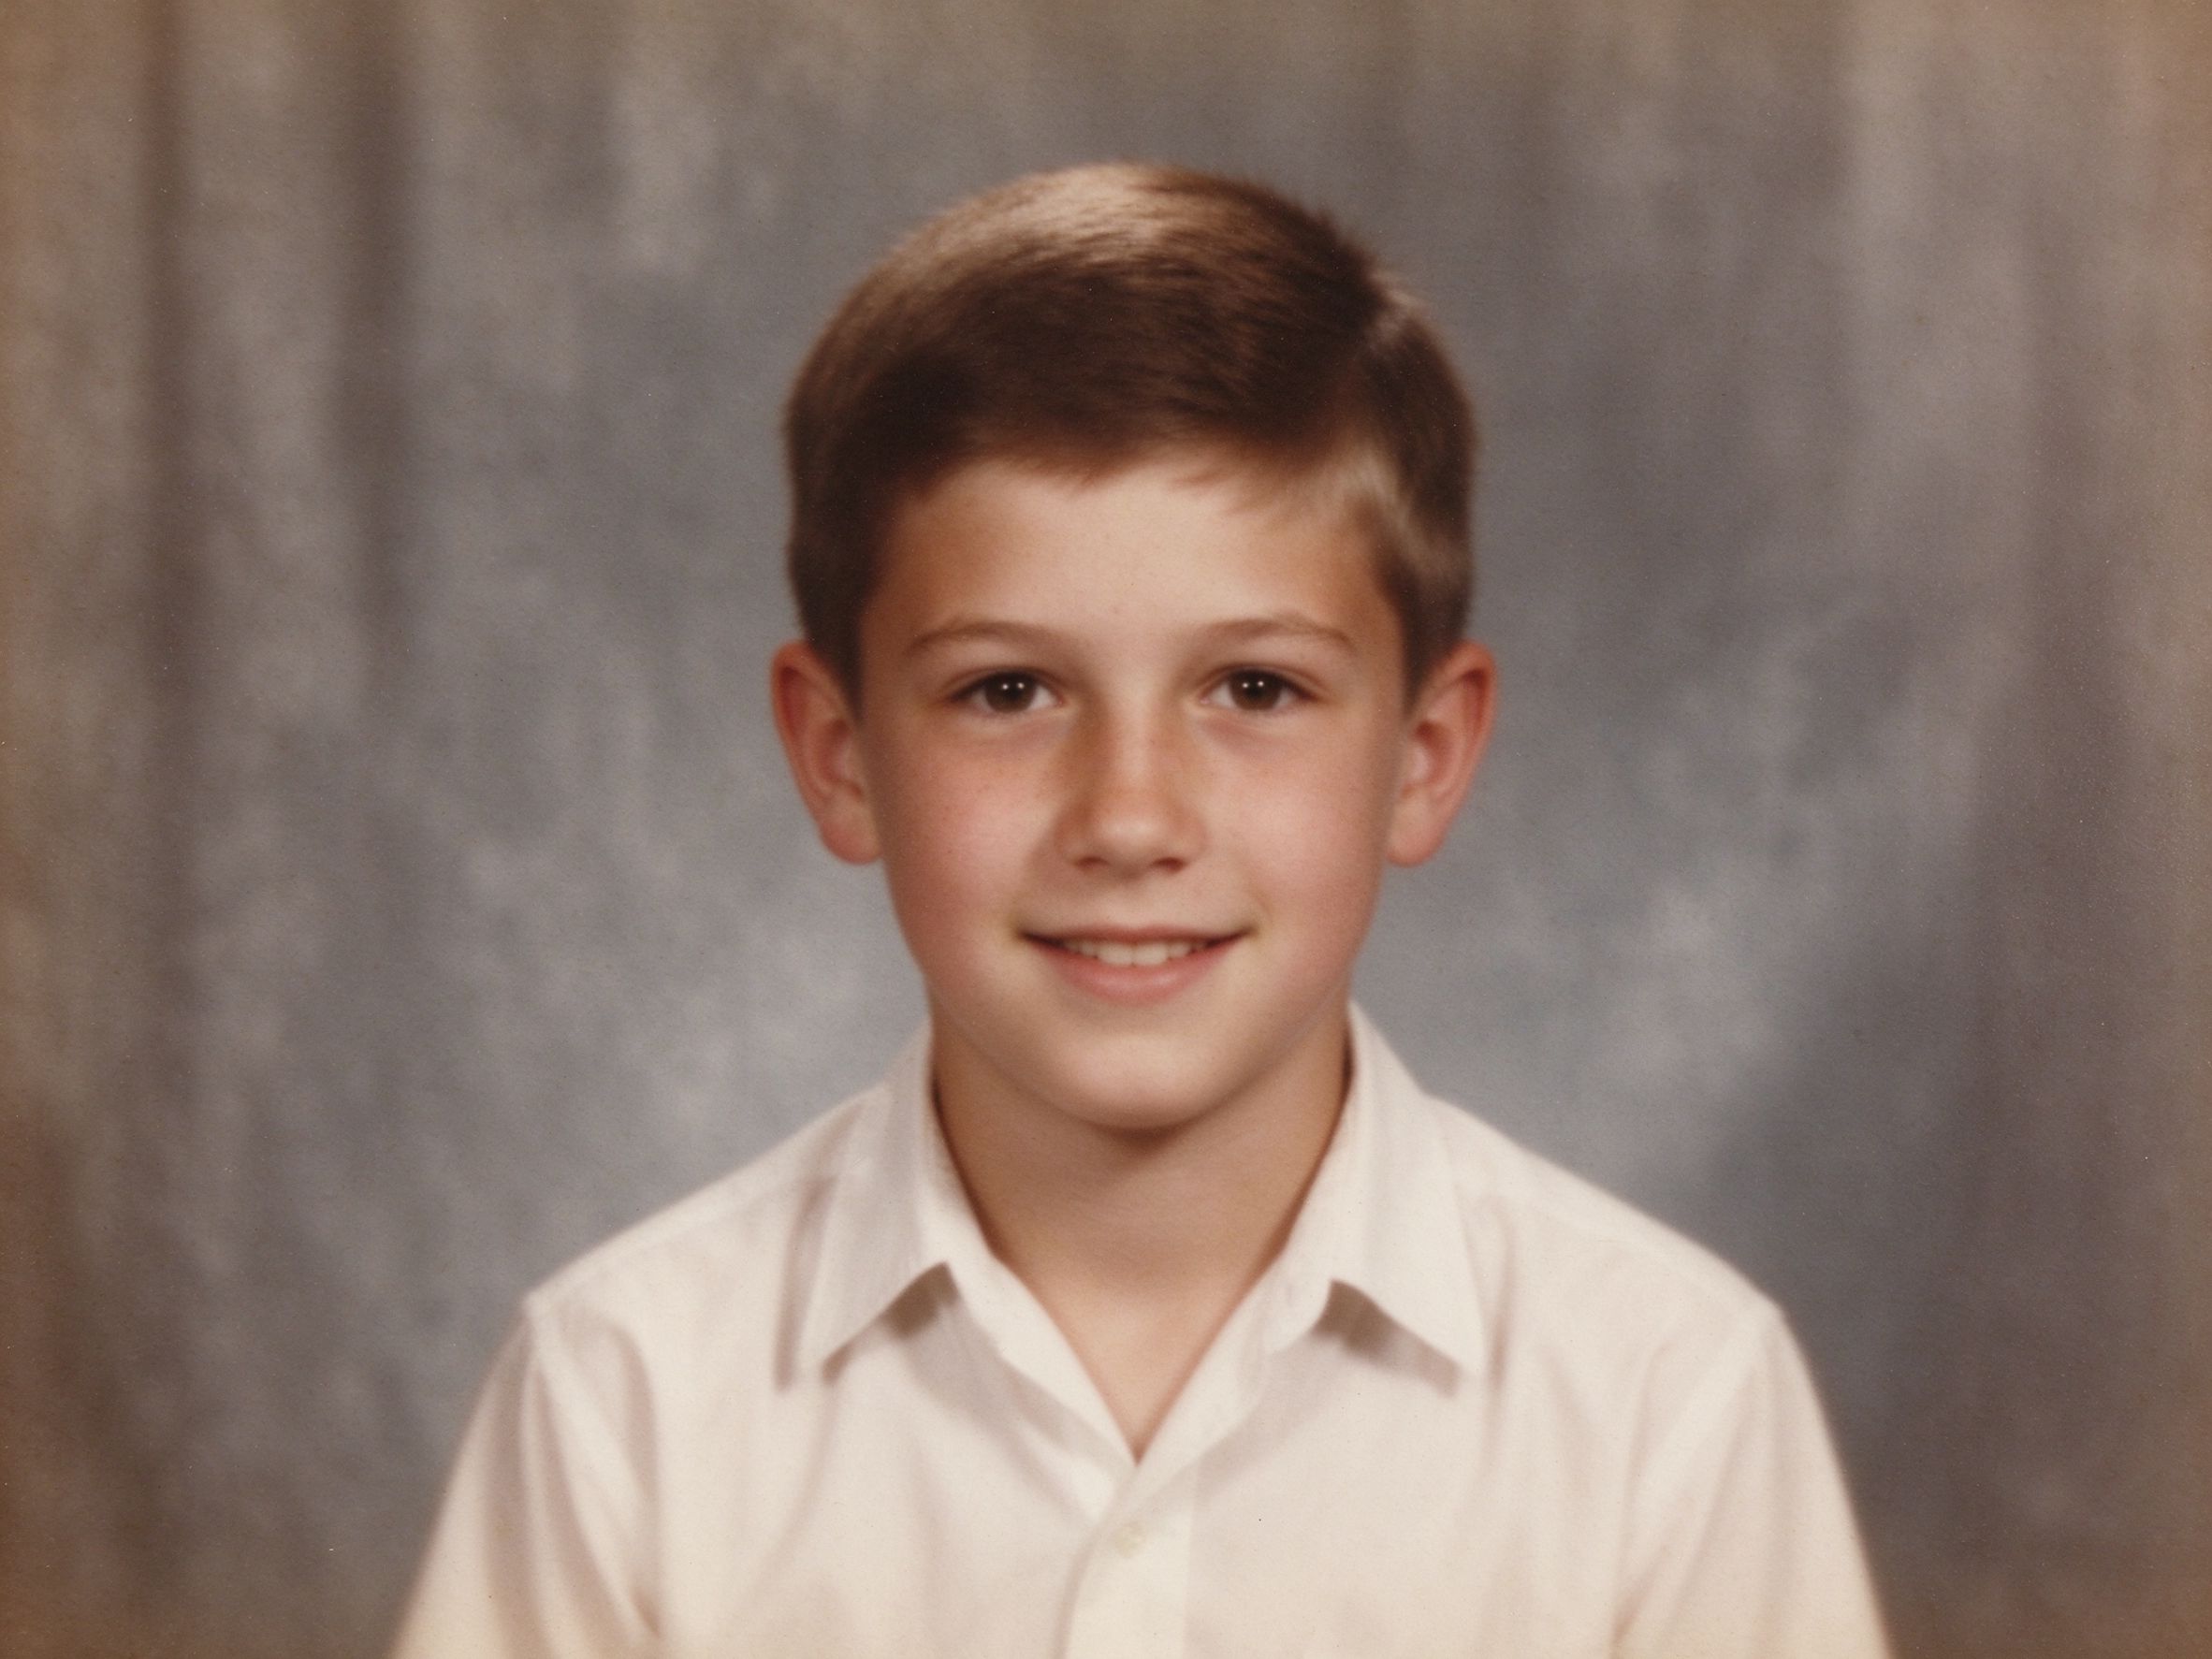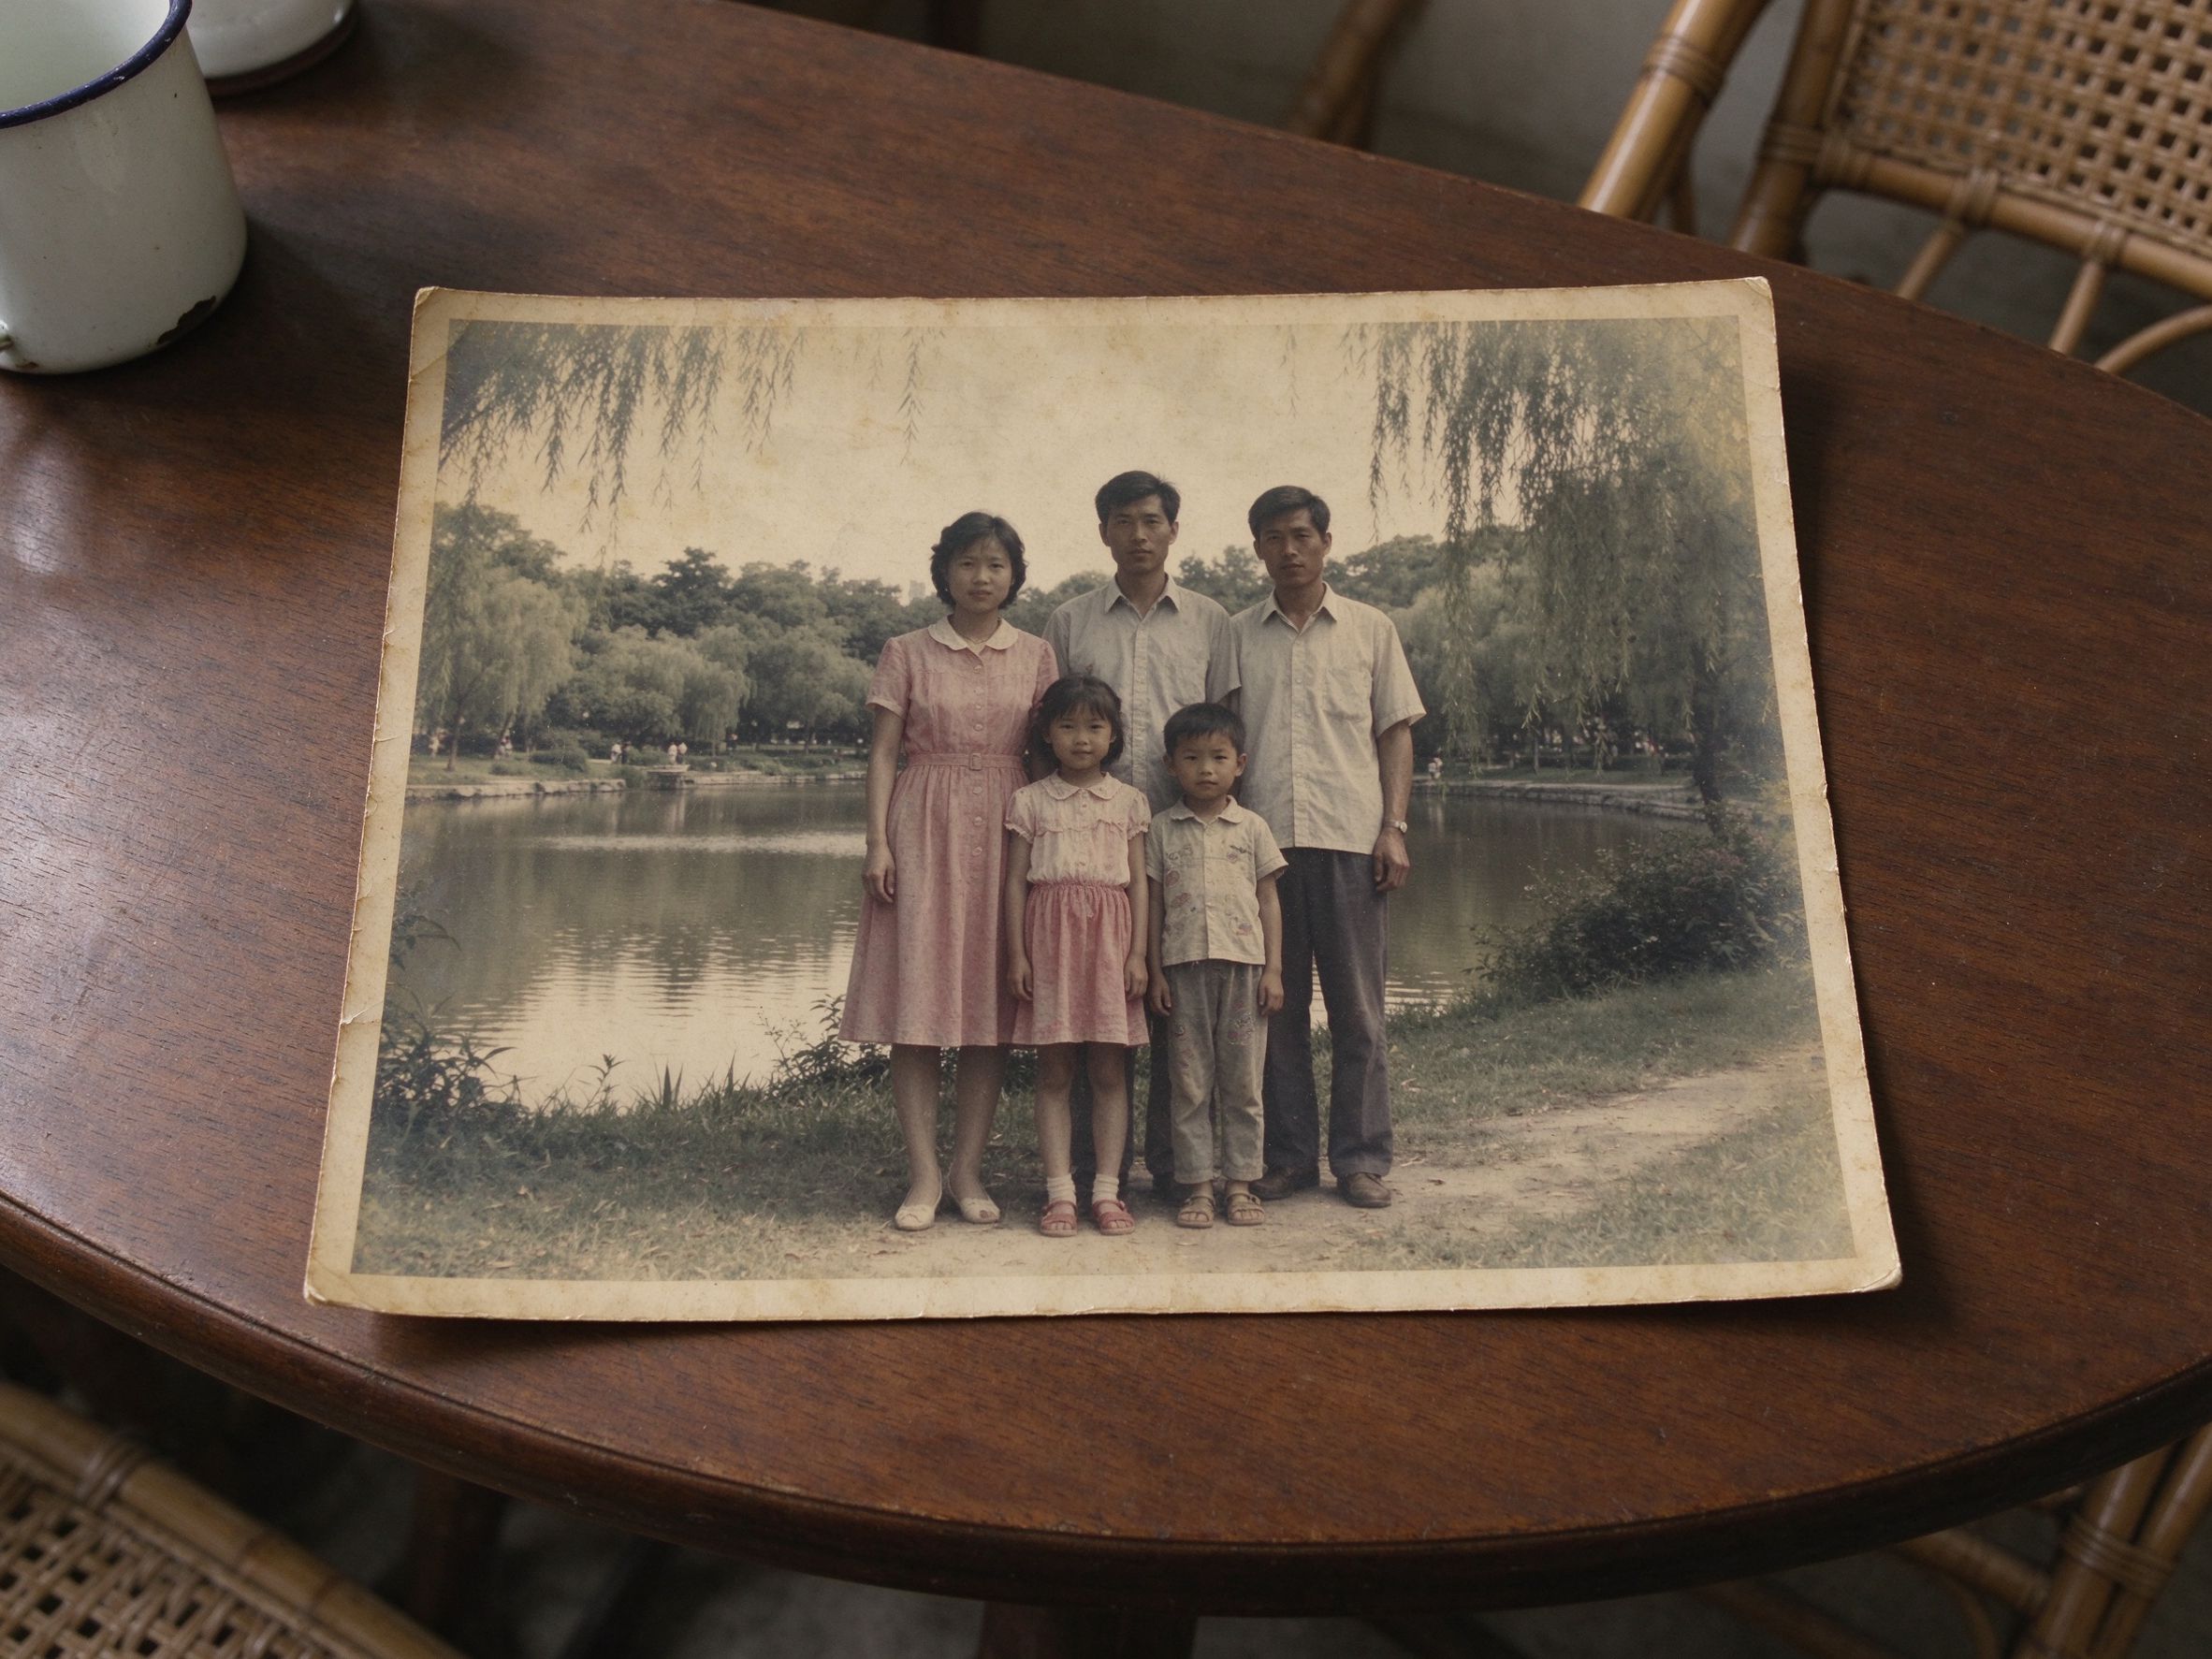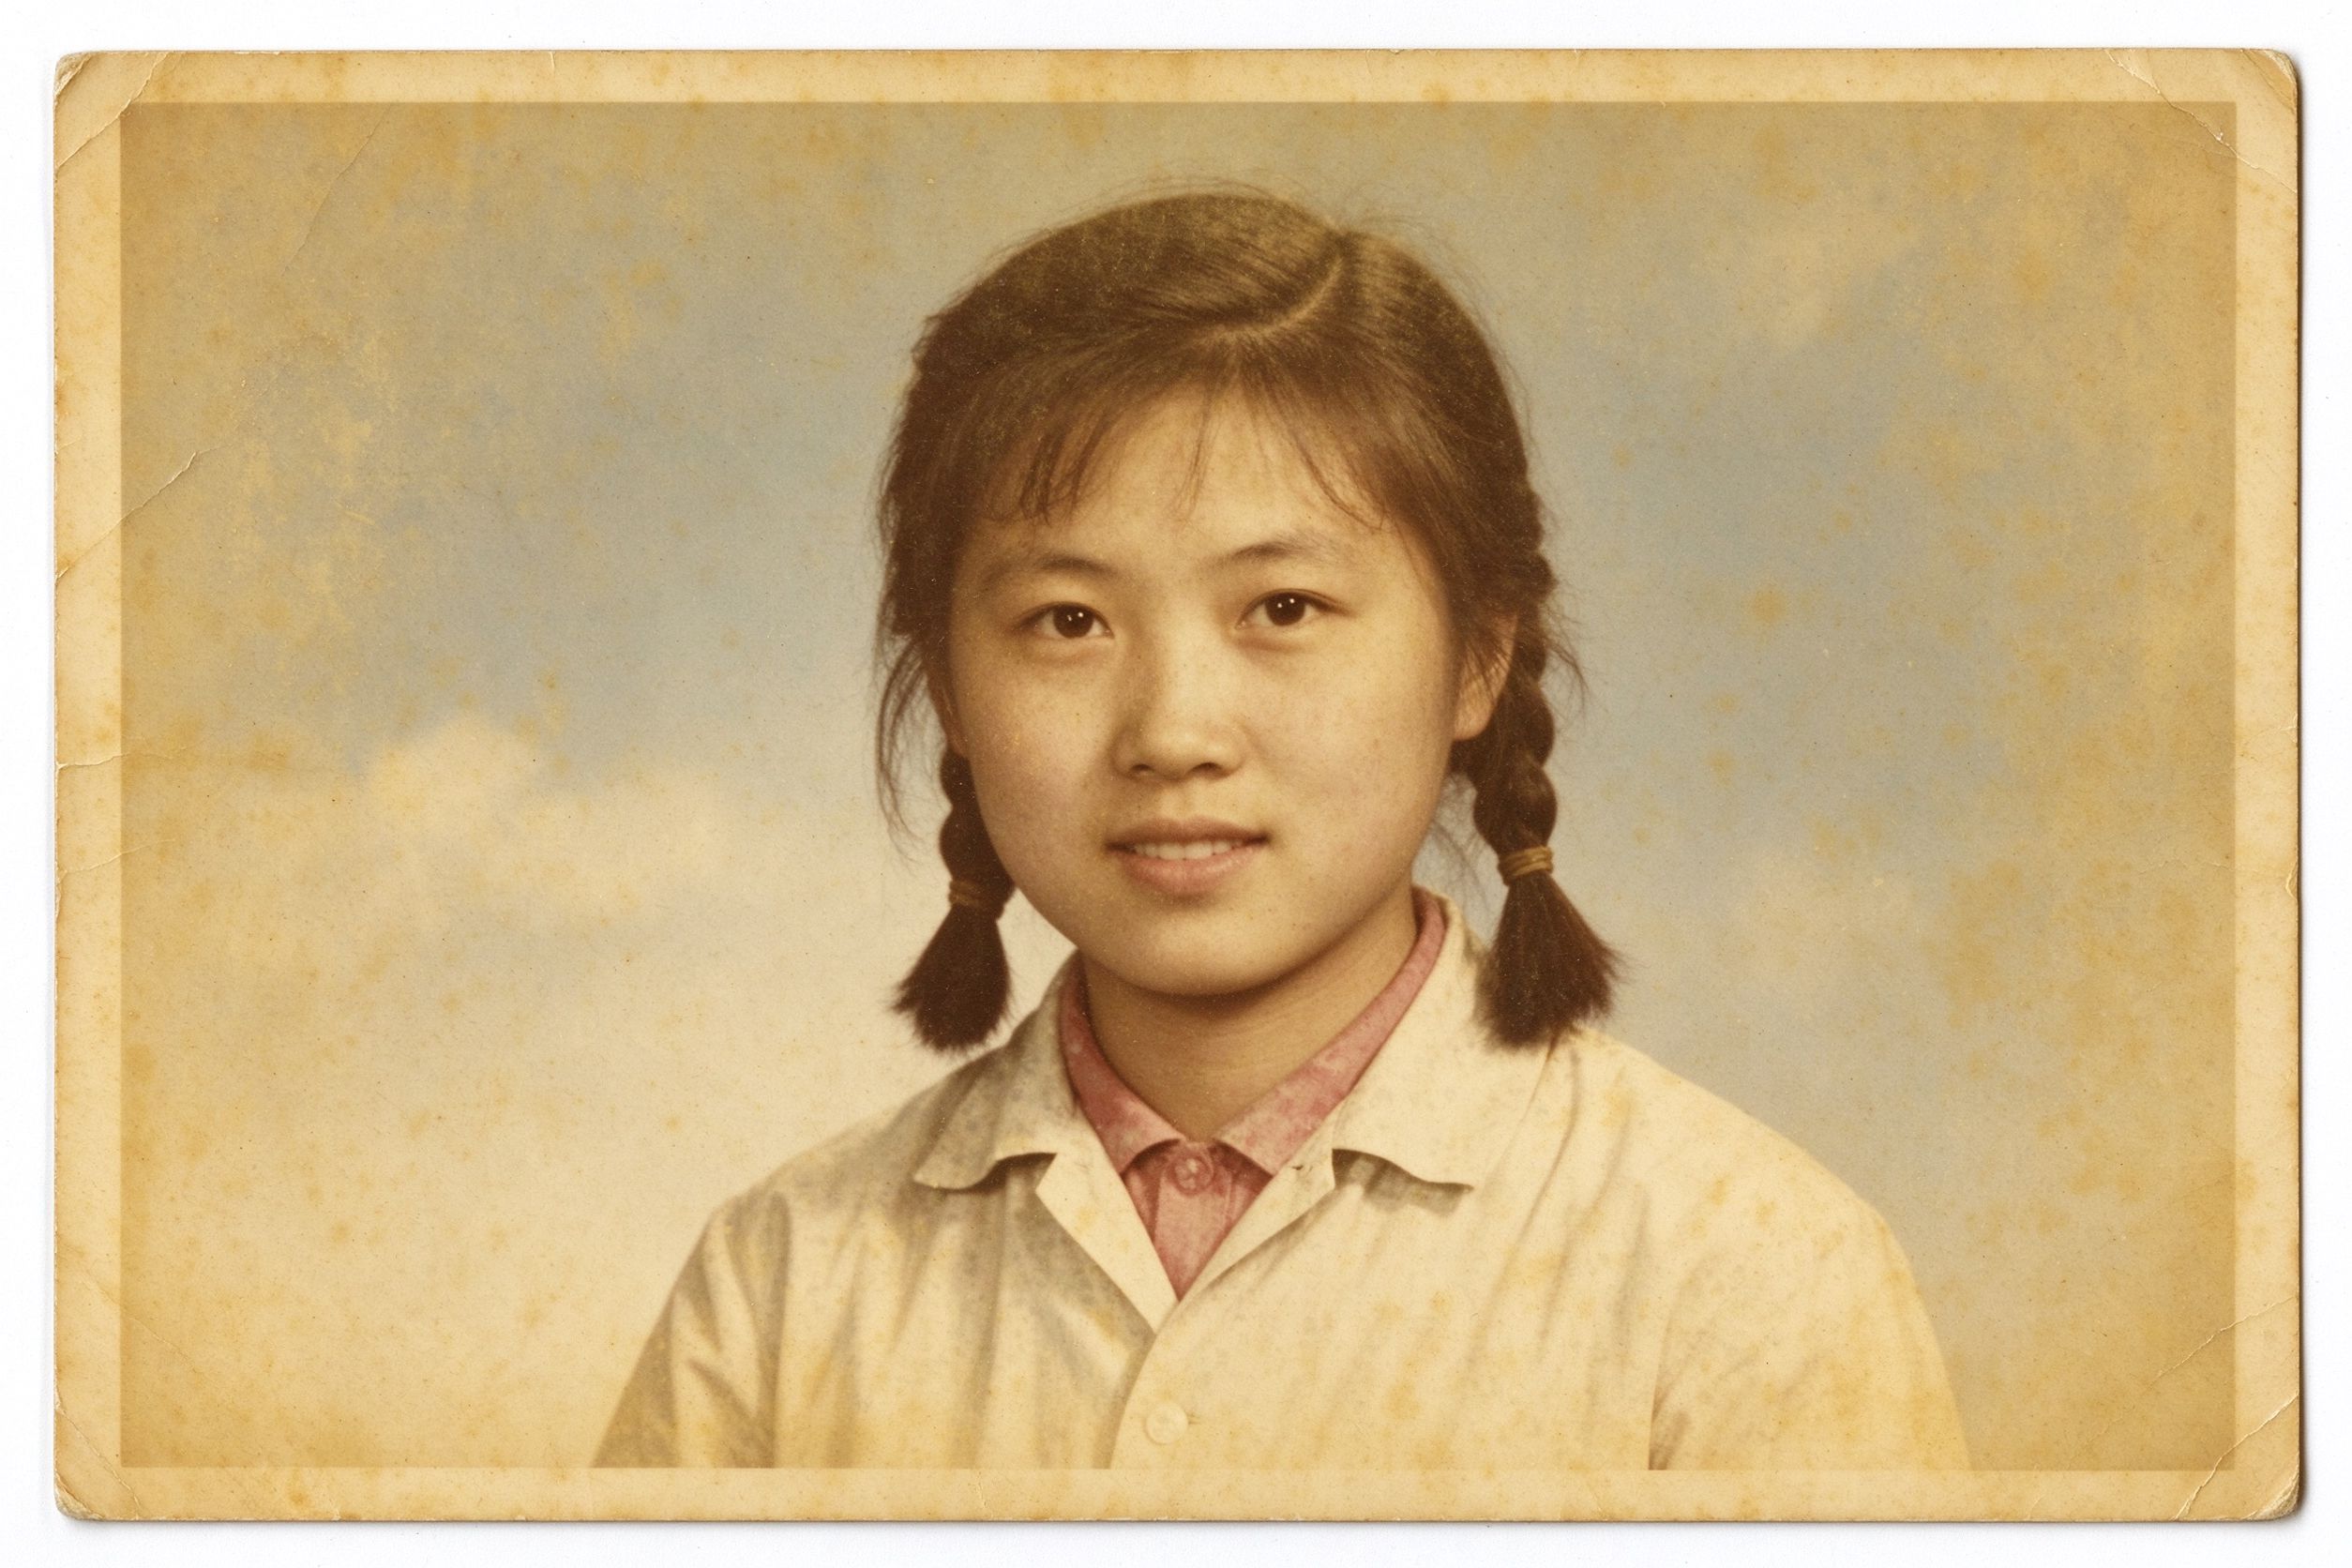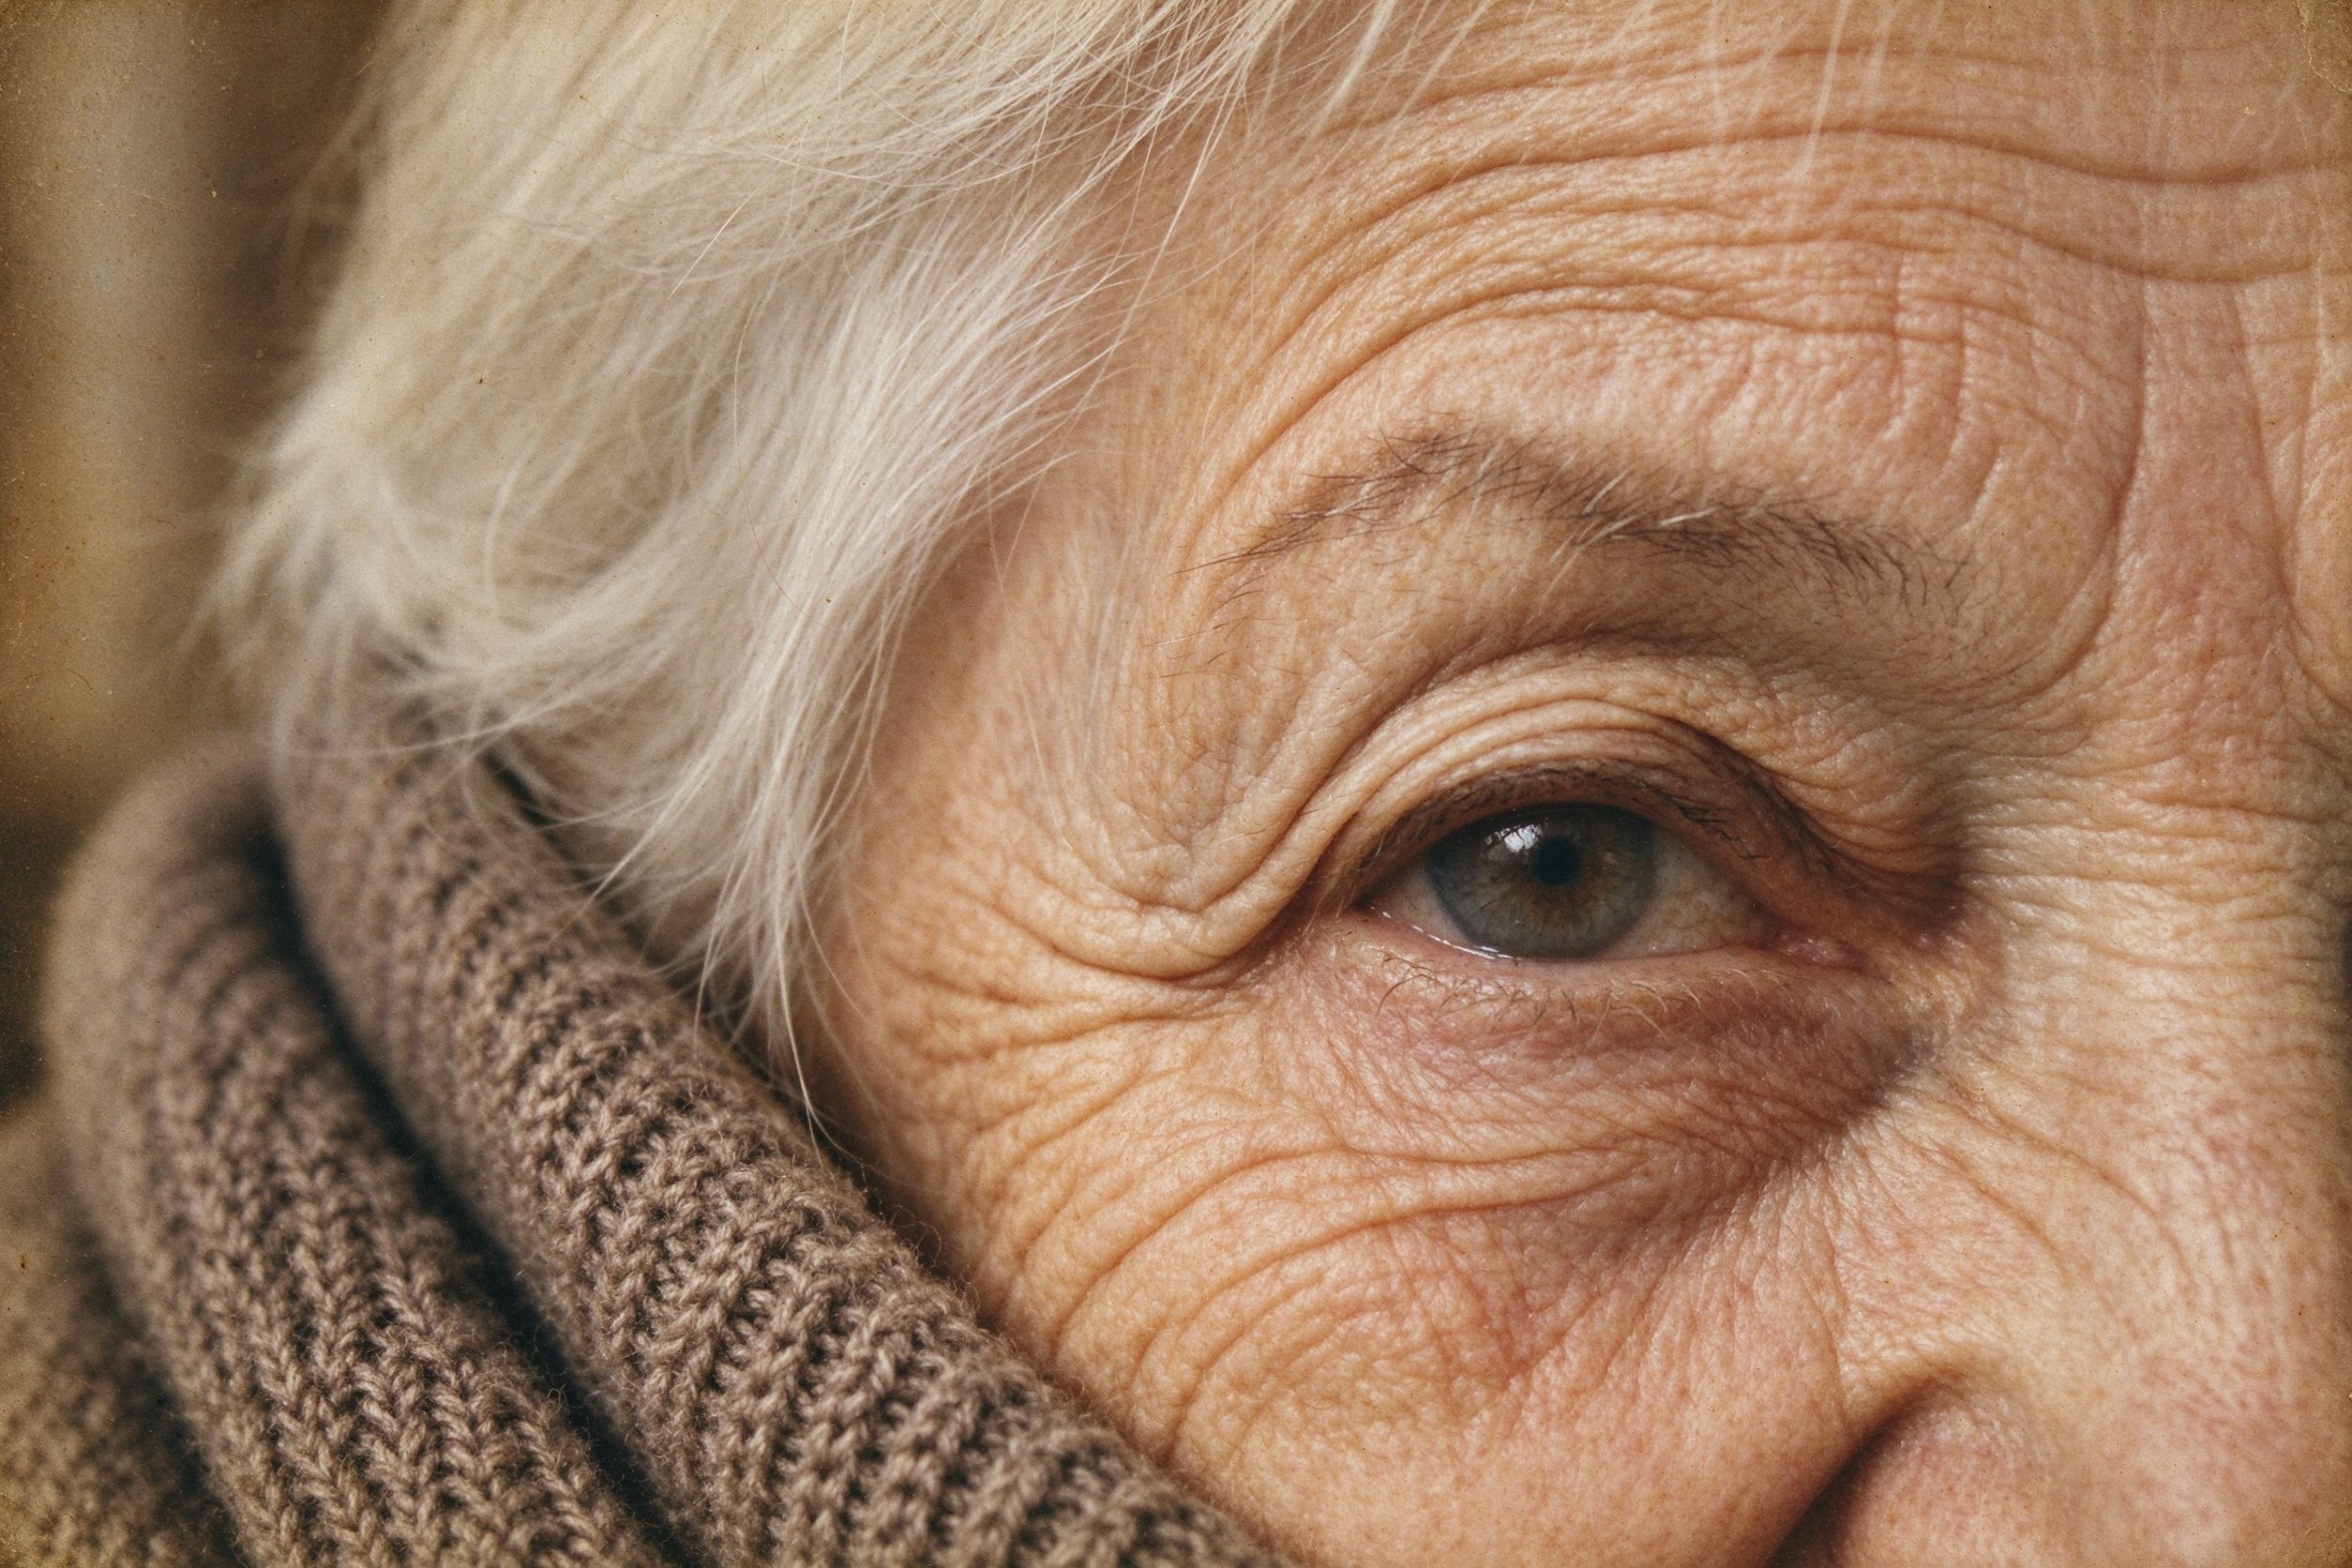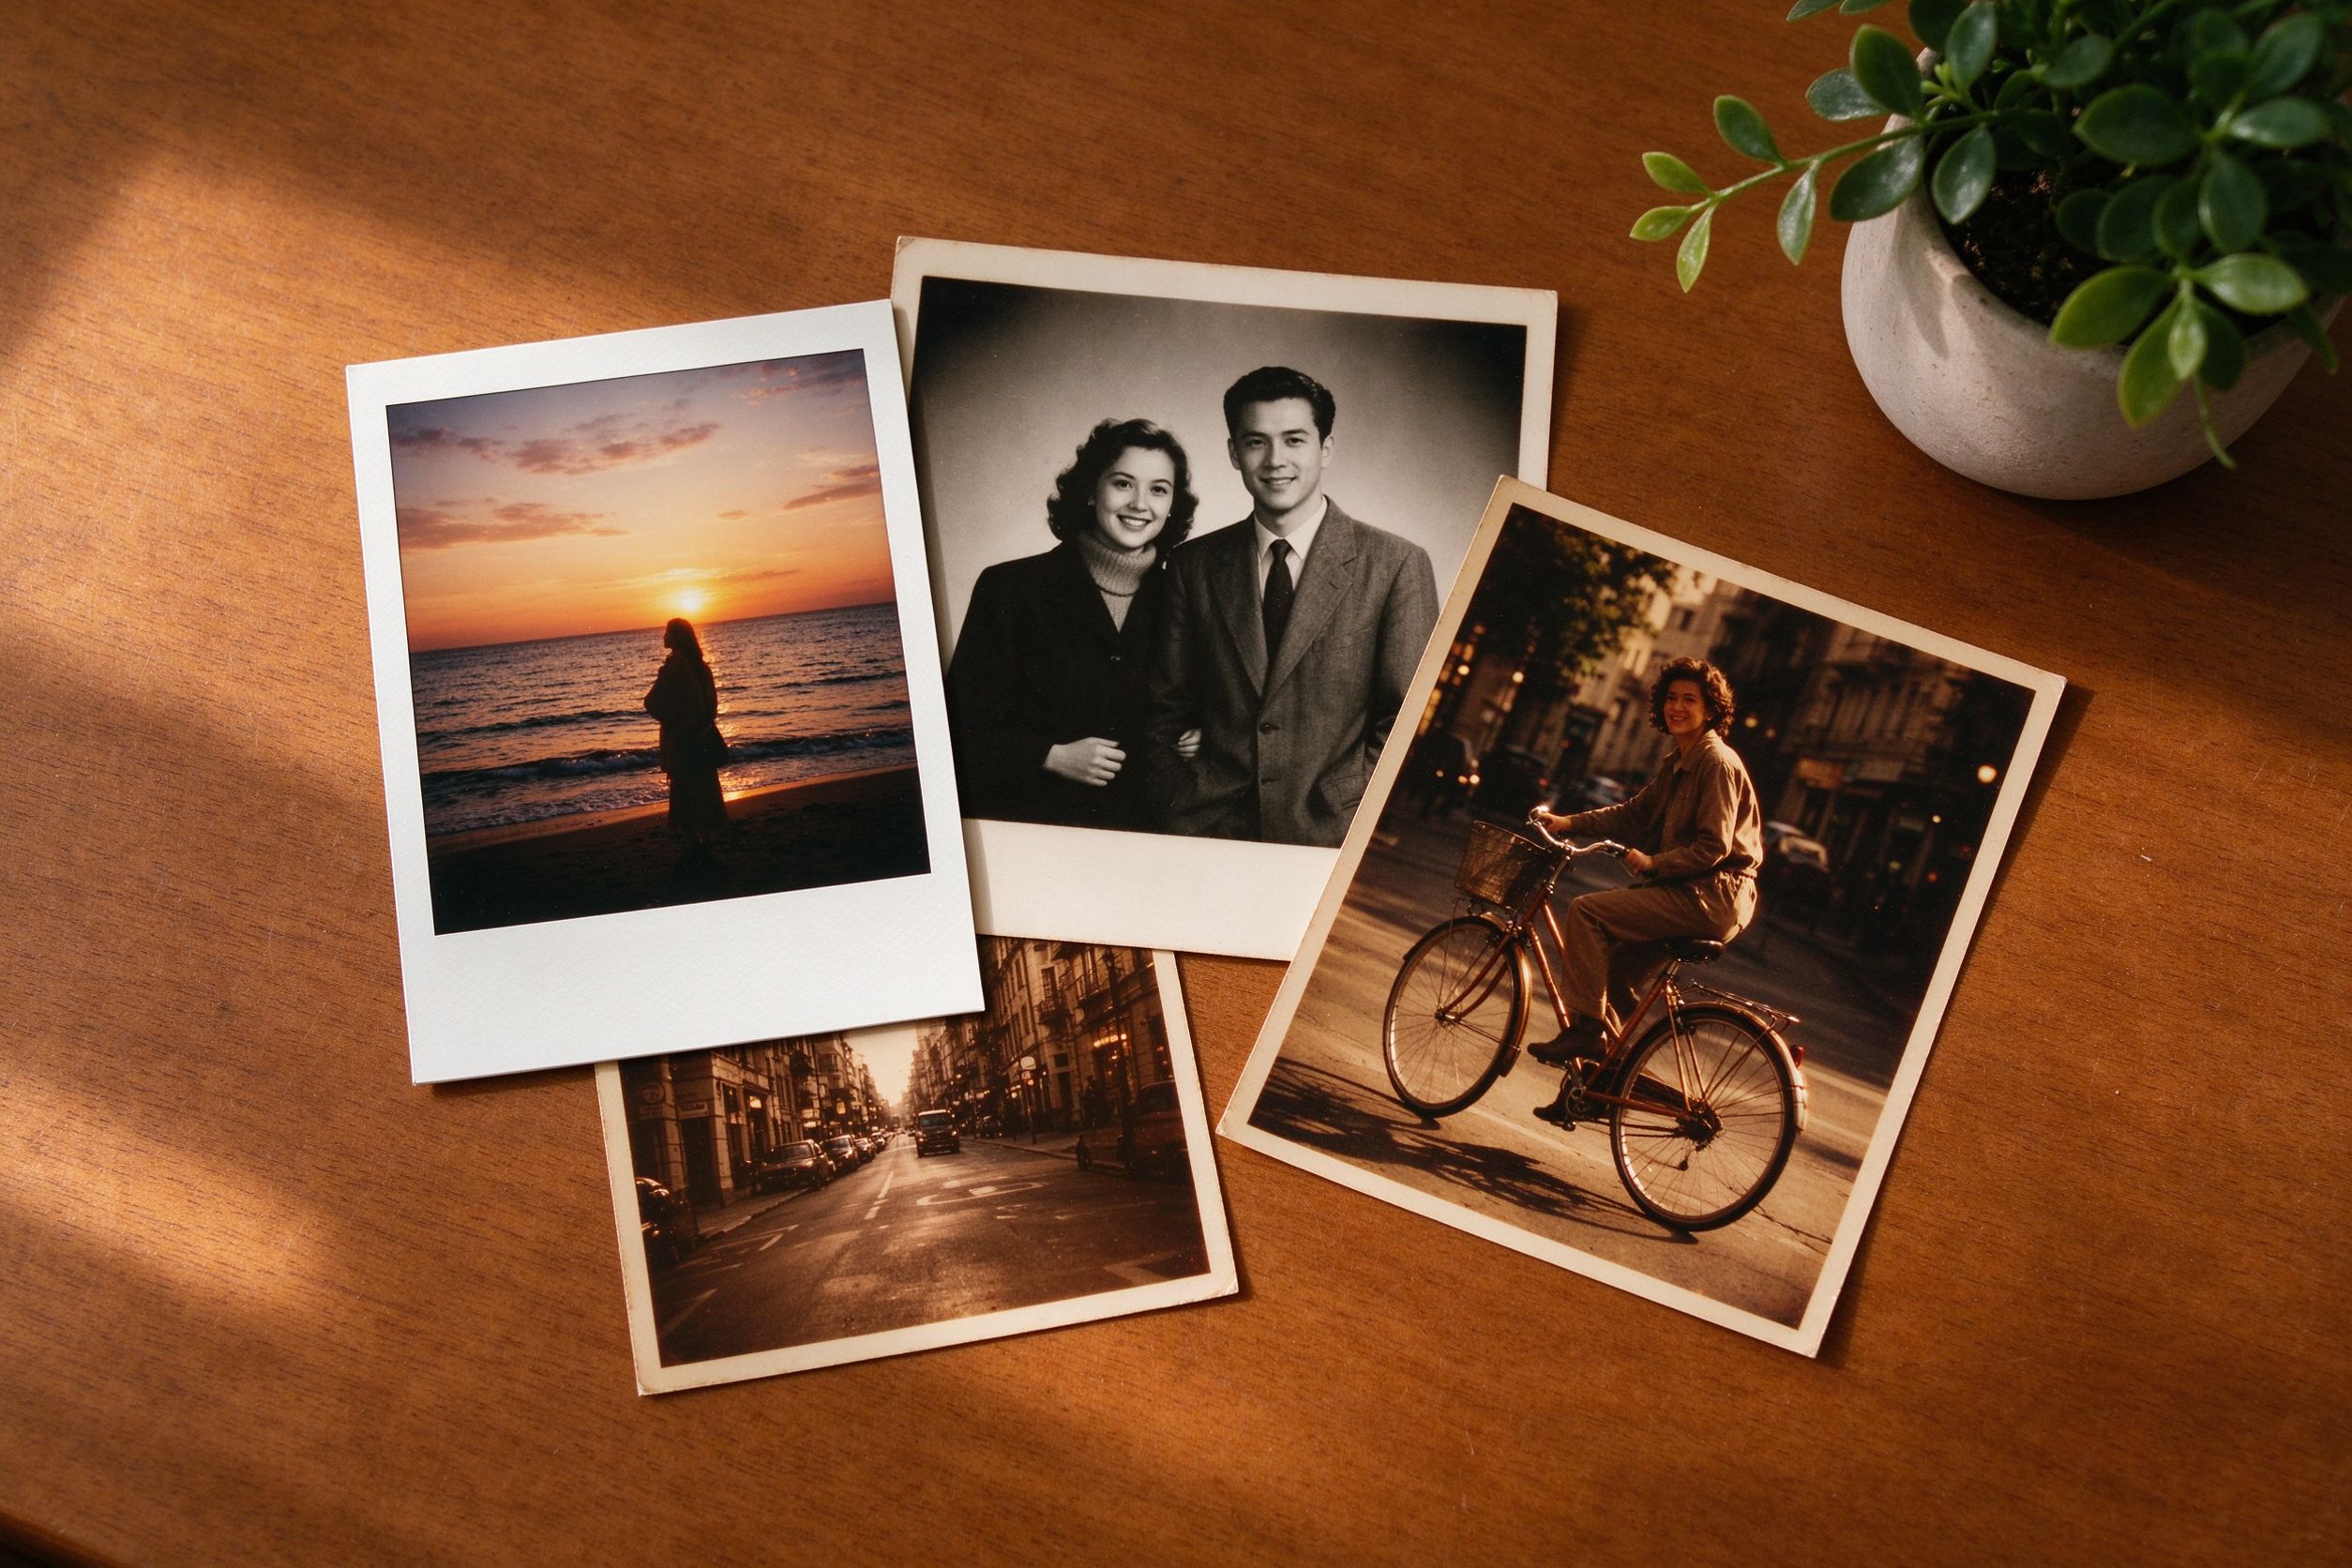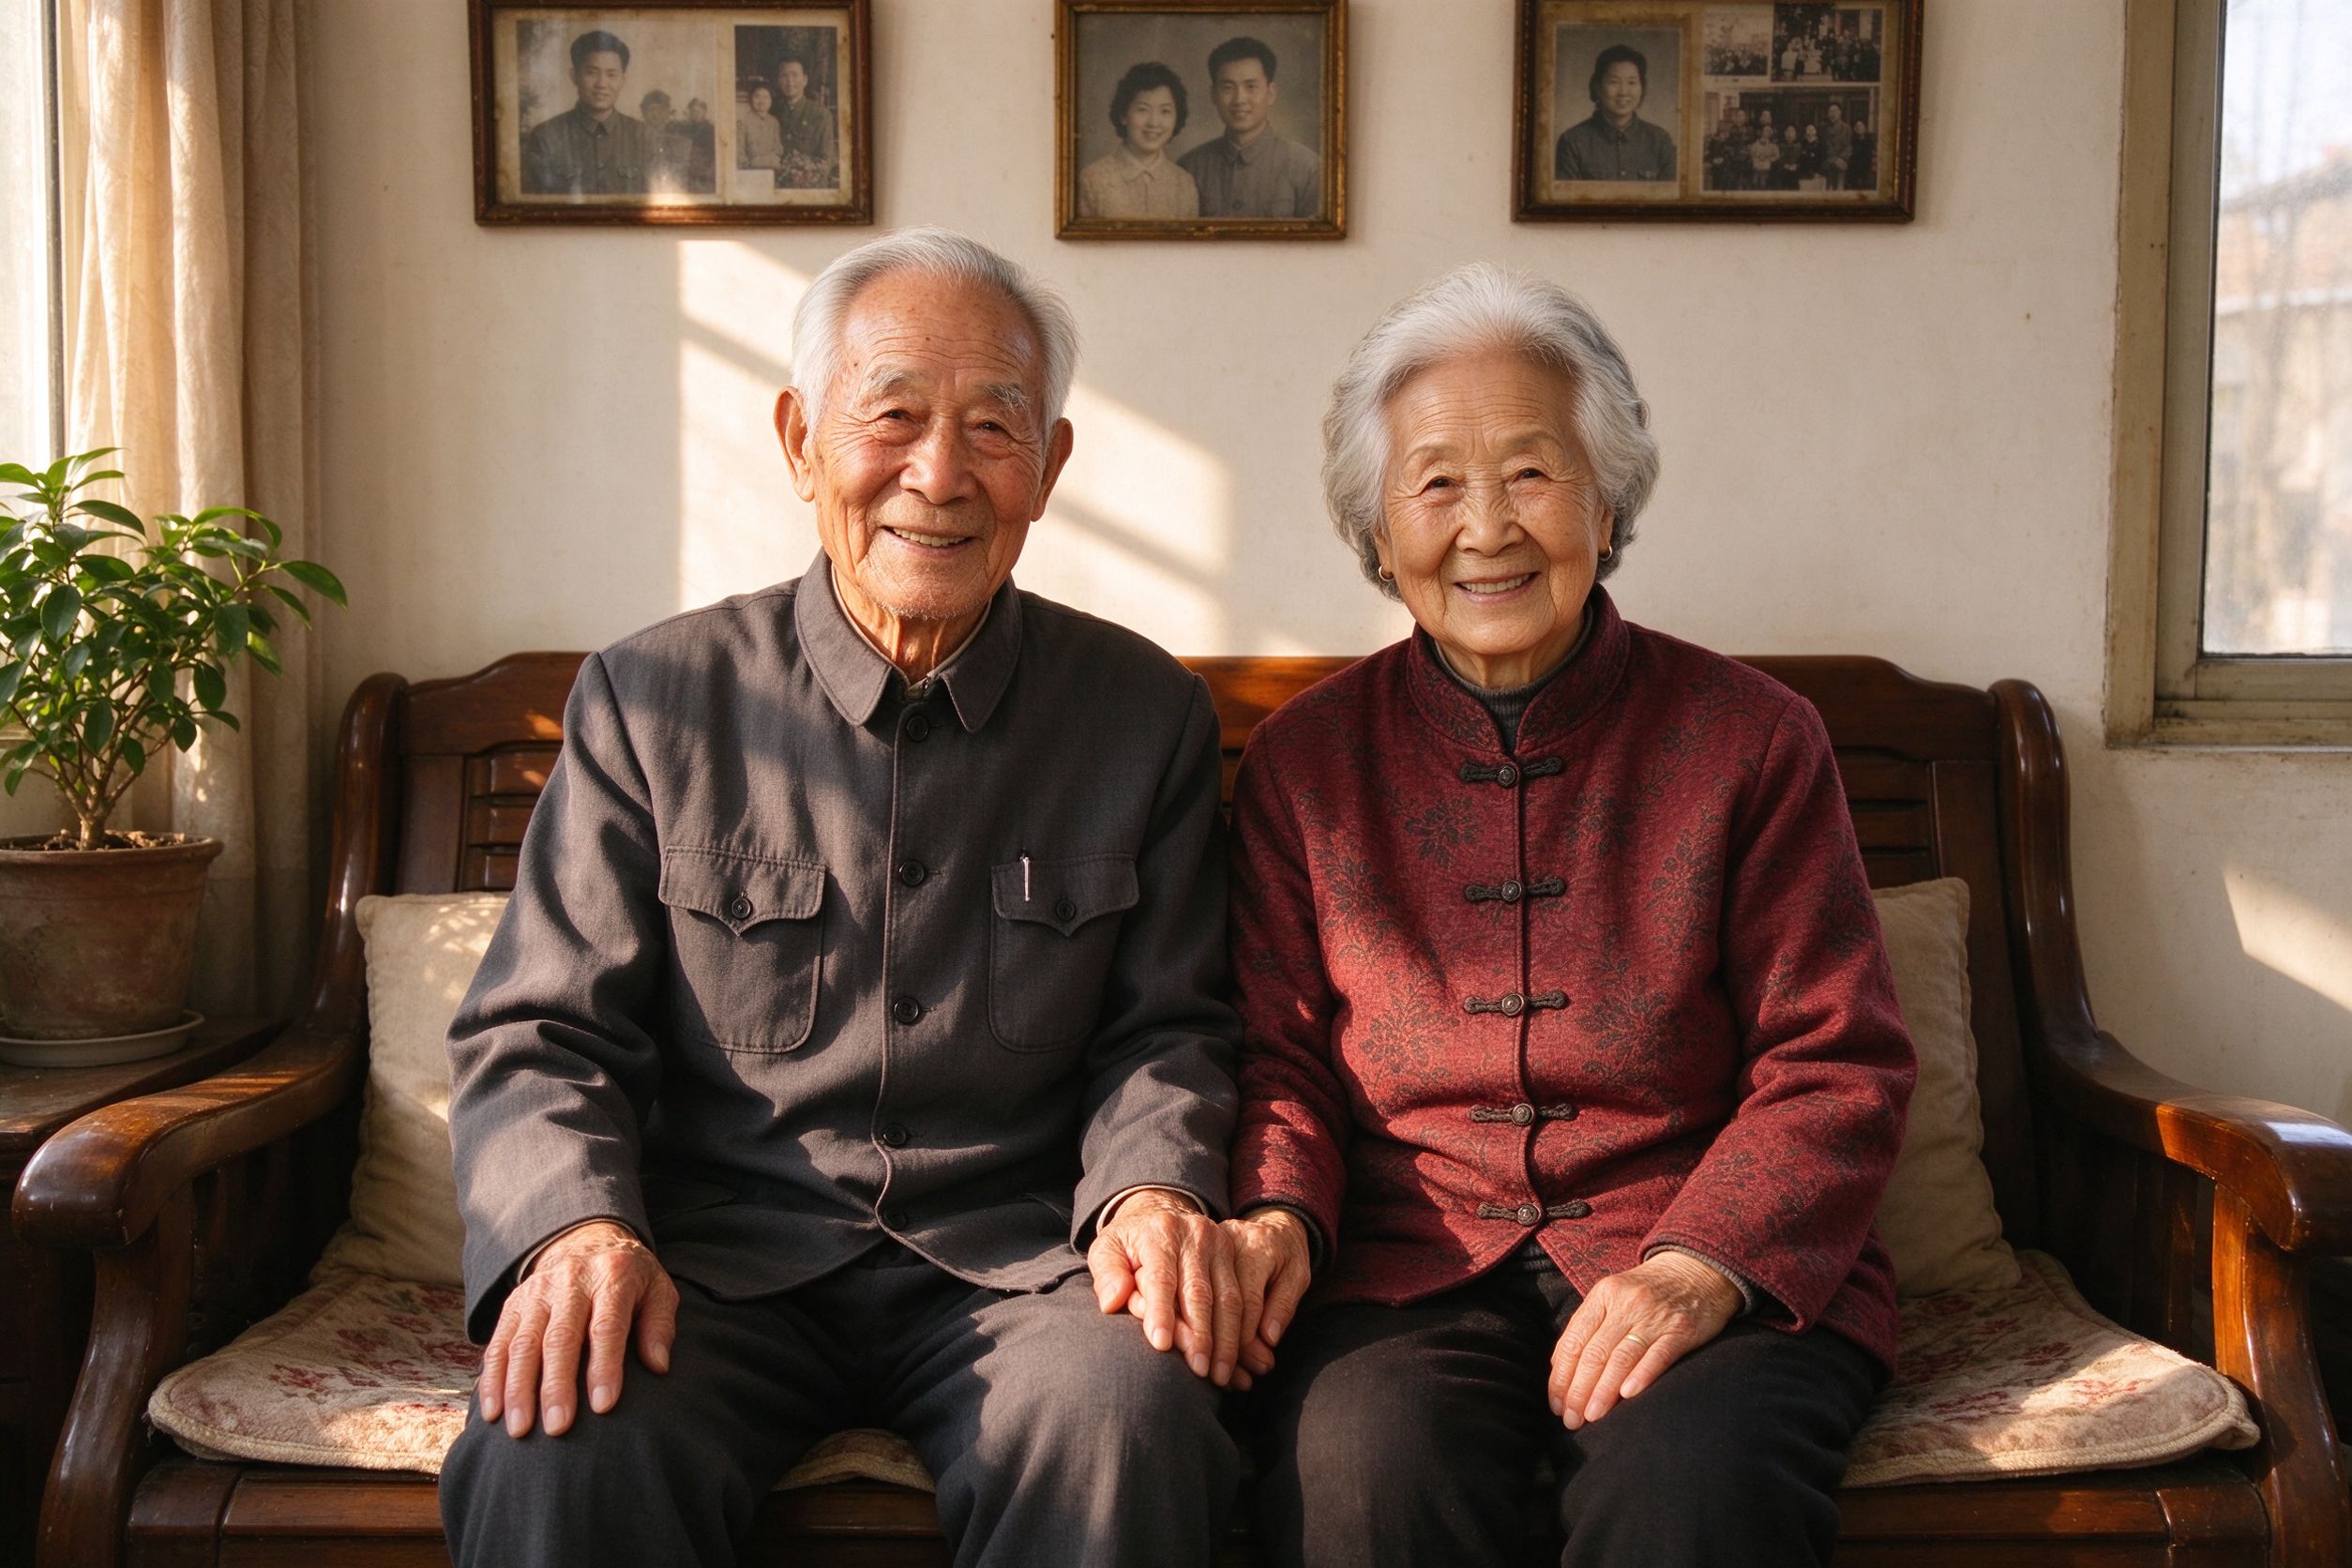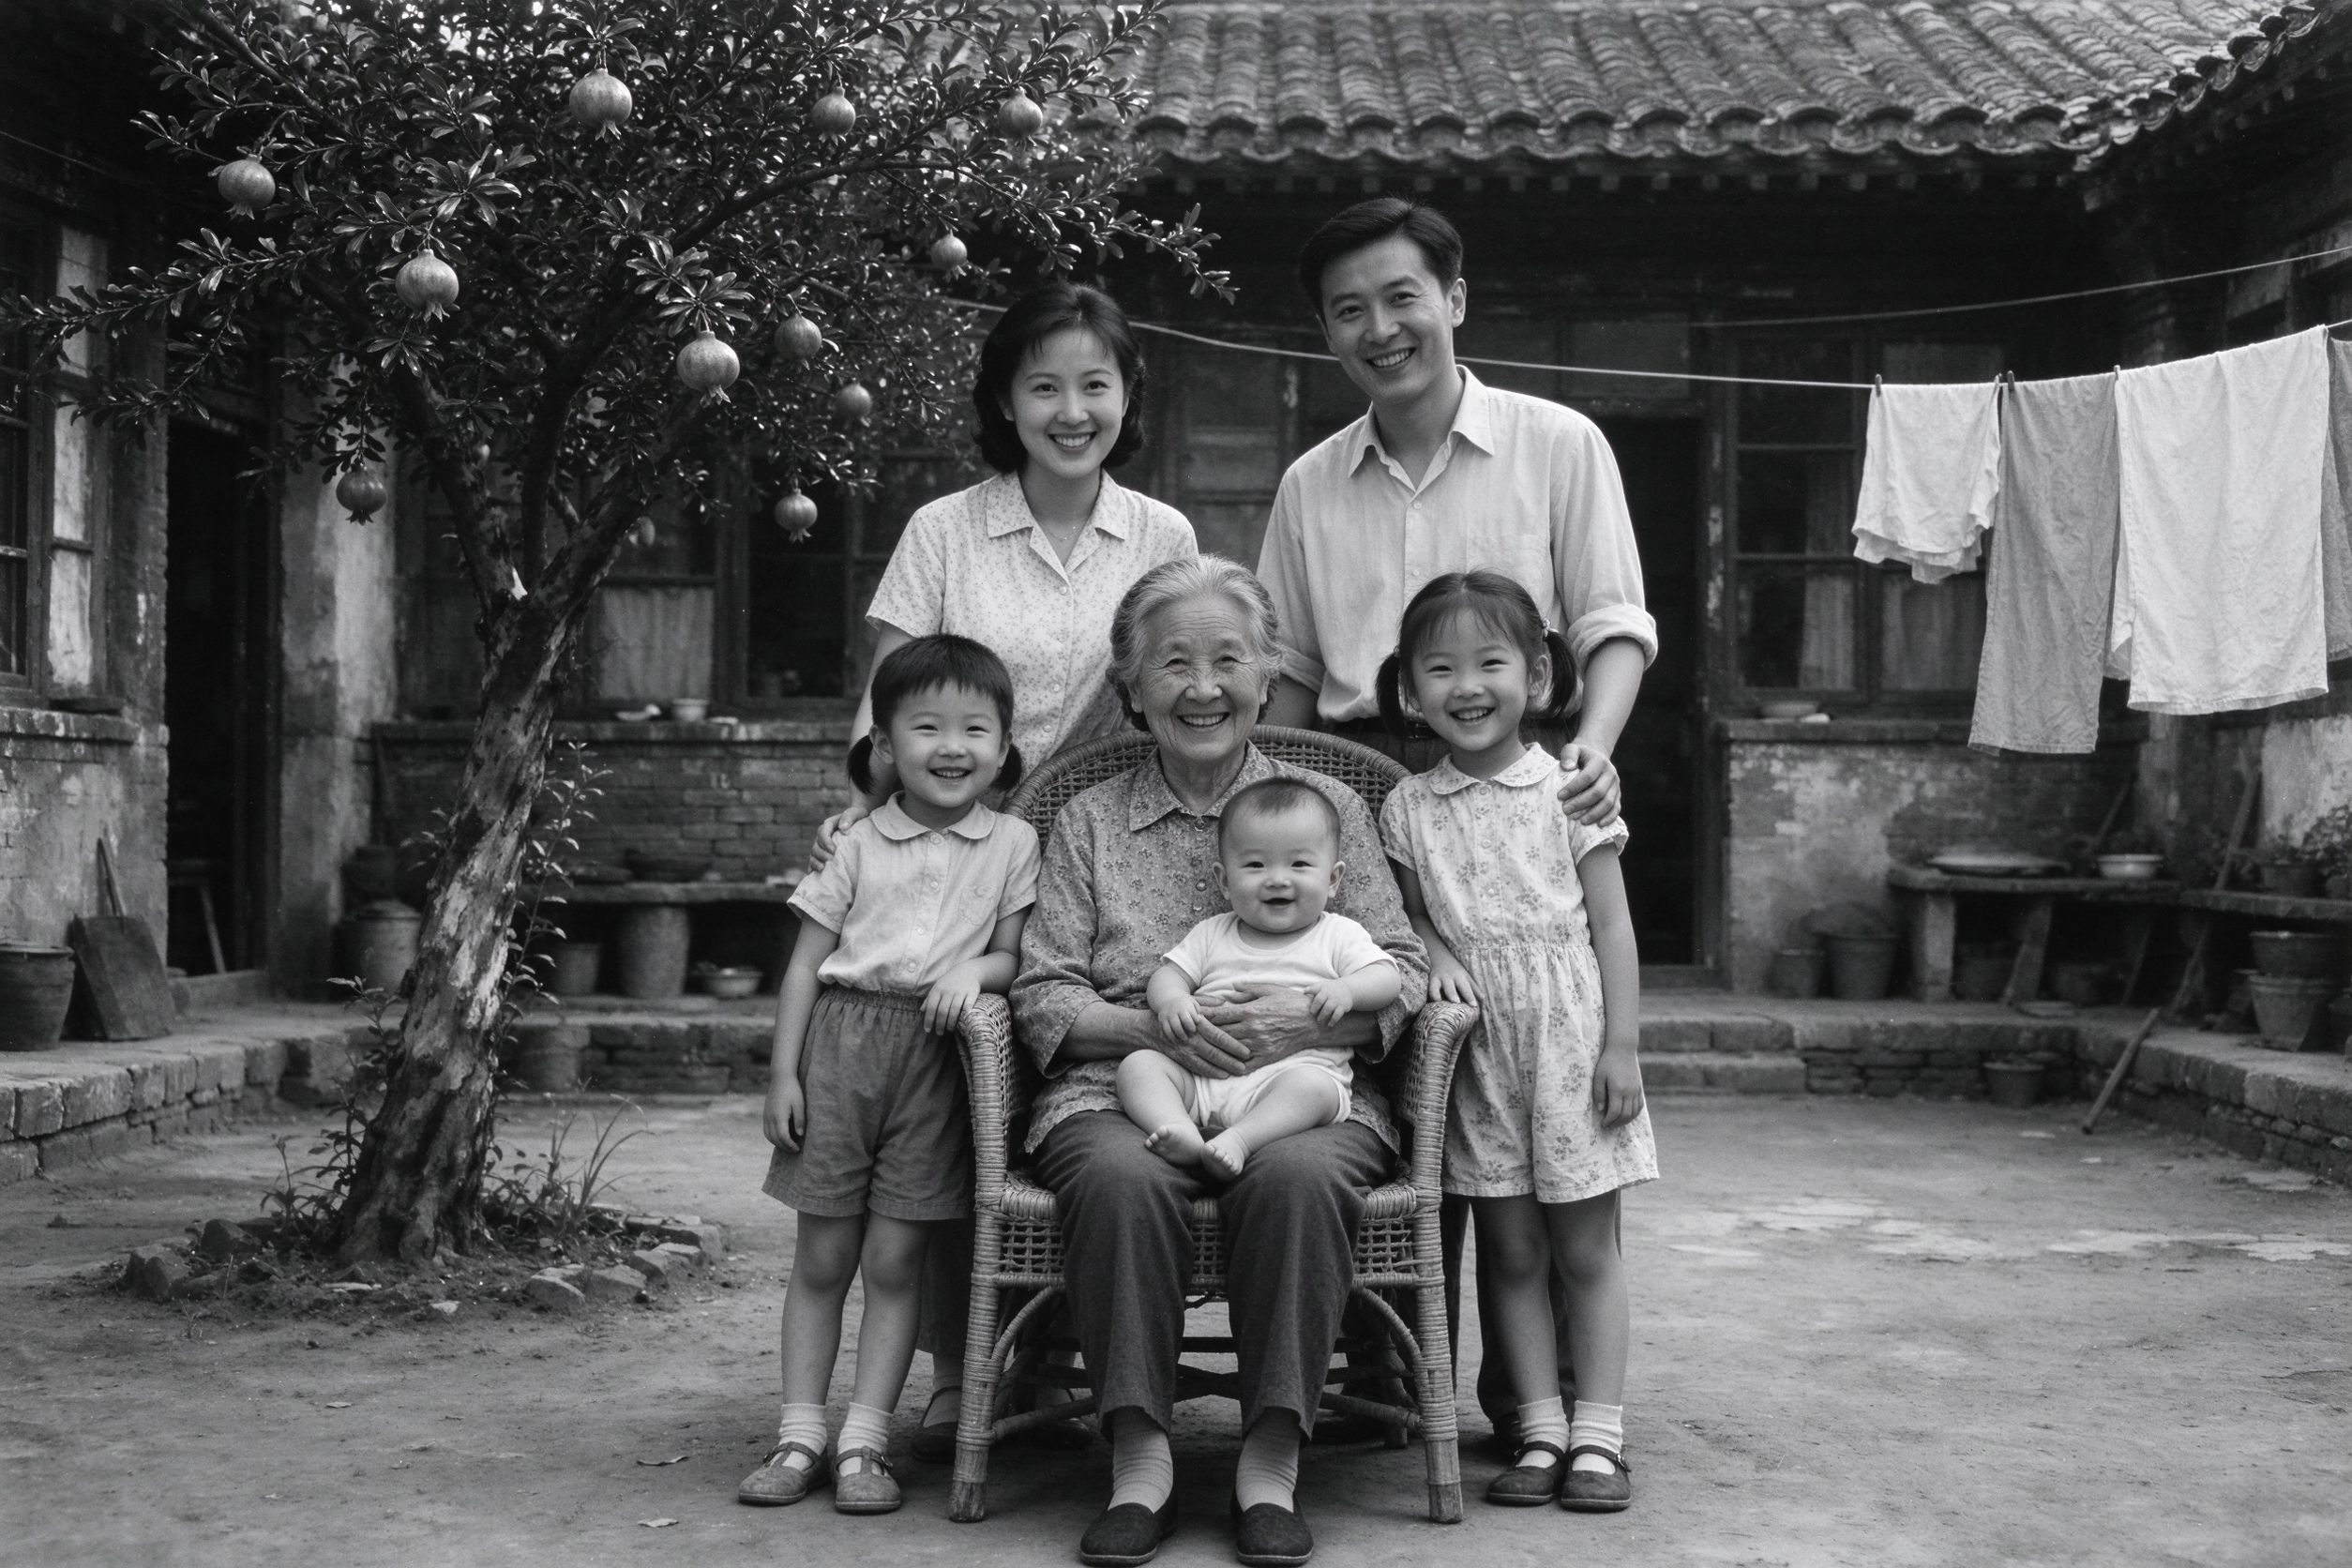
Converting a photo to black and white sounds trivial — every editor has a single "desaturate" button — and that is exactly the problem. A one-click desaturation usually produces a flat, muddy gray mess, especially on old photographs whose color has already shifted toward yellow or green. Done properly, black and white is not the absence of color; it is a deliberate reconstruction of light, contrast and mood. The same portrait can look washed out or timeless, depending entirely on how you separate the channels before you strip the color away.
This guide walks you through doing it well, using the free Black & White Converter that runs entirely in your browser. Because processing happens locally, your family scans never leave your device. Let's start with the most important question: should you even convert this photo?
When black and white actually helps
Black and white is a tool, not a default. It suits subjects where form, light and emotion matter more than color: studio portraits, faces, architecture, rainy streets, cloudy landscapes and any image where the color has faded into an ugly yellow or magenta cast. A bad color cast that you cannot fully correct is often a perfect candidate for conversion — the viewer stops noticing the wrong color and starts noticing the subject.
It is also the most forgiving treatment for faded color slides and prints. When the dyes have degraded unevenly, one channel may be almost empty. Rather than fighting to recover a color that is gone, you can lean into grayscale and let the remaining luminance carry the image. See our faded photo restoration guide to decide whether to fix color first or commit to black and white.
Where black and white hurts: photos where a specific color is the point — a red wedding dress, a blue lake, a child's orange coat. If the meaning lives in the color, restoring the color is the better path. If the meaning lives in the face or the gesture, grayscale often flatters it.
Prepare the color photo first
Never convert a damaged photo directly. The conversion tool only mixes existing luminance values; if your scan is dusty, scratched or out of focus, those defects are still there in monochrome. Work in this order:
- Clean up defects first. Use the Scratch & Spot Remover for white scratches and dust specks. In black and white, a single white scratch on a dark jacket is far more visible than it would be in color, so remove it now.
- Fix the worst color cast, roughly. You do not need perfect color, but a strong yellow or green stain will tint your grayscale. A quick white-balance pass removes the worst of it.
- Denoise grainy scans. Heavy film noise averages into ugly gray blotches after conversion. Run the Photo Denoiser before converting if grain is dense.
- Do not crop yet. Convert and tone the full image, then crop. Cropping early can remove sky or wall tones you want to judge the contrast against.
What the R / G / B sliders do
This is the heart of good conversion, and most people never touch it. A naive desaturation just averages red, green and blue together. Our converter instead lets you weight each channel — Red, Green and Blue — so you decide how bright each color becomes in the final gray. The default weights (about 30% red, 59% green, 11% blue) mimic how the human eye sees light, but for a specific photo you can push them much further.
- Red slider (default ~30). Raising it makes red objects — skin, brick, autumn leaves, lips — render lighter. Lowering it makes skin darker and more dramatic. A common portrait trick is to push red down slightly so faces thin out and freckles recede.
- Green slider (default ~59). This carries most of the luminance. Raising it lightens green foliage and lawns dramatically; lowering it darkens trees and grass so a gray sky pops. Landscape conversions live or die on this slider.
- Blue slider (default ~11). Raising it lightens blue — a blue sky turns almost white, which is the classic "Ansel Adams" mood. Lowering it crushes the sky to near-black for a moodier print. Skin, which contains little blue, stays roughly unchanged.
The practical rule: pick the color that separates your subject from its background, then push that slider. If a dark-suited man stands against a green hedge, raising green lightens the hedge and separates him. If a pale-faced child is lost against a pale wall, pull a channel apart to create separation. There is no "correct" setting — there is only the setting that makes the subject read clearly.
Step-by-step conversion workflow
- Open the photo in the Black & White Converter. Start from the default weights and look at the result on the before/after slider.
- Identify the most important color relationship. Usually it is skin versus background, or sky versus landscape. Name it before you touch anything.
- Move one slider at a time in steps of about 10. Watch only the relationship you named. Over-sliding by 20 points is enough to ruin a portrait; small moves feel safe.
- Check the ends of the histogram mentally. Do you have a real black (a pupil, a dark coat) and a real white (a shirt collar, cloud)? If the image lives entirely in the middle grays, it will look dull.
- Refine contrast next. If the result is flat, a mild contrast lift — not a slider here, but in the faded-photo-fixer workflow — separates the midtones. Stop before skin starts to look leathery.
- Export a PNG master. Keep the original color scan untouched so you can re-convert later if your taste changes.
Contrast, toning and grain
A great black and white print is usually not neutral gray. Photographers of the film era regularly added a warm or cool tint for mood. Once you have the grayscale you like, you can:
- Add a subtle vignette to pull the eye toward the face or the center of the scene — darkened corners that fade inward.
- Try a duotone by feeding your converted image into the Duotone Generator. A deep-brown-to-cream duotone reads as archival; a deep-blue-to-pale-blue reads as cold and modern.
- Leave a little grain on purpose. A perfectly smooth digital grayscale can look sterile. If your scan already has film grain, do not denoise it away completely — a hint of grain sells the "real photograph" feeling.
For the finishing touch, our sharpening guide explains how to add crispness to eyes and edges without introducing the white halos that look especially bad on monochrome skin.
Common mistakes and FAQ
Why does my converted portrait look gray and lifeless? Almost always because the default weights left skin and background at nearly the same gray. Separate them with a channel slider, then lift contrast slightly.
Should I convert before or after restoring? Restore first (scratches, dust, rough color), then convert. Conversion is the creative final step, not the repair step.
Can I undo black and white and get the color back? Not from the converted file — the color information is gone. That is exactly why you keep the untouched original scan and only ever export from a working copy.
My old photo is already black and white. Why convert it again? You usually should not need to. Instead, use channel-aware adjustments lightly, or just fix contrast and scratches directly. Re-converting an already-monochrome print rarely improves it and can muddy its tones.
Done with intention, black and white gives a worn family photograph a second, more honest life — freed from the fading colors it can no longer hold. Spend the extra minute on the channel sliders; that is where an ordinary desaturation becomes a photograph.
把照片转成黑白听起来再简单不过——每个编辑器都有一个「去色」按钮——而这恰恰是问题所在。一键去色通常只会得到一张扁平、浑浊的灰片,对颜色已经偏黄或偏绿的老照片尤其如此。真正的黑白不是「没有颜色」,而是对光线、对比与氛围的一次刻意重构。同一张肖像,可能显得发灰,也可能显得隽永,区别完全在于你在抽掉颜色之前,如何分离各个通道。
本指南教你用浏览器内免费运行的黑白转换器把这件事做对。由于处理完全在本地进行,你的家庭扫描件永远不会离开设备。先从最重要的问题开始:你到底该不该转这张照片?
一、什么时候黑白才真正有用
黑白是一种手段,而非默认选项。它适合那些形态、光线与情绪比颜色更重要的题材:影棚肖像、人物面部、建筑、雨天街道、阴天风景,以及任何颜色已经褪成难看的黄或品红偏色的照片。一块怎么也校不正的色偏,往往正是黑白的绝佳对象——观众会不再注意错误的颜色,转而注意主体本身。
对于褪色的彩色幻灯片和照片,黑白也是最宽容的处理方式。染料不均匀降解时,某个通道可能几乎空了。与其徒劳地恢复已经消失的颜色,不如坦然走向灰度,让残存的亮度承载画面。先看我们的褪色照片修复指南,判断究竟是先修色,还是干脆做黑白。
黑白在什么情况下帮倒忙:颜色本身就是意义的照片——红色婚纱、蓝色湖面、孩子那件橙色外套。如果意义活在颜色里,那就该把颜色修回来;如果意义活在那张脸或那个姿态里,灰度往往更衬它。
二、先把彩色照片处理好
永远不要直接转换一张破损的照片。转换工具只是在混合已有的亮度值;如果你的扫描件满是灰尘、划痕或对焦不实,转到单色后这些缺陷依然存在。按这个顺序来:
- 先清理缺陷。用划痕与污点修复去掉白色划痕和灰尘点。在黑白里,深色外套上一道白划痕远比在彩色里扎眼,所以现在就除掉它。
- 大致校正最严重的偏色。你不需要完美的颜色,但强烈的黄或绿色污渍会污染你的灰度。一次快速白平衡就能去掉最糟的部分。
- 给颗粒重的扫描降噪。浓重的胶片噪点在转换后会平均成难看的灰色斑块。如果颗粒密集,转换前先用照片降噪。
- 先别裁剪。在全图上转换和调色,最后再裁。过早裁剪会删掉你用来判断对比的天空或墙面色调。
三、R / G / B 滑杆到底控制什么
这是好转换的核心,而大多数人从不碰它。 naive 的去色只是把红、绿、蓝简单平均。我们的转换器则让你给每个通道加权——红、绿、蓝——由你决定每种颜色最终在灰阶里有多亮。默认权重(约红 30%、绿 59%、蓝 11%)模拟人眼的感光方式,但针对某张具体照片,你可以推得更远。
- 红色滑杆(默认约 30)。提高它会让红色物体——皮肤、砖墙、秋叶、嘴唇——变亮;降低它会让皮肤更深沉、更有戏剧性。肖像里常见的小技巧是把红略微压低,让脸显得瘦、雀斑隐退。
- 绿色滑杆(默认约 59)。它承载大部分亮度。提高它会让绿色树叶和草坪明显变亮;压低它会把树木草地压暗,让灰色天空跳出来。风景转换的成败就系在这根滑杆上。
- 蓝色滑杆(默认约 11)。提高它会让蓝色变亮——蓝天几乎变白,这正是经典的「安塞尔·亚当斯」式氛围。压低它会把天空压到近黑,得到更忧郁的影调。几乎不含蓝的皮肤则基本不变。
实用法则:找出把主体与背景分开的那种颜色,然后推动对应的滑杆。如果一个穿深色西装的人站在绿色树篱前,提高绿色会让树篱变亮、把他分离出来;如果一个浅色脸的孩子淹没在浅色墙里,就拉开某个通道制造分离。没有「正确」设置,只有让主体清晰可读的设置。
四、分步转换流程
- 在黑白转换器中打开照片。从默认权重开始,用前后对比滑块看结果。
- 找出最重要的那组颜色关系。通常是皮肤与背景,或天空与地面。动手之前先把它说出来。
- 一次只挪一根滑杆,每次约 10。只盯着你刚才命名的那组关系看。一次滑过 20 个点就足以毁掉一张肖像;小步移动让人安心。
- 在脑子里检查直方图两端。你有没有真正的黑(瞳孔、深色外套)和真正的白(衬衫领、云朵)?如果画面全挤在中间灰里,就会发闷。
- 接着微调对比。如果结果发平,温和地提一点对比——不是在这里拉滑杆,而是按褪色修复的流程做——把中间调拉开。在皮肤开始显皮革感之前停下。
- 导出 PNG 母版。原彩色扫描件保持不动,日后口味变了可以重新转换。
五、对比度、调色与颗粒
一张出色的黑白照片通常不是中性灰。胶片时代的摄影师常为氛围加上冷暖色调。得到喜欢的灰度后,你可以:
- 加一层轻微暗角,把视线引向面部或画面中心——四角压暗、向内渐隐。
- 尝试双色调:把转好的图送进双色调生成器。深棕到米白的双色调读起来像档案老照片;深蓝到浅蓝则冷冽现代。
- 有意留一点颗粒。过于平滑的数码灰度会显得僵硬。如果你的扫描本就带胶片颗粒,别把它降噪得太干净——一丝颗粒恰恰卖出「真照片」的感觉。
最后的点睛,可看我们的锐化指南,它讲解如何给眼睛和边缘增加 crispness,又不在单色皮肤上产生难看的白色光晕。
六、常见错误与问答
为什么转出来的发肖像灰、毫无生气?几乎总是因为默认权重让皮肤和背景落在几乎相同的灰度上。用通道滑杆把它们分开,再略微提对比。
转换该在修复前还是修复后?先修复(划痕、灰尘、粗校颜色),再转换。转换是有创造力的最后一步,不是修复步骤。
黑白之后还能找回颜色吗?从转换后的文件找不回——颜色信息已经丢失。这正是为什么你要保留未动的原始扫描,只在副本上导出。
我的老照片本来就是黑白,还要再转一次吗?通常不必。直接轻调对比、修划痕即可。给本来就是单色的照片再转一次,很少能改善,反而会把影调搅浑。
用心去做,黑白能给一张磨损的家庭照片第二次、也更诚实的生命——从它再也留不住的颜色里解脱出来。多花那一分钟在通道滑杆上,普通的去色才会变成一张真正的照片。